
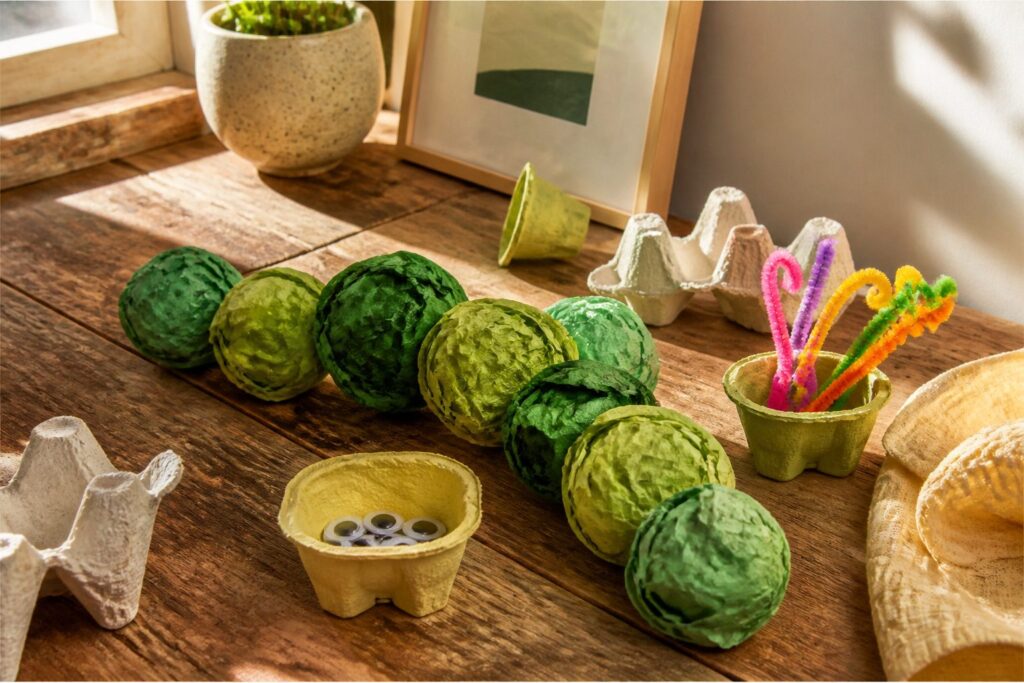
A caterpillar craft is a small bug built from crumpled paper balls or painted egg carton cups, then given googly eyes and pipe cleaner antennae.
Glue decides whether it survives: thin school glue lets pieces slide and drop off, so use tacky glue or a hot glue gun (adult handling it) and give it 15–20 minutes to dry.
Crumple and Squeeze
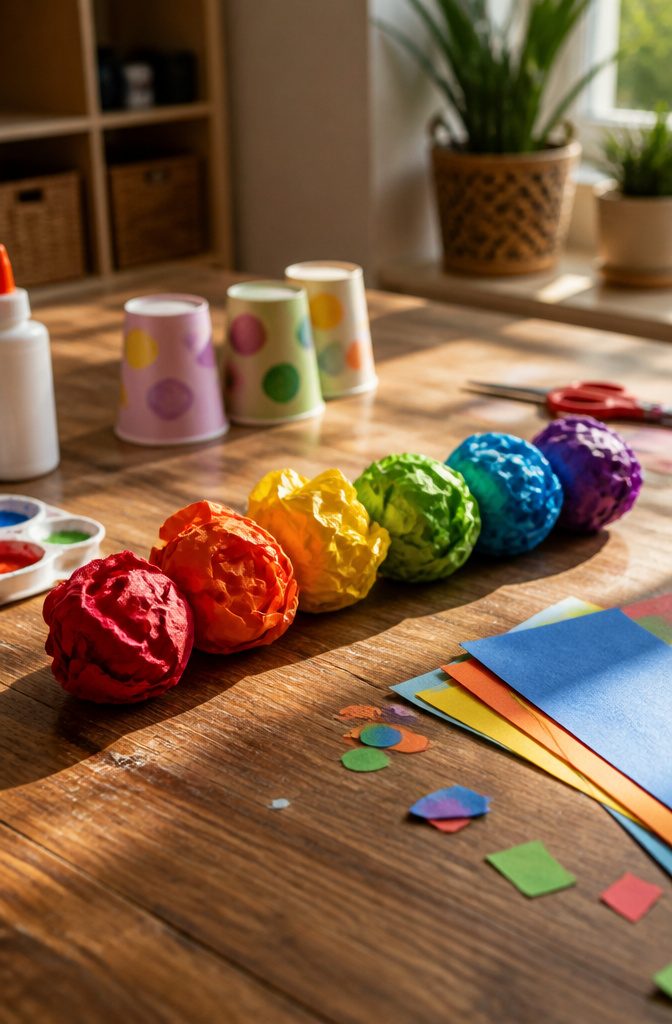
Crumple a sheet of construction paper into a tight ball, then repeat until you have 4–6 for the body and 1 more for the head.
Color pattern is up to you: alternating two shades reads as stripes, while a head in a contrasting color shows where the front is.
Crumpling wins over cutting circles because a crumpled ball has ridges and shadows a flat cutout can’t fake. It also gives small fingers a workout, which is half the fun.
Before gluing, I like to stamp circles on the background. Dip the open end of a small plastic cup or a paper towel tube in paint, press, and let it dry.
Then glue the balls in a curved row, head at one end. A curve looks like crawling; a straight line looks parked.
Cut and Glue Legs
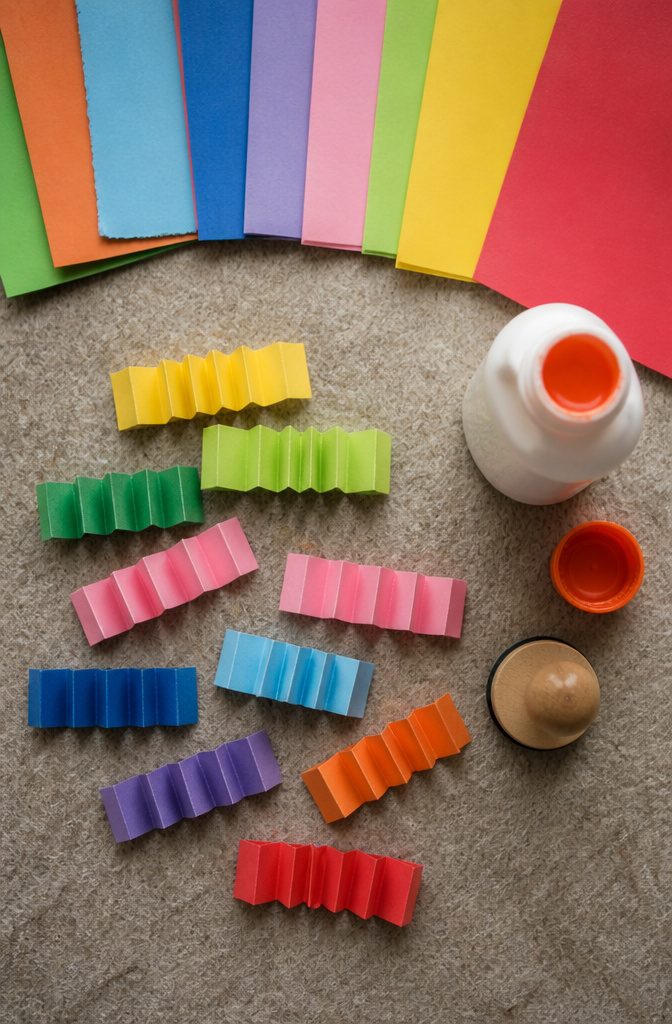
Cut the legs from the same paper you used for the body, in small rectangular strips about as wide as a finger and a few inches long.
Cut one strip per ball, or a single longer strip if you want a pair of legs to share a fold. Fold each strip back and forth like a paper fan, keeping the creases even so the stack stands straight.
Glue one end of each accordion under a body ball, then press until it grips.
Use a thick glue and hold each leg for a slow count of ten, because thin glue lets the fold slide and tilt the whole segment.
The folds act like tiny springs, so the caterpillar lifts off the page and bounces a little when nudged. I prefer this over flat strips, which just lie there.
Attach Features
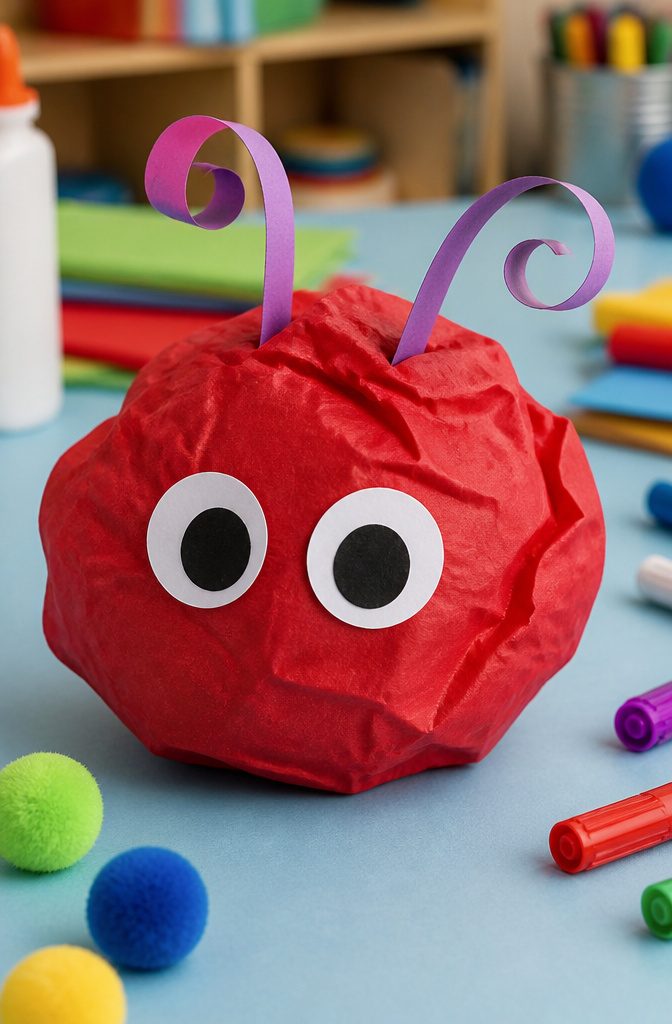
Cut two circles for eyes, two thin strips for antennae and a small nub or triangle for the nose from construction paper, then glue them to the head ball.
Paper antennae can curl if you roll each strip around a pencil first, which gives the head a little bounce.
A glue stick works for the eyes, but use tacky glue on the antennae and nose, since thin paper lifts at the edges as it dries.
The pom pom version skips the cutting. Line up 5 green pom poms and 1 red one on a wide craft stick, with the red one at the end as the head.
Plain school glue can let the pom poms slip, so I’d reach for tacky glue or a hot glue gun, with an adult handling the hot glue.
Cut the Egg Carton
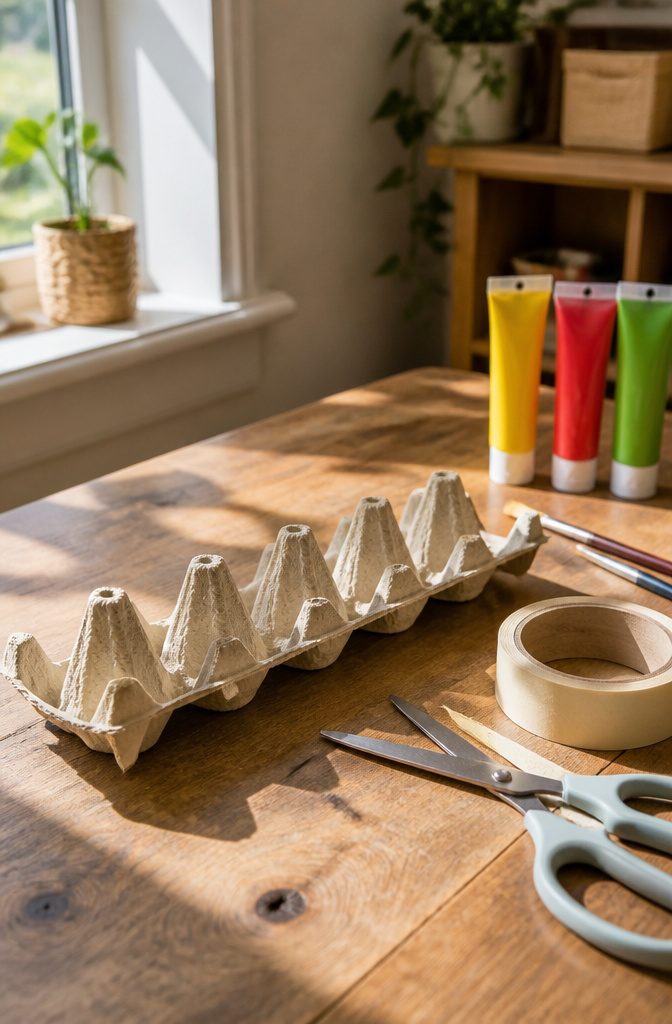
An egg carton is the recycled-material route, and it makes a sturdier caterpillar than paper does.
The cups are molded, so the body holds its humped shape and stands up on a table without help. Paper needs folding or stuffing to do that.
Cut the carton in half lengthwise so each half becomes a row of cups, which is your body.
Trim off the flaps and any ragged edges so the rows sit clean. For the head, cut one cup from the spare piece and tape it to the front end.
Paper tape works well here. Then join the second half to the first with more tape to get a long body.
Carton shapes differ, so check how yours sits before you tape. Flip a half over if it balances better that way.
Paint the Carton
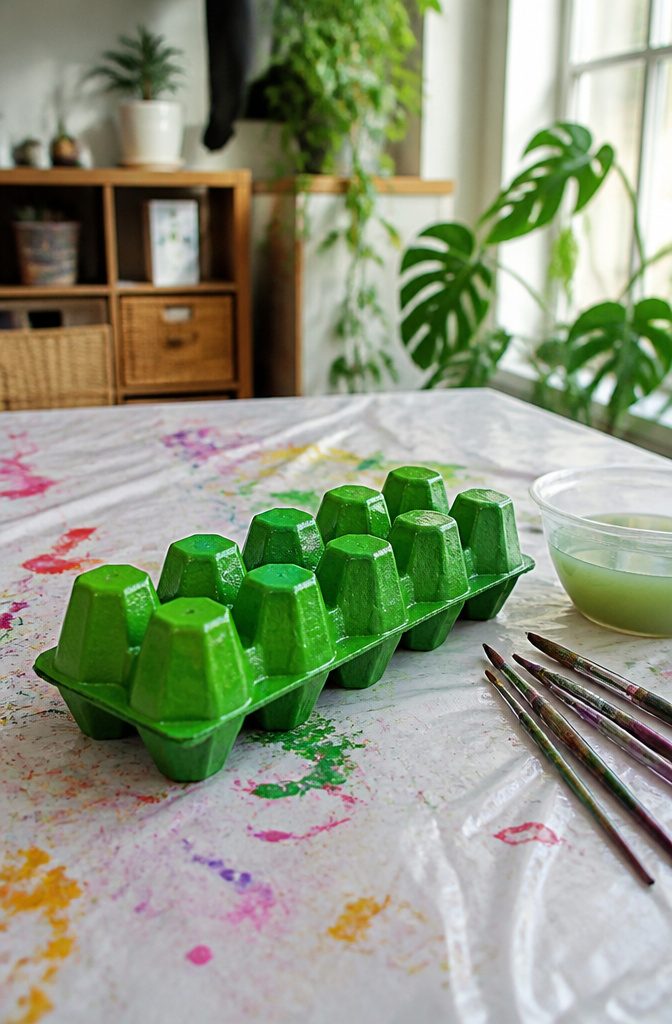
Acrylic is my pick for the carton.
It covers the gray or white cardboard in one or two coats, and the color stays strong once dry. Tempera works nearly as well and is the easier choice for small kids, since it washes off hands.
Watercolor also works, but the thin paint soaks into the paper and looks washed out, so plan on extra coats and a longer wait.
Check that the label says non-toxic, then set out a bowl of clean water and a few disposable kitchen towels for rinsing the brush. Green is the classic caterpillar color, though any favorite works.
Let the paint dry fully before you move on. Damp cardboard bends and tears when you start handling it.
Add Googly Eyes and Antennae
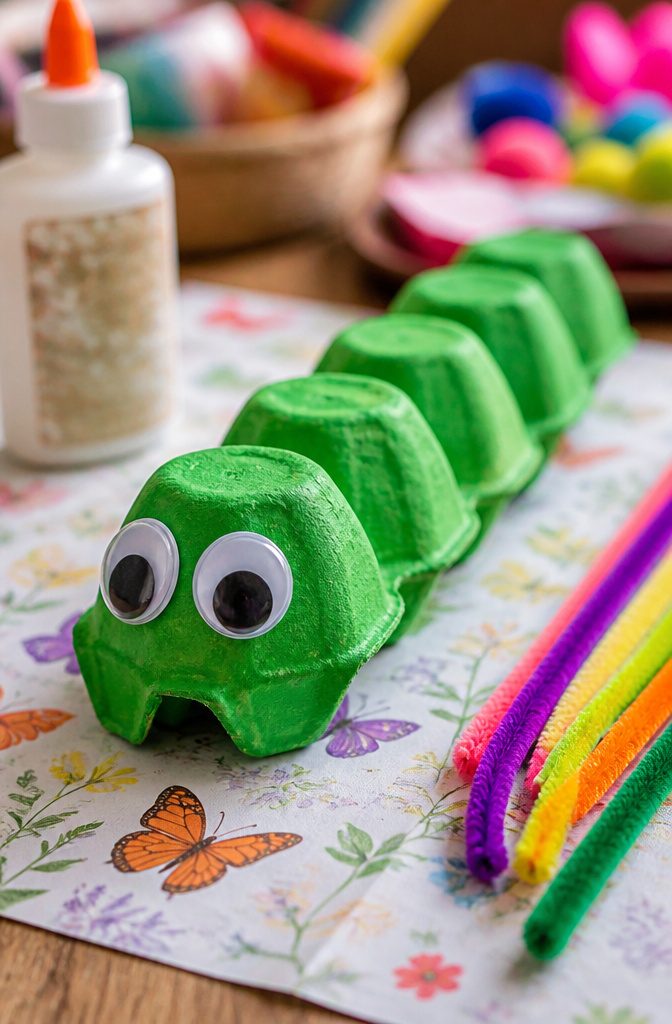
Wait until the paint is fully dry before you add the face, or the googly eyes will slide around on a tacky surface.
Plain school glue like Elmer’s held the eyes and antennae on okay, but it let go later on one batch of pom pom caterpillars, so tacky glue or a hot glue gun is the safer pick.
A hot glue gun is the one I’d reach for, with an adult running it.
On an egg carton caterpillar, paste the eyes on, then draw a smile with a marker or black paint.
For antennae, an adult can snip a small hole on each side near the eyes with scissors and push the pipe cleaner pieces through. On a flat craft stick version, you can simply glue short pipe cleaner pieces on instead.
Build a 3D Caterpillar
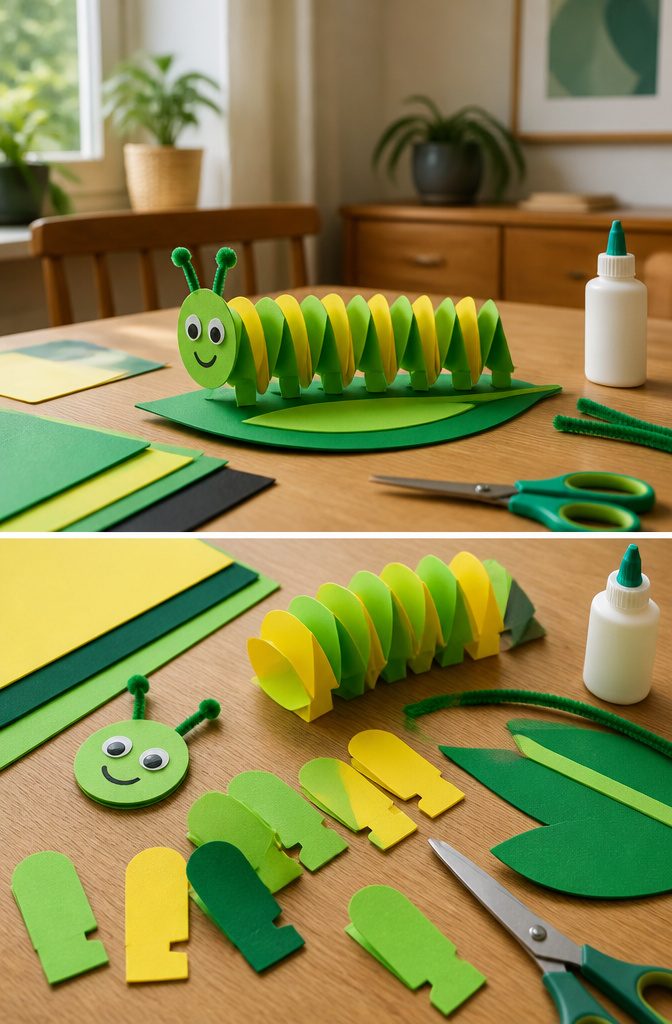
The printable template comes in two versions: three black-and-white pages meant for classrooms, and a family version with a colored leaf and caterpillar head already printed.
With the family set, you only need the black-and-white strip page for the body. Print those strips on two colors of paper, such as green and yellow, and let your child pick the colors.
Cut the strips apart, then glue them into an accordion fold, overlapping each pair at a right angle and folding one over the other. Glue the finished body onto the leaf, with the head at one end.
This version stands up off the page, which the flat paper caterpillar never does.
It also needs no crumpling or painting like the egg carton one. Paper strips and glue are the only skills required, so it suits younger kids best.
Finish the Head and Body
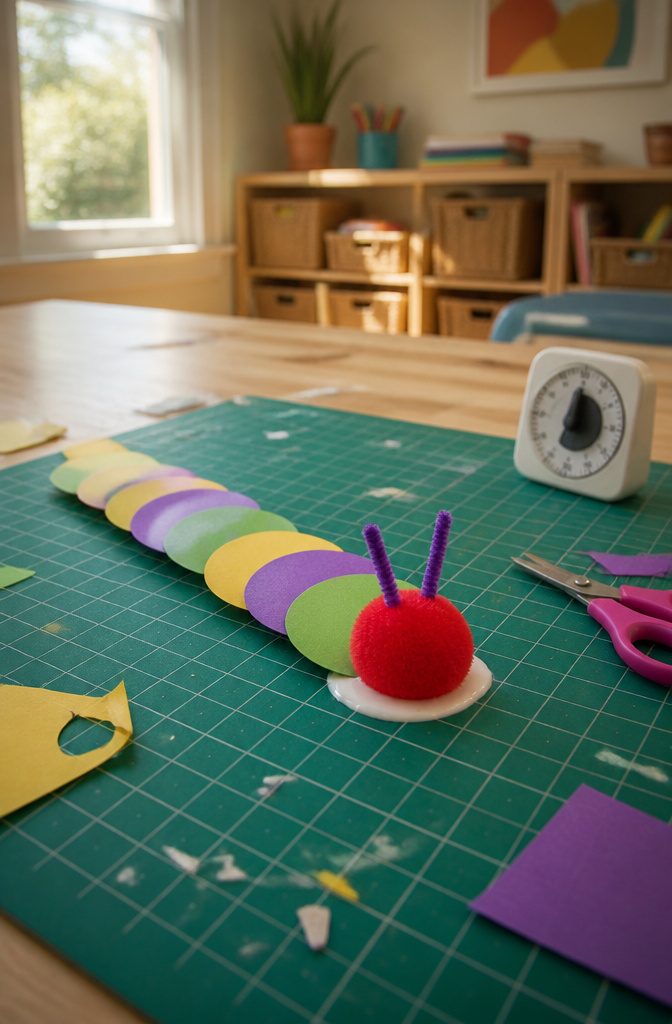
Glue the head to the front of the body where the two pieces overlap, and press them together for a slow count of 20 so the join grips before you let go.
White craft glue works for paper and cardboard, though it needs a thick bead rather than a thin smear. A glue stick looks tidy but tends to release when a child picks the caterpillar up by the head.
Set the caterpillar flat and leave it alone. Give it at least 15 to 20 minutes before anyone handles it, and longer if the glue went on thick or the pieces are painted.
A head that still slides under your thumb is not ready, and a joint that gets moved while wet usually dries crooked.
I would skip the urge to prop it upright to show it off. Let it dry lying down, then stand it up once the join feels firm.
Materials Needed
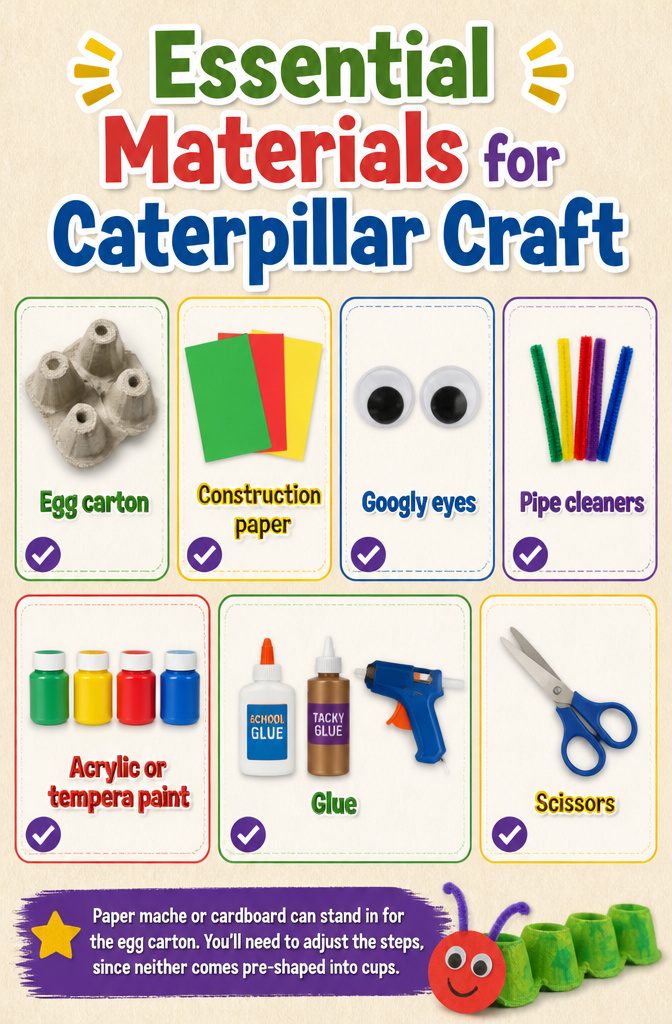
Most of this list comes from the recycling bin and a drawer of odds and ends:
- Egg carton: the cups make ready-made body segments, so saving one costs nothing and skips the shaping.
- Construction paper: green, red, and yellow cover most caterpillars; it works for the paper version.
- Googly eyes: 2 per caterpillar.
- Pipe cleaners: short pieces become antennae, and 2 small pieces per caterpillar is plenty.
- Acrylic or tempera paint: tempera washes off hands more easily, so I lean toward it for kids.
- Glue: regular school glue holds paper fine, but googly eyes and pipe cleaners stay put better with tacky glue or a hot glue gun.
- Scissors: the only tool you need.
Paper mache or cardboard can stand in for the egg carton. You’ll need to adjust the steps, since neither comes pre-shaped into cups.
Pair It With The Very Hungry Caterpillar
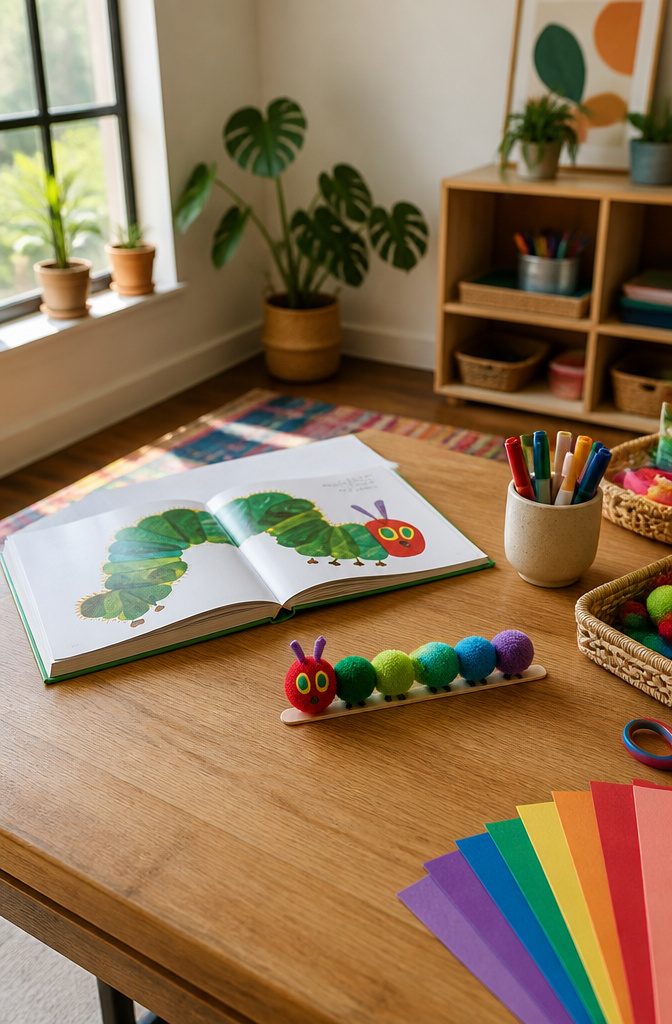
Eric Carle’s The Very Hungry Caterpillar is full of painted paper illustrations, so a paper caterpillar is a natural match for it.
Read the book first, then build your craft after his character. Kids get a reason for every choice they make at the table.
Match the colors to the book. Cut the head from red paper, the way some crafters do for a very hungry caterpillar look, and keep the body green.
Then count your segments as you read, one for each bite of the story, so the book sets the length of the body.
If your child would rather make a realistic caterpillar, check the garden first. Note the colors of a real caterpillar and copy those instead, then see whether it crawls fast or slow.
Safety and Supervision
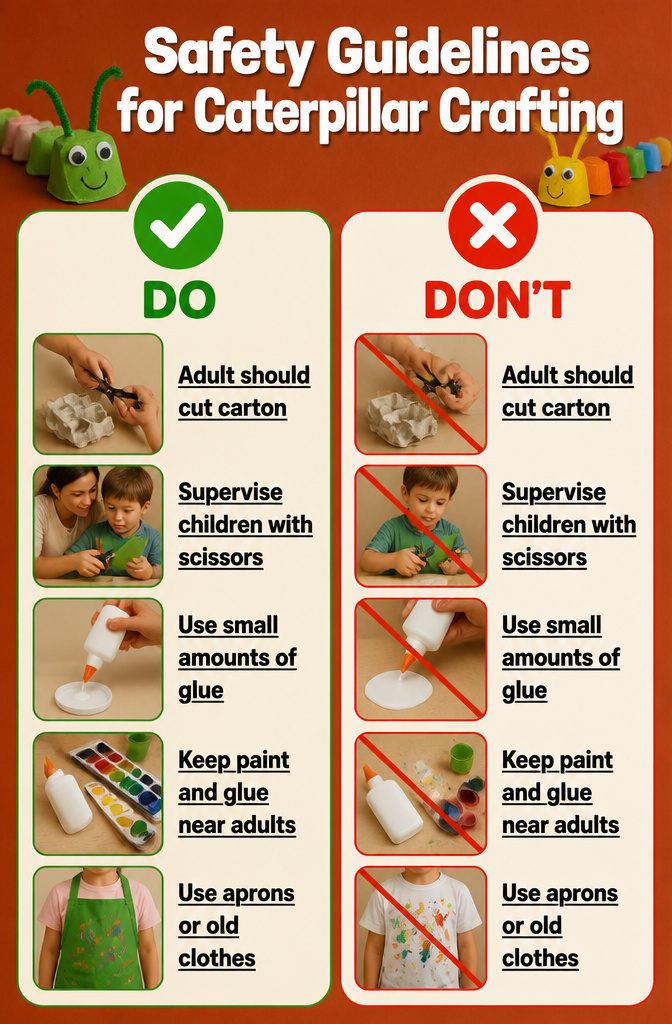
Scissors and glue are the two tools in this project that need an adult nearby, and younger children should have someone beside them for both.
An egg carton is stiff and slippery under the blades, so the adult should do all the carton cutting and hand the child the finished cups.
Paper strips and construction paper are easy enough for kids to snip once they’ve shown they can handle scissors.
Glue is a smaller risk but a messier one, so I’d keep it within reach of an adult and dole out small amounts.
If paint is part of your version, put the child in an apron or old clothes. Paint on a good shirt ends the afternoon early.
Encouraging Creativity
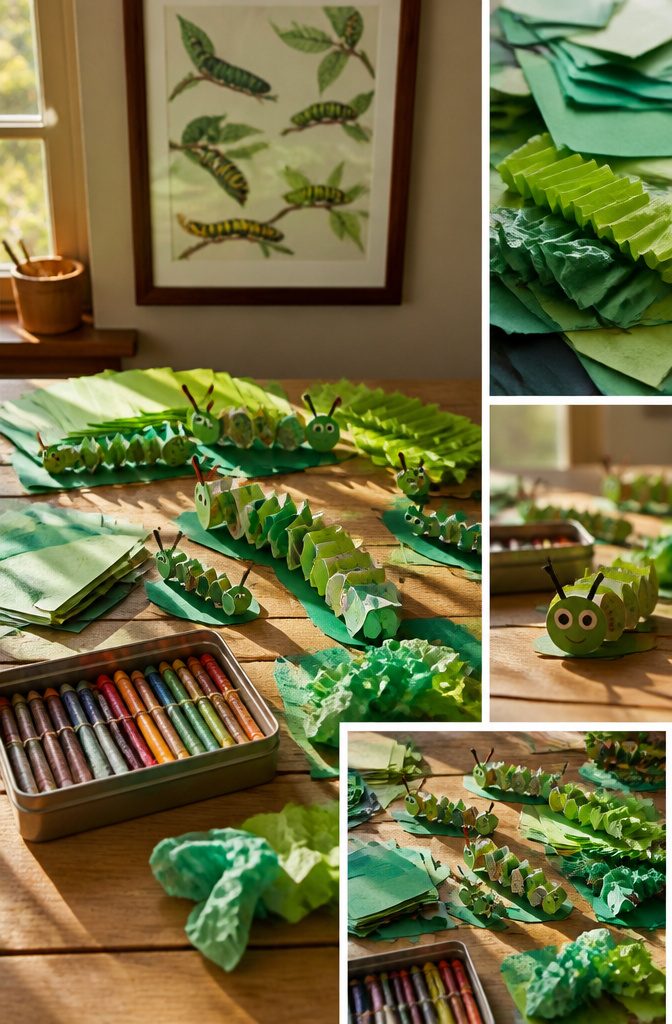
Color is the easiest place to start. Green is the usual caterpillar shade, and it’s a fine default, but a quick look at real caterpillars in the garden shows how many patterns and colors they wear.
Copy one if you want a realistic bug, or ignore nature and go with a favorite color.
Segment count is the next lever.
A craft stick with 5 green pom poms and a red one on the end makes a tidy caterpillar, yet 3 segments gives a chubby one and more gives a long one. Egg carton cups work the same way.
Faces do the most to make each one different.
Googly eyes can sit with a drawn smile in marker or black paint, and pipe cleaner antennae can be short or long. When they’re done, ask your kid to name the caterpillar and point out its colors and patterns.
Frequently Asked Questions
Can I use something other than an egg carton for a caterpillar craft?
Yes, paper mache or cardboard can stand in for the egg carton. Neither comes pre-shaped into cups, so you’ll need to adjust the steps and form the body segments yourself.
What kind of paint can I use on an egg carton caterpillar?
Acrylic, tempera, and watercolor all work.
Acrylic covers the cardboard in 1 or 2 coats, tempera is easiest for small kids because it washes off hands, and watercolor looks washed out unless you add extra coats. Check that the label says non-toxic.
How do I make a 3D caterpillar?
Print the free template, cut apart the body strips, and glue them into an accordion fold, overlapping each pair at a right angle.
Then glue the finished body onto the leaf with the head at one end. Paper strips and glue are all it takes, so it suits younger kids best.





