
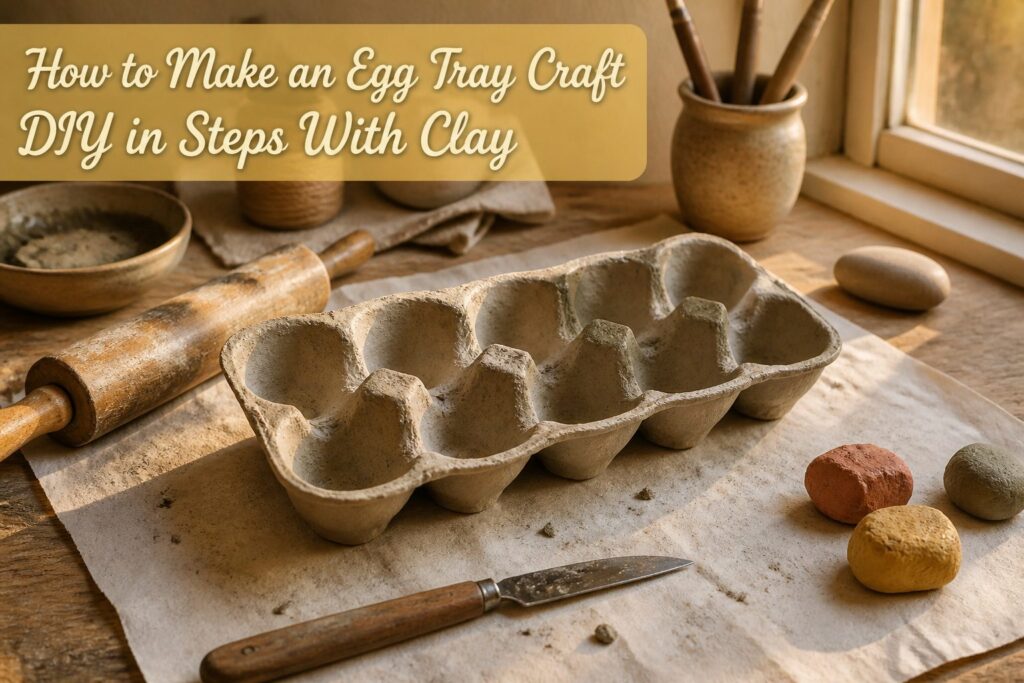
You end up with a clay tray pressed from a cardboard egg carton, for a few cheap supplies and 24–48 hours of drying. Most people ruin it at the drying stage.
A fan or sunny windowsill dries the outside first, so the rim curls and hairline cracks open across the cups. Roll the clay to 1/4 inch and let it dry slowly.
1. Prepare the Egg Carton
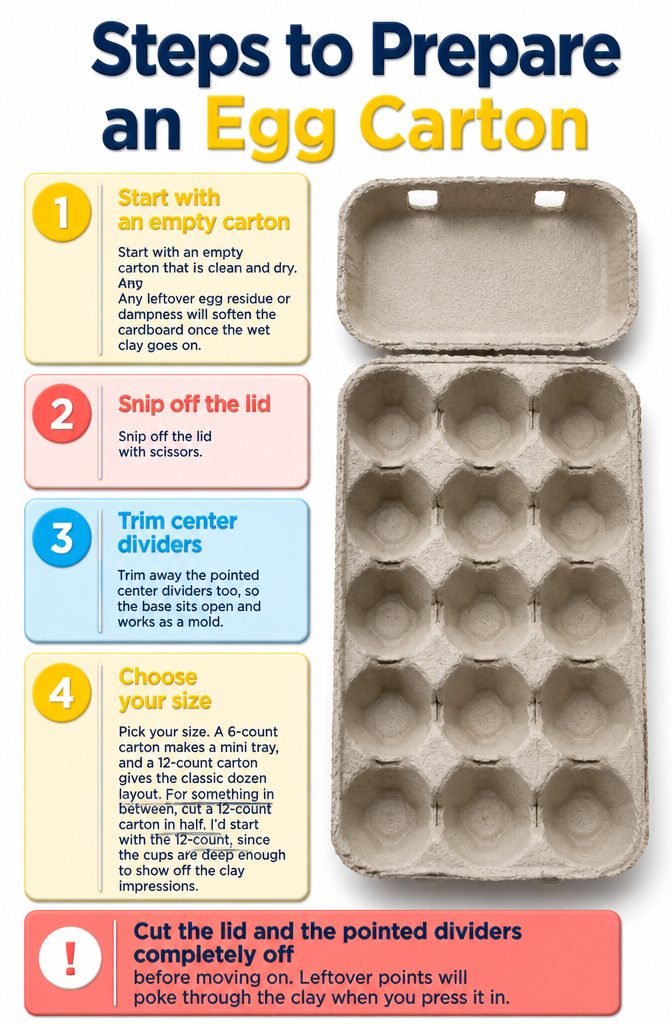
- Start with an empty cardboard carton that is clean and dry. Any leftover egg residue or dampness will soften the cardboard once the wet clay goes on.
- Snip off the lid with scissors.
- Trim away the pointed center dividers too, so the base sits open and works as a mold.
- Pick your size. A 6-count carton makes a mini tray, and a 12-count carton gives the classic dozen layout. For something in between, cut a 12-count carton in half. I’d start with the 12-count, since the cups are deep enough to show off the clay impressions.
Cut the lid and the pointed dividers completely off before moving on. Leftover points will poke through the clay when you press it in.
2. Roll Out the Clay
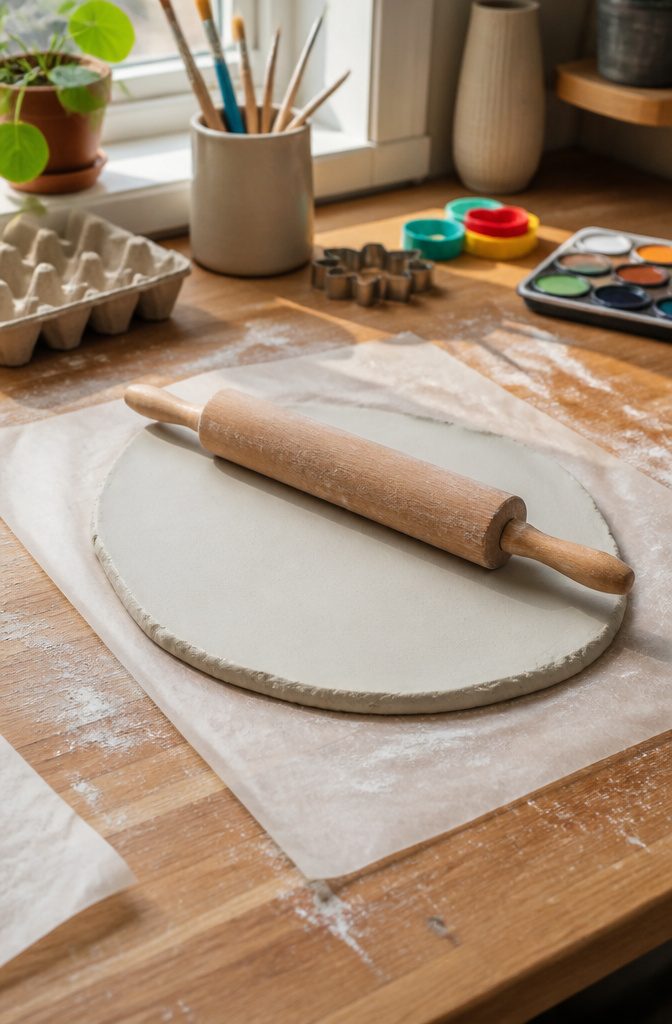
Air-dry clay rolls best between two sheets of parchment or on a smooth, clean counter; aim for one even slab, about 1/4 to 1/2 inch thick.
Press the rolling pin from the center outward and turn the slab a quarter turn now and then so one side doesn’t end up thinner.
I go closer to 1/4 inch, the thickness the usual clay egg tray method calls for.
It presses into the carton cups cleanly and shows the egg dimples crisply. A thin slab also dries faster, though it can crack or snap at the corners if you handle it roughly.
A 1/2-inch slab feels sturdier and hides small rolling flaws, but the dimples come out softer and the tray takes longer to dry. If the tray will carry real eggs, I’d rather go a little thicker than 1/4 inch.
3. Trim the Clay With a 1-Inch Border
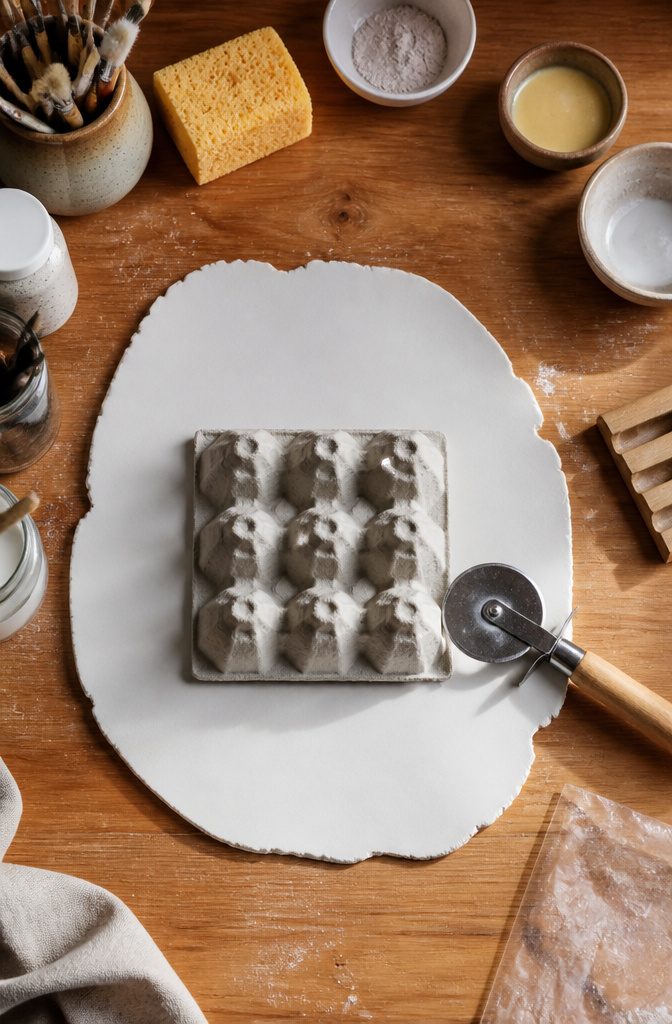
Set the carton in the center of the rolled clay and cut around it with a knife or a pizza cutter, leaving a 1-inch border on every side.
That margin matters because the clay has to line the cups and climb the walls when you press it in, and a rectangle cut flush to the carton runs out of material right where the dips pull it down.
A pizza cutter wins for me on long straight edges, since it rolls through 1/4-inch clay without dragging.
A knife is better at the corners. Use one firm pass per side rather than sawing back and forth, which ruffles the edge.
Leave the extra trimming for later. Once the clay is pressed in and flipped, you cut off the excess around the rim, so a slightly wobbly first cut costs you nothing.
4. Mold the Clay
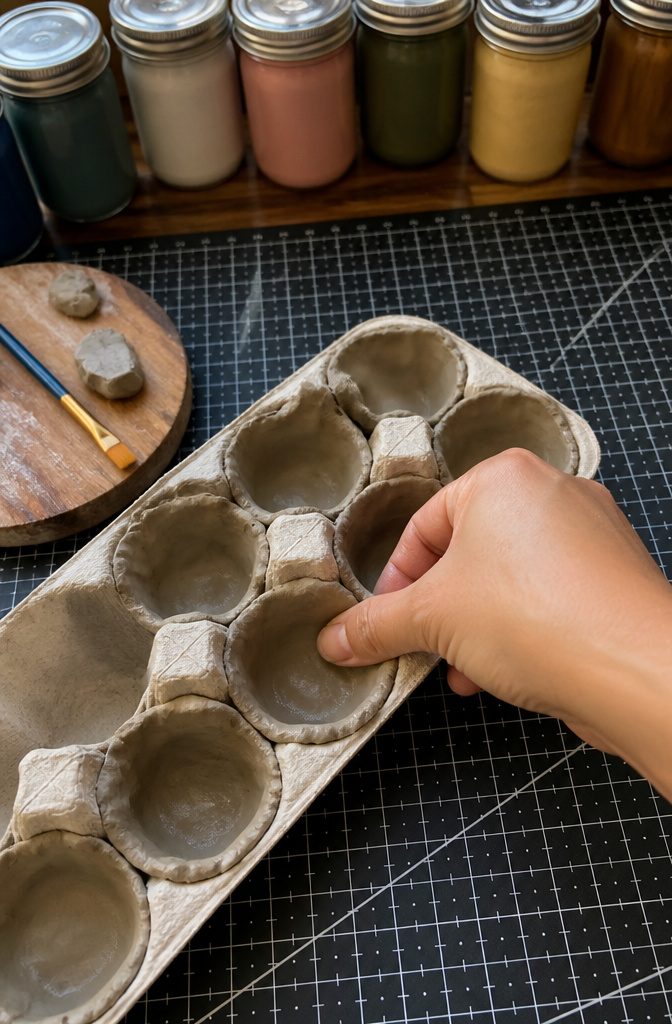
Press the clay in from the center of each cup outward, using your thumb first and then the pad of your index finger to push it into the corners.
A thin, even layer picks up the egg-shaped dips better than a thick one, which tends to bridge across the bottom and blur them. Work one cup at a time so the rest of the slab doesn’t drag.
Seams show up where the clay overlaps the ridges between cups.
Dab a fingertip in a little water and rub the join in small circles until it disappears. Keep the water light, because soggy clay turns slick and slumps.
Hairline cracks usually mean the clay dried out while you worked. Smear a bit of damp clay over the split, press it flat, and smooth it with a wet finger.
5. Dry the Tray 24–48 Hours
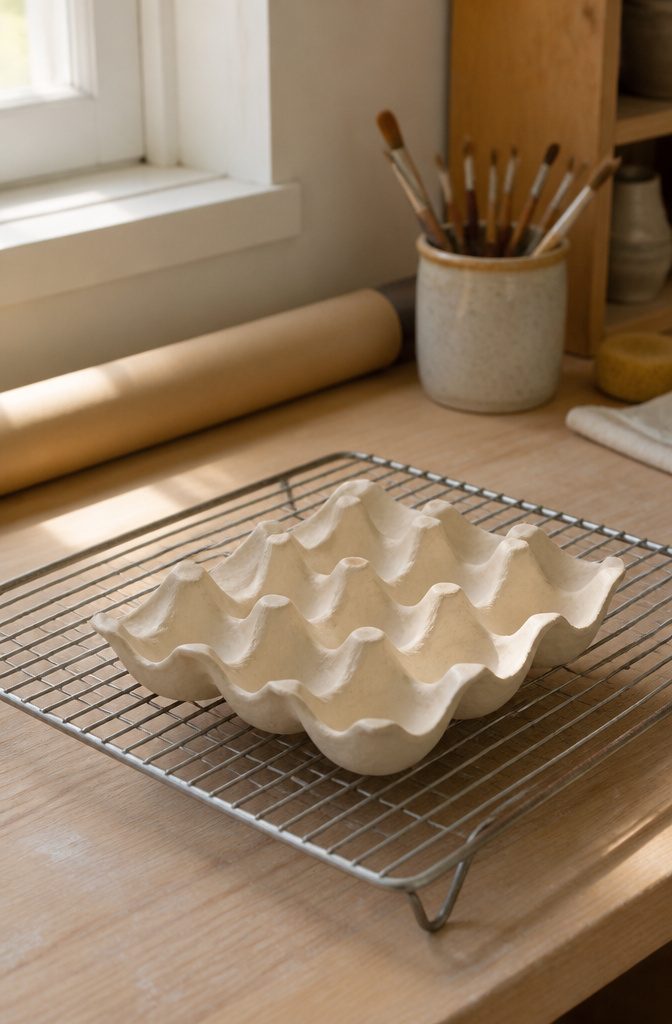
Clay needs 24–48 hours to dry all the way through, and a thin tray in a dry room will lean toward the short end.
Set it on a flat, uncluttered surface like a baking rack or a sheet of parchment, somewhere out of direct sun and away from the heater vent.
Leave the egg carton mold in place if your clay is still soft at the edges.
Rushing is what ruins these trays.
Clay that dries fast on the outside shrinks before the inside catches up, so the rim curls and hairline cracks open across the cups. A fan or a sunny windowsill looks like a shortcut and usually costs you the tray.
Fully dry clay looks matte and feels light, room-temperature and uniformly pale with no cool or darker patches. Press the underside of a cup; if it feels cold, give it another day.
6. Paint and Seal the Tray
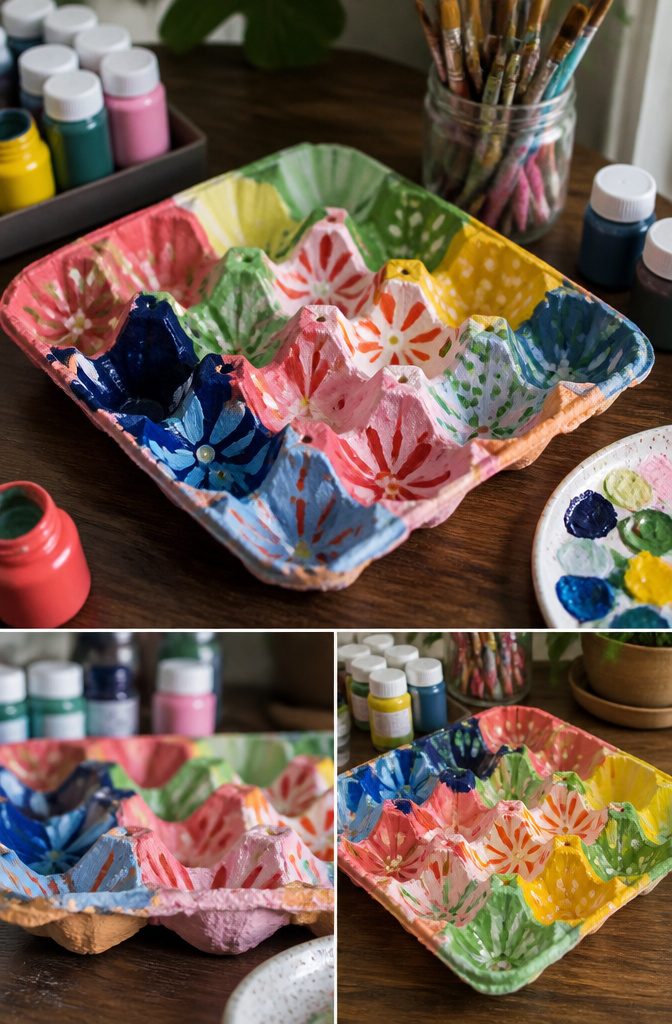
Paint both sides of the tray once the clay has dried for the time printed on its packaging and you’ve lifted it off the carton mold.
Acrylics work well here, and the design is up to you: berries, florals, abstract shapes or a holiday scene all read nicely in the cups.
If the tray will hold eggs or food, finish it with a food-safe varnish.
Brush a coat of Mod Podge over the dry paint first, let it dry, then add the varnish. A dishwasher-safe Mod Podge can combine those two steps, which saves a layer and an afternoon of waiting.
Give the tray a couple of coats and plenty of drying time before the first eggs go in. For a tray that only holds beads or jewelry, I’d skip the varnish and stop at the paint.
Materials You Need
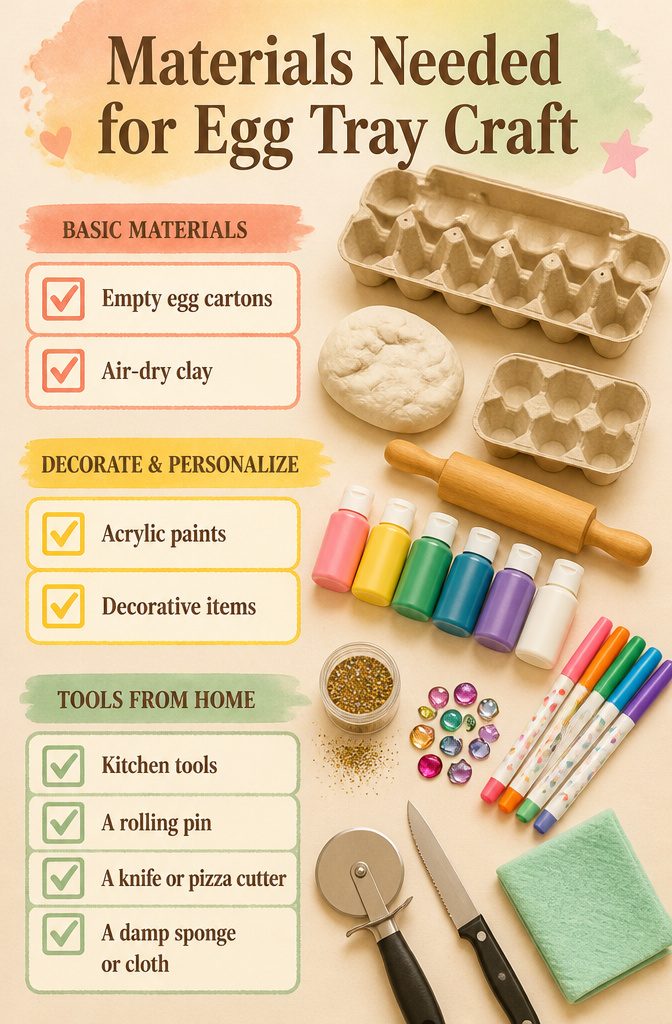
Everything here is cheap, and most of it is probably in your house already:
- Empty egg cartons: Any size works. A 6-count makes a mini tray, and a 12-count can be cut in half or used whole for a larger one. Cardboard holds the clay’s shape better than foam, so I’d pick cardboard.
- Air-dry clay: Half a pound covers a mini tray. Buy a bit extra for handles, since scraps rolled into thin cylinders make them.
- Acrylic paints: Any colors you like. A small starter set from a craft store is plenty.
- Decorative items: Glitter, markers or small embellishments for a festive look. Dollar stores carry most of these.
- Tools from the kitchen drawer: A rolling pin, a knife or pizza cutter, and a damp sponge or cloth.
Cutting, Molding and Painting Basics
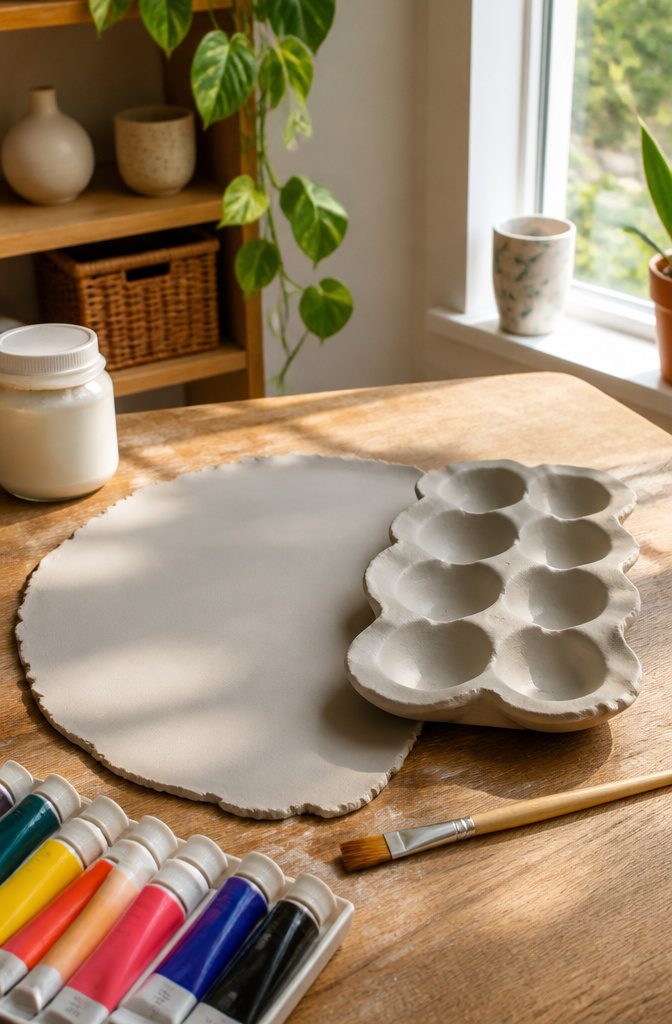
Air-dry clay needs the full drying time printed on its package before you lift it off the carton, and a rushed tray will sag or crack at the cups.
Roll the sheet about ½ inch thick, leave at least 1 inch of clay past the carton’s edges, then trim it even with a knife.
Pressing with a damp finger or brush in small circles settles the clay into each cup without thinning the walls.
Acrylic or tempera paint grips clay best, and I’d paint both sides.
Seal it with Mod Podge, then a food-safe varnish, since paint alone won’t protect a tray that holds eggs. Give it a couple of coats and plenty of drying time first.
Turning a throwaway carton into a keepsake also keeps one more piece of packaging out of the trash.
Ages and Supervision
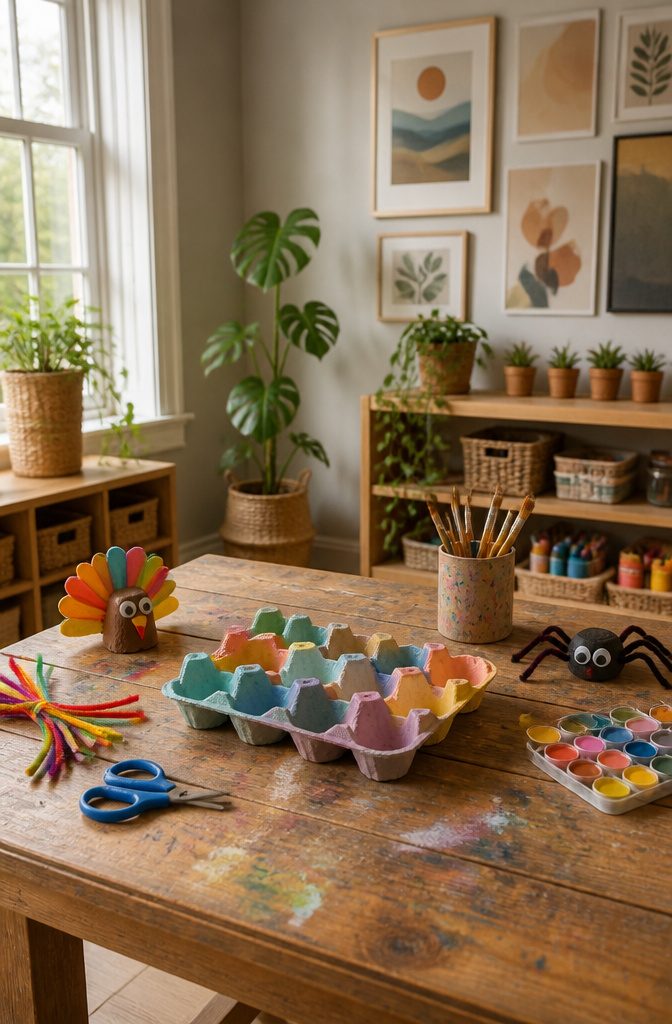
Egg tray crafts suit nearly every age, but the cutting, gluing and painting split the job between kids and adults.
Younger children can paint and glue while an adult handles the cutting and the rubber gloves, and the clay should be wiped up with a damp cloth afterward. Older kids can run the whole project alone.
Once the clay tray is done, the same cartons make good spin-offs for kids: turkeys that double as cupcake toppers or place settings, spiders for Halloween, butterflies and flowers for spring, and ladybugs with pipe cleaner legs.
I’d start with the spiders or turkeys, since they use supplies already in the house and finish in an afternoon. Cutting, gluing and painting also build fine motor skills.
Frequently Asked Questions
What materials do I need for an egg tray craft DIY with clay?
You need an empty cardboard egg carton, air-dry clay, acrylic paints, and a rolling pin, a knife or pizza cutter, and a damp sponge or cloth.
Half a pound of clay covers a mini tray. Glitter, markers or small embellishments are optional extras for decorating.
What can I do with empty egg cartons?
Besides the clay tray, cartons turn into kids’ crafts like turkeys, Halloween spiders, butterflies, flowers and ladybugs with pipe cleaner legs.
A finished clay tray also holds beads, small office supplies or jewelry. Cutting the carton down to a 2-by-2 section gives you a mold for a small condiment tray.





