
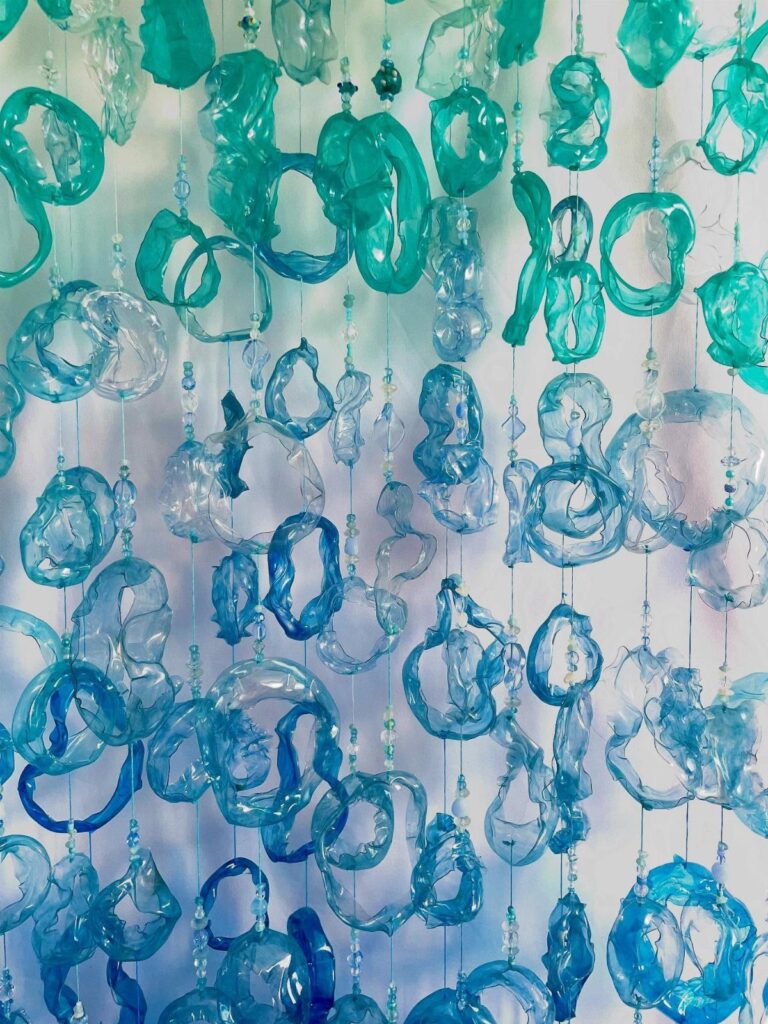
Who is in the room decides which of these recycled art projects fits: the cutting, hot glue and heat steps rule some out for younger kids, while others, like the toilet paper roll bird feeder, need nothing sharper than a spoon and some string.
The list runs from a bottle cap mosaic that rewards saving caps weeks ahead to a paper leaf wreath that can come from old paper, so the materials in your recycling bin narrow things down almost as fast as the ages of your helpers.
1. Paper Leaf Wreath
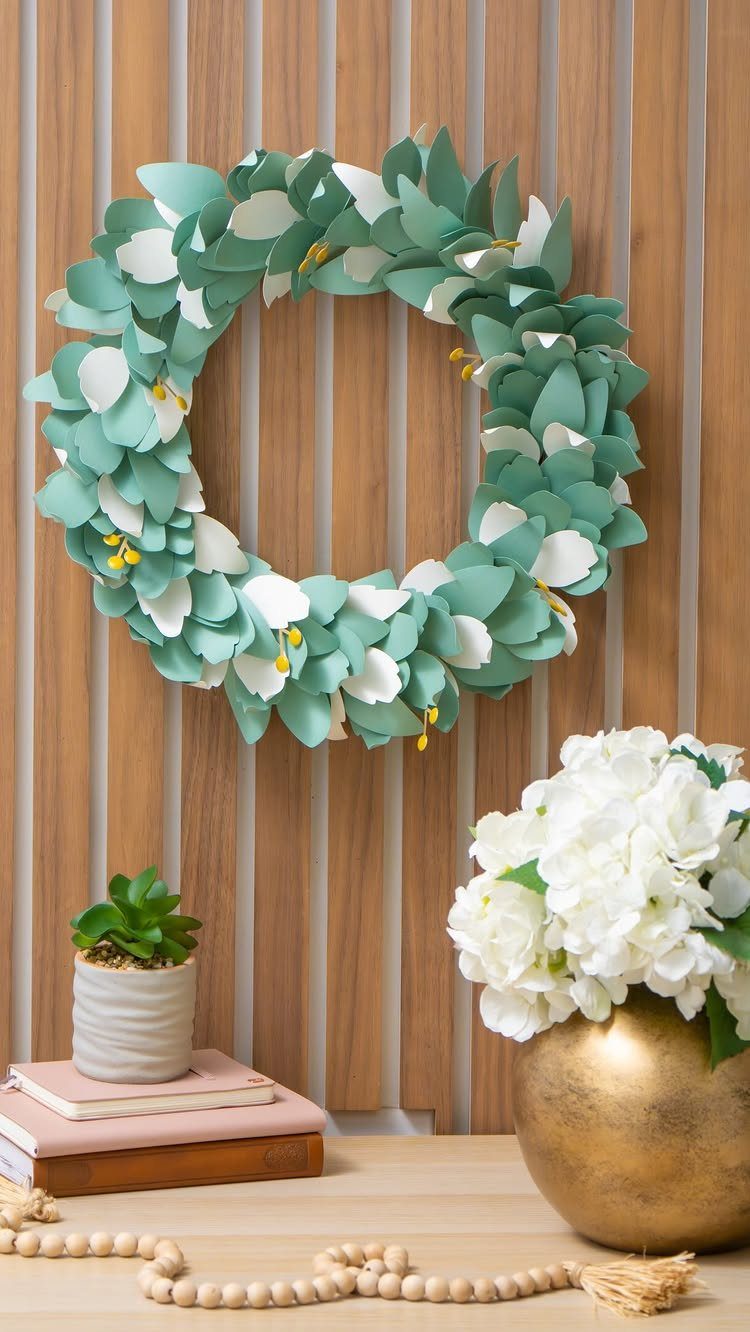
Paper leaves in 2 tones, green and white, give a wreath a calm look that suits a wall of wood slats. Old magazines, junk mail, and scrap paper all work as leaf material, so the cost is close to nothing.
Cut a pile of leaf shapes, fold each one down the middle for a little dimension, and glue them around a ring in overlapping layers. Keeping the palette to 2 colors makes it look planned rather than busy.
2. Tin Can Wind Chimes
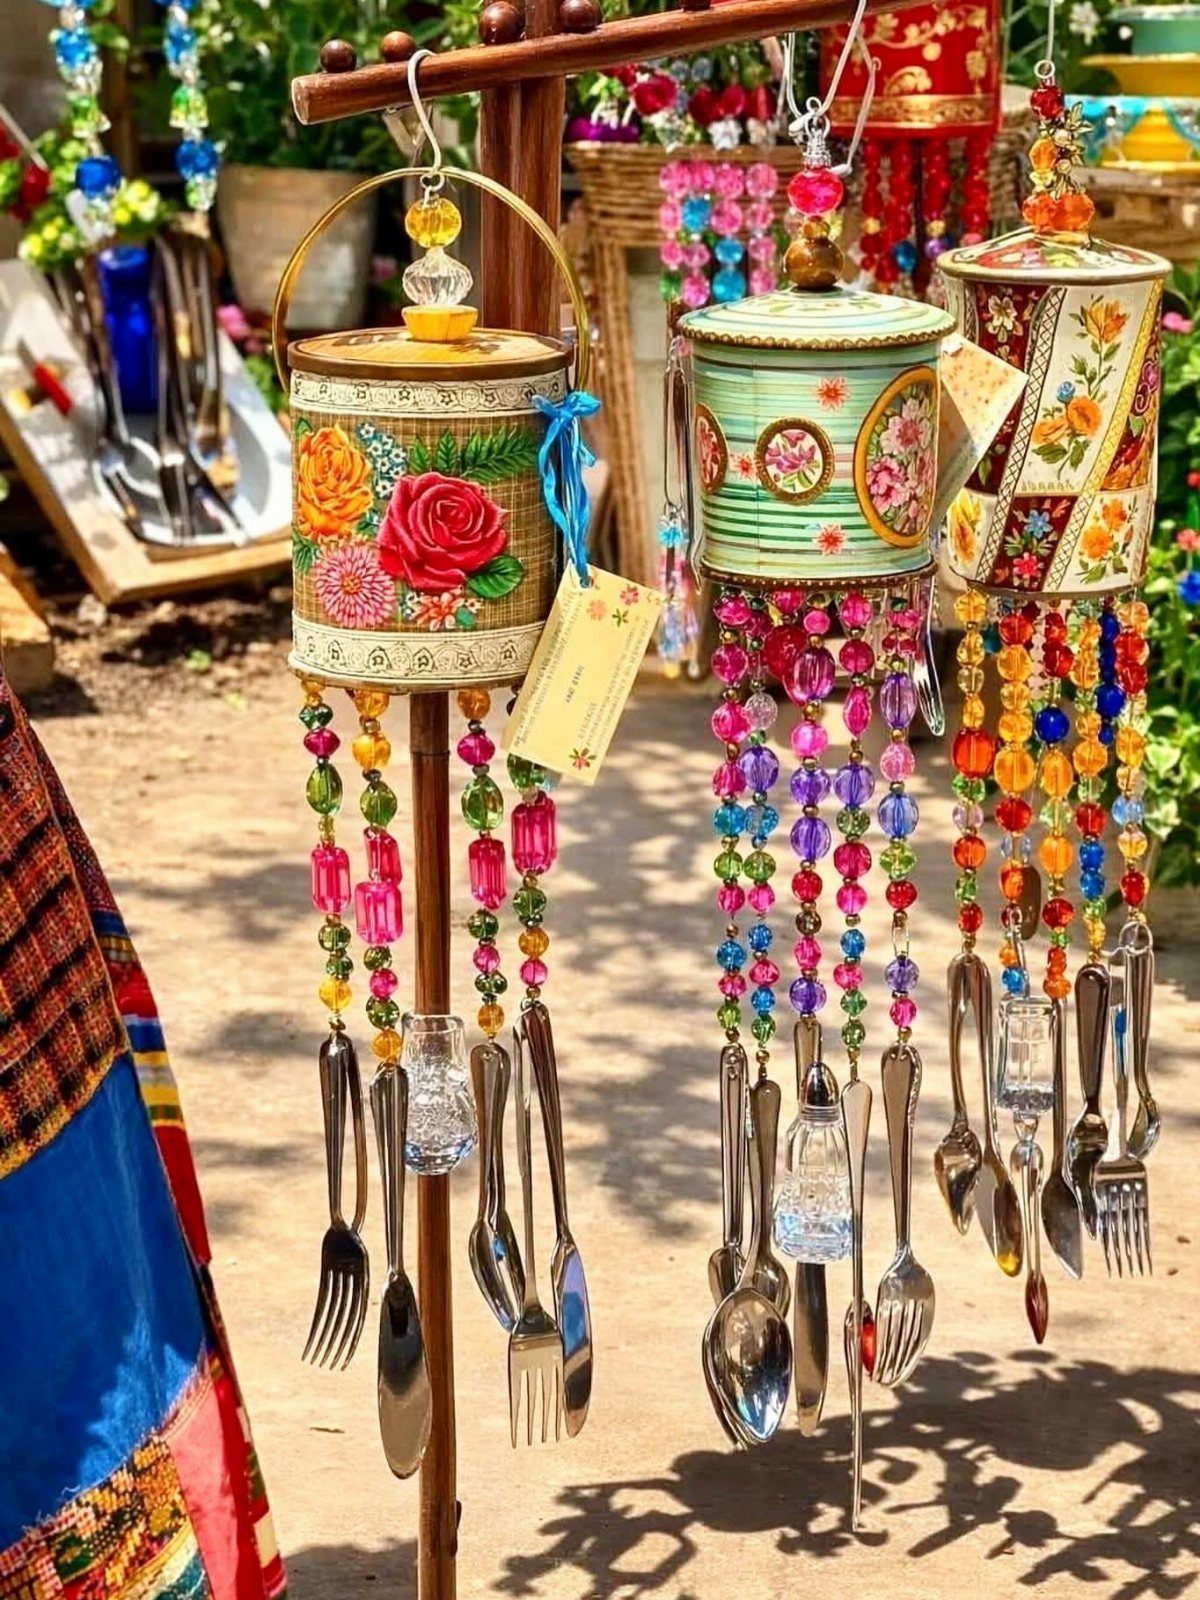
Empty tin cans make surprisingly good wind chime bodies, and paint is what gives each one its personality. A rose pattern on one can and a plain light green on another keeps a set from looking matched.
Hang beads and old silverware from the open end, so the spoons and forks clink against each other.
Mount the cans on a wooden rack or a sturdy branch outdoors. Older kids can handle the painting and stringing; an adult should check each can rim for sharp edges first.
3. Driftwood Succulent Planter
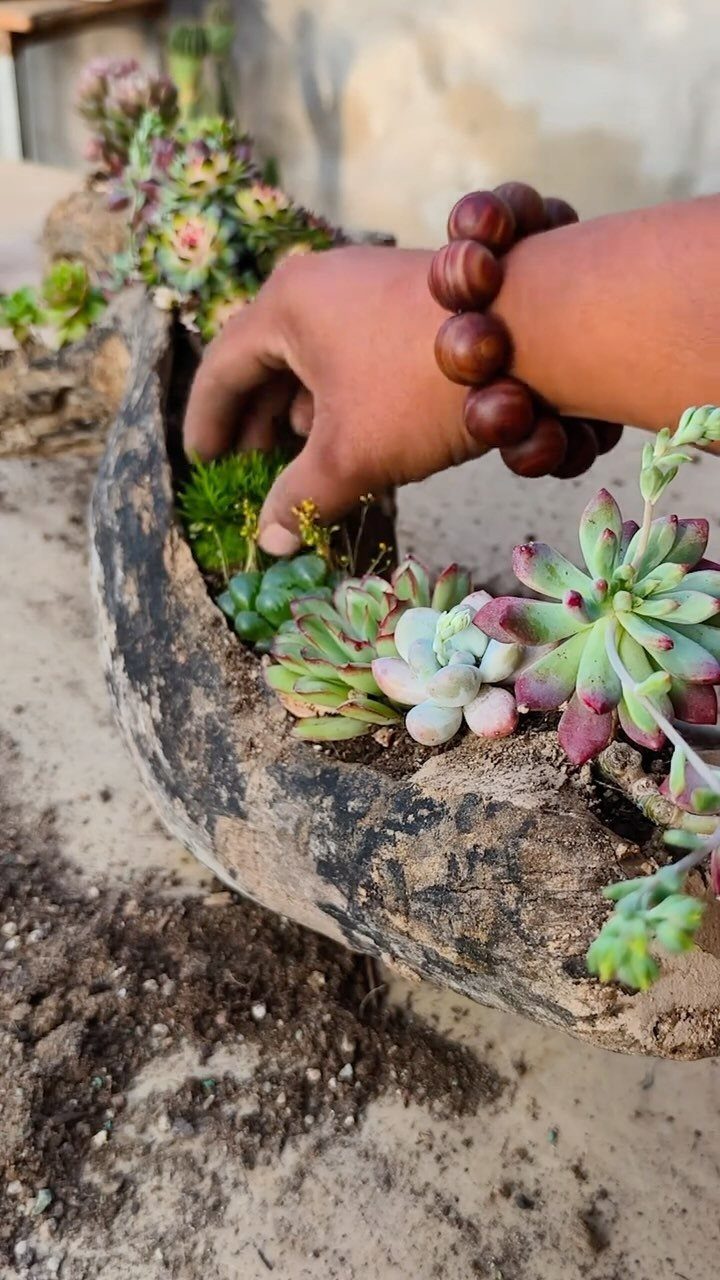
A hollowed piece of weathered driftwood already looks like a planter, so the work is mostly choosing a piece with a natural dip or cavity. Fill the hollow with soil and press in several succulents of different colors.
Small succulents are easy for kids to handle, and the wood costs nothing if you find it yourself. I like leaving the outside untouched, since the gray, worn surface is the whole appeal.
4. Egg Carton Flowers
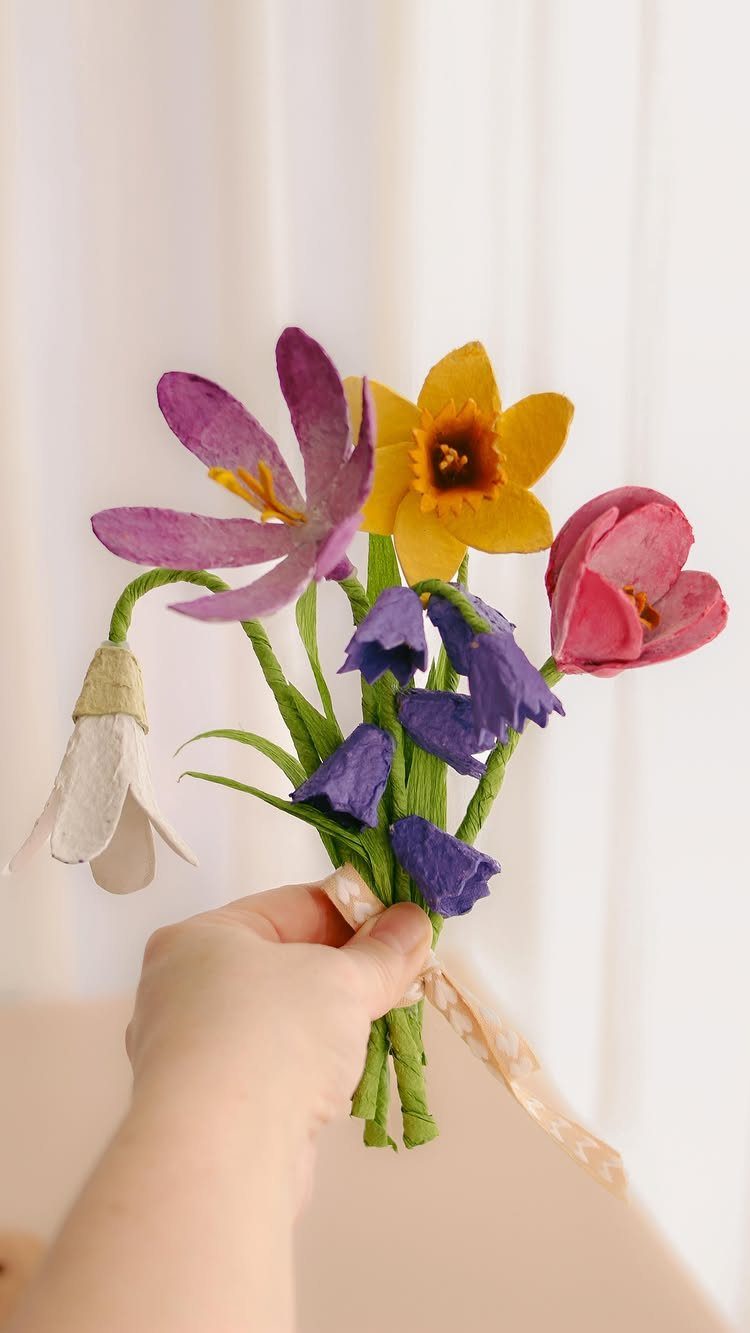
Egg cartons turn into flowers once you cut the cups apart and snip the edges into petals. Cut the cups apart, paint them in any bright mix you like, and group several stems into a bouquet.
This one suits a classroom well because a dozen-egg carton gives you a dozen cups, plenty for a whole table of kids.
Paint the cups before assembling, while they are still easy to hold. Tempera or acrylic both cover the cardboard print nicely.
5. Toilet Paper Roll Bird Feeder
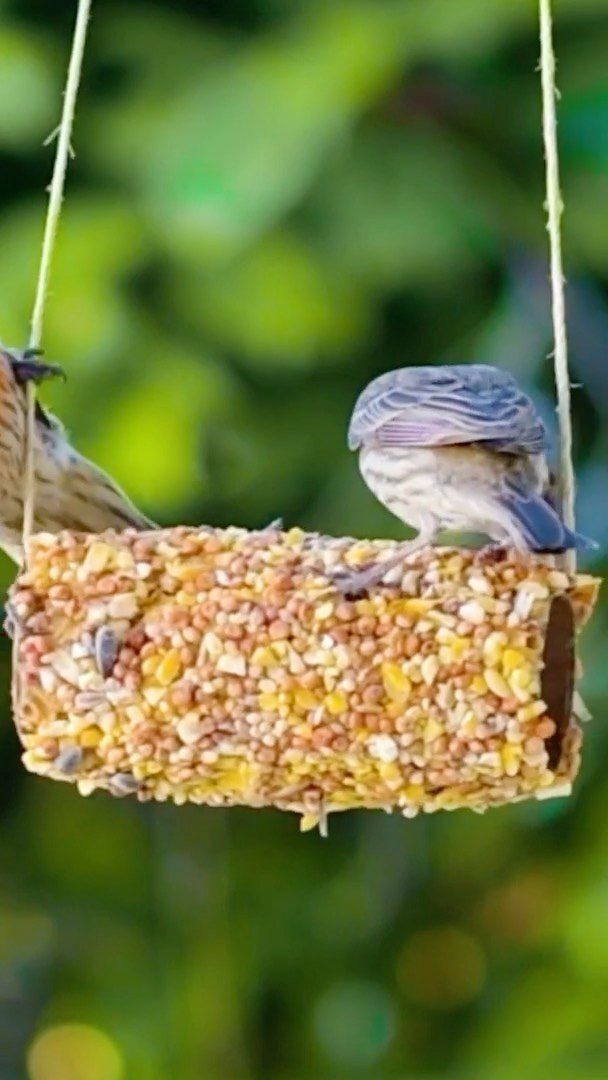
Spread a cardboard roll with something sticky, roll it in birdseed, and string it up for a feeder that costs almost nothing. Tie a loop of string through the top so it hangs from a branch.
Kids can do every step, which makes it a good first recycled project.
Hang it where you can see it from a window, because watching birds land on it is the best part. Peanut butter is the usual sticky coating; check for nut allergies in a group setting.
6. Plastic Bottle Cap Mosaics
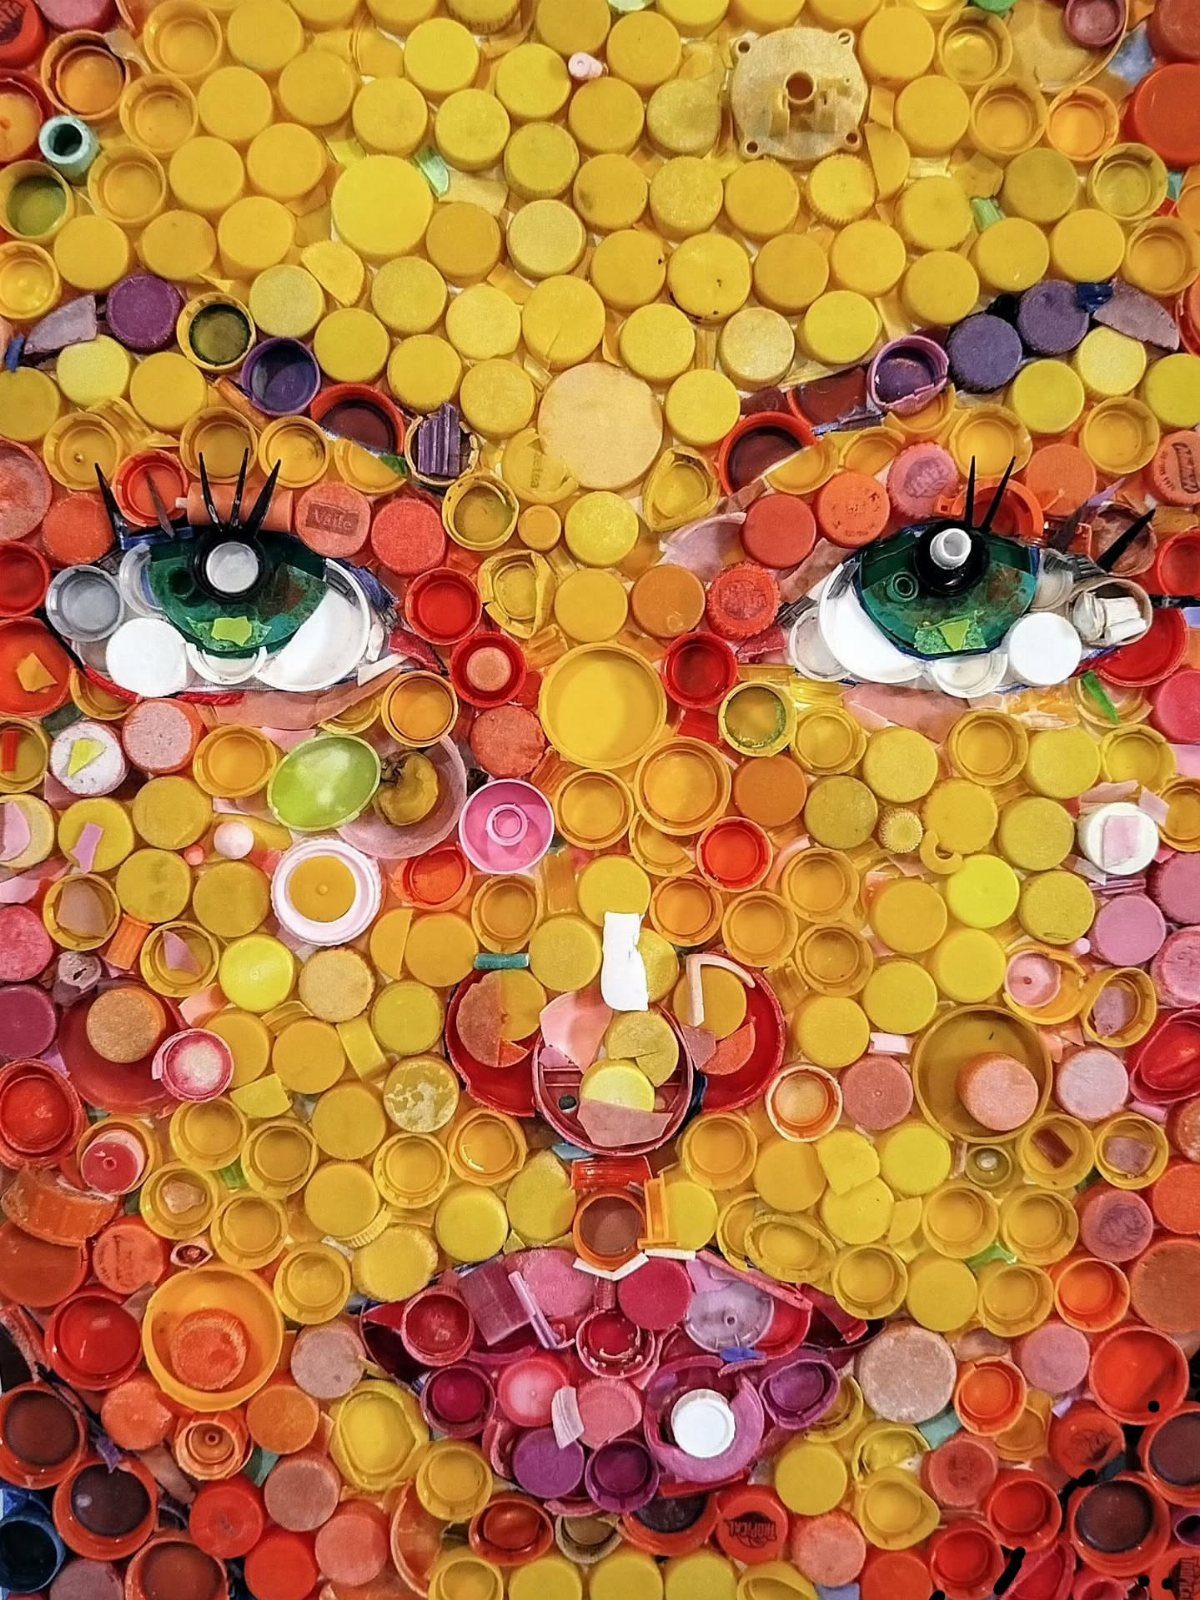
Bottle caps work like oversized pixels, so a simple shape or a detailed portrait can both be built one cap at a time.
Start with a pencil sketch on a board and glue caps down row by row.
Collecting enough caps takes the longest, so begin saving them weeks ahead, or ask families to send them in. For young kids, a simple pattern or shape is easier than a portrait.
7. Popsicle Stick Wall Art
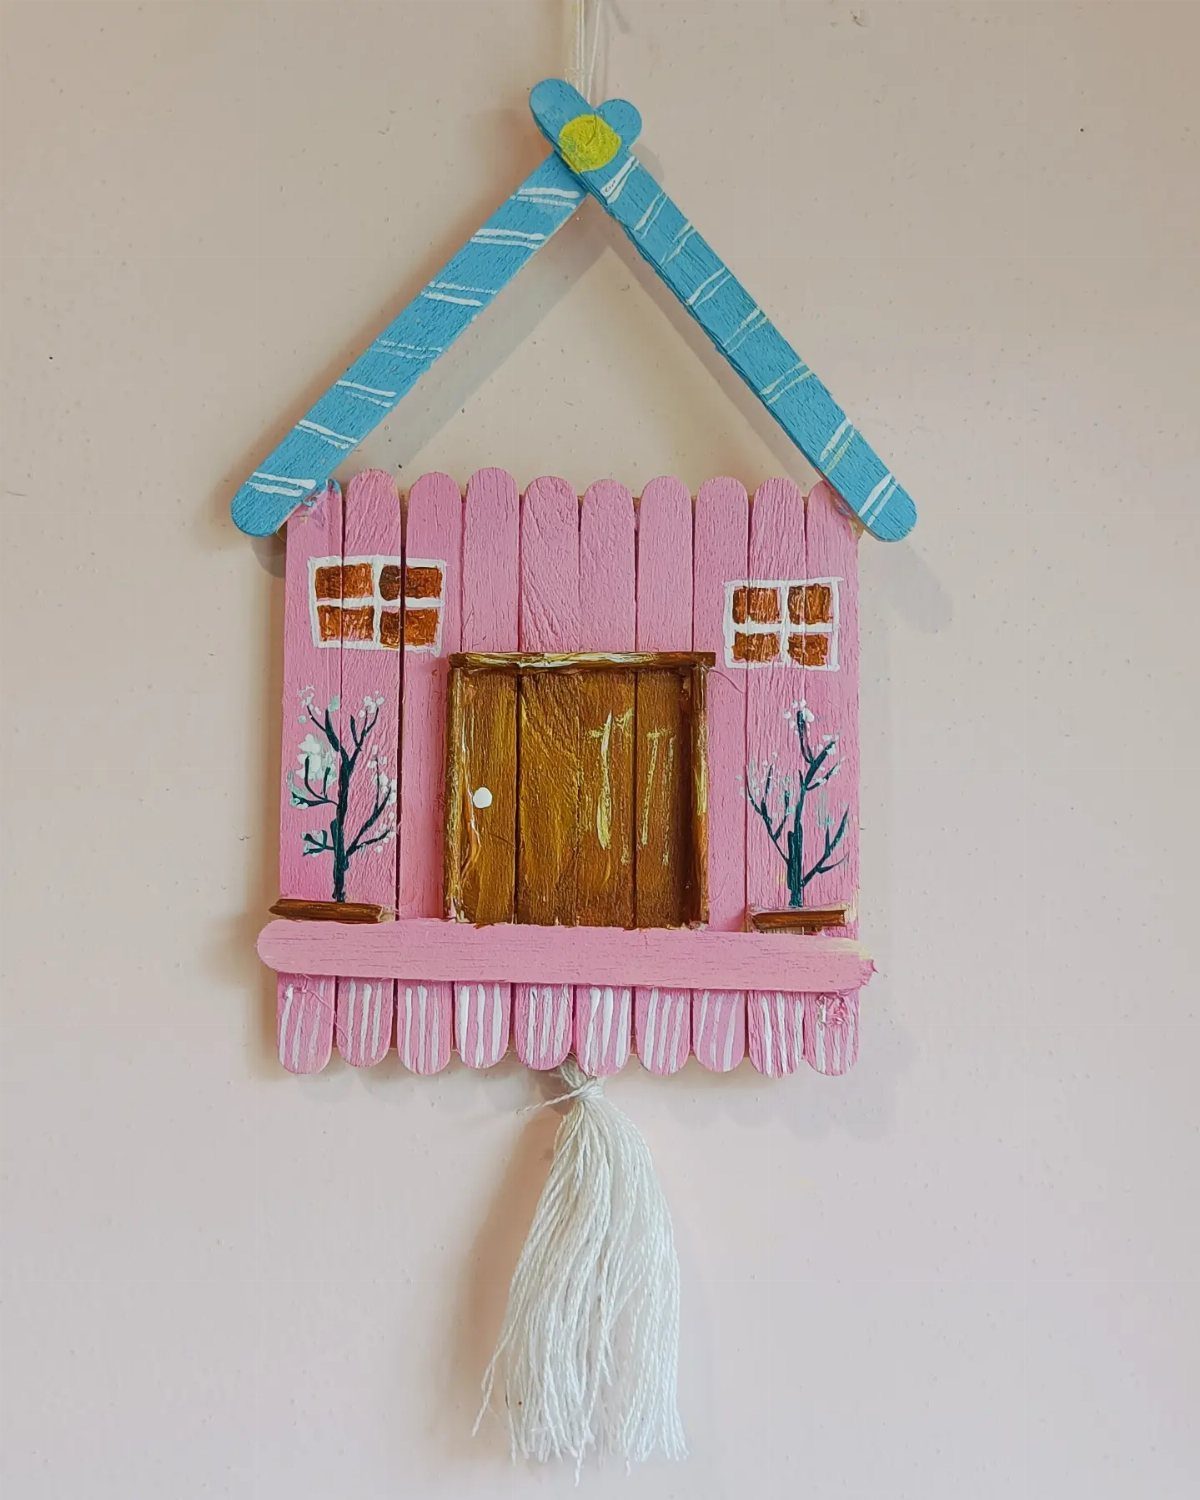
A house is a smart first shape for popsicle sticks, since flat sticks laid side by side make walls and a roof with almost no cutting.
Paint the sticks before gluing, in a different color for body, roof and door, and the pieces are easier to handle.
Tie a loop of twine or a small tassel to the top and the piece is ready to hang. It’s a small, cheap project that a child can finish in one sitting.
8. Twine Lanterns
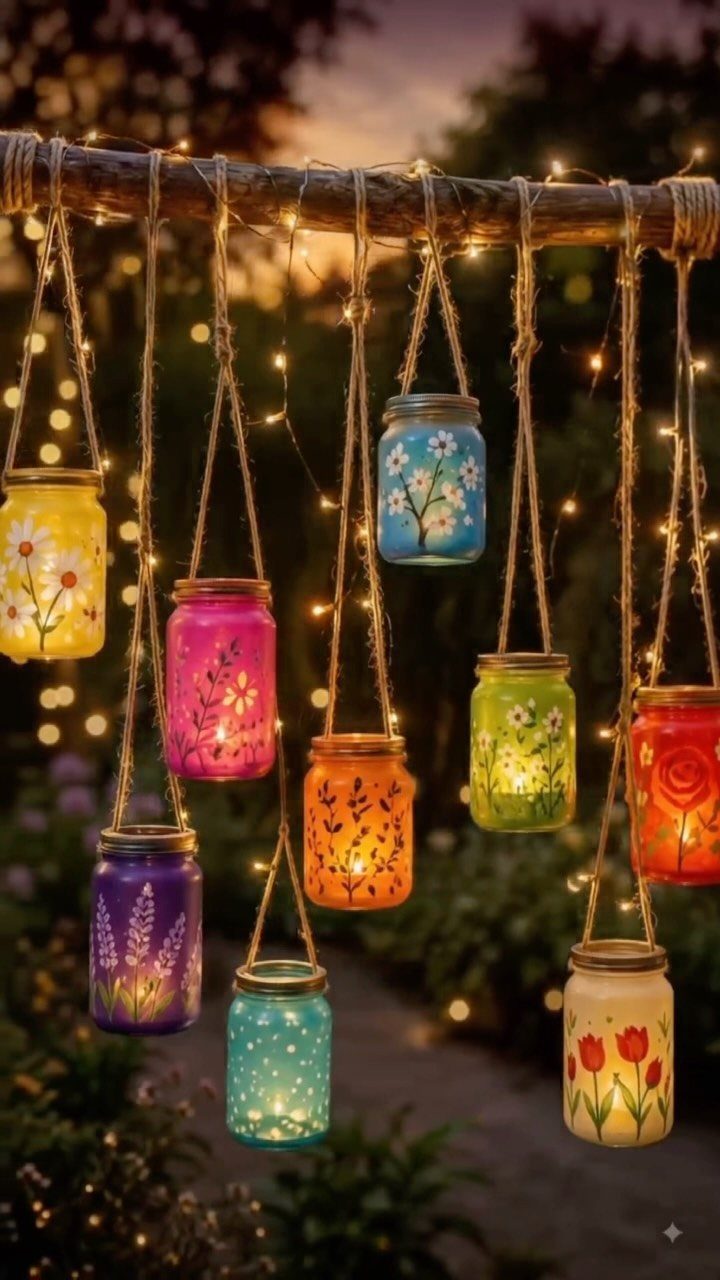
Painted glass jars wrapped and hung with twine make a lantern that costs very little and looks warm once a light goes inside. Mixing colors from jar to jar gives a branch more life than a matched set.
Fairy lights are my pick for the glow, since they sit inside a jar easily and skip the open flame, which matters around kids.
Tie the twine snugly around the jar neck, then hang the jars at different heights from a sturdy branch.
9. Water Bottle Flowers
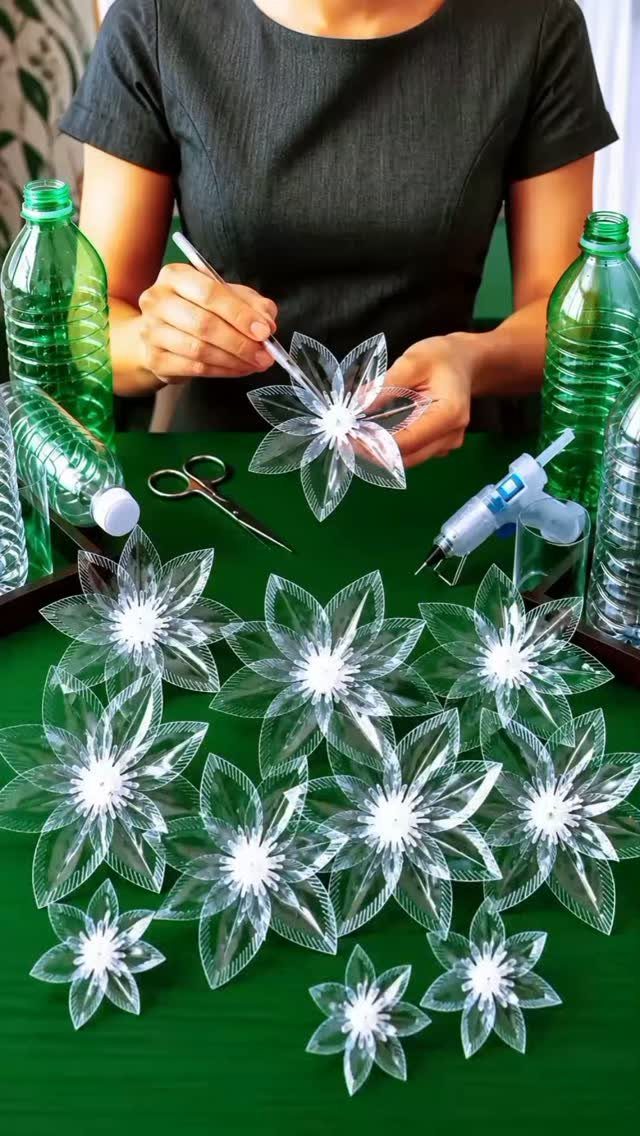
Clear plastic bottles can be cut into petals that look like frosted glass flowers. Cut the bottle plastic into petal shapes with scissors, then stack the layers and secure them with hot glue.
Because hot glue and cutting are involved, this one suits older kids or an adult-led group.
Cutting the petals is the part to hand off, while younger children can help sort and stack the pieces. Green bottles give you leaf and stem material along with the petals.
10. Melted Recycled Crayons
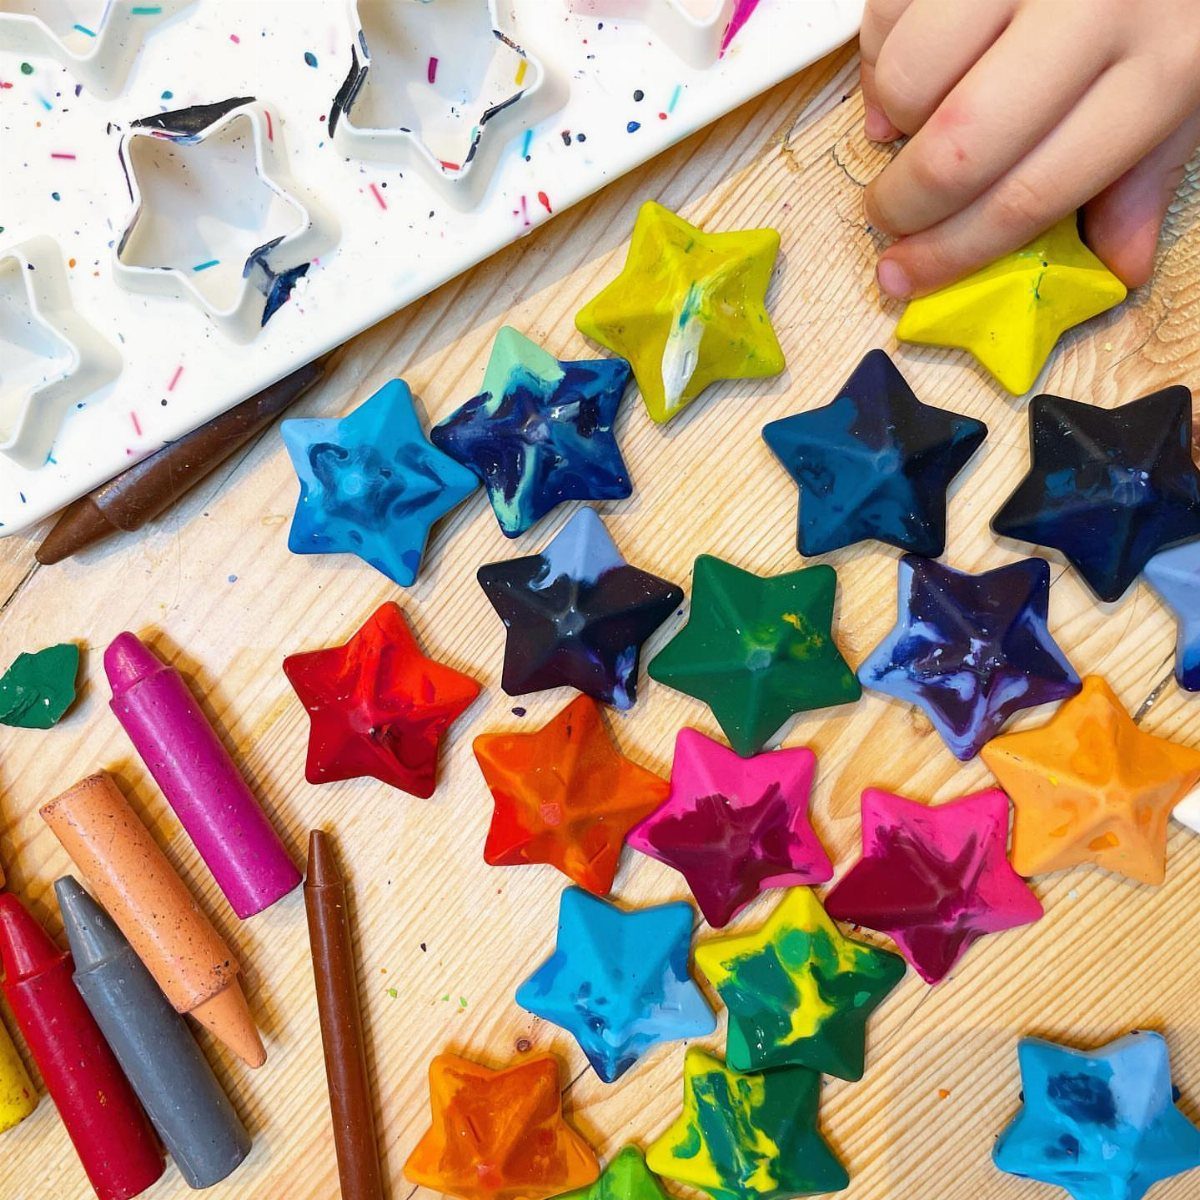
Broken crayon stubs that no one will color with again can become fresh, chunky crayons in a mold. Star shapes are a fun choice, and a child can pick which colors go into each one.
Peel the paper off every crayon and group the pieces by color before melting, so the shades stay clean instead of turning muddy.
Melting involves heat, so an adult should handle that step, while kids fill the molds and do the unmolding once the wax has set.
11. Recycled Can Robot Sculptures
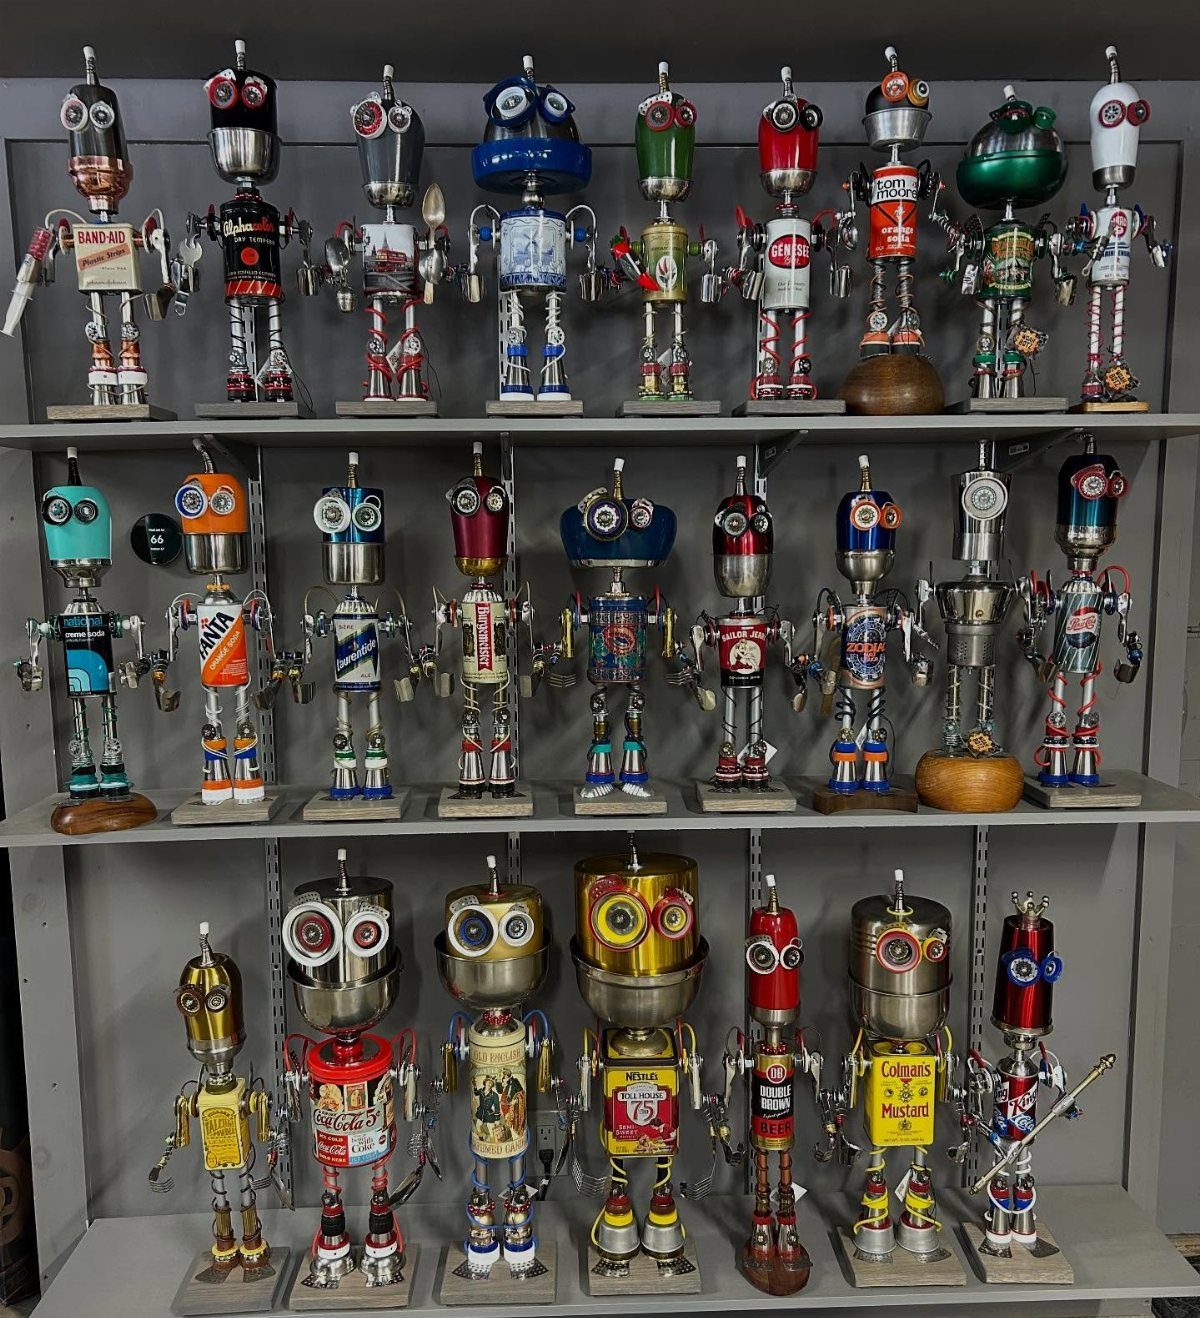
Tin cans make the bodies, and bolts, screws and scrap metal parts become arms, eyes and feet. Leaving the original labels or printed brand lettering on the cans is my favorite touch, since it gives each robot its own look.
Line a few up on a shelf and they read as a little crowd of characters.
Metal edges and tools make this a project for teens and adults, so younger kids are better off helping to design the robot on paper.
12. Popsicle Stick Ferris Wheel
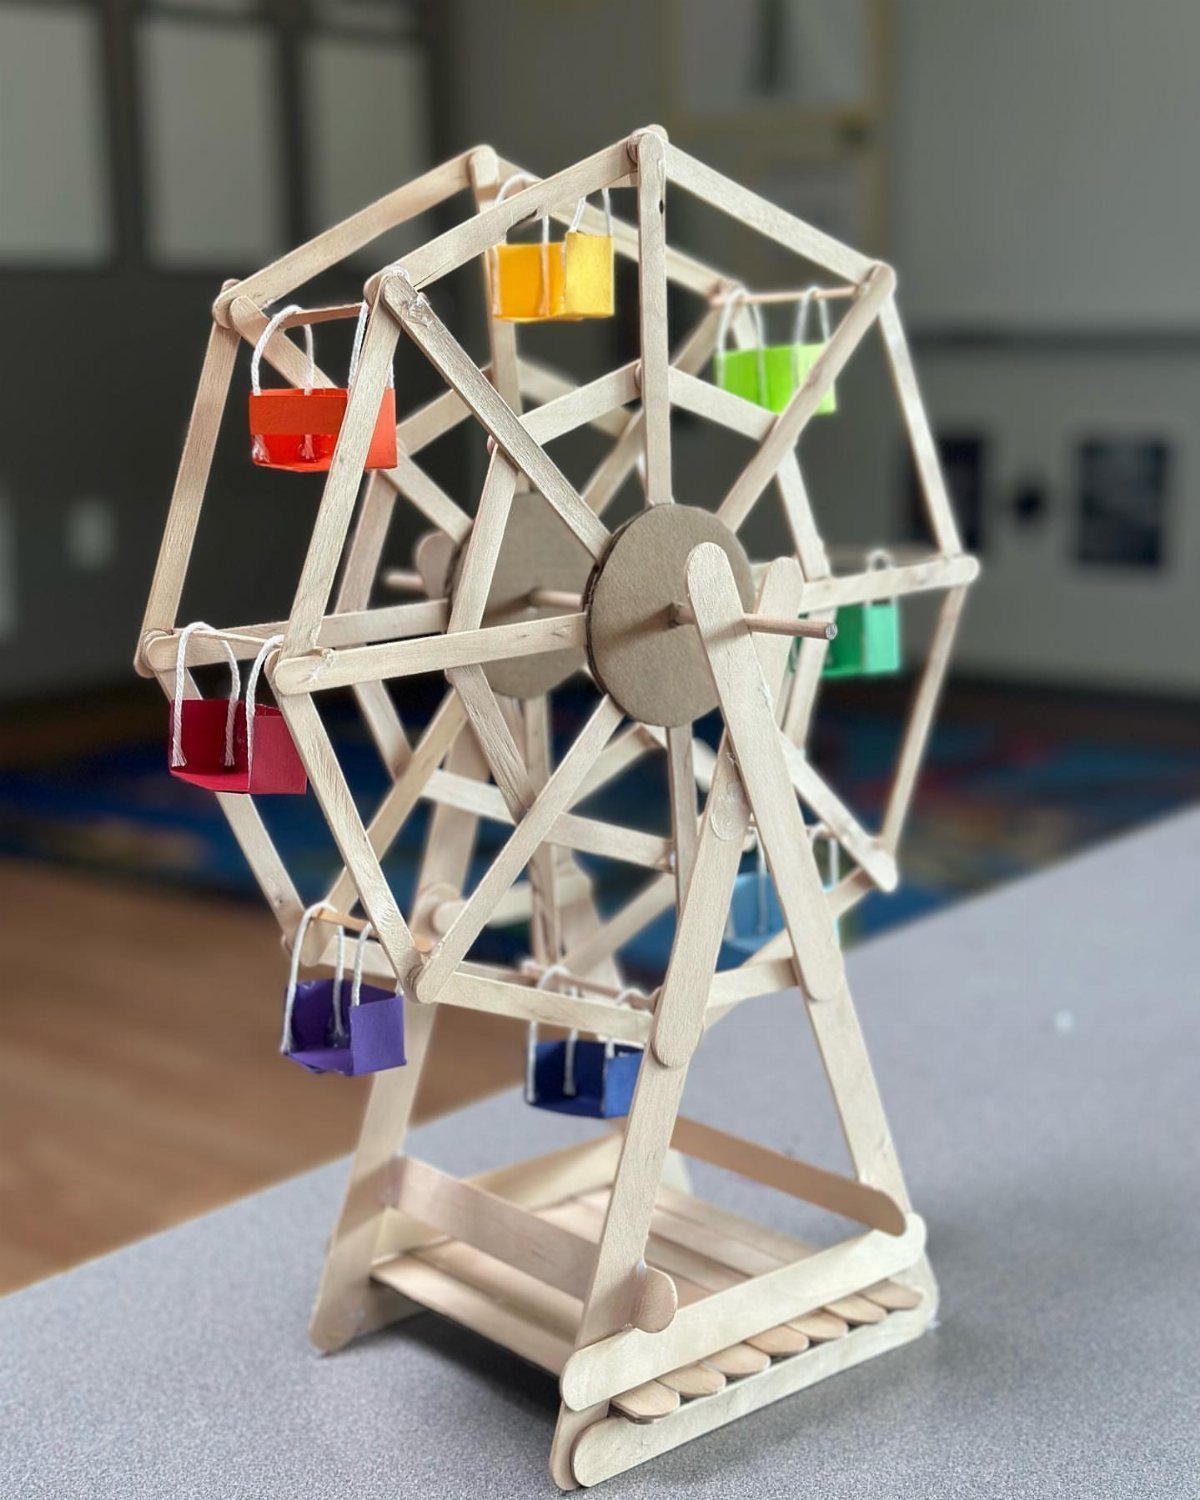
A Ferris wheel from craft sticks gets its charm from the paper gondolas: small folded baskets in different colors hang around the rim. Glue the sticks into 2 matching wheels, join them, and attach the baskets evenly.
Even spacing is what makes it look right, so mark the positions before gluing. Expect this one to take longer than other stick crafts, and to need patience while the glue dries between stages.
13. Rainbow Wine Cork Wall Art
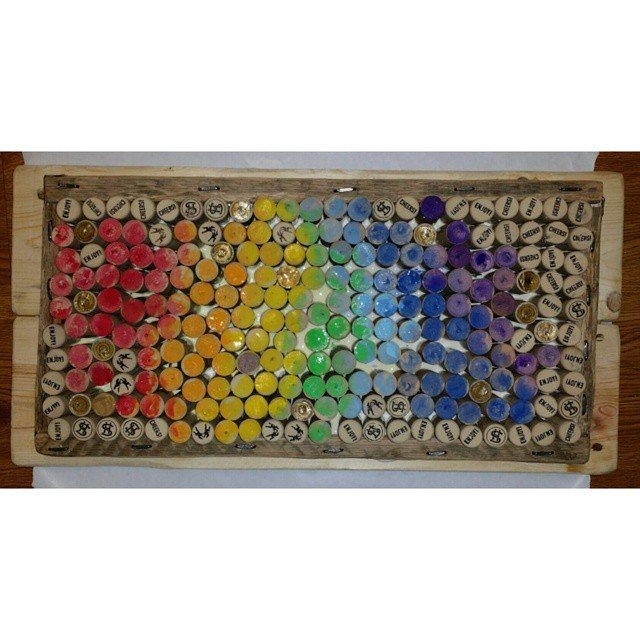
Painted in a gradient from one end of the rainbow to the other, plain wine corks fill a wooden frame like a box of oversized crayons.
Leaving a few corks with their printed words showing, like "CHEERS!" and "ENJOY!", gives the piece a little humor.
Paint the corks before they go into the frame, then sort them by color so the gradient is easy to plan.
A frame gives you a clear edge to pack against, which makes this more forgiving than gluing corks straight onto a wall.
14. Plastic Bottle Cotton Ball Sheep
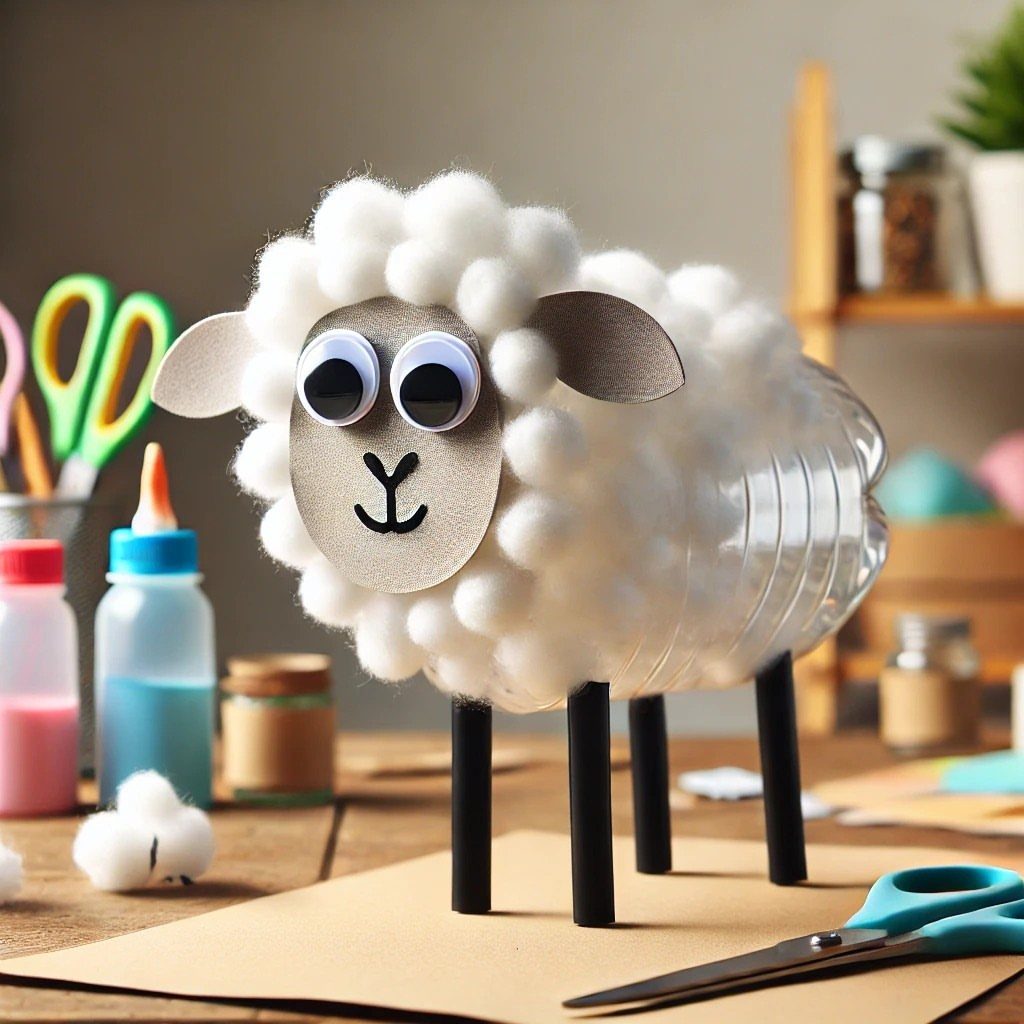
A cotton ball sheep starts with an empty plastic bottle as the body, and the fluffy coat does all the work. Cardstock handles the small details, such as the face and legs, so the bottle stays hidden.
Glue the cotton on in layers until no plastic shows through.
Kids love this one because pulling cotton balls apart and sticking them on needs no skill at all. Set out glue, scissors and a pile of cotton before anyone starts, and the whole thing goes quickly.
15. Peanut Shell Birds on Branch
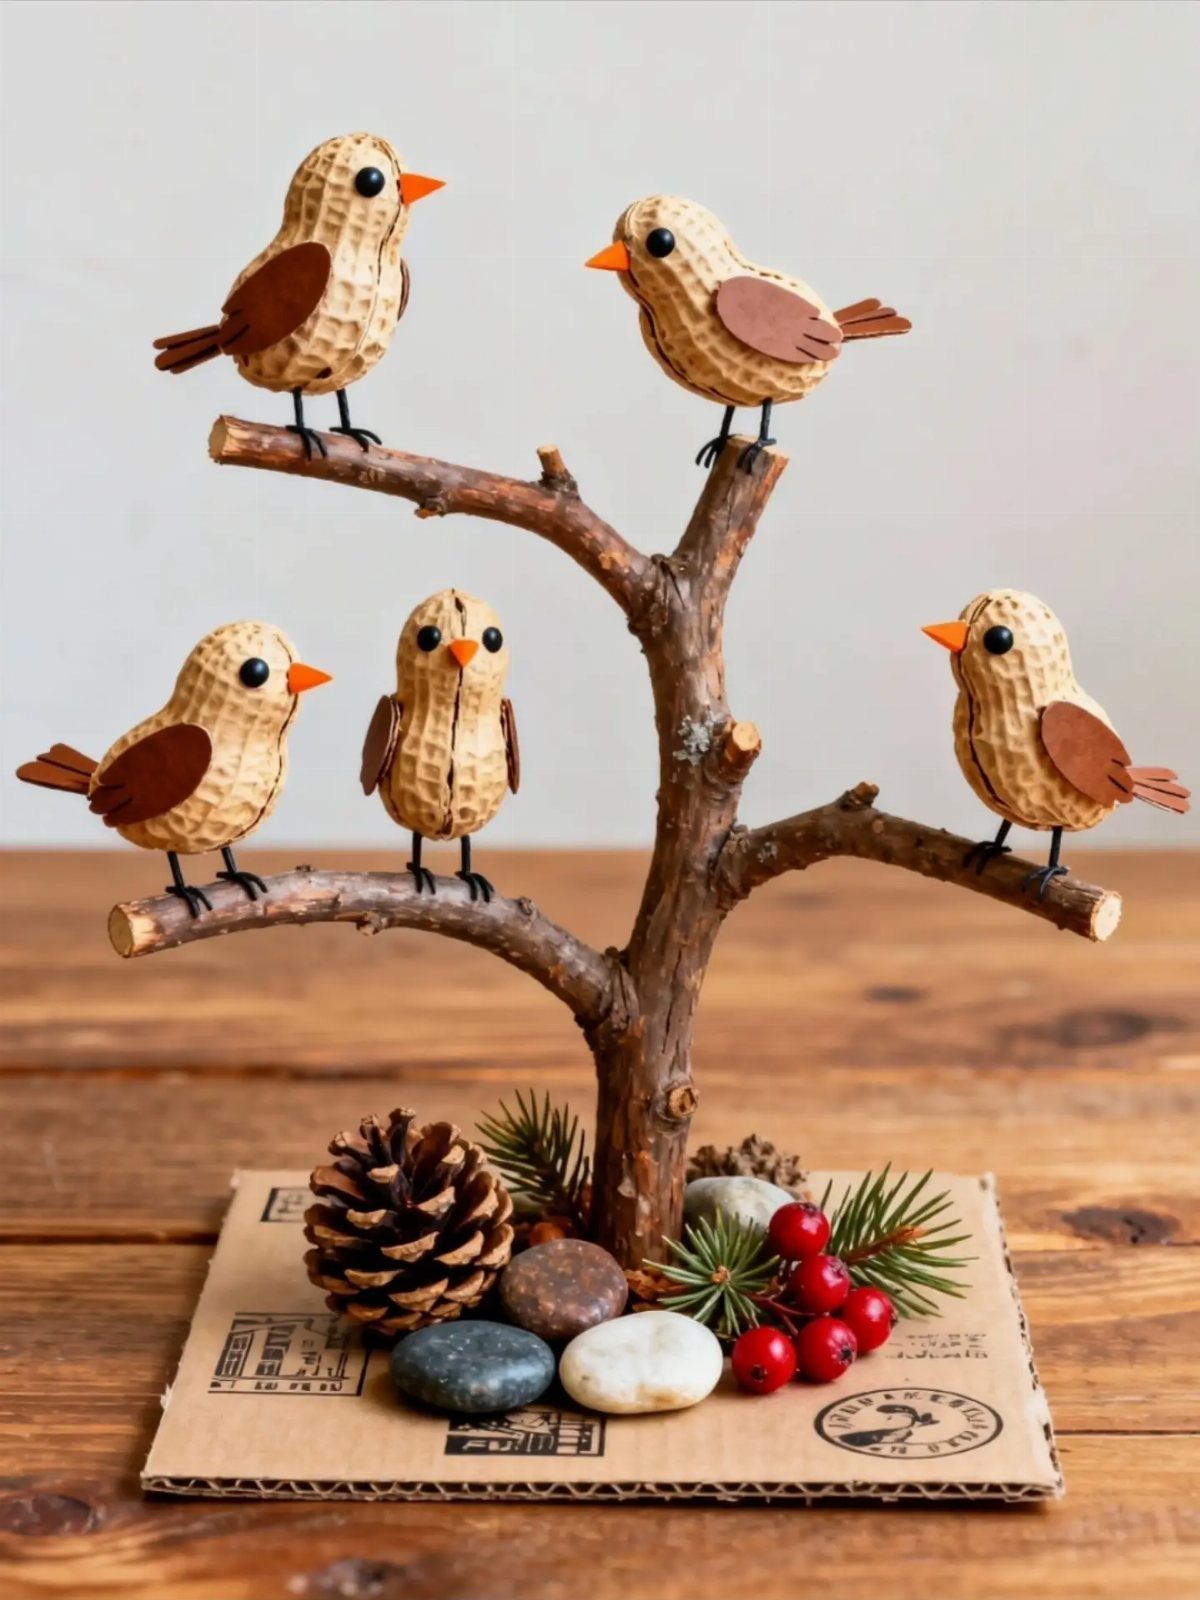
Peanut shells already look a bit like tiny bird bodies, so a row of them perched on a branch needs very little invention. Pick a branch with a few good perching spots and glue each bird in place.
Skip the pinecone and berry styling unless you want it; a sturdy branch wedged in a small jar of sand or pebbles is all the project needs to stand up.
I would set the whole thing on a piece of cardboard, so it can move around as one piece. Eating the peanuts first is the fun part of prep.
16. Corrugated Cardboard Owl
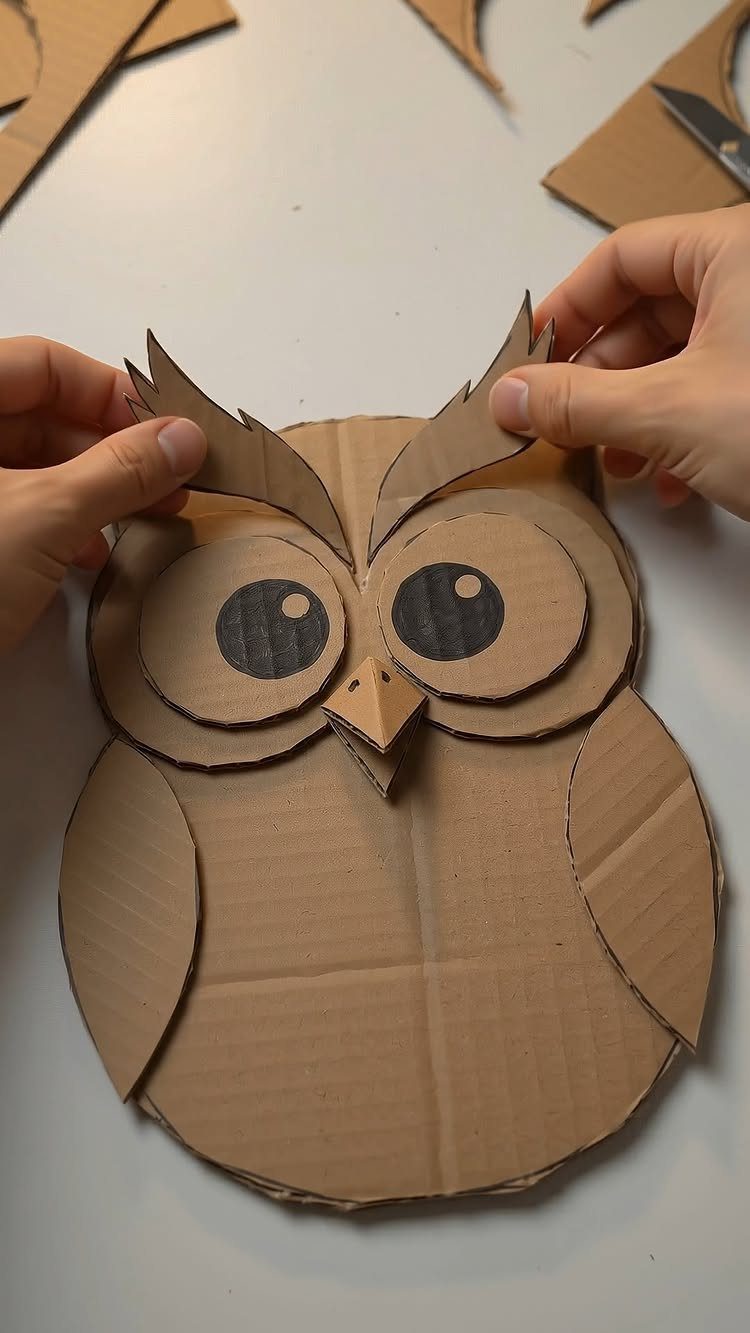
Layered cuts of corrugated cardboard give an owl real depth, since each piece sits slightly proud of the one beneath it. Body, wings, eyes and ears are all simple shapes, so scissors are the only tool that matters.
Cut the ear pieces last and test them against the head before gluing.
Brown cardboard already looks like feathers, so I would skip paint and let the ridged edges and the natural color carry the design. An adult can handle the cutting while kids arrange the layers.
17. Plastic Bottle Cap Figures
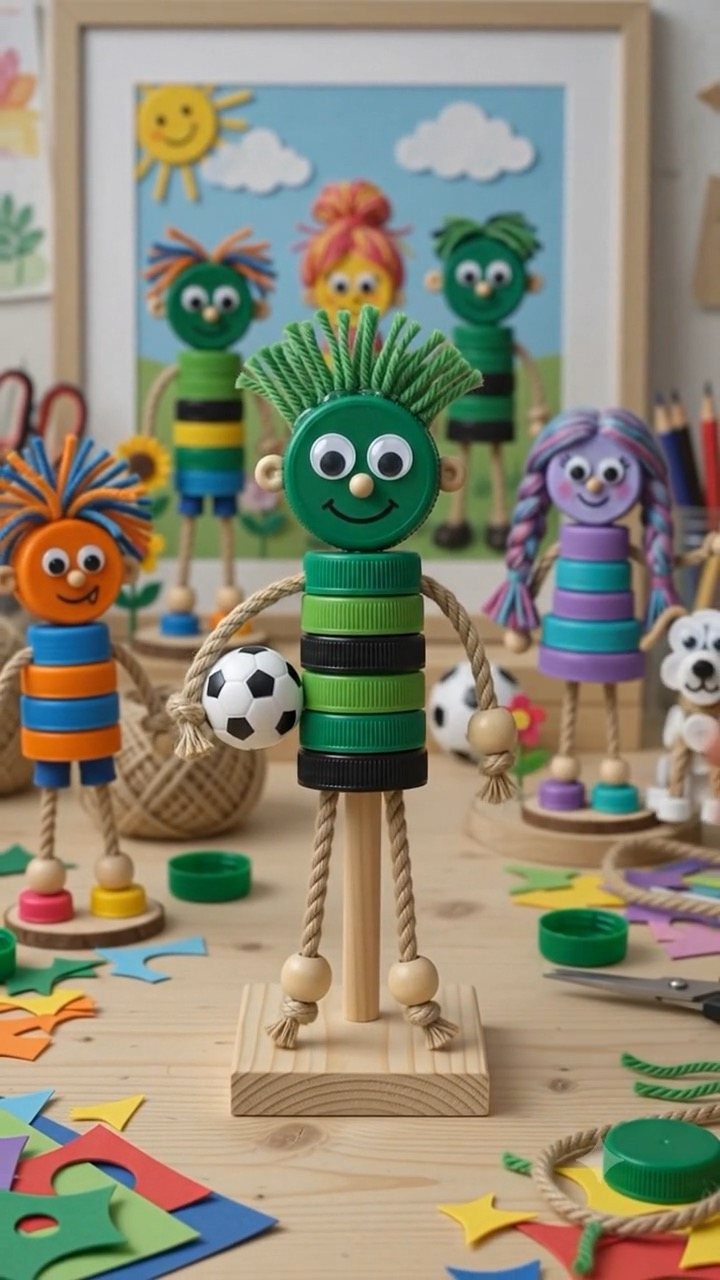
Stacked plastic bottle caps make a sturdy little body, and twine and wooden dowels turn the stack into a standing figure with arms or legs. Bright caps in mixed colors are what give the figures their personality.
Sort caps by color before you start, so each figure gets a deliberate pattern instead of a random heap.
A group of them lined up on a table looks best when no two are alike. Like the mosaic project, this one rewards saving caps well ahead of time.
Benefits of Recycled Art
Recycled art shows kids where their trash goes. Turning a used item into something worth keeping makes waste visible, and that lesson sticks better than a lecture.
Reusing materials also cuts the demand for new raw materials and the energy used to manufacture them.
Every item you repurpose is one less in the landfill, and plastic kept out of the waste stream is plastic that can’t end up in the ocean.
Learning to see a use for what you would have tossed may be the biggest reward of recycled art.
A child who learns that you don’t always have to buy something new to make something good starts looking at a cereal box or a jar differently, and that habit carries well beyond craft time.
Making it a group effort multiplies the effect. Friends and classmates who join in keep more material in use.
Materials to Save for Projects
Start with the 4 materials that cover the most ground: cardboard from cereal boxes and tubes, plastic bottle caps, egg cartons, and clean tin cans.
They offer both structural strength and decorative surface, so they handle a wide range of builds.
Beyond those, a few overlooked items earn a spot in the bin:
- Bubble wrap, which makes fun prints when pressed into paint.
- Brown packaging paper, which works as wrapping paper or as a big canvas for kids to draw on.
- Old toothbrushes, which are great for splatter painting.
- Plastic bottles, whose bottoms stamp flower and snowflake prints.
Rinse everything before it goes into storage. Food residue turns into smells and mold fast, and dry, clean material is ready the moment inspiration hits.
A single box or bin per material keeps the pile from becoming a mess.
Setting Up a Crafting Space
Pick one table or counter and make it the craft spot. A dedicated area means projects can sit mid-build without being cleared for dinner, and glue gets the drying time it needs.
Sort supplies into labeled containers so kids can find what they need without digging. A basic kit covers most projects:
- Adhesives: washable school glue, glue sticks, masking tape and duct tape.
- Coloring: washable paint, markers and crayons.
- Cutting: child-safe scissors, plus a utility knife for an adult to handle thick cardboard.
- Connectors: hole punches, yarn, string and rubber bands.
Washable versions of glue and paint make cleanup far easier.
An adult should be nearby whenever scissors, a utility knife or a hot glue gun comes out. Keep those tools on a high shelf or in a separate box until needed.
Frequently Asked Questions
What are the best recycled materials for kids’ art?
For kids, my short list is cereal box cardboard, paper tubes, egg cartons, bottle caps and clean tin cans with the rims taped smooth.
They give you both sturdy structure and a surface to decorate. Bubble wrap, brown packaging paper, old toothbrushes, and plastic bottles are overlooked extras: they work for prints, big drawing canvases, splatter painting, and flower stamps.
How does recycled art teach STEM concepts?
Building with found materials teaches engineering, since kids have to make pieces stand, hang, or stay balanced.
Different adhesives bring in a bit of chemistry, and sorting and pattern-making bring in math. When a design fails, kids guess at a fix, test it, and adjust, which is the scientific method in miniature.





