
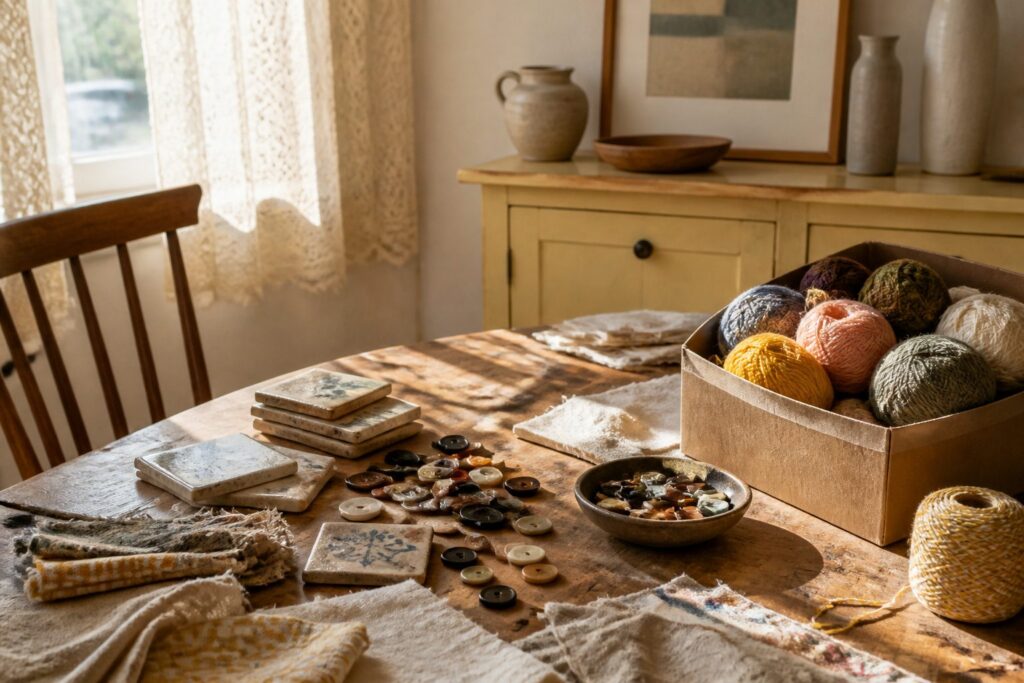
Most of these projects cost next to nothing, since the materials are already in your recycling bin or junk drawer, and an afternoon covers any of them.
The stage people get wrong is the one that decides the result: bath bombs fizz out of the mold if the mix is too wet, and pressed flowers need 2–3 weeks.
1. DIY Photo Frame
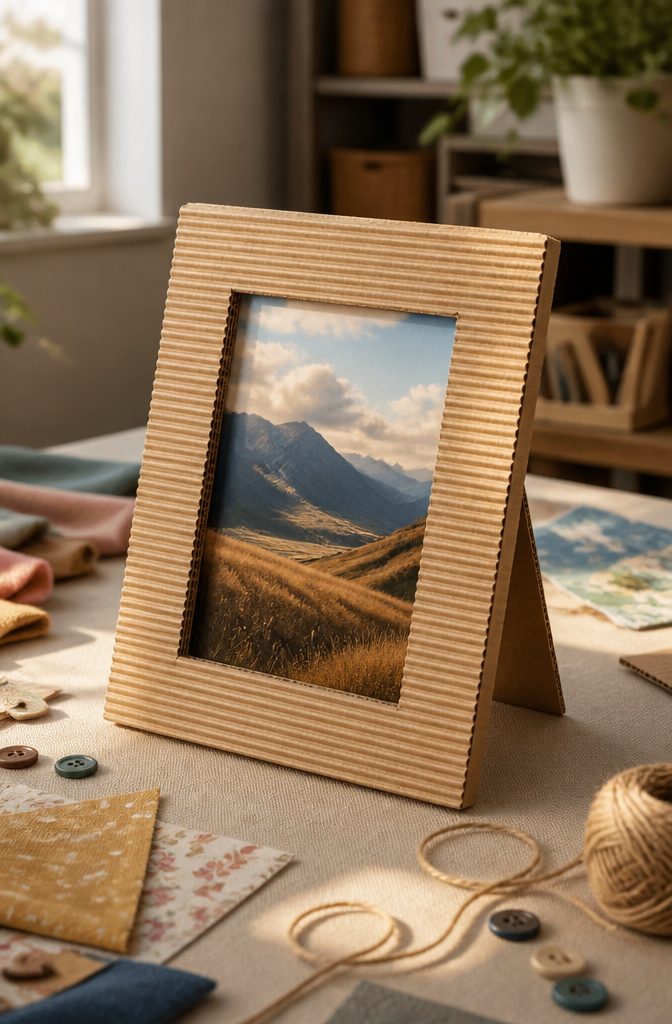
Corrugated cardboard from a shipping box makes a better frame than cereal-box board, because it has enough body to hold a shape.
Cut two matching pieces, one with a window for the photo and one solid for the back, then glue them along three sides so the picture slides in from the top.
For a frame that stands, add a triangular flap on the back, cut from the same board and hinged with a strip of tape.
Use board at least as thick as a standard shipping box wall, since thin chipboard flops under the weight of a flap.
Fabric scraps, patterned paper, washi tape, buttons and twine all cover cardboard well.
White glue dries flatter than hot glue, which leaves lumps under paper. Cardboard warps when wet and sags if the frame is large, so I’d keep it to small prints.
2. Puffy Paint
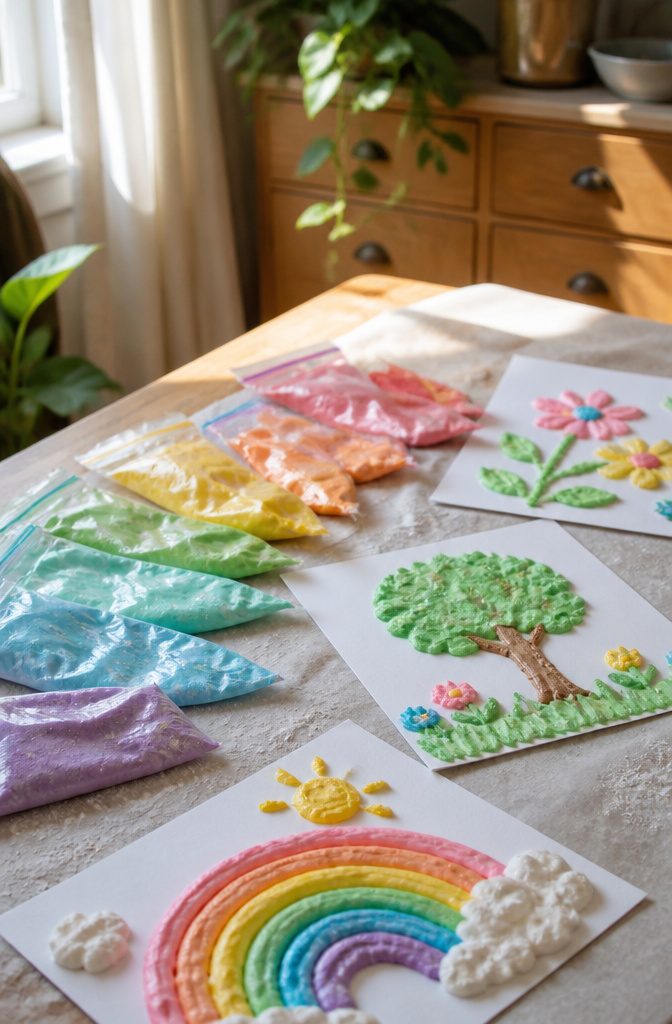
Shaving cream and flour make a paint that dries puffy, and it stays soft, which is the whole appeal. Add glue and food coloring (or regular paint if you have some open) and stir until it looks like thick frosting.
I like spooning it into Ziploc bags and snipping a corner, so the paint pipes onto the page like icing.
Sturdy paper or board works best as the canvas, because thin sheets sag under the weight of a wet, fluffy line. This suits preschoolers well, and it doubles as a sensory activity since the dried paint feels like foam.
The finish never turns hard or glossy, so a rubbed or stacked piece can flatten. Hang it, don’t stack it.
3. Suncatcher
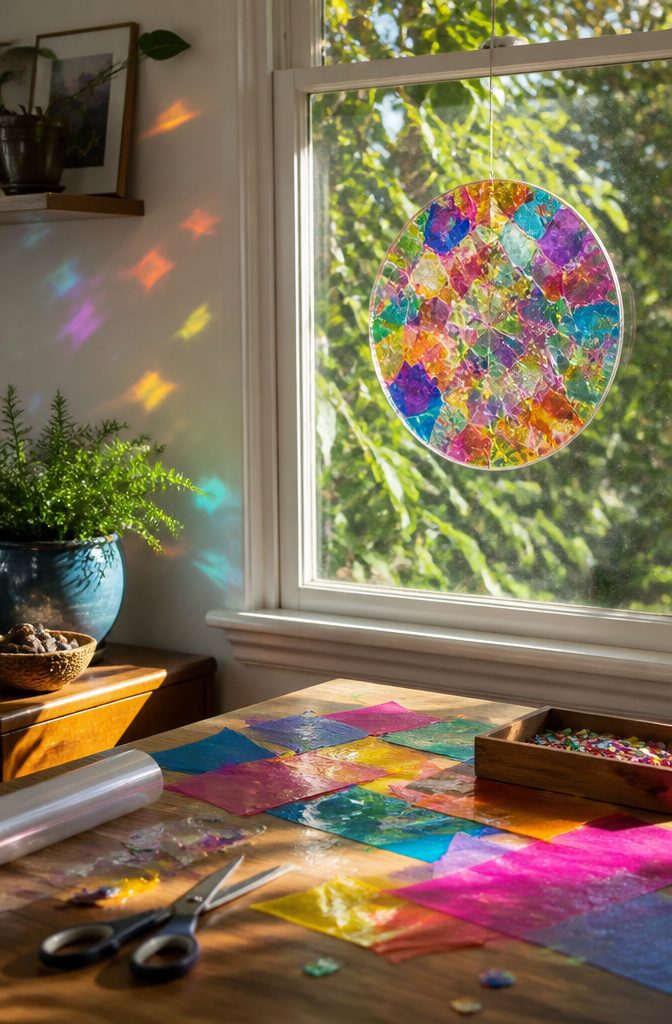
Clear adhesive paper is the whole trick: peel the backing, stick your pieces to the sticky side, then press a second sheet over the top to seal them.
Thin, translucent pieces let light through best, so tissue paper shapes glow like stained glass, and sequins and gemstone-style plastic beads throw colored light across the room. Glitter sparkles without blocking much, as long as you keep it sparse.
Anything thick or opaque blocks light and turns into a dark spot on the glass. I’d skip construction paper and heavy cardstock for the same reason, and use them only if you want a silhouette.
Stick with tissue, sequins and glitter for a window piece that glows, and add a few bold shapes only for contrast.
4. Friendship Bracelets
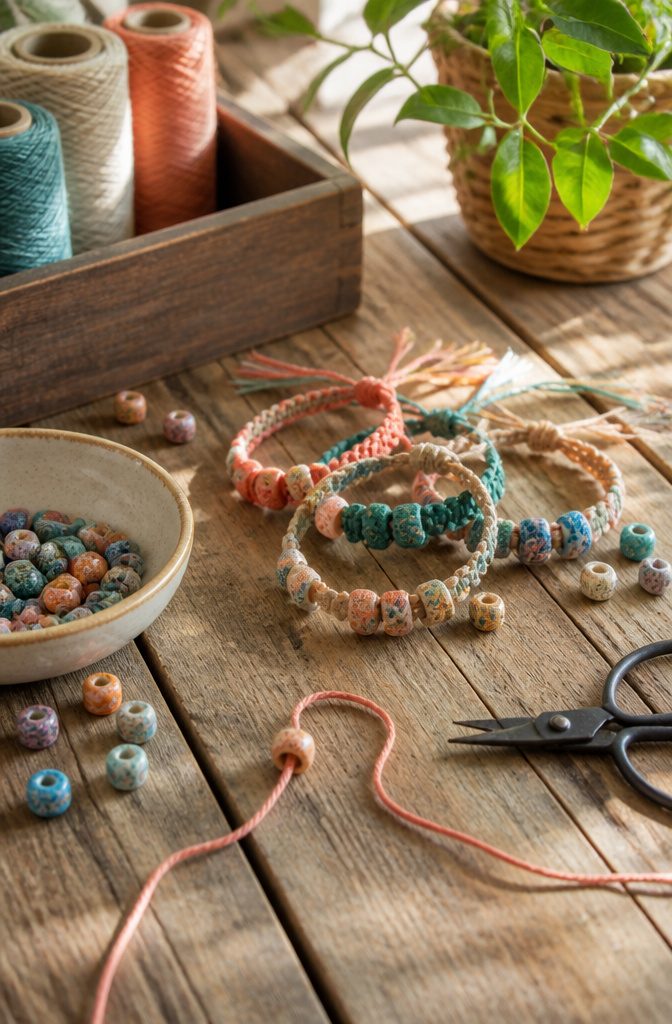
Bead hole size decides whether a bracelet works, so check it before you fall for a color.
The cord has to pass through the hole with a little room to spare, because twine that has to be forced will fray and snap at the bead edge.
Twist the tip of the twine and push it through a few beads from the pack before you buy more.
Twine gives a rustic, chunky look, but it is thick, so pair it with large-hole beads such as wood or ceramic. Thin cotton cord or embroidery thread suits small glass seed beads.
Match the cord to the smallest hole in your bead mix, and stiffen the tip with a dab of glue or a bit of tape so it threads like a needle.
5. Homemade Clay
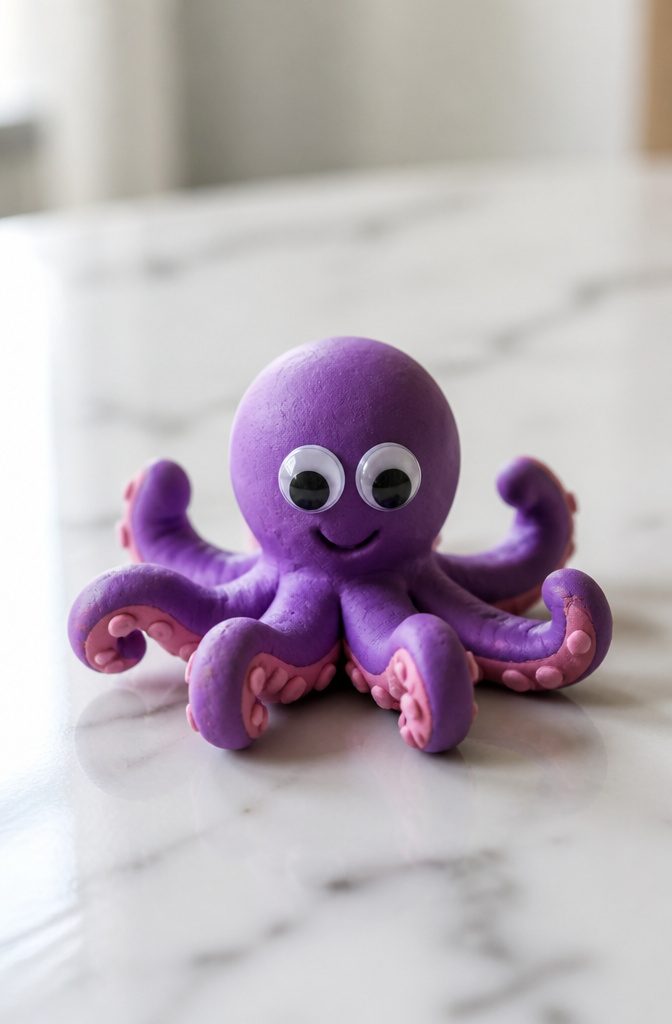
Baking soda, cornstarch, water, and food coloring make a modeling clay that costs almost nothing and mixes in minutes.
It suits kids best: pressing, rolling, and shaping builds fine motor skills, and stirring in food coloring doubles as a lesson in mixing colors.
Googly eyes, feathers, and pompoms press into it easily, so I’d treat it as a base for little critters and charms rather than serious sculpture.
Against store-bought clay, the drawbacks are real. I wouldn’t expect the crisp detail or the long working time of a packaged product, and the color you mix is only as bright as your food coloring.
Make it for an afternoon of play, not for pieces you want to keep, and buy the packaged kind for anything fine.
6. Temporary Hair Dye
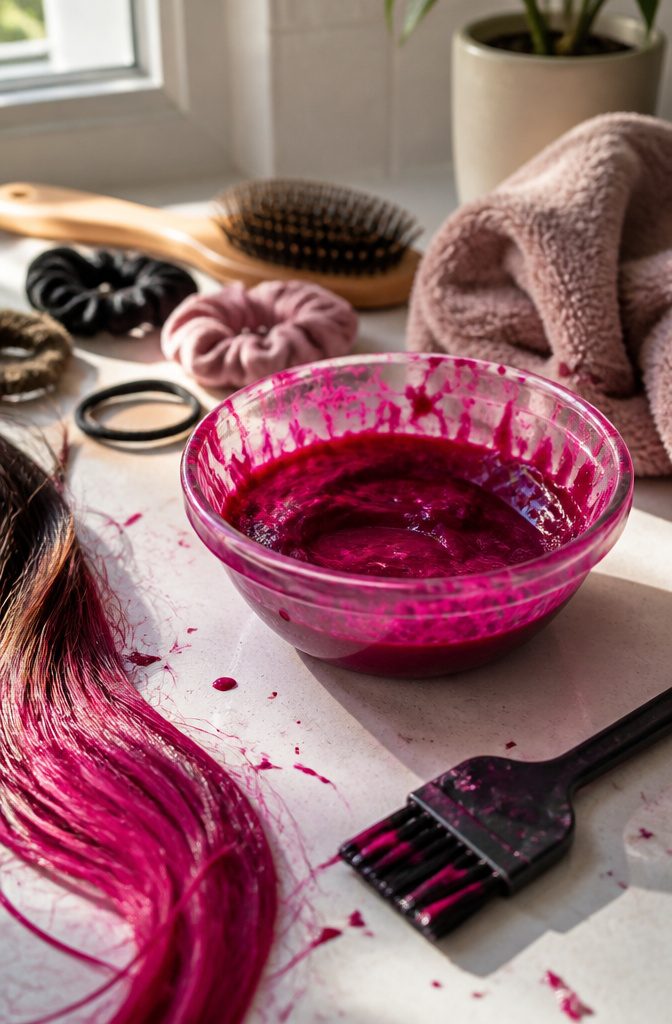
Food coloring stirred into hair gel makes a temporary color that sits on the surface of the hair and rinses out, so treat it as a one-day look for parties, dress-up and Halloween.
Conditioner works as the base too, though it gives a softer, less hold-y result. You need food coloring, a small paint brush or plastic fork for combing it through, and plastic gloves, because the color will stain your fingers.
Before anyone gets a full head of green, test a small dab on one strand and on the skin along the hairline, then wait to see how it looks and whether it irritates.
Food coloring can also stain light hair and clothing, so I would put a towel over the shoulders.
If mess is the worry, hair chalk is the tidier route. It washes out with soap and water.
7. Mini Notebooks
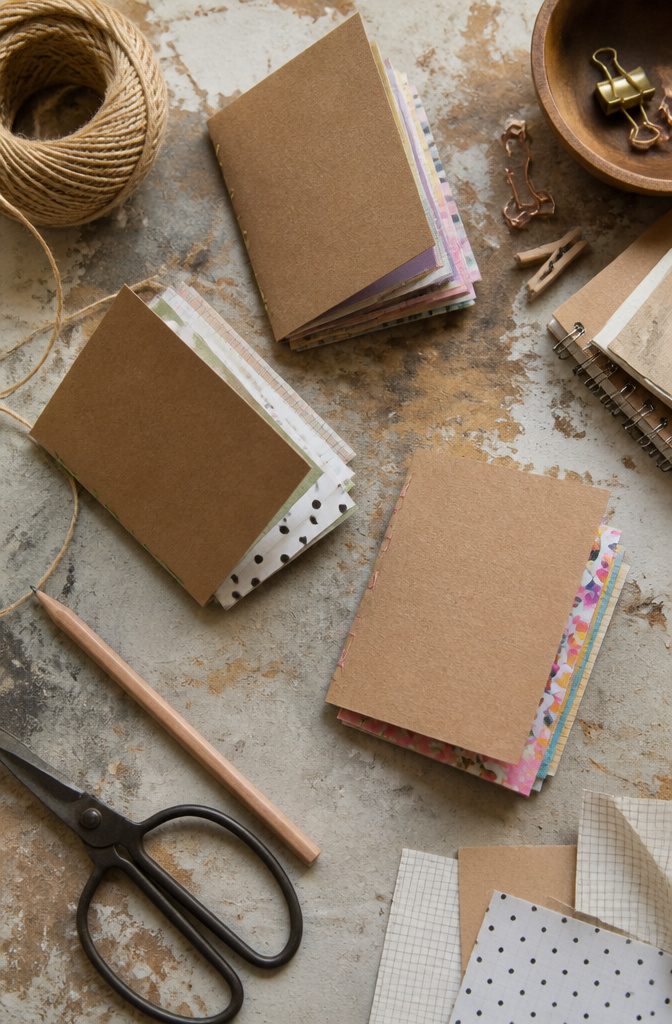
A mini notebook runs on paper scraps, and the cover can be cardboard from a cereal box or shipping carton, cut slightly larger than the pages.
Cut the pages first, then trim the cover so it overhangs by a hair on three sides. Fold the page stack in half so the fold becomes the spine.
For binding, string or a rubber band is enough.
I prefer string: poke 2 or 3 holes along the fold with a pencil tip, then stitch through and knot it. A rubber band looped around the spine is faster for small kids, though it loosens as the paper shifts.
Glue works too, but keep the stack under a book while it dries so the pages don’t curl.
8. Fabric Noticeboard
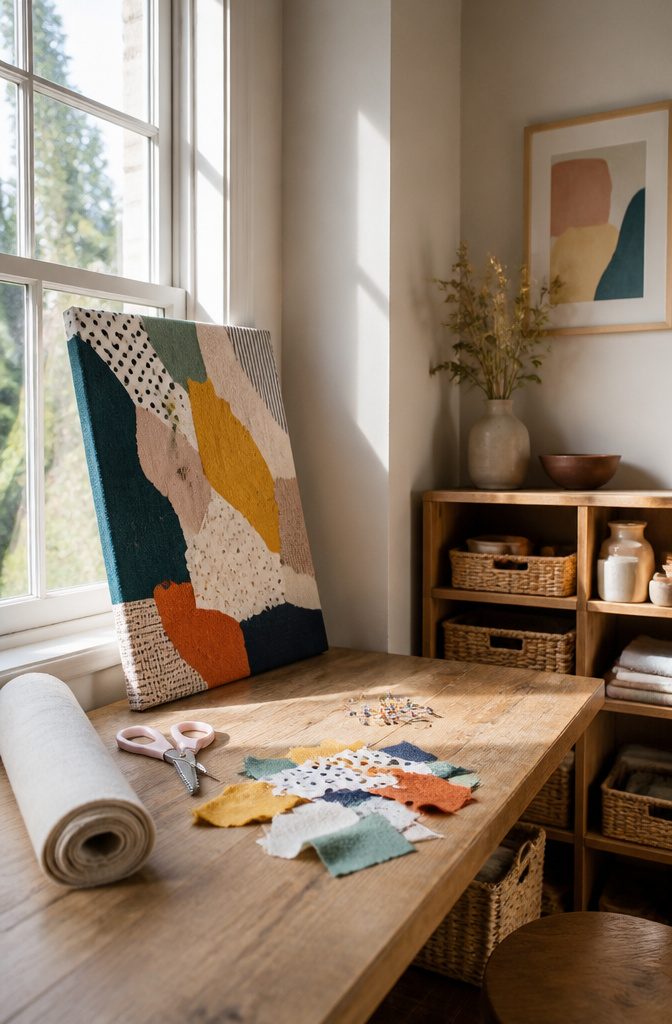
A plain cork board wrapped in fabric cut about 4 inches larger than the board on every side gives you enough overhang to staple on the back.
Linen has a woven texture that looks good and hides pin holes, and a favorite remnant or an old pillowcase works just as well. Pass on anything thin or loosely woven, since pins will leave visible gaps in it.
Iron the fabric first, then lay it pattern-side down with the board face down in the center. Staple from the middle of each edge outward, pulling the fabric taut on one side, then the opposite side, then the other two.
Work toward the corners and fold them as you would wrapping a present, then trim the excess from the back.
9. Botanical Wall Art
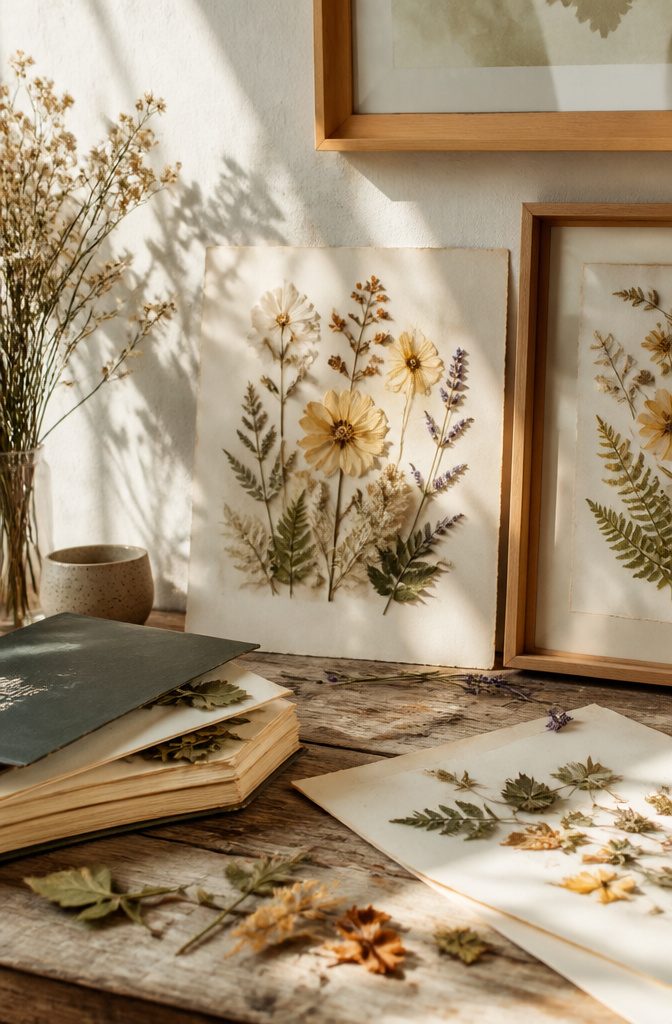
Pressing is the slow part: put flowers or leaves between two sheets of parchment paper, close them inside a heavy book, and leave them for two to three weeks until completely flat and dry.
Peeking early bends the petals, so I’d stack a few more books on top and walk away.
Arrange on good white or off-white card cut to fit the frame, and move the pieces around before gluing anything. A small paintbrush lets you dab a tiny amount of PVA on the back of each piece.
Too much glue shows through thin petals. Thrifted frames in mismatched sizes make a cheap gallery wall.
Color fades over time, and I’d accept that. Pressed botanicals soften toward muted tones, which suits a calm, quiet wall.
10. No-Sew Lavender Sachets
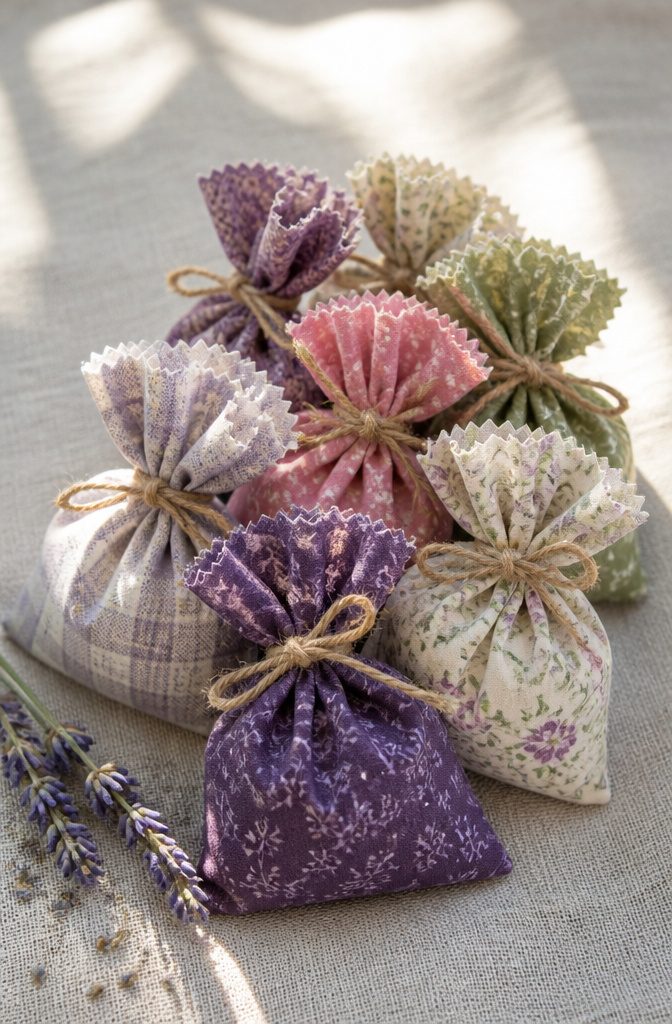
Cut each scrap to about 5×10 inches with pinking shears, and the zigzag edge does the hemming for you, since it resists fraying.
Fold the rectangle in half to make a pocket, spoon in dried lavender, then gather the open top tight and tie it off with ribbon or twine. A bow looks nicer, but twine holds a tighter pinch.
Pinking shears are the one tool worth owning for this, because plain scissors leave raw threads that unravel after a few squeezes. Fill the pocket generously; a flat sachet gives off little scent until you press it.
Sachets work best in places where they sit undisturbed: dresser drawers, closet shelves, or hung from a wardrobe hanger by the ribbon.
A gentle squish every so often releases the scent. They’re also a good use for the smallest scraps.
11. DIY Wooden Yard Dice
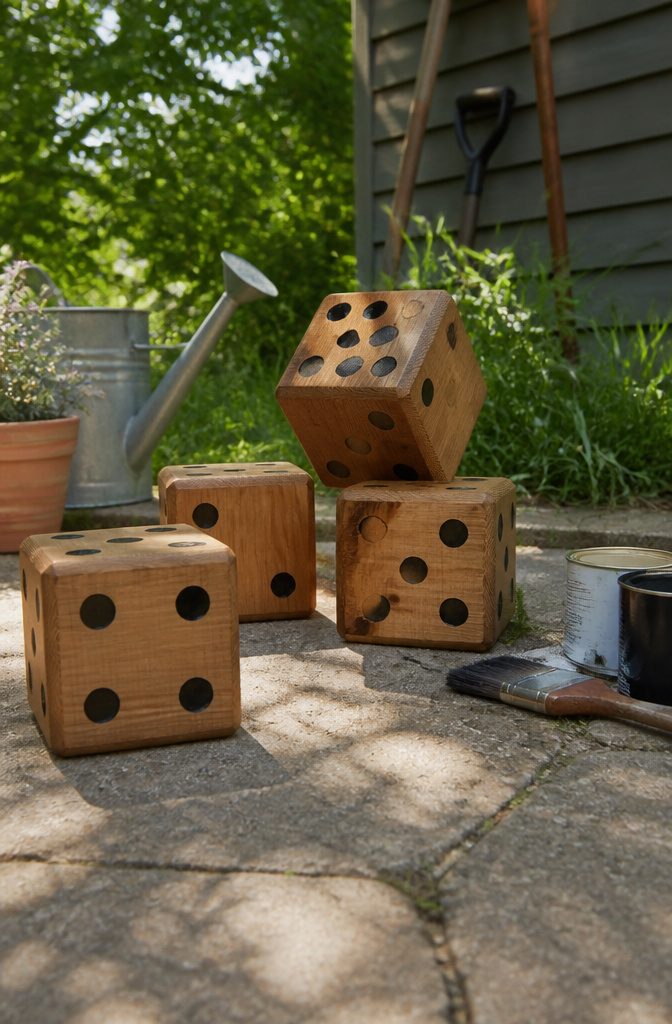
Yard dice work best cut from a 4×4 post, which gives you a cube about 3.5 inches per side without any gluing.
For a bigger throw, glue up 2×4 offcuts, though a 4×4 is faster and has fewer seams to split in the rain.
Square every cut, since a cube that is off by a hair will land on the same face again and again.
Mark the pips with a drill and a shallow bit stop, then fill them with paint.
Opposite faces must add up to 7: 1 opposite 6, 2 opposite 5, 3 opposite 4. Sand the corners lightly so they don’t chip.
Outdoors, bare wood greys and cracks. Seal all six faces with exterior paint or spar varnish, and store the dice dry between games.
12. Upcycled Sweater Crafts
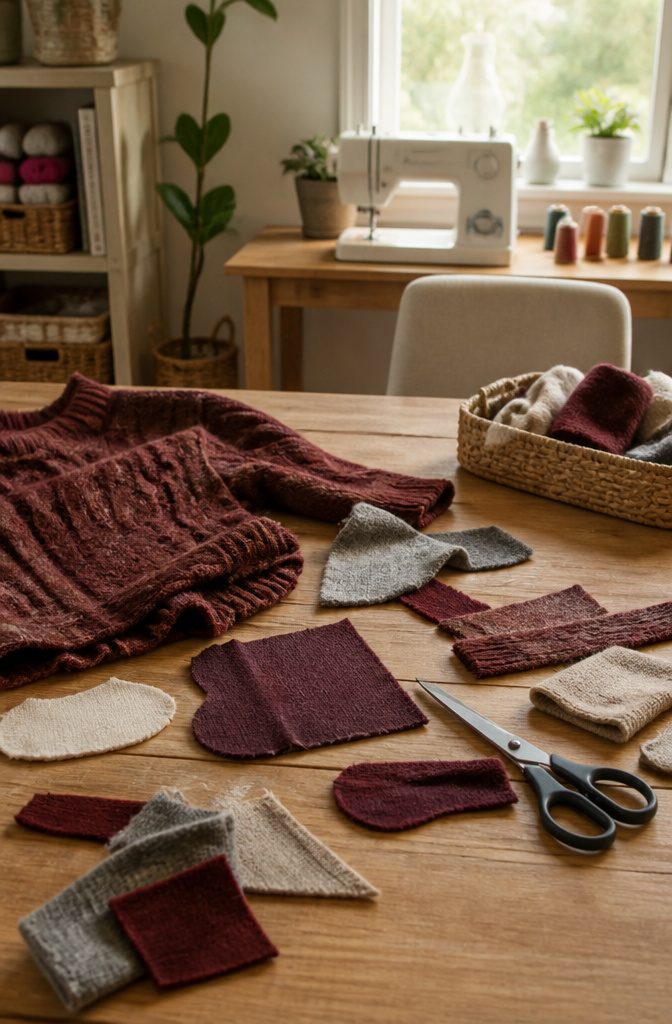
Wool and wool-blend sweaters are the ones to hunt for, because a tightly knit pullover cuts cleanly where a loose, chunky cable knit unravels the moment the scissors close.
Run your hand along a cut edge before committing: if stitches run, it needs more care.
Cutting a sweater into a pillow front is the simplest route, and the ribbed hem can become the pillow’s bottom edge so you skip one seam.
For decorations, the same scraps become a stuffed Christmas tree or a cover for a wine bottle. Sew a line of stitches just inside any cut edge before you do anything else, since that stops the knit from creeping apart.
Reusing a sweater you no longer wear or that no longer fits keeps fabric out of the trash, and it costs nothing but an afternoon.
13. DIY Bath Bombs
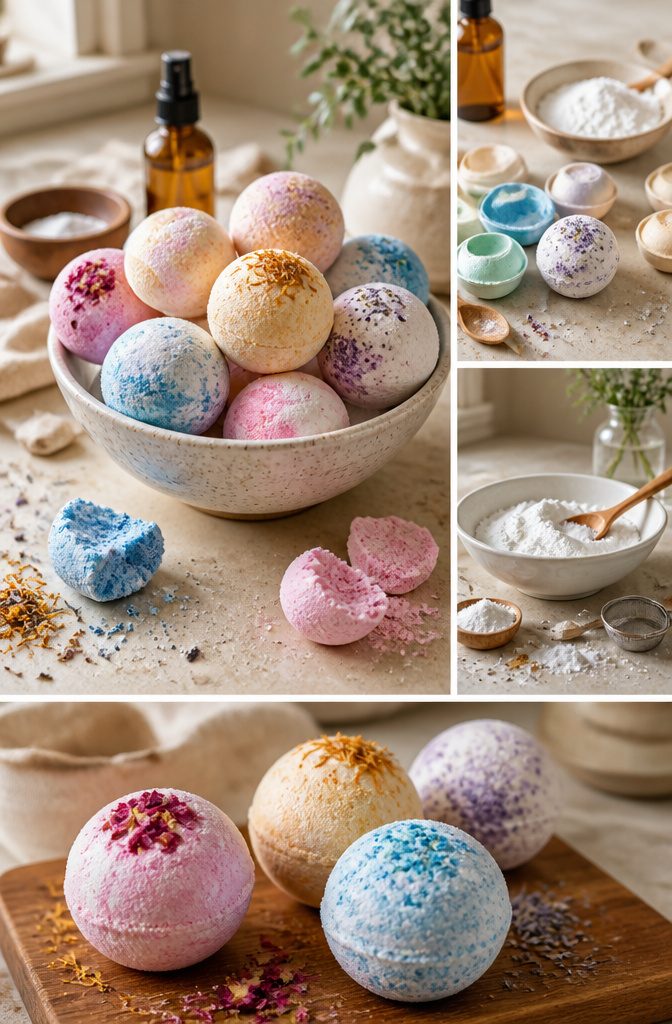
Bath bombs come from a short pantry-style list: baking soda, citric acid, a binder like cornstarch or Epsom salt, a little oil, and a fragrance or color if you want one.
The fizz starts the moment the acid and soda hit water, so keep your liquids to a light spritz. Add them slowly, a few drops at a time, until the mix clumps when squeezed, like damp sand.
Molding is where most batches go wrong. Too much liquid makes the mix fizz in the bowl and swell out of the mold, and too little leaves a bomb that crumbles when you tap it free.
Pack both halves of the mold overfull, press them together, and let them dry for a day before handling.
They make a good gift for teachers, cousins and anyone who owns a tub. Wrap them in tissue and skip plastic, which traps moisture.
14. Decorative Wreath
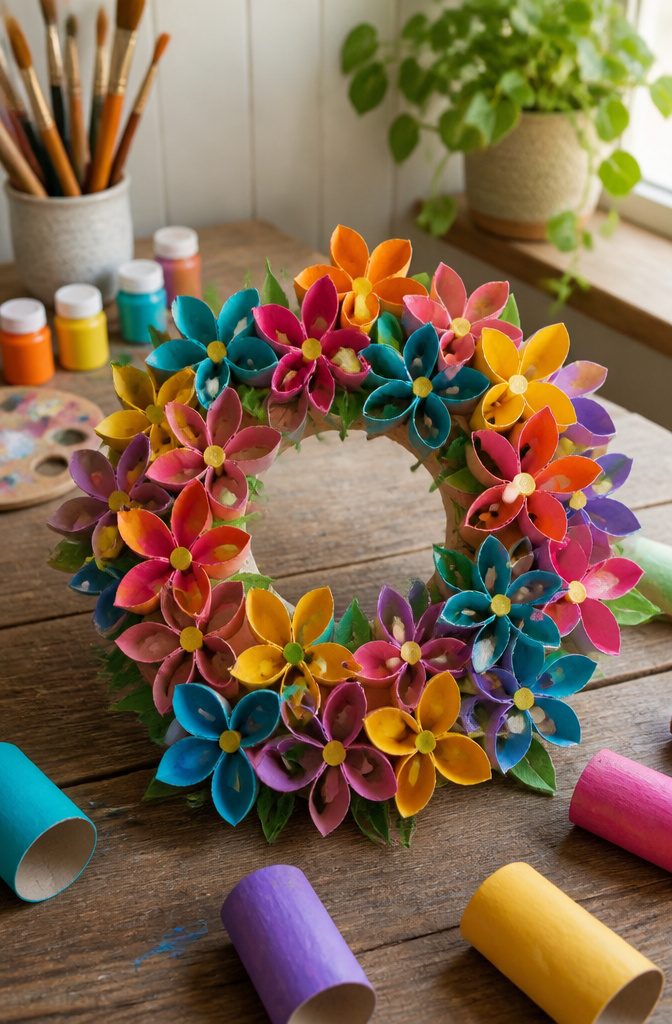
Toilet paper tubes make the best budget wreath I know of, because the flowers are nothing more than painted cardboard cut into petals. Paint the tubes first, since coating a finished flower is fussy work.
Then snip each tube into petals and arrange the flowers in a circle on a base. A bright, solid color per flower looks cleaner than a mix inside one bloom.
Swapping materials is how the same wreath works all year. For Halloween, I’d trade the petals for witch hats or small pumpkins.
For Christmas, painted pinecones and scrap wood leaves sit well in a wreath, and ribbon or fabric adds a soft, seasonal finish. Natural elements suit fall best.
15. Mason Jar Herb Garden
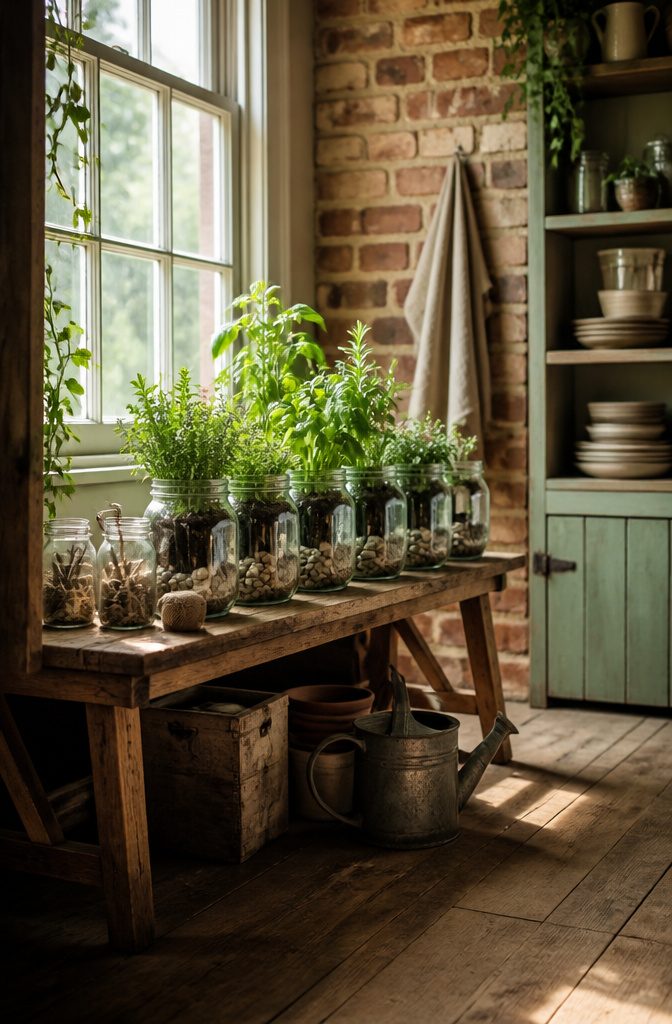
A standard mason jar has no drainage hole, and that is the main problem with this project. Glass can’t be drilled without special bits, so water pools at the bottom and roots rot if you pour freely.
Herbs in jars work indoors or out, but only with proper drainage, so I’d put an inch or so of pebbles in the base and water a little at a time.
Light is the second limit. A jar on a dim shelf gives you leggy, pale herbs, so set it on a sunny windowsill and turn it now and then.
Keep the crop small.
One jar holds one plant, which suits a few sprigs for cooking more than a steady harvest. If you want a bigger yield, a larger pot will beat any jar.
Everyday Materials and Recyclables
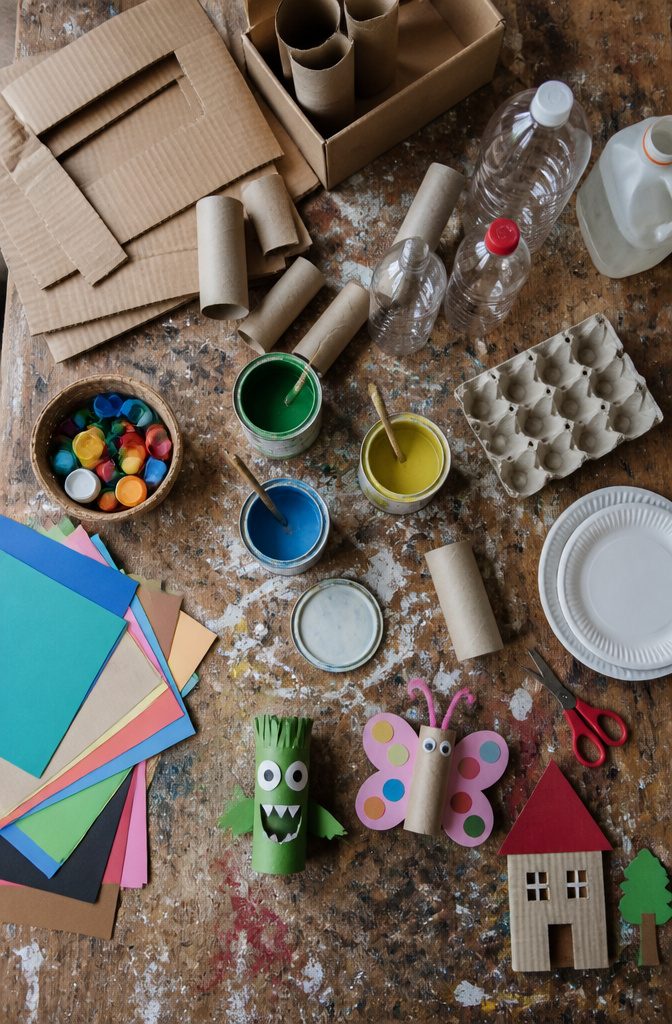
Most of these projects cost next to nothing because the materials are already in your recycling bin or junk drawer.
Cardboard, plastic bottles, paint cans and even Legos can become a vase or a miniature greenhouse for herbs and veggies, and plastic bottles are the easiest of those to find.
Natural and craft-drawer supplies cover the middle ground: yarn, buttons, popsicle sticks and colorful construction paper. A yarn wall hanging or a button-trimmed frame needs only paint and glue on top.
Purchased supplies are the third group, and I’d only buy them when time matters more than money.
A boxed kit with pre-printed patterns saves hunting for parts, but recycled materials give the same result for far less, so start with what you have.
Seasonal Projects
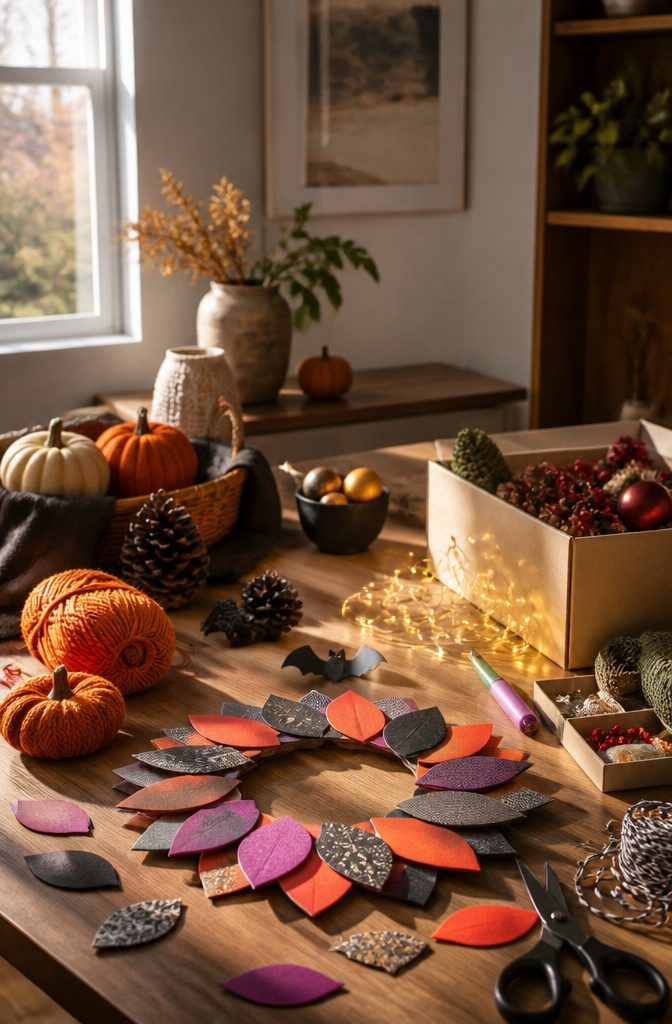
Halloween is the easiest season to craft for, because the materials are already in your recycling bin.
Toilet paper roll bats take paint, paper wings and a loop for hanging. Yarn pumpkins are wrapped, tied and finished with a stem, and scrap wood witch hats need only sanding, paint and a stencil.
For Christmas, a wreath is where I would start. The paper tube flower wreath works in any season: paint the tubes, cut them into petals, and arrange them in a circle.
Swap the paint colors and the same wreath fits spring, fall or the holidays. I’d pick red and green for December and pastels for Easter.
Banners and wreaths win for adaptability, since you only update the accents. An old sweater also makes a textured Christmas tree, which suits a mantel better than a door.
Functional Crafts for Home
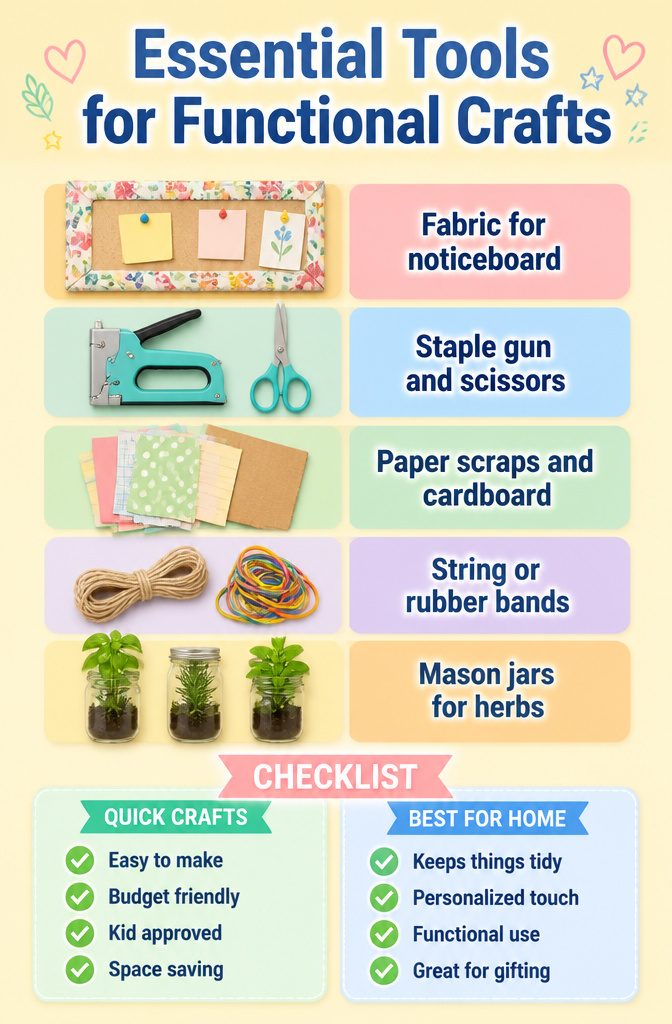
Three picks cover most of what a home needs from a quick craft:
- Fabric noticeboard: This one wins for a cluttered desk. Cut the fabric about 4 inches larger than a plain cork board on every side, iron it flat, then staple from the middle of each edge toward the corners. A pillowcase or leftover remnant works, and you need only a staple gun and scissors.
- Mini notebooks: Paper scraps, cardboard covers and string or rubber bands for binding are enough. They are the best afternoon pick if kids are helping, and cutting and assembling builds fine motor skills.
- Herb jars: Mason jars keep a small crop tidy indoors or out. Drainage is the limit, so I would skip them outside unless it’s sorted.
Frequently Asked Questions
What are some easy DIY home crafts for adults to start with?
Start with a paper tube flower wreath: paint toilet paper tubes, cut them into petals, and arrange the flowers in a circle on a base.
A fabric noticeboard, mini notebooks and no-sew lavender sachets are also beginner-friendly and need only basic tools like scissors, glue or a staple gun.
How can I personalize my home with DIY projects?
Pick projects that use fabric, color and pieces you already like.
A fabric noticeboard covered in a favorite remnant, botanical wall art in thrifted frames, and a wreath you repaint for each season all add a personal touch. Most cost very little because they use recycled materials and scraps.
What are some handmade craft ideas for gifts?
Bath bombs, lavender sachets and pressed flower pieces make good gifts. Wrap bath bombs in tissue instead of plastic, which traps moisture.
Pressed flower lanterns, made by setting pressed flowers on wax paper and putting them on glass jars, are another gift idea. Lavender soap and rose petal bath salts also come up often.





