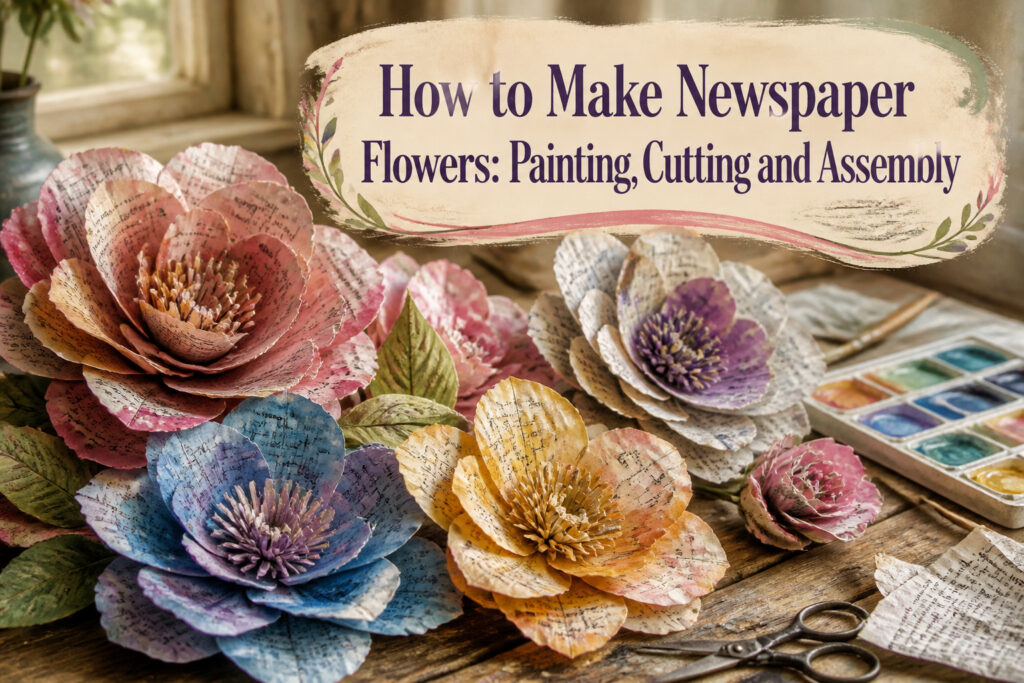
Newspaper flowers are painted, cut, and layered blooms built from broadsheet pages that keep their flexibility if you go easy on the paint. Watercolors leave the paper soft enough to shape into petals; acrylics stiffen it slightly and give more saturated color. A single page yields one flower with enough left over for a second, smaller bloom.
What You Need

Newspaper flowers start with paper that can still bend after paint dries. One double-sided broadsheet page yields enough for a single flower with some left over. Watercolors or acrylic paints both work; watercolors keep the paper softer, which matters later when you shape the petals. Scissors, a few brushes, and water round out the basics.
For the center, a button rescued from old clothing gives the flower its face. Craft wire holds everything together, though stripped sandwich-bag ties substitute in a pinch. A low-temp hot glue gun is optional but speeds assembly if you prefer adhesive to wire. Some makers stitch their layers instead; a sewing machine handles this neatly, especially with radiating lines from the center that add texture.
The painted paper needs to stay flexible. Rigid sheets crack when you scrunch and rearrange petals, so go easy on heavy paint layers and let each sheet dry flat before cutting.
Painting the Paper

Newspaper takes paint differently than printer paper, and that difference is exactly what makes these flowers interesting. Watercolors soak straight through the thin sheets, letting the gray newsprint tone everything down into something softer than the color you squeezed from the tube. Acrylics sit higher, drying into a slightly stiffer sheet with more punch to the hue. Both work; they just give two different looks.
The risk is the same either way: too much water makes newspaper pill and tear. Blotting with a second sheet helps, or working in thinner passes and letting each one dry. I have learned to stop before the paper looks fully covered. The bits of text and photo that show through are not a failed paint job. They read as texture from a few feet away, the way linen or handmade paper carries its own flecks and streaks. A solid coat would look like construction paper cutouts. The partial coverage is the point.
Drying time is short, ten or fifteen minutes in a warm room, because the paper is so thin. I lay sheets flat on a table protected with scrap cardboard; newsprint bleeds through anything less. Once dry, the painted sheets feel almost like light fabric, ready for tracing petal shapes in the next step.
Cutting the Petals

Scissors matter less than you’d think here. The painted newspaper cuts easily, and the edges soften further once the flower is assembled. For roses, petals range from 3/4 inch to 3 1/2 inches, with smaller petals forming the tight center and larger ones creating the outer bloom. Freehand cutting gives a looser, more natural shape, though templates help when you want matching layers. Ten to twelve sheets stacked together make a full-sized flower; fewer layers read as sparse once the petals are separated and fluffed. The shape you cut changes what the flower becomes. Rounded petals cup inward and hold a traditional rose form. Pointed or notched edges flare outward and read more like dahlias or wildflowers. I usually cut a few testers from plain newsprint first, since the painted surface shows every hesitation mark and a wobbly curve becomes obvious once the color is on it.
Layering and Assembly

Shaping the petals before any glue touches them makes the difference between a flower that sits flat and one that opens up. I roll the edges of each newspaper circle between my thumb and finger, curling the painted paper outward, then pinch the base slightly so the petal cups instead of drooping. Each one gets its own character this way, some tighter, some looser.
The center comes first. A strip about 2 ½ inches long with a rounded tip gets rolled into a tight tube, unrolled, then re-rolled around the end of the craft wire with a thin bead of low temp hot glue inside. Another dot at the seam locks it. Start layering from the smallest petals, dotting glue about ¼ inch from the bottom of each and pressing it to the stem, rotating as you go so each new petal overlaps the last. When the medium sizes run out and the larger ones begin, those wider bases need a firmer pinch to round the flower out and keep the layers from stacking too flat.
For the wire-to-paper bond, low temp hot glue is forgiving. It grabs fast without scorching thin newspaper, and a second pass around the stem base covers any gaps. Two 4-inch ribbon lengths wrapped around the underside finish the seam, a small V-cut at each end trimming the look neat.
The Center
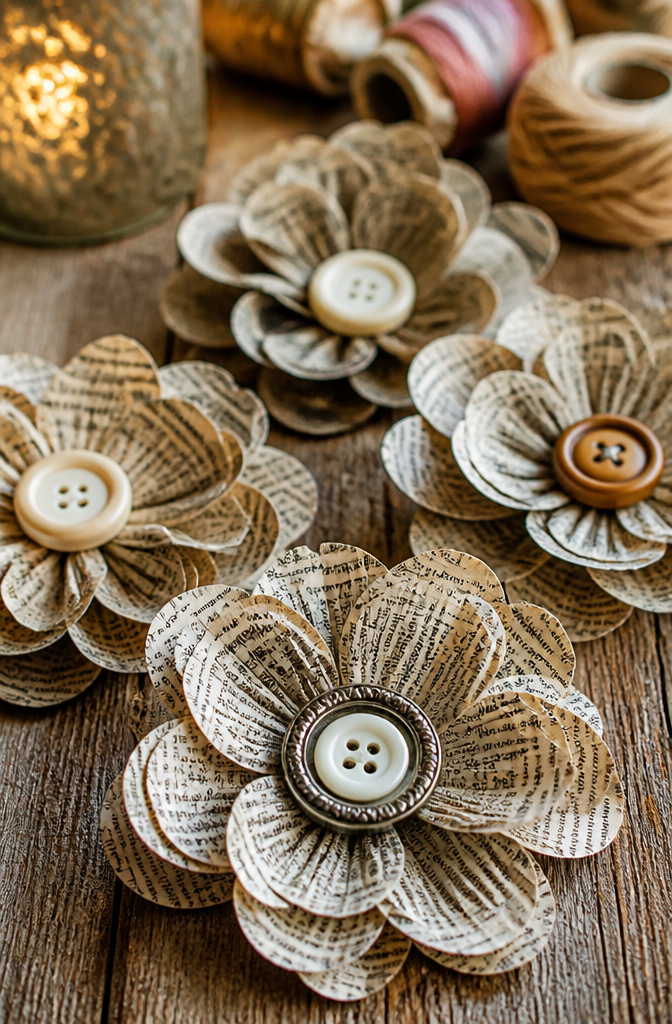
A button at the center does more than finish the flower. It hides the mechanical join where the wire passes through all seven layers of newspaper and spreads flat against the back. Without that cover, the construction shows, and the bloom reads as craft-project rather than decor.
The era of the flower shifts with the button you choose. A plain white shirt button pulls it toward a 1940s utility aesthetic. Something carved or shanked in celluloid reads 1950s. Mismatched vintage buttons from old clothing, as Red Ted Art suggests, give each flower its own date. Gems work too, or a tight cluster of rolled paper dots, though anything too dimensional will tilt the flower forward when you stand it in a vase.
Thread the wire through the button in a U-shape before you push it through the newspaper stack. That loop becomes the anchor. Spread the tails flat on the reverse side, brad-style, and add a small strip of tape if the wire feels loose against the newsprint. The button’s diameter needs to clear the hole you snipped; too small and the join peeks around the edge, too large and it overwhelms a modest petal spread. A ¾-inch to 1-inch button hits the middle ground for most newspaper flowers, covering the mechanics without declaring itself the main event.
Display and Use
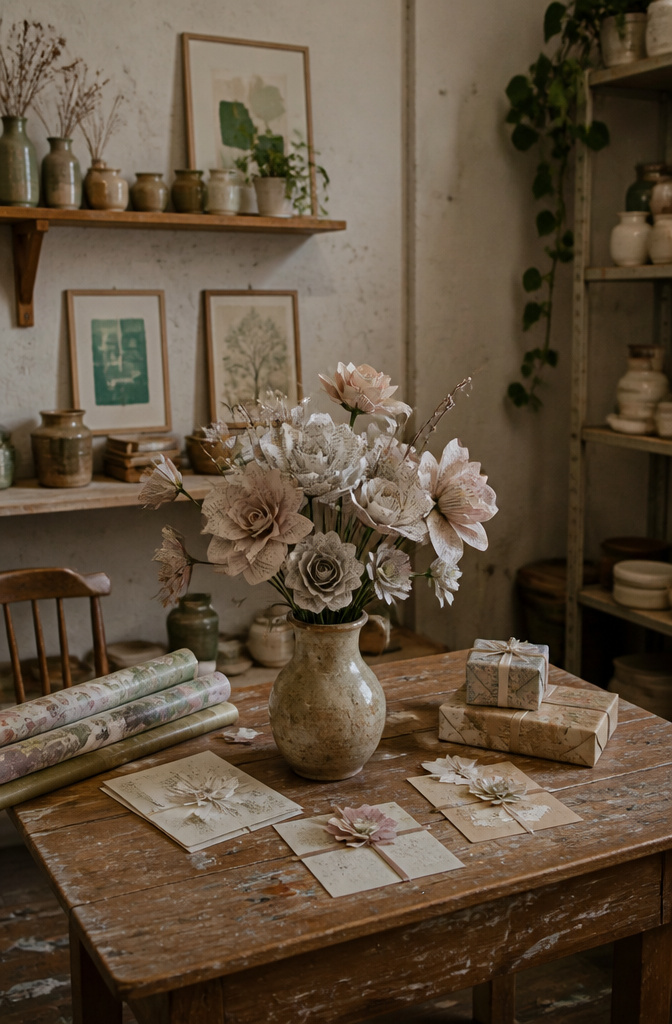
Wire stems make these flowers surprisingly practical. A dozen wired blooms gathered tight and wrapped with floral tape sit upright in a vase, and the 16-gauge wire holds its shape without drooping. Flat versions work better for greeting cards or gift wrap; glue the layered petals directly to the paper and skip the stem entirely.
The durability limit is real. Newspaper flowers last for display but not for handling; a bouquet on a dinner table stays lovely for weeks, while one passed hand to hand at a party frays fast. For gift bags or wine bottles, the flat glued flowers hold up fine because nobody moves them.
Seasonal possibilities open up with paint color choices rather than with the flower shape itself. Spring calls for lighter washes, deeper tones read autumn, and the newsprint stays visible either way.
The wired stems let you rearrange the bouquet like real flowers, which paper cones and glued arrangements never do. That flexibility is worth the extra ten minutes of work.
Painted Newspaper
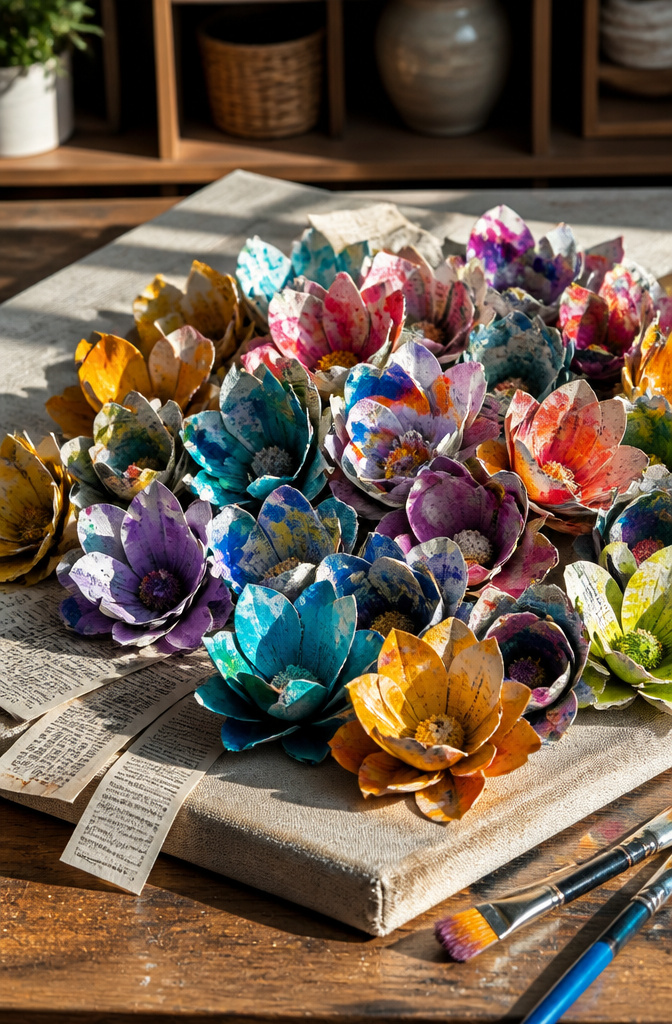
Fully painted newspaper flowers are the version most people picture first, and for good reason. A layer of acrylic paint covers the gray newsprint completely, turning something meant for the recycling bin into material that looks almost like handmade paper. Americana Acrylics are what showed up in the earliest versions of this project I found, pressed onto the sheet with a Gel Press so the color sits thin and even. The paint stiffens the paper slightly, which helps later when you are cutting petals and creasing them into shape.
Unpainted newsprint has its own appeal, but the text fights for attention. A flower built from bare newspaper reads as a newspaper flower first and a flower second, which is fine if you want that collage look or if the words themselves matter. A headline fragment caught in a petal can look accidental or clever, depending on placement, but you are not in control of it the way you are with paint. The painted version puts the shape and color first, and the fact that it started as newsprint becomes a quiet second read.
The standard approach leans toward full coverage for a reason: the paint makes the paper predictable. You know what color every petal will be, and the finished flower holds together visually from across a room. That predictability is worth the extra step for most afternoon projects.
Roses and Book Pages

Book page roses carry a different weight than newspaper ones. The smaller text blocks and uniform margins let the spiral sit tighter, so the petals read as soft fabric rather than newsprint. I start with a 1-inch strip for the center bud, then graduate outward in half-inch jumps; the graduated sizes matter because a rose built from identical rectangles looks like a cinnamon roll. Newspaper columns fight this, the white gaps breaking the curve every few wraps.
The text itself becomes texture. Serif fonts in old novels blur into pale stripes when rolled, while newspaper photographs turn muddy. A page from a public-domain novel, something printed before 1929, carries no risk. Modern books sit in a gray zone I avoid; the copyright office does not care about a single craft rose, but a tutorial photo can travel far enough to matter. Thrift store discard piles and library sale leftovers are my usual source, the pages already soft from handling.
Mixed Paper

Tissue paper brings color newspaper can’t, but the two papers fight each other when wet. Newspaper stays stiff, even soggy; tissue turns to mush at the first touch of water. I learned to layer dry, painting each paper separately and letting both rest overnight before cutting.
The real advantage is structure. Tissue alone crumples under its own weight. Newspaper gives a petal enough backbone to hold a curve. My best results came from sandwiching tissue between two thin layers of newsprint, the outside faces carrying paint while the inner sheet carries the shape.
Water-based glue undoes everything if you saturate the joint. A light line along the edge, pressed and held thirty seconds, bonds without bleeding color through. The newspaper side takes the stem; tissue side faces out where the light hits it.
Newspaper should always be your outer layer on the base petal, with tissue added only as accent or interior lining. Reversing that order leaves the flower floppy within a day.
Button Centers

Button size sets the whole flower in motion. A half-inch mother-of-pearl disk demands smaller, tighter petals to keep the proportions from looking like a lollipop; a two-inch carved celluloid number wants broader layers that can hold their own against that much visual weight. The button is not decoration glued on last. It is the anchor the whole design grows from.
Source buttons from sewing boxes before craft stores. Estate sales and flea market tins run cheap, and the muted colors of aged plastic or shell read better against gray newsprint than bright modern finishes. A quick polish with a soft cloth is usually enough; the slight wear is part of the appeal.
Thread-wrapping the wire through the button shank is the move that sells the integration. Strip about two inches of paper off the end of a floral wire, loop it through the shank, then wind the bare metal with regular sewing thread in a color picked up from the button itself. The thread buries the mechanical connection and gives a short, credible stem that does not look like hardware store aftermath.
Wire Stems

Wire stems give newspaper flowers the same kind of poseable structure real stems have. A 20-gauge wire supports small blooms without flopping, while thicker 16-gauge holds heavy layered flowers upright. The paper shows every glue glob through thin tissue, so wrapping is worth the extra step. Brown floral tape works, but strips of the same newspaper, twisted tight and glued down, disappear completely into the finished stem.
Glued stems lock a flower into one angle forever. Wire lets you curve a bloom toward light in a windowsill vase or bend a whole spray sideways for a wall-mounted jar. The flexibility matters more than the finish if you plan to rearrange the bouquet more than once. Paper-wrapped wire does take longer than taping, maybe ten extra minutes per stem, but the seamless look sells the illusion that these grew somewhere.
Techniques That Shape the Petals

Freehand cutting gives the petals an uneven, organic edge that reads as real flower tissue, but a template keeps the sizes consistent when you need five or six identical layers. I reach for a small plate, bowl, or glass when I want that control, tracing around it with a pencil before I cut. Once the circles are stacked, a woven or scalloped edge cut through all five or six layers at once saves time and the slight variation between sheets actually helps the final shape.
Wet paper tears if you bend it too sharply. The watercolor or acrylic needs to be fully dry before you start shaping, or the fiber splits along the grain and you lose the petal. When the paint is dry, curling the edge over a scissor blade or pinching the base between your fingers puts the curve in without breaking it. The sources disagree on when to shape: one approach forms every petal before gluing anything, another scrunches the whole flower and pulls the layers apart afterward. Pre-shaping wins for roses, where each petal needs its own roll and pinch to read as soft and natural. The scrunch-and-pull method works fine for simpler layered circles where the crumple itself is the texture.
A coiled center starts as a 2 ½ inch strip with a rounded tip, rolled into a tube and glued around the end of the wire. The base of each wider petal gets pinched as it attaches, rounding the flower and creating space between layers so it does not read as flat paper.
Where These Flowers Go

Newspaper flowers sit flat enough to tape to the front of a greeting card, though anything past two layers of petals will need a padded envelope and extra postage. For gift wrap, a dab of hot glue on the back of the flower lets you press it straight onto kraft paper; curling ribbon threaded through the center works for tying around wine bottles or gift bags, and the paper crumples back into shape if it gets bumped in transit.
Solo stems in a corner read as quiet sculpture, but the real impact comes from grouping. A cluster of three or five on a wall, or a ring around a mirror frame, fills space without the fuss of a full wreath. The newsprint itself sets the mood: slightly rustic, slightly arty, suited to Earth Day brunch tables or a spring mantel where you want handmade without preciousness. Mother’s Day cards and Derby party favors both fit, because the material feels personal without demanding sentiment.
Glue Versus Wire

The two methods leave very different traces on the finished flower. Glue keeps everything flat and invisible from the front, but hot glue above 250°F will singe newsprint and leave a brittle amber spot that shows through thin painted layers. Wire, meanwhile, pokes through the center in a U-shape, gets spread flat like a brad on the back, and sometimes needs a strip of tape to stay put. That back bulge matters if you are taping the flower to a wall or a gift bag; the button covers the front, yet the stem side still has hardware.
Wire gauge is where the sources disagree with themselves. One tutorial calls for craft wire, then admits sandwich-bag ties stripped of their plastic work in a pinch. That substitution tells you the load is light: a few layers of paper, no fighting gravity. For a flower meant to sit flat on a card, glue alone suffices. A flower dangling from twine or stuck into a vase needs the wire so it holds position.
Wrapping the wire through the button first, then through all seven sheets, keeps the center tidy. The scrunch-and-fluff step at the end hides minor misalignment, so the visible evidence of either method matters less than the handling during assembly.
Frequently Asked Questions
How do you make newspaper flowers?
Paint newspaper with watercolors or acrylics, cut the dried sheets into petal shapes, then layer and attach them around a wire stem. Start with a rolled center strip, add smallest petals first, and work outward to larger ones, shaping each petal by curling the edge and pinching the base before gluing.
What materials do I need to make newspaper flowers?
You need one double-sided newspaper broadsheet per flower, watercolors or acrylic paints, scissors, brushes, and water. For assembly, use craft wire or stripped sandwich-bag ties, a low-temp hot glue gun, and a button for the center. A sewing machine is optional if you prefer stitching to glue.
Can I use tissue paper with newspaper flowers?
Yes, but paint each paper separately and let both dry overnight before cutting. Sandwich tissue between two thin layers of painted newsprint so the newspaper provides structure and the tissue faces outward where light hits it. Keep newspaper as the outer layer on base petals; reversing the order leaves the flower floppy.