
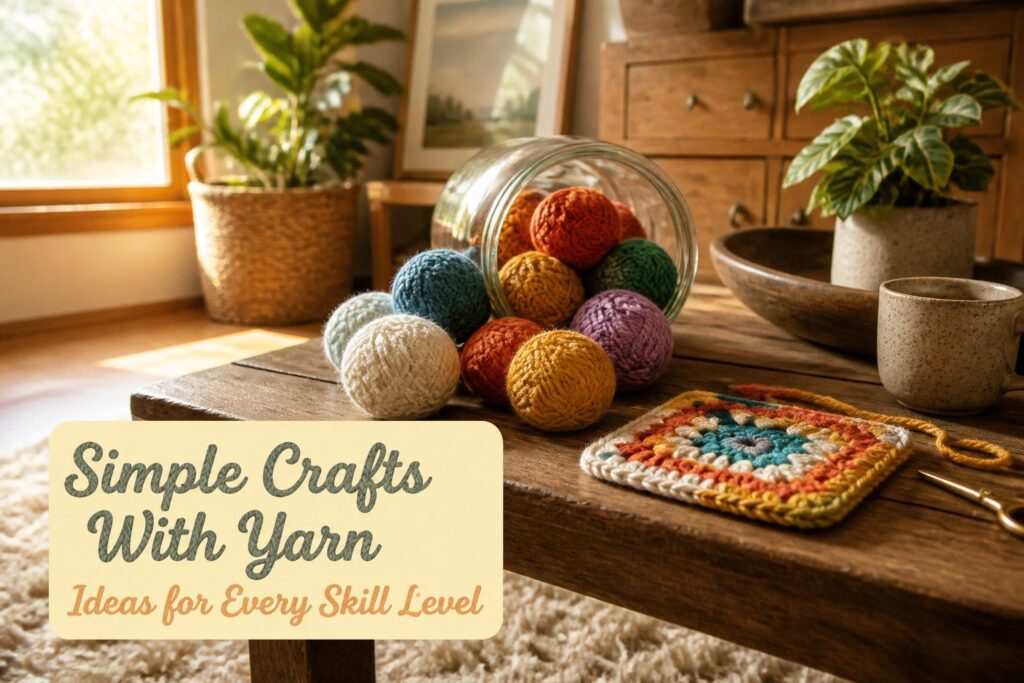
These projects run from a $1 keychain that takes 30 minutes to a laser-cut pendant light with a wired socket, and the deciding factor is the skill you already have.
Needle-free wrapping suits beginners, but knitting a hat or pumpkin assumes you can purl and work in the round. Glue-heavy picks like the lantern also need patience.
1. Plastic Canvas Earrings
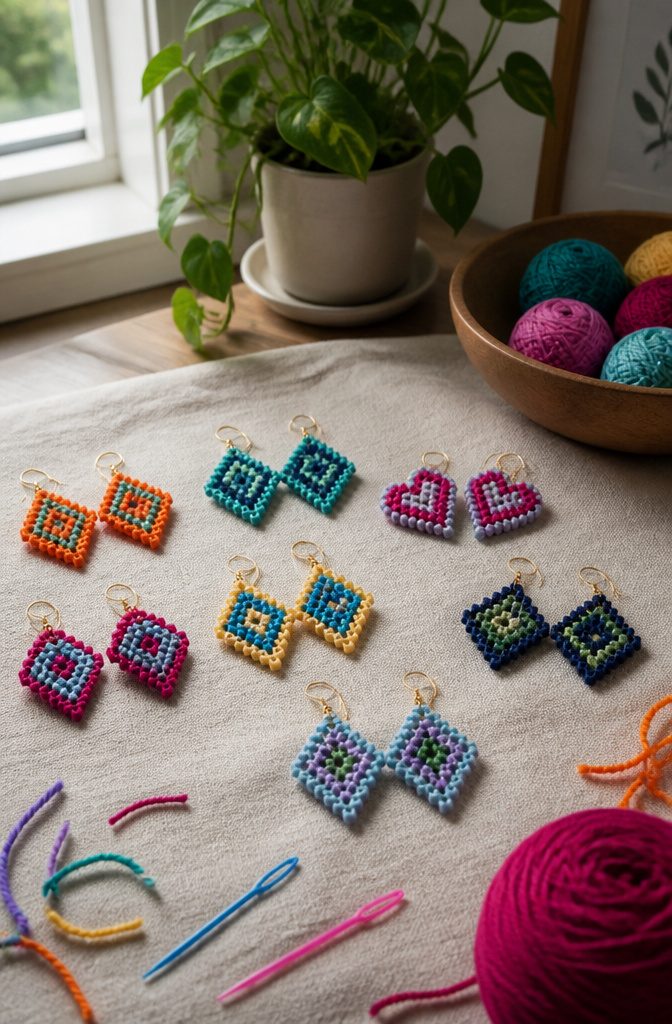
Plastic canvas turns yarn scraps into earrings because the grid does the hard part for you.
The holes are already spaced, so a small shape like a diamond, heart or tiny rectangle takes one short length of yarn and a blunt plastic needle.
A sheet costs very little, and one sheet yields more pairs than you will want to wear.
Worsted weight yarn covers the canvas well, and it is the weight I would reach for first.
Anything thinner leaves the plastic showing between stitches, which looks sloppy at earring size. Cut both pieces of each pair from the same row count so they match, and trim away the bare edge bumps before you stitch.
Earring hooks attach with a jump ring through a top hole.
Use lightweight shapes, a couple of inches at most, because a heavy pair tugs on the earlobe. Stitch the backs too, or glue felt over them, so the plastic never rubs your skin.
2. Yarn Rainbow
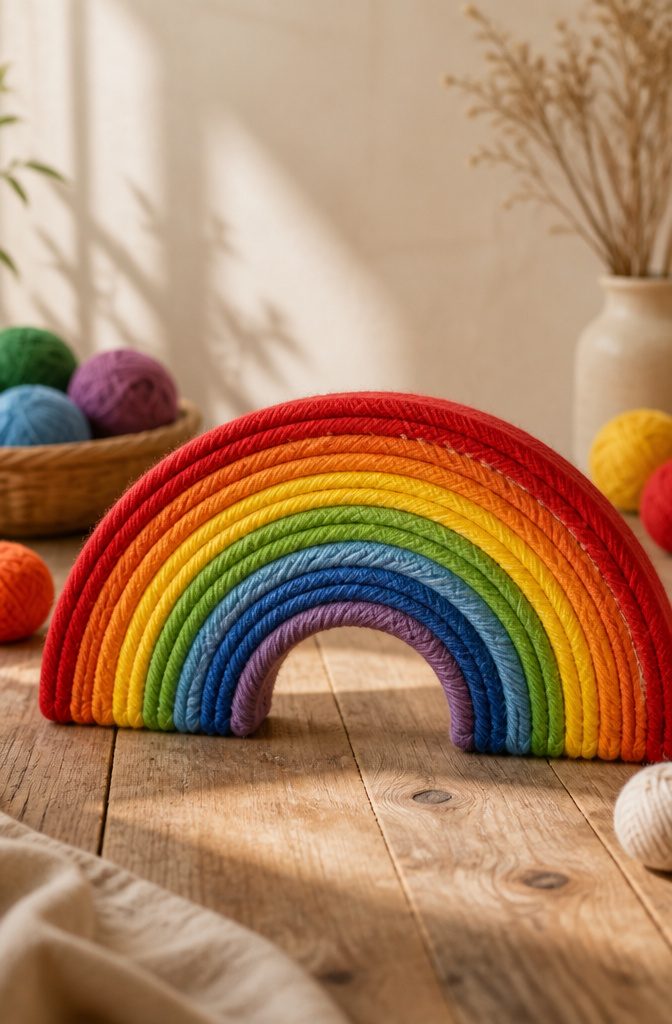
A yarn rainbow is a cardboard or paper arc wrapped or glued in bands of color, and the color order does nearly all the work.
Run red on the outside, then orange, yellow, green, blue and purple moving inward, and the arc reads as a rainbow even from across a room.
Swap two bands and it turns into a striped arc, which is fine but no longer the picture most people expect.
You need cardboard cut into an arch, yarn in six colors, white glue and scissors.
Glue works better than wrapping for beginners because each band can be laid down side by side, with no gaps, and a gap shows the cardboard right away.
Cut the yarn from the skein as you go, dab glue on a short stretch, and press the strand down snug against the last row.
Cotton clouds at each end finish it, and I would skip fuzzy yarn for the bands because it hides the edges between colors.
3. Spool-Knit Owl
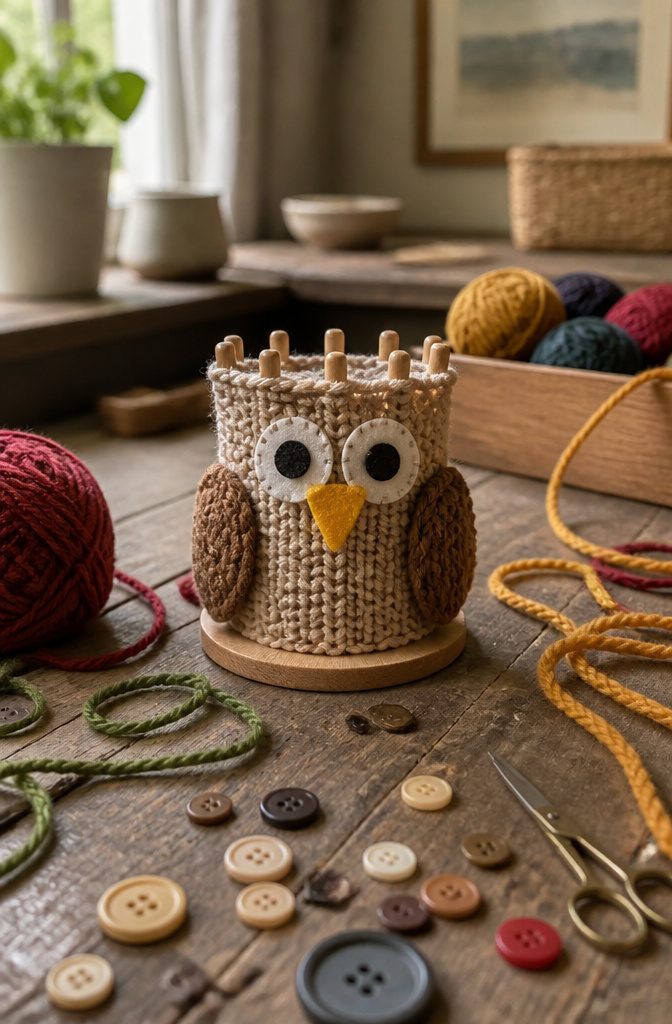
A spool knitter, also sold as a knitting spool or French knitter, is a small wooden or plastic cylinder with 4 pegs on top and a hole down the middle.
Wrap yarn around each peg, then lift the bottom loop over the top strand with the little hook.
Repeat around the circle and a tube of knit stitches grows out through the bottom, which is why it suits kids and beginners.
For the owl, I’d work a tube about as long as your palm, fold it in half and stitch the bottom closed.
Stuff it lightly so it stays squishy, then sew the top shut and pinch two corners into ear tufts.
Felt eyes and a triangle beak glued on top read as an owl faster than any stitching, and they hide the seam.
4. Pom-Pom Knit Hat
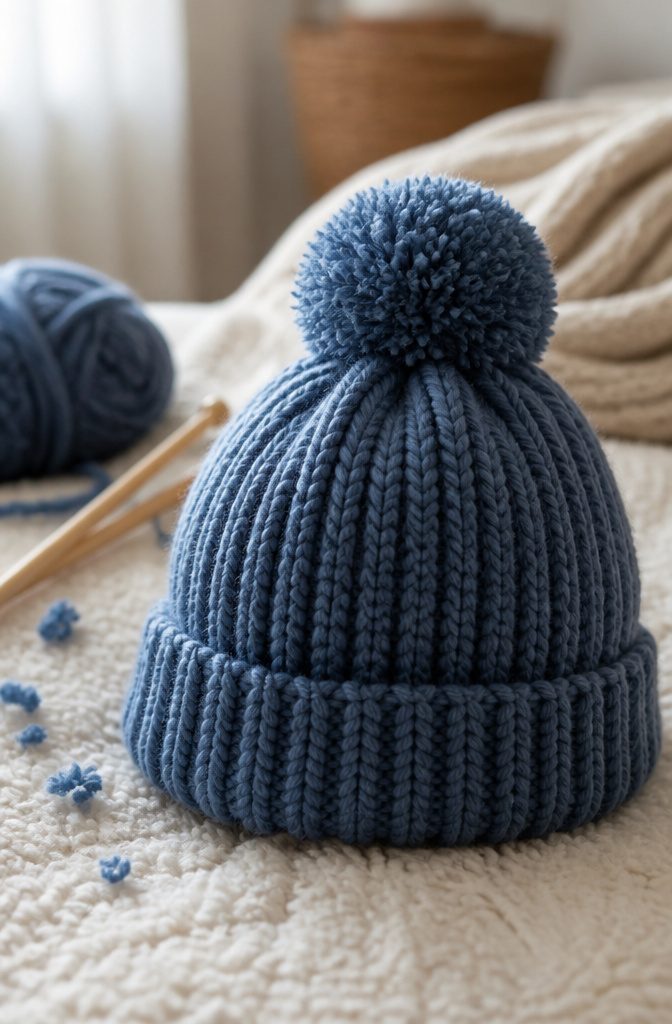
A simple knit hat is a good first wearable project because it is only a rectangle or a tube with the top gathered shut.
If you can knit and purl and work in the round, or just flat and seam the back, you can finish one in a weekend.
That makes it a beginner-to-confident-beginner project, and I’d skip anything with color patterns the first time through.
For yarn, pick a smooth, medium-weight wool or wool blend in a solid color.
Choose a yarn that is soft against your forehead and has a little stretch, because stiff acrylic can feel scratchy and a hat that won’t give is hard to get on.
Light colors show stitches best, which helps if you are still learning to spot mistakes.
The pom-pom takes the leftover yarn and a few minutes.
Wrap it around your fingers or a piece of cardboard, tie the middle tight, cut the loops, and trim it round. Sew it on firmly, since a loose one will be the first thing to go.
5. Loom-Knit Scrunchie
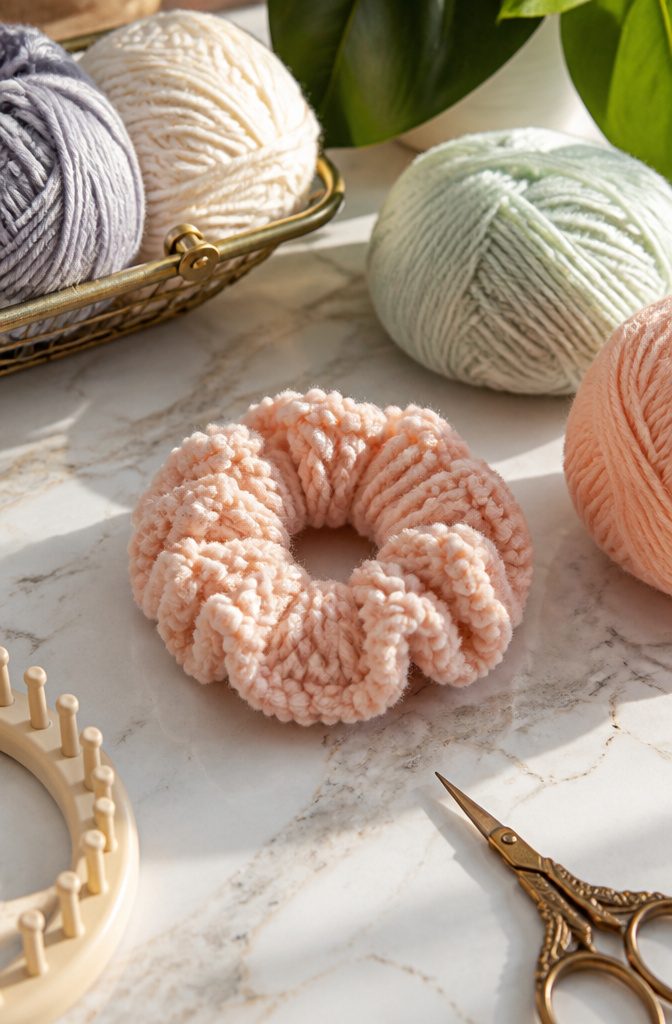
A round loom turns out a scrunchie tube quickly, and a loom with a small to medium diameter gives the best gathered look.
Large looms make a floppy tube that slumps around the elastic instead of bunching. Worsted-weight yarn in a soft acrylic or cotton blend works well, and a velvety chenille yarn makes the fluffiest version.
Knit the tube in plain e-wrap or flat stitch until it stretches comfortably around your fist, then bind off loosely so the ends can be joined.
Thread a hair elastic through the tube, or cut a length of ¼-inch elastic and sew the ends together. Sew the two tube ends closed with a whipstitch so no raw loops show.
I’d choose a hair-tie elastic over sewn elastic for a first try, since it skips one step.
6. Yarn Bowl
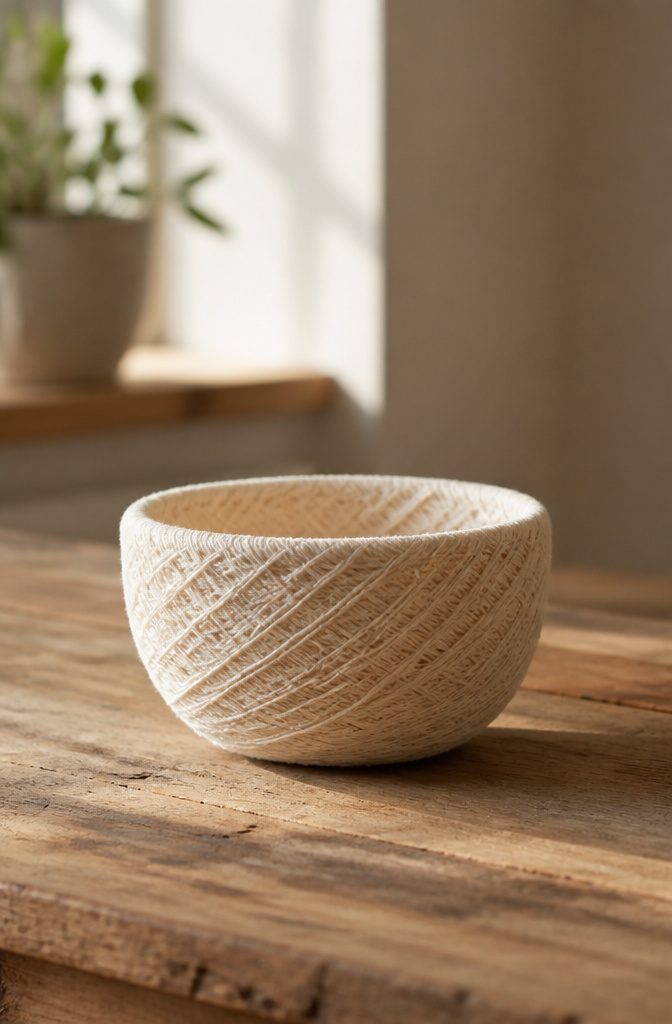
A yarn bowl is yarn wrapped or draped over a form, soaked in a stiffener, and left to dry until it holds its own shape.
Cotton or acrylic worsted both work. Cotton soaks up more liquid and dries harder, so I’d pick it first.
Fabric stiffener, white glue thinned with water, or a cornstarch paste will all do the stiffening. Cover an upside-down bowl with plastic wrap so the dried piece lifts off cleanly.
Dip the yarn in the liquid, then wind it around the form in overlapping loops so every strand crosses and touches another. Those contact points glue together as it dries and form a mesh shell.
Leave it overnight; it’s rigid once the yarn is no longer cool or damp. It’s fine for keys or jewelry but won’t hold water.
7. Guatemalan Worry Doll
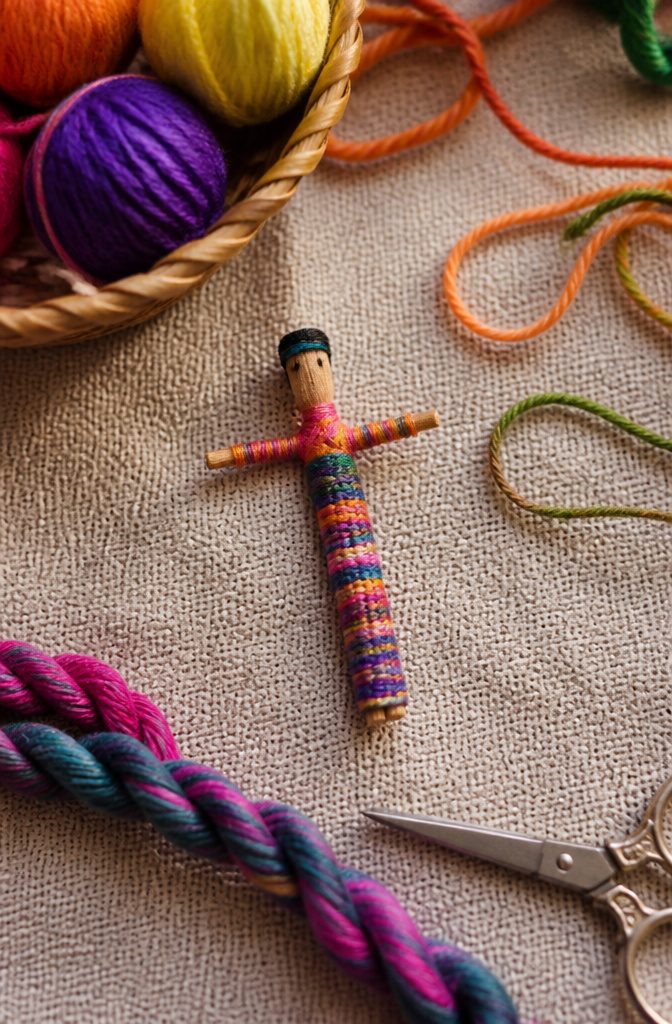
Traditional worry dolls run a bit over 1 inch tall, which is a lot to ask of small hands.
Scale them up and a kid can finish one alone. Small sticks from the yard work as the frame, and the whole build is wrapping: yarn goes around the stick tightly, in stripes or random colors, until no wood shows.
Wrap snugly, since loose loops slide and bunch. Shorter strands tied or glued on become arms and hair, and leftover scraps are all the yarn you need.
Kids tend to like the ritual more than the doll.
The idea is to tell your troubles to it at bedtime, then tuck it under the pillow or bed so it can take the worries away. I’d save this one for a quiet evening.
8. Paper Plate Dreamcatchers
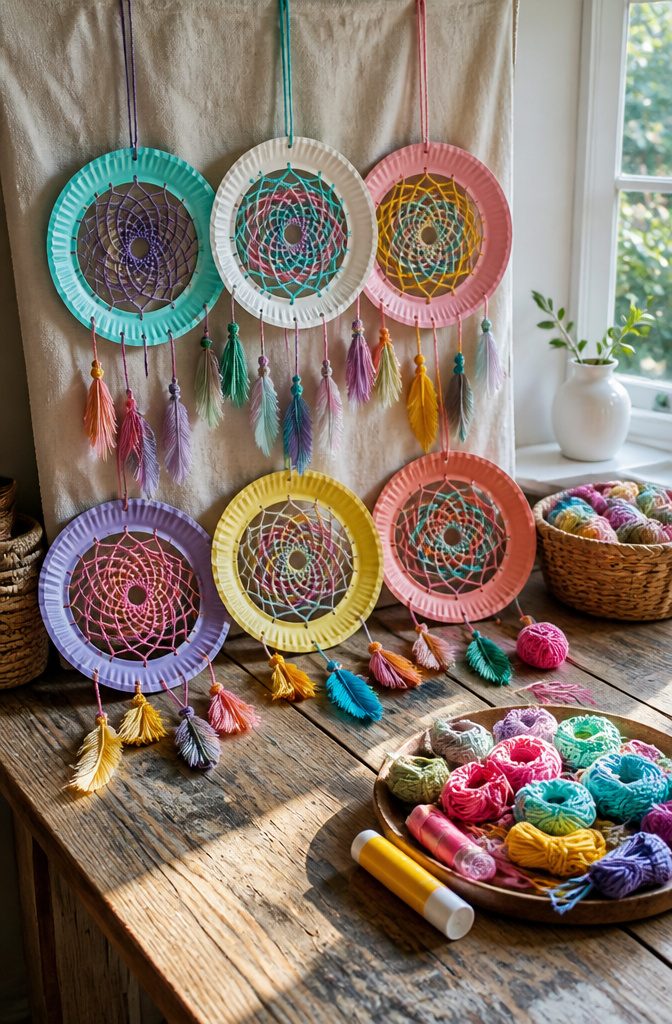
Cut the center out of a paper plate and you have a ready-made ring, which saves you from bending a hoop out of anything.
Punch holes around the inside edge, tie the yarn to one hole, and weave it across the ring from hole to hole, looping back around each strand as you pass it so a web pattern builds toward the middle.
Younger kids will need a grown-up to tie the knots, and that is where I would step in: the starting knot and the final one. Kids in the 5–11 range can handle the weaving on their own.
For decoration, wrap scraps of yarn around the plate’s face and glue them down as you go.
Glue each wrap as you go so the rim stays covered and nothing slips. Tie short strands to the bottom of the ring for dangling pieces.
9. Yarn Door Tassel
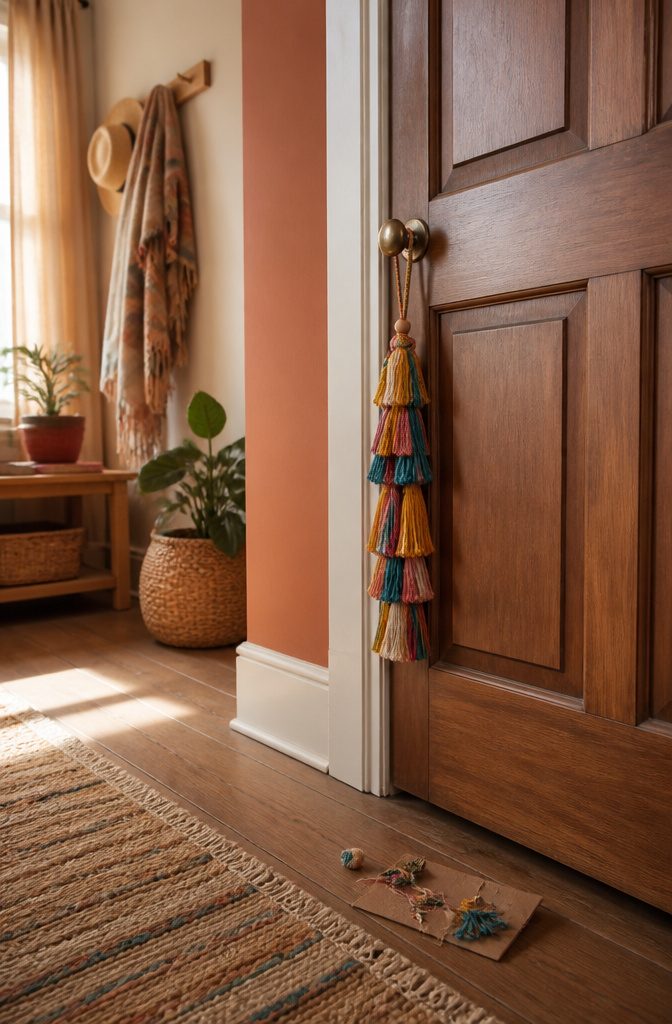
A big tassel starts with the wrapping, and the wrapping decides how full it looks.
Wind the yarn around a piece of cardboard cut taller than the length you want, since the tassel will end up a bit shorter than the board.
Keep going until the bundle feels fat; thin yarn wraps need many more turns than chunky ones, and a skimpy tassel looks sad on a doorknob.
Slide a short strand under the top loops and tie it tight, then cut the bottom loops and pull the bundle off the board.
Wrap another strand around the bundle a little below the top to form the head, knot it, and tuck the ends in. Leave the tying strand long, then loop it over the doorknob.
Trim the bottom last, with the tassel hanging, so the ends come out even. Cut the fringe only after it has hung for a minute, because the strands settle and show where the uneven ones are.
10. Wrapped Scarf
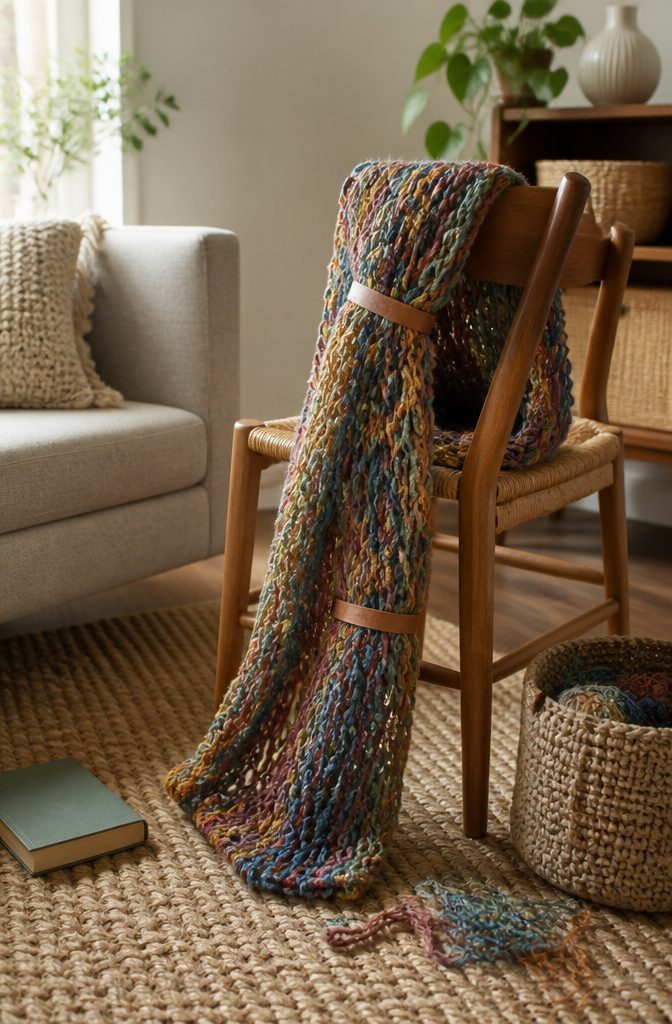
A wrapped scarf needs no needles, no hook and no stitch count. You wind a skein of yarn around the back of a chair, so the chair becomes your loom and sets the length for you.
Then you tie the wrapped strands together at intervals with three pieces of leather, which keeps the loops from sliding apart.
I like this one for people who have never touched yarn, since the only skill involved is going around and around. Pull the wraps evenly snug, not tight, or the scarf puckers once it leaves the chair.
It works up as a chunky, loose scarf rather than a smooth one. It looks stylish and keeps you warm, but it won’t drape like knit fabric.
11. Yarn Wall Art
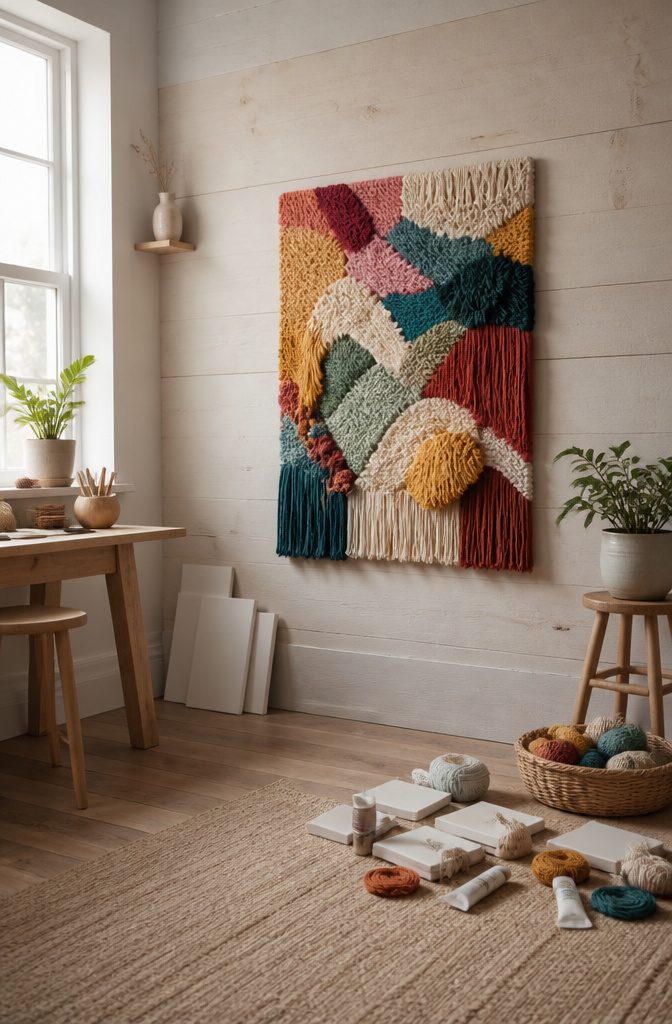
Mini stretched canvases are the easiest base for glued yarn art, and the method is simple: cut yarn into short pieces for the background and longer ones for the foreground, then glue the background down first with clear-drying glue.
Let it dry completely. A coat of acrylic paint over the whole design is optional, but it gives the piece a unified, painted-on look that I like better than bare yarn.
For stitched art, plastic canvas in an empty frame works well.
Trace a simple shape on it with a marker, outline it in yarn with an embroidery needle, then fill in the color and trim the loose ends. Bold, graphic shapes read best on a wall.
12. Yarn Bunny
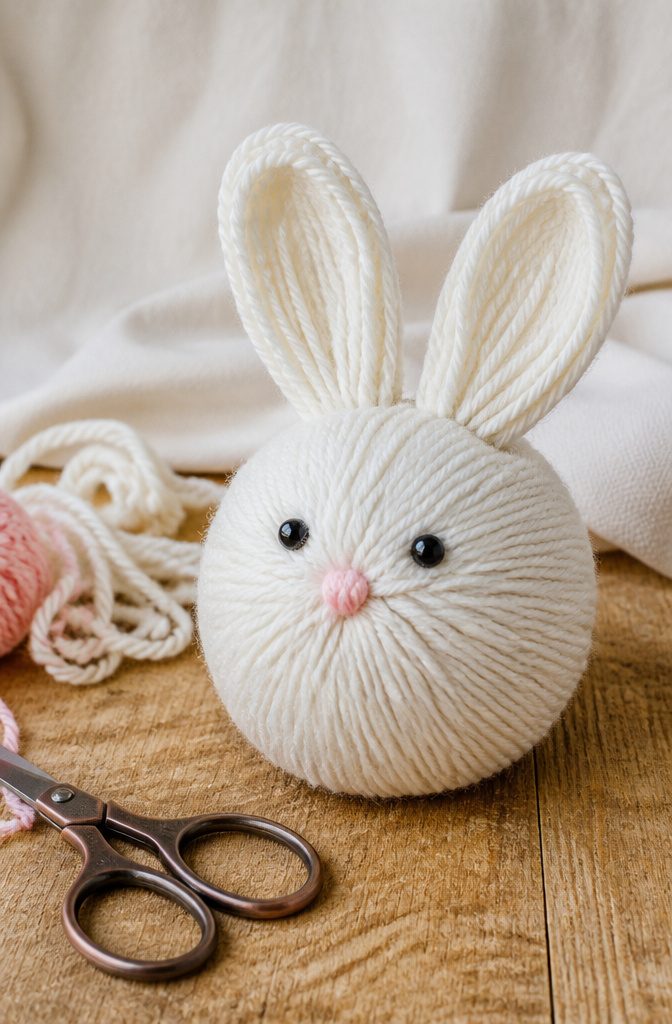
A yarn bunny is a pom-pom with a few extras, and the wrap is where it succeeds or fails.
Wind yarn around your fingers or a piece of cardboard until the bundle feels fat and dense, tie the center tightly with a separate strand, cut the loops, and trim to a round ball.
A thin wrap gives you a sparse, floppy bunny, so keep wrapping past the point where it seems like enough.
For the ears, I like to make a second, smaller wrap and pinch it into a long oval, or fold a loop of yarn and tie it at the base.
Tie both ears to the top of the head with a knot, then trim the ends flush.
A small white pom-pom glued or tied to the back makes the tail. Two dots of black marker or tiny beads work for eyes, and I’d skip googly eyes, since they fall off with handling.
13. Mini Rainbow Keychain
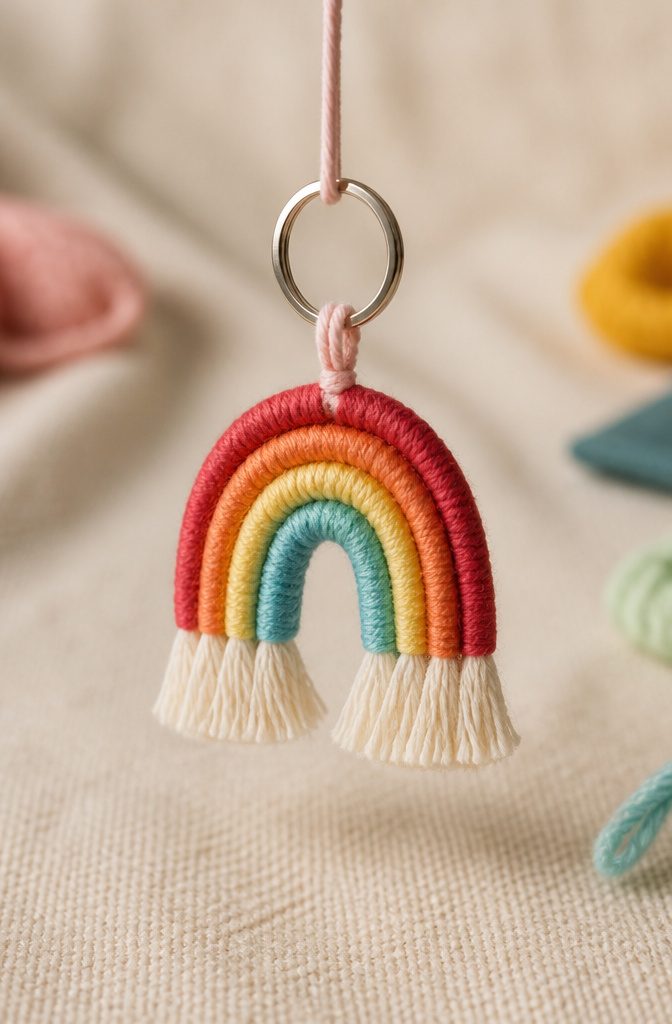
Thirty minutes and under $1 is the whole pitch for this keychain, and it holds up because the build is so small.
You need cotton rope (5mm wide), yarn in three colors, masking tape, a 10mm jump ring, a keychain, and a scrap of felt. Scissors, jewelry pliers, a hot glue gun, and measuring tape cover the tools.
Cut the rope into six pieces and the yarn into six pieces per color.
The yarn is what makes the rainbow, so choose colors that sit well together. Tape the rope flat before gluing, because a rope that shifts mid-bead of glue ruins the spacing.
Cover each glued end with a felt circle. It hides the glue and stops fraying, and it’s the step I’d never skip.
Trace a small object if you have no template. Then attach the jump ring with pliers.
14. Yarn-Wrapped Lantern
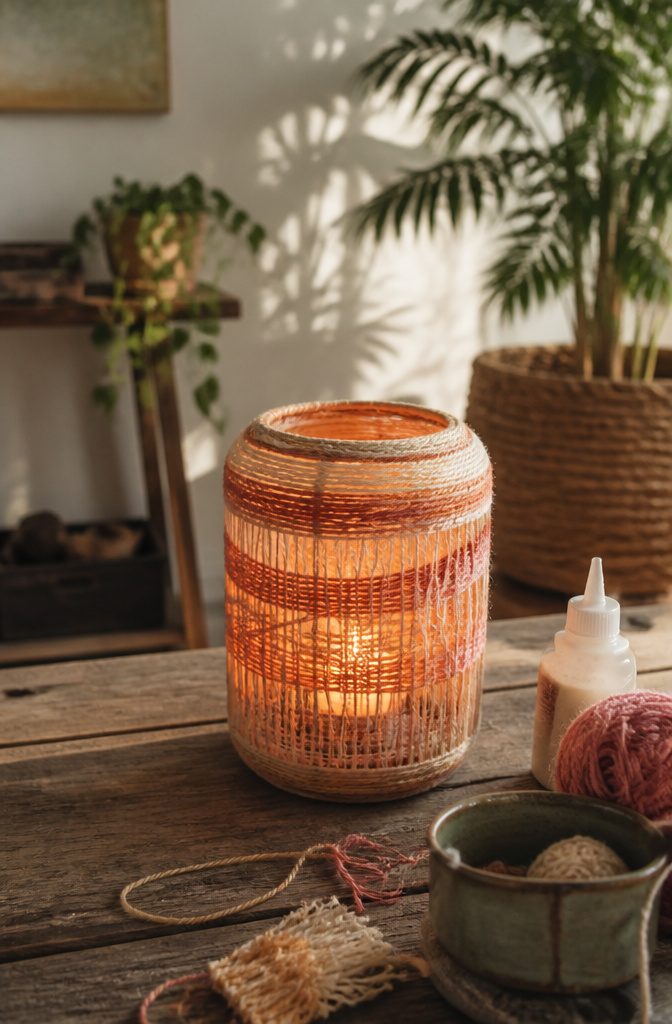
A yarn-wrapped lantern gives you a warm, glowing look from a few inexpensive materials, and it fits an afternoon. Beginners can finish one in a few hours.
Start with a plain lantern as the base, since the shape does half the work.
Glue is what holds the whole thing together, so I’d lay down a thin line along one vertical edge, press the yarn end into it, and wind outward in tight, even passes.
Glue in small stretches rather than the whole lantern at once; it grabs before it can dry out.
Leave gaps between wraps.
Open spacing lets light slip through, while tight wrapping makes a solid, cozy sleeve that glows less. I prefer a mix of both.
15. Yarn Fringe Pendant Light
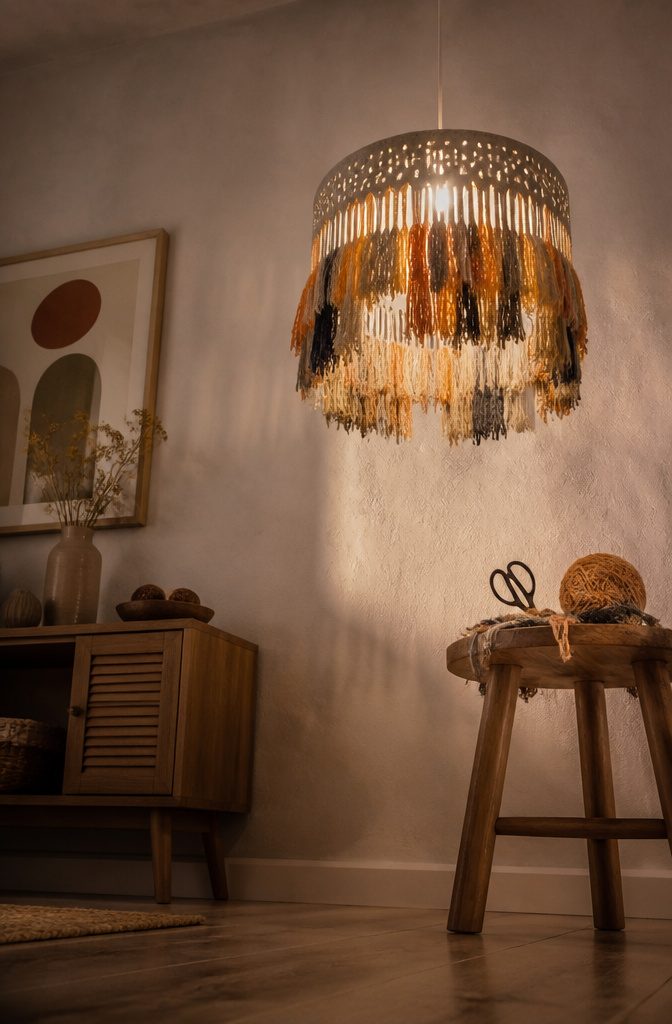
The shade is a laser-cut piece, and the material you pick sets the whole look: MDF, plywood, walnut, or acrylic all work.
Walnut and plywood give a warm, wood-grain backdrop for the yarn, while acrylic lets light pass straight through. I’d pick plywood for a first try because it’s cheap and easy to glue onto.
The fringe is simply yarn cut into strands and attached along the shade, so a pair of scissors handles most of the work.
Cut every strand to the same length before you attach any, because uneven ends are the first thing a lit shade shows off.
The electrical side needs a socket, socket cover, canopy, cord, and wire cutters. Keep the yarn clear of the socket itself, and let the cover do the hiding.
16. Yarn Pumpkins
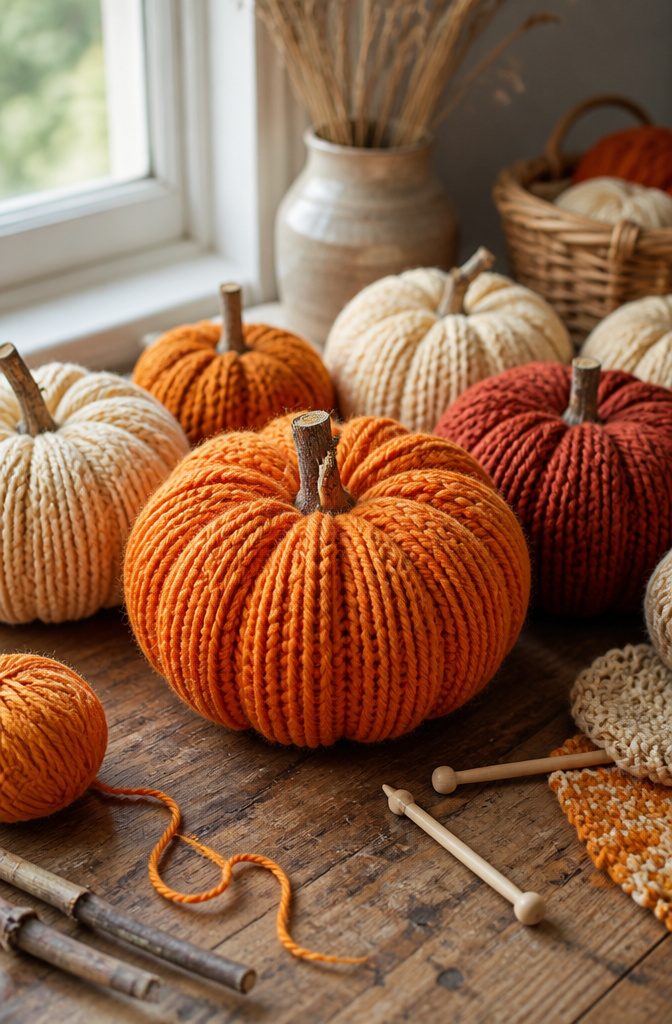
Knit pumpkins ask for very little: scrap yarn, a set of size 7 double-pointed needles, a yarn needle, polyfill, and a few twigs for the tops.
Orange is the obvious color, but the size and color are yours to change, and a funky pumpkin in cream, rust or even purple looks good on a fall shelf.
Gauge is optional, which is the best news for a beginner, since a pumpkin that comes out slightly larger or smaller is still a pumpkin.
Stuff it firmly with polyfill before you close the top, because a loosely packed knit slumps flat on the table.
Use a real twig for the stem, pushed into the gathered top and stitched down with the yarn needle. A small cluster of these on a mantel or as a centerpiece costs next to nothing and fits in an afternoon.
17. Yarn Dolls
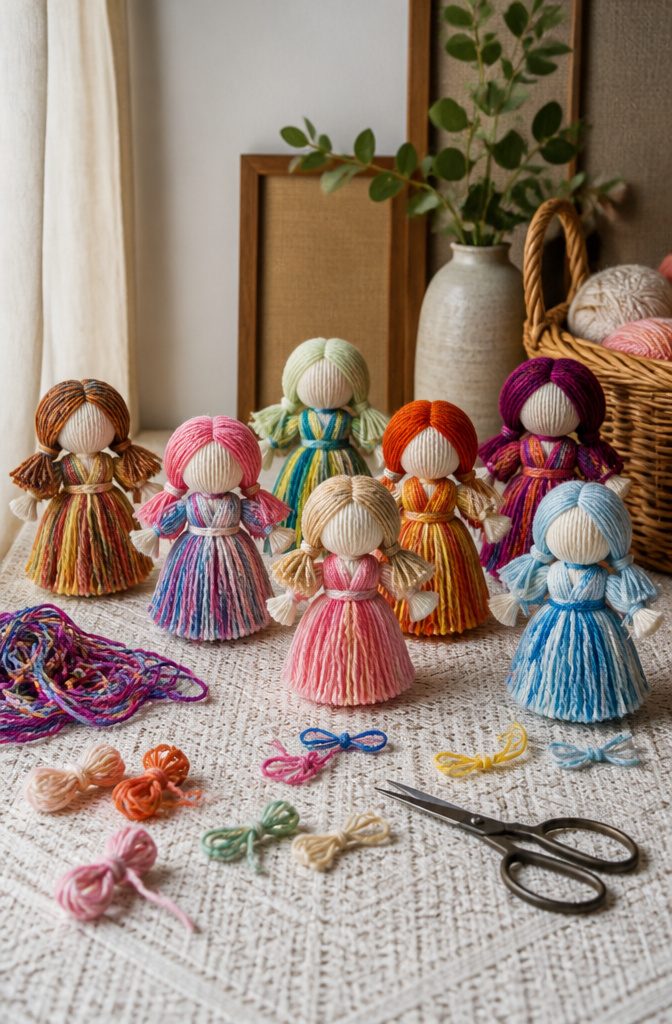
A yarn doll starts with about 100 wraps of yarn around your hand, and that bundle becomes the whole body.
Slide it off carefully so the loops stay together, then tie a length of yarn near the top to pinch off the head. Wrap, slide, tie is really the entire technique.
Arms and legs are shorter pieces of yarn tied or glued into place, and hair is the same trick with another snippet. I’d glue the arms if kids are doing the tying, since small knots slip.
Dress the doll by wrapping more yarn around the body or adding tiny bits of fabric. Because every part is cut from scraps, this is one of the easiest ways to use up the odd leftover bits in your basket.
18. Yarn-Wrapped Letters
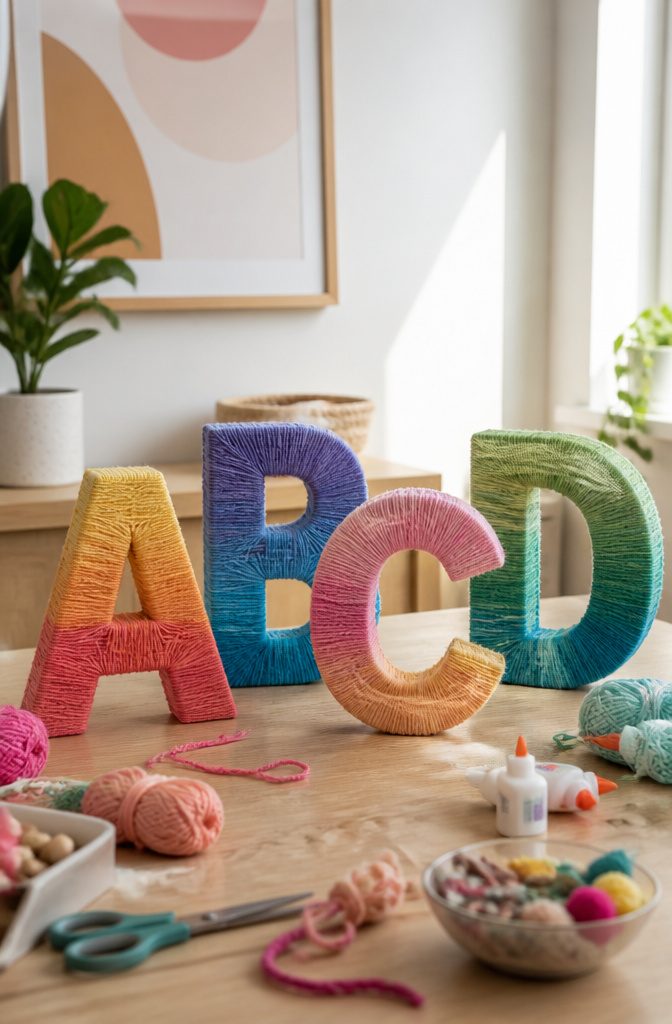
Cardboard or wooden letters both work, and I lean toward wood or thick chipboard for anything that will stand or hang for a while, since thin cardboard bows under the tension of tight wrapping.
Use whatever is in your drawer: a tacky craft glue and any yarn you already own.
Start by gluing the yarn tail to the back edge and let it set for a minute.
Then wrap snugly, laying each strand right against the last so no letter shows through. Keep the wraps tight and side by side, because gaps are the one thing that makes a wrapped letter look homemade in the wrong way.
For an ombre look, switch to a new shade partway down and glue the tail again.
Tuck the final end behind the letter. These suit a nursery, a bedroom door, or a photo collage, and finish in an afternoon.
19. Yarn Tassel Tote Bag
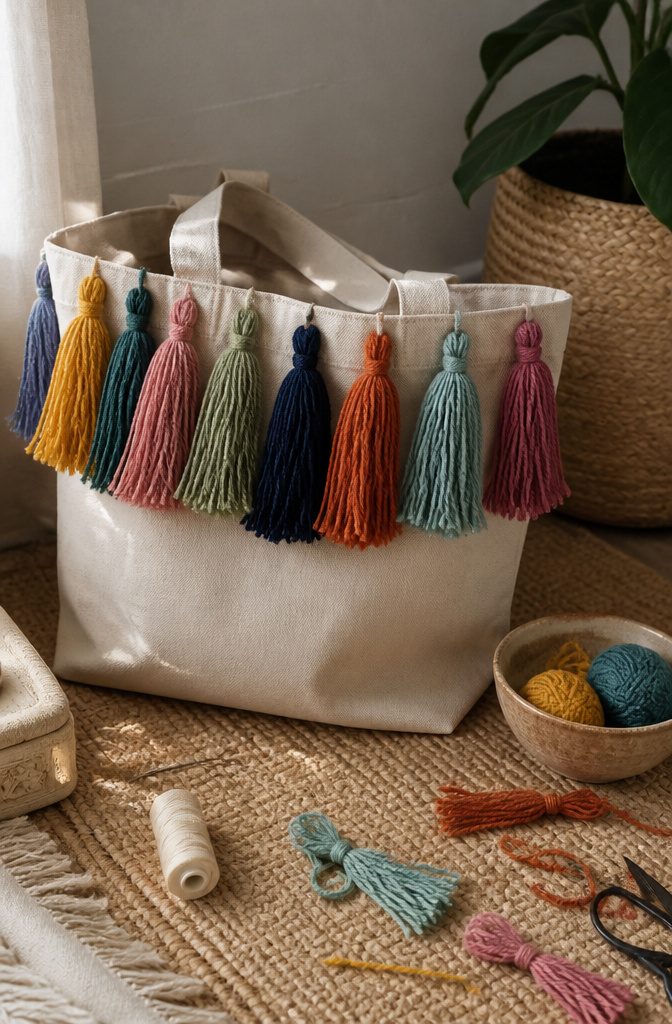
A flat canvas tote, assorted yarn, a piece of cardboard, and a needle and thread are all this project takes. Cut 24 strands of yarn per tassel, fold them in half, and loop them over the top of the cardboard.
Pull the ends through the loop and tighten, and the tassel is done. Repeat until the yarn runs out.
Sewing is the step that decides whether the bag looks planned. Space the tassels evenly along the top edge and stitch each one down with needle and thread, so none can slide or fall off.
Trim the ends last, once everything is attached, so the fringe comes out the same length. I’d skip glue; thread holds up better on fabric that gets tugged.
20. Yarn Pompoms
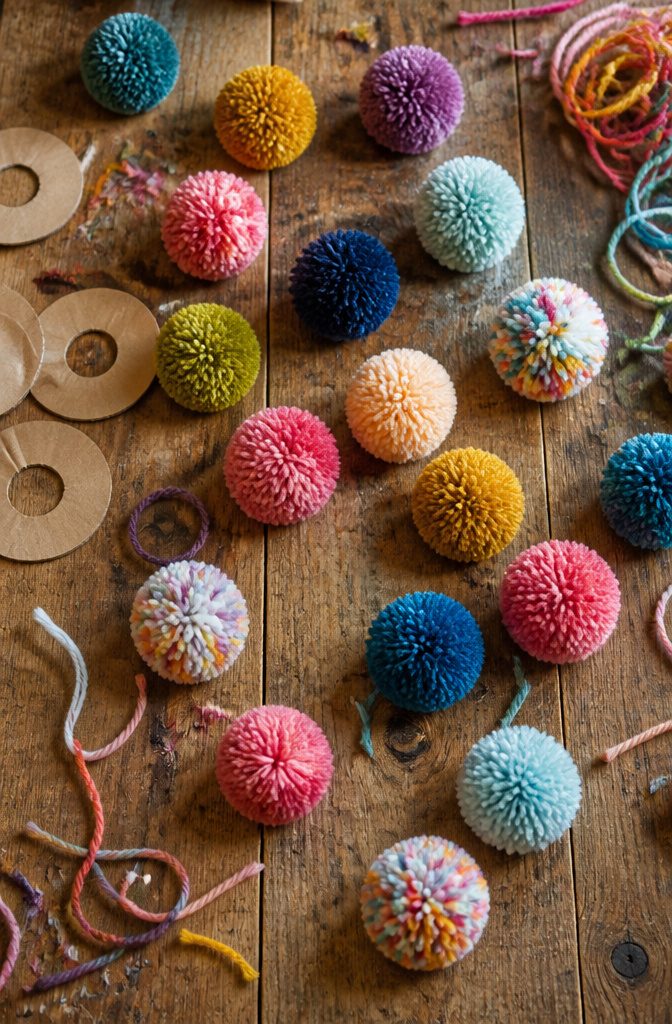
Cardboard circles and store-bought pom-pom makers both turn out a full, round pom-pom, and a fork makes a smaller one that suits keychains and gift toppers.
I’d pick a pom-pom maker if you plan to make a batch, since covering a wicker basket takes a bunch of them and the maker keeps every one the same size.
Cardboard costs nothing and uses what’s already in the recycling bin. Cut two matching rings, stack them, wrap the yarn around until the center hole is nearly closed, then snip along the outer edge.
Tie the center tightly with an extra length of yarn before you pull the rings away.
A loose tie sheds. Fluffy wool yarn gives the softest result, which matters for a pom-pom puppy that kids will hold.
21. Yarn Coasters
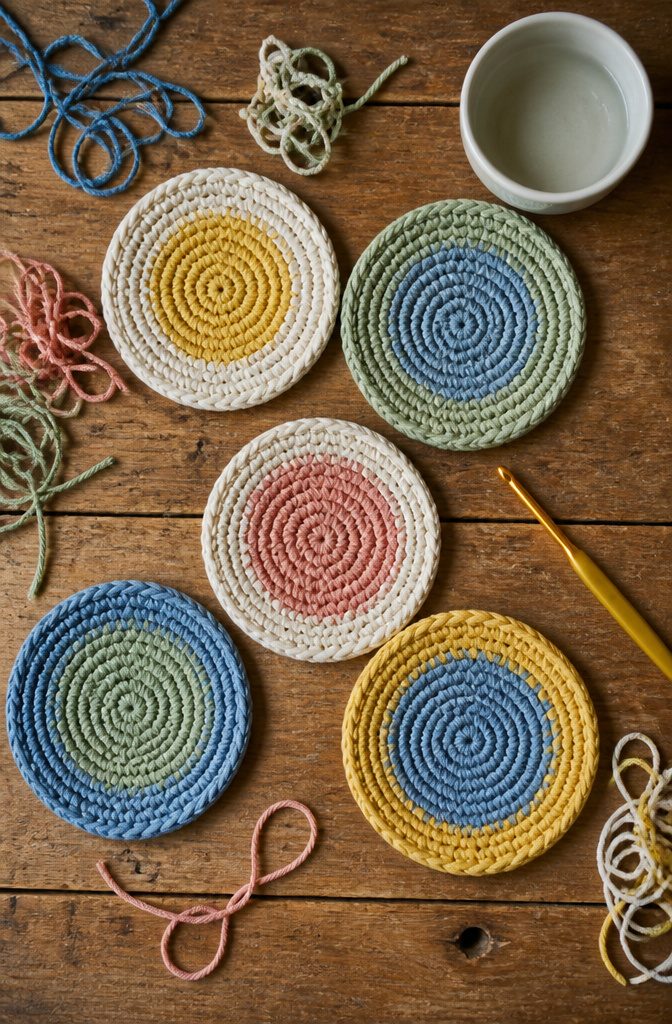
Coasters are one of the best uses for yarn odds and ends, since a single one takes only a small amount and the leftovers from a bigger project are usually enough.
Cotton is the fiber I’d pick. It soaks up condensation, dries quickly and holds up to daily use, which a fuzzy acrylic or wool won’t do as well under a sweating glass.
Three methods work. Coiling yarn into a flat spiral and gluing it down is the fastest and needs no hooks or needles.
Weaving on a small loom gives a tidy grid. Crochet is my favorite because it makes a sturdy, textured fabric that stays flat and takes hot mugs without fuss, though it asks for a little hook skill.
A set of four, tied with ribbon, makes an easy gift.
22. Yarn Wall Hanging
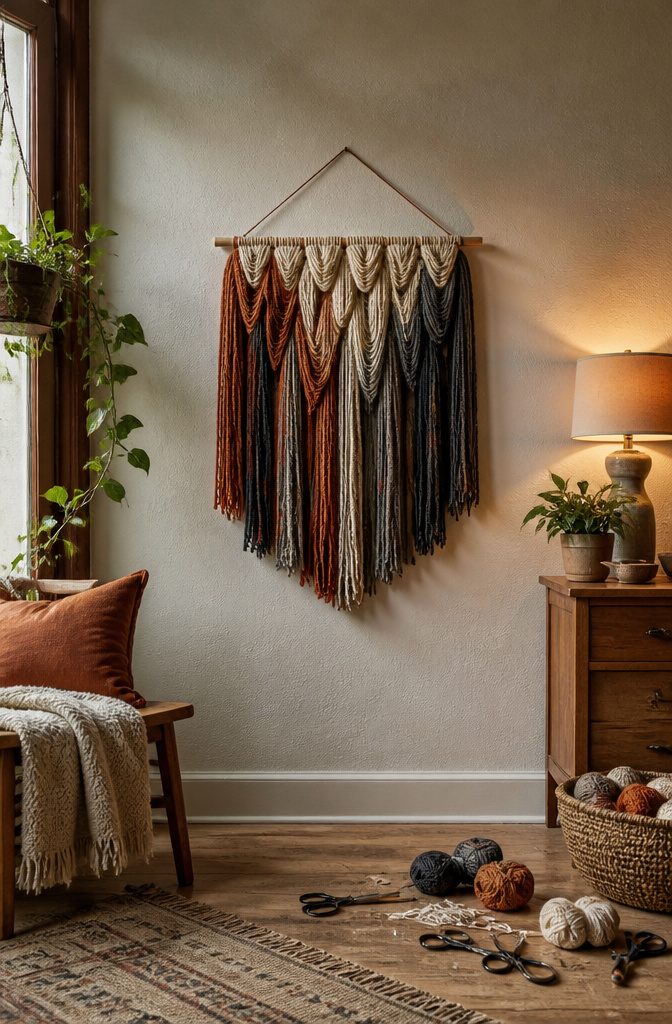
Cut the dowel to 21 inches. A saw is cleanest, but you can drill two holes at the length you want and snap it instead.
Then cut three lengths of yarn in colors that sit well together, each twice as long as the dowel, so 42 inches apiece.
Fold each length in half and loop it onto the dowel with a lark’s head knot, spacing the three evenly.
Cut every strand twice the dowel’s length and the fringe hangs full without running out. Leave long tails at both ends of the dowel for tying it off and hanging.
For layout, I’d keep the color order simple: dark in the middle, lighter on the sides. Trim the fringe straight across, or cut it into a shallow V.
23. Yarn Wreath
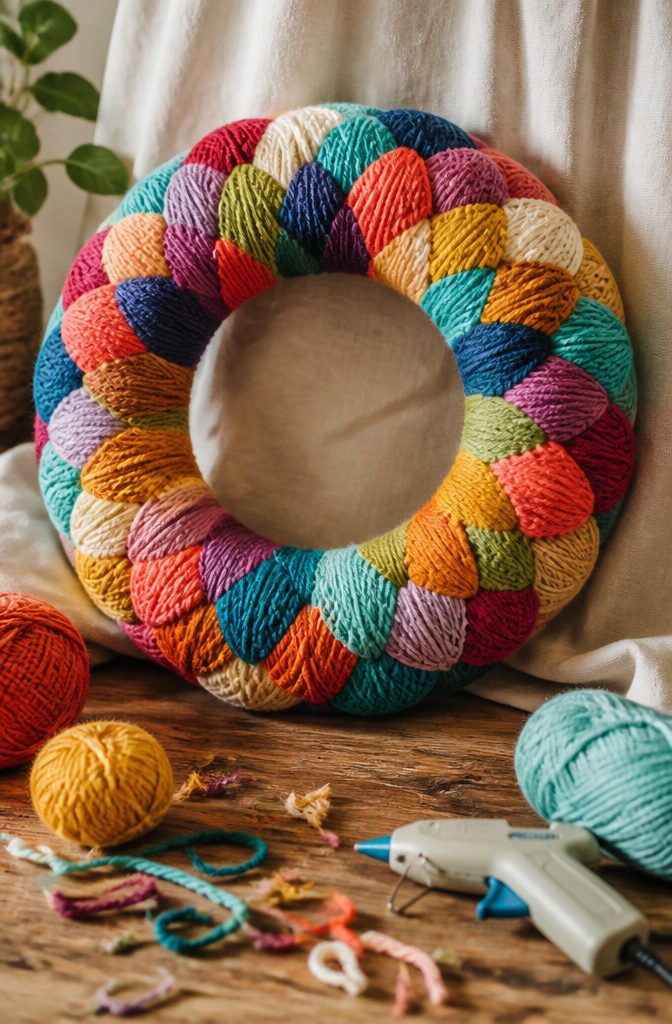
Foam or stick wreath forms both work, but foam gives the yarn something to grip, so the first wraps stay put while you find your rhythm.
Dab hot glue on the form, press down the yarn tail, and wrap each turn snug against the last so no form shows through.
Finger-knitted yarn makes a chunkier, textured wreath, and I’d pick it over plain wrapping if you want the ring to look handmade from across the room.
Glue the end down, trim with scissors, and tuck the tail out of sight.
Then decorate. Felt shapes are my pick for a flat, clean look, while buttons or beads add sparkle and weight.
Mark placement with a marker on the yarn before you glue, and lay everything out on the wreath dry first. Hot glue sets fast, and a crooked leaf is hard to move.
24. Yarn Bangle
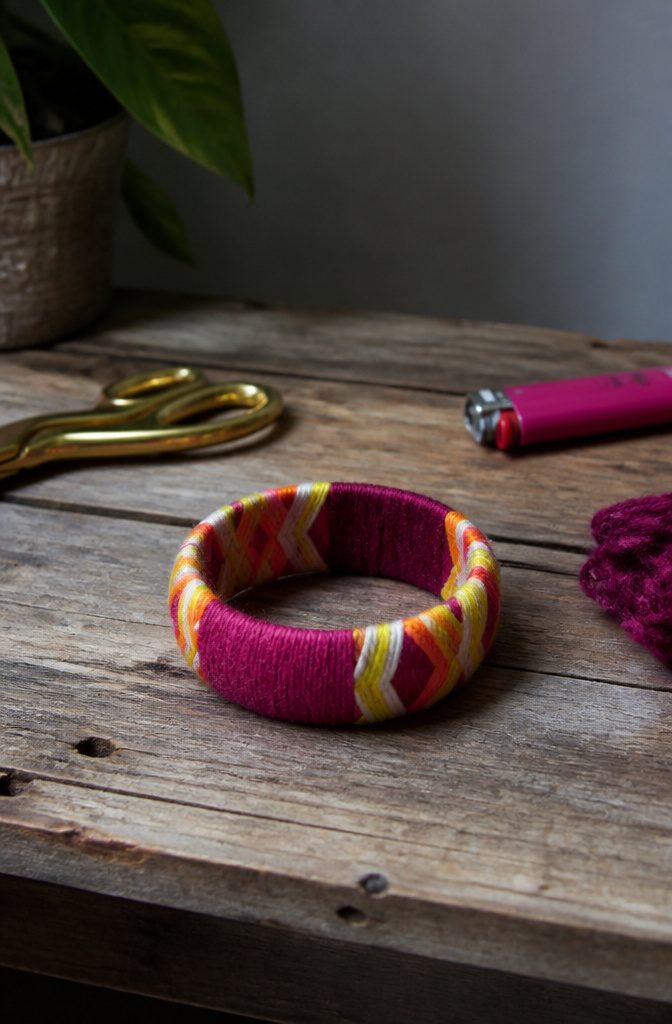
A plain wooden bangle blank is the best base, and a thrifted bangle works just as well if it’s smooth and sturdy. Cover it with double-sided tape first, so the yarn grips instead of sliding as you wrap.
The passage’s woven method uses three strands: one base color, one accent, and a binding strand cut twice as long as the other two.
Weaving the base and accent over and under each other gives a braided look. For a quicker version, skip the weaving and wrap a single strand snugly around the taped bangle, edge to edge.
Singed yarn ends fray less, so a quick pass with a lighter helps, though I’d keep it away from acrylic near your fingers.
Tie off with the binding yarn, trim the excess, and tuck the knot against the inside of the bangle where it won’t catch on sleeves. A blunt yarn needle makes that tucking easy.
25. Yarn Ornaments
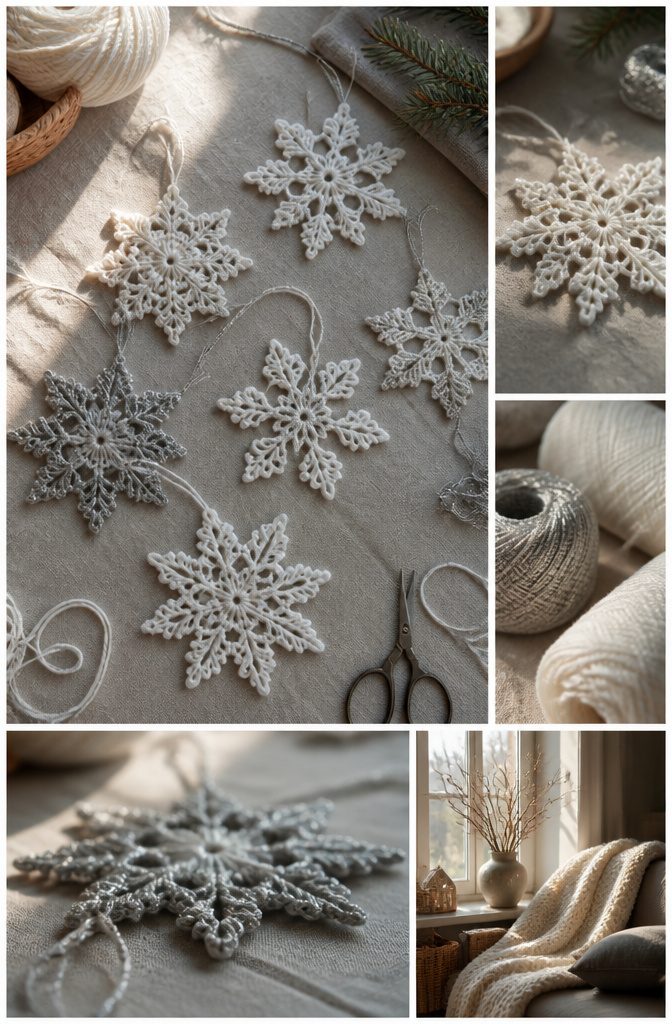
Snowflake ornaments are the winter project I’d start with: twist white or silver yarn around small sticks, and the sticks give the shape its arms.
Silver catches tree lights better, while white looks softer in a window. Hang them on the tree or in the window.
For hanging, tie a loop of the same yarn at the top so nothing visible competes with the design. A longer loop works in a window, where it can hang from a hook or the curtain rod.
If kids are helping, the ice cream cone yarn ornament is the friendlier pick.
It’s cute on the tree, and strung together as a garland it works just as well on a patio, which gives you a use for a whole batch.
Frequently Asked Questions
How do you make a yarn doll?
Wrap yarn about 100 times around your hand, slide the bundle off with the loops kept together, and tie a length of yarn near the top to pinch off the head.
Arms and legs are shorter pieces of yarn tied or glued into place, and hair works the same way. Gluing the arms is easier if kids are doing the work, since small knots slip.
What can I make with yarn and just my hands?
Pom-poms, tassels, friendship bracelets and wrapped yarn dolls need no needles or hooks.
A wrapped scarf also works, using a chair back as the loom, so the only skill is winding yarn around and around. Finger-knitting is another option, and it makes a chunky wreath.
What can I do with leftover yarn?
Scraps suit pom-poms, yarn dolls, Guatemalan worry dolls, coasters and tassels, since each uses only a small amount.
Cotton leftovers are the best pick for coasters. Wrapping a tote bag with tassels is another way to use up the odds and ends.
What are some easy yarn crafts for beginners?
Pom-poms, tassels, yarn-wrapped letters, a yarn rainbow and a wrapped scarf are good first projects because they rely on wrapping or tying rather than stitches.
A spool-knit owl and a simple knit hat are good next steps once you want to try knitting. Coiling yarn into a glued spiral makes the fastest coaster, with no hooks or needles.
How much yarn do I need for a scarf or a hat?
A beginner scarf usually takes about 300–400 yards, and a hat takes roughly 150–200 yards.
That means 500 yards can cover a scarf, or a hat plus a small item. Stuffed amigurumi toys often use under 200 yards.





