
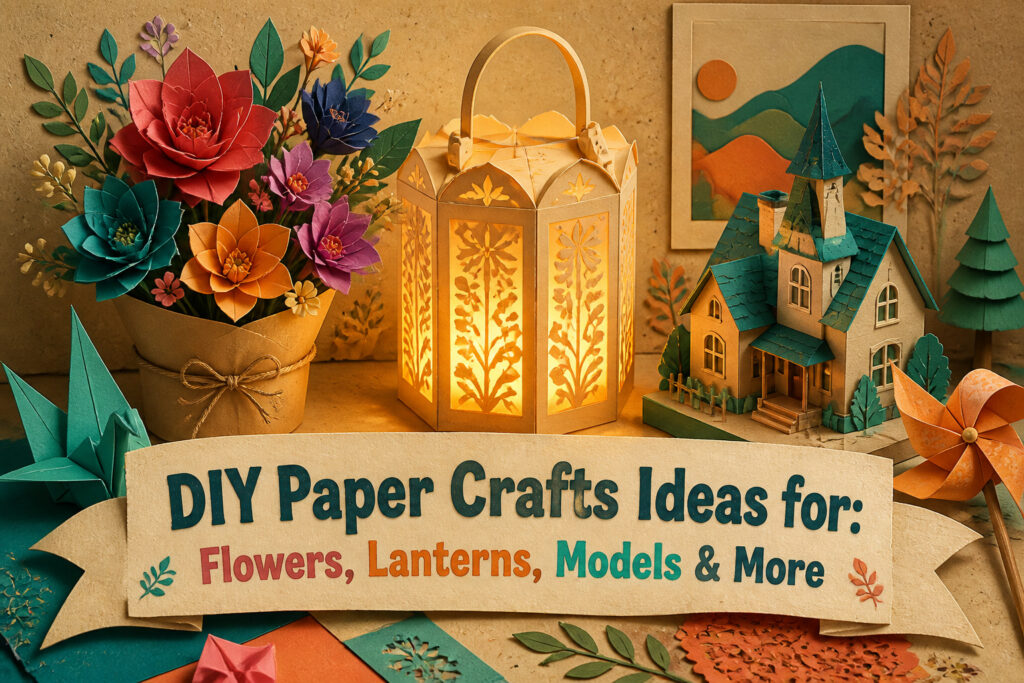
Paper crafts span the gap between a twenty-minute chain with a toddler and a two-day paper mâché bowl that demands drying time between every layer.
What decides which project is yours is not skill but patience: whether you can wait for glue to set before the next step, or need something finished by dinner.
The magazine-page beads that become bracelet-worthy jewelry look nothing like the scrap they started as, yet they ask for the same afternoon as the simplest pinwheel.
1. Paper Flowers
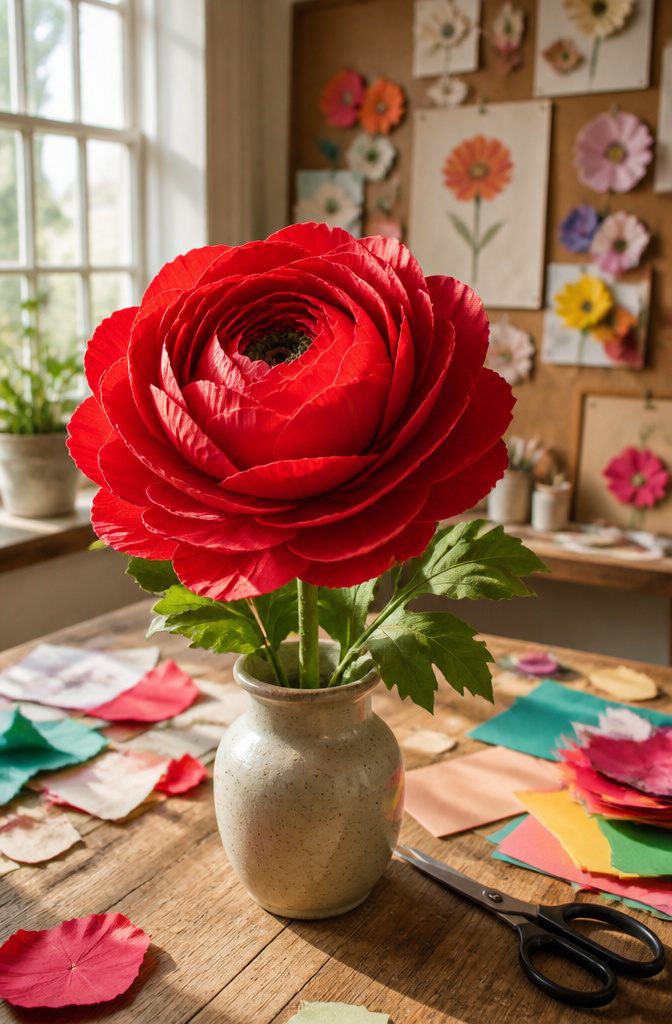
Bright cardstock or tissue paper, a pair of scissors, and glue are all it takes to build a paper flower from stacked petal shapes.
I cut the first round freehand, which gave the bloom a lopsided lean, so now I fold the paper in half and trace half a petal against the crease.
The symmetry holds when I unfold it, and stacking three or four sizes, smallest on top, builds the cupped shape of a ranunculus or a rose without any origami precision.
Construction paper holds the creases stiff, so the petals stay open. Tissue paper creates softer, more believable edges, but it tears if you handle the layers too much while the glue is wet.
Either material gets the job done in a single afternoon, and the finished flowers work pinned to a gift, clustered on a branch, or dropped into a bowl as a centerpiece.
These paper flowers are easy enough that even a child can make them. The bold colors of cheap construction paper actually help; a saturated red or yellow forgives uneven edges and still reads as a flower from across the room.
My own early attempts looked more like lopsided pinwheels until I stopped cutting every petal identical and started trimming the inner layers slightly shorter, which forces the natural taper of a real bloom.
Glue the base of each petal, not the tip, so the top edge stays free to curl outward.

Waterproof and quick-drying: This flower glue offers strong, waterproof bonding. When creating floral arrangements such as corsages, floral bracelets and floral brooches, it bonds securely to create a smooth, seamless finish. It effectively minimises creasing and distortion whilst preserving the integrity of fresh and dried floral materials, preventing them from falling off when exposed to water.

Handmade Mulberry paper leaves made by beautiful mulberry paper from the north of THAILAND this material is perfect for making an impression for the people special to you. Some examples are using it for wedding cards, greeting cards, invitation cards, gift bags, stationary, photo albums, scrapbooking, photo frames, notebook decorations, bookmarks, souvenirs, party decorations and many others.

2. Paper Butterflies
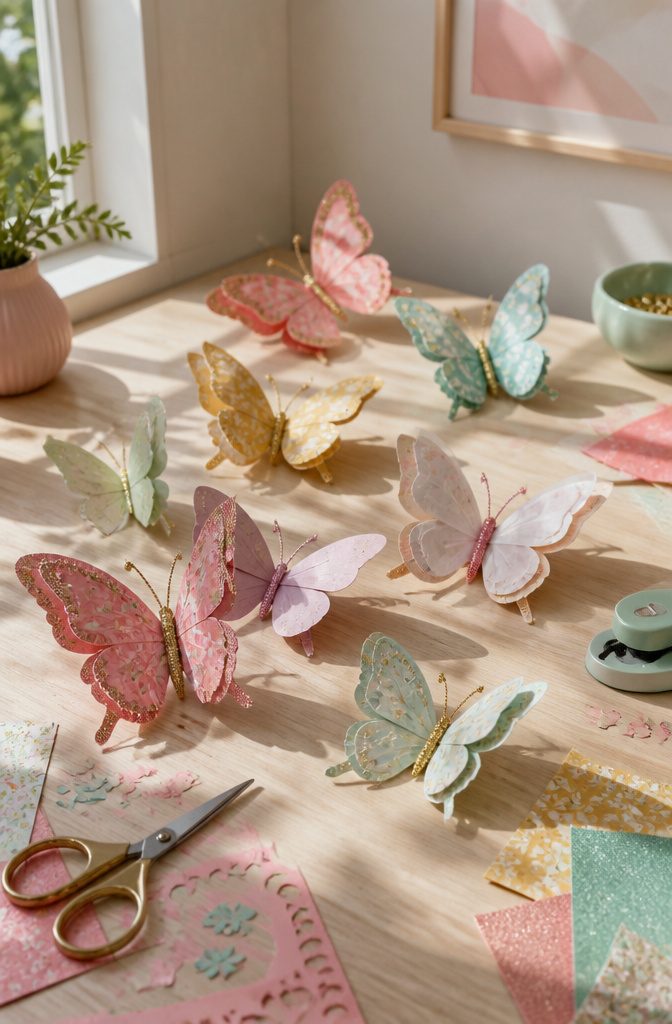
Paper butterflies work at almost any skill level, which is why they keep showing up in afternoon craft sessions.
The basic version needs only a sheet of construction paper or scrapbook paper folded in half: trace half a butterfly shape against the fold, cut, and unfold to a perfectly symmetrical pair of wings.
Free-cutting without a template gives a looser look, though printable templates in three sizes exist if you want matching shapes for a wall display.
For sturdier decorations, colored cardstock holds a crease better than thin paper.
Score two lines down the center to create a rectangular glue tab, then attach the butterflies to a backing sheet in descending size order, mixing in glitter paper for a few accent pieces.
Transparent vellum or tissue paper layered over opaque wings adds depth without much extra work.
Kids handle the folding and basic cutting easily. Adults can push further with patterned scrapbook paper, beaded antennae, or more detailed body shapes.
Pipe cleaners work in a pinch if you do not have beads. Display them flat against a wall, string them into a mobile, or press them onto a lampshade where light catches the layered wings.

Generous Pack Size: Includes 100 sheets of garden flower tissue paper with greenery botanical design, providing ample supply for multiple gift wrapping projects and craft activities.

Dimensions: A size of 11.5 x 8 inches is convenient to meet your small item gift wrapping decorating demands, and it’s easily cut into smaller sizes tissue paper squares to create a collage, school kids works, and so on

3. Paper Beads
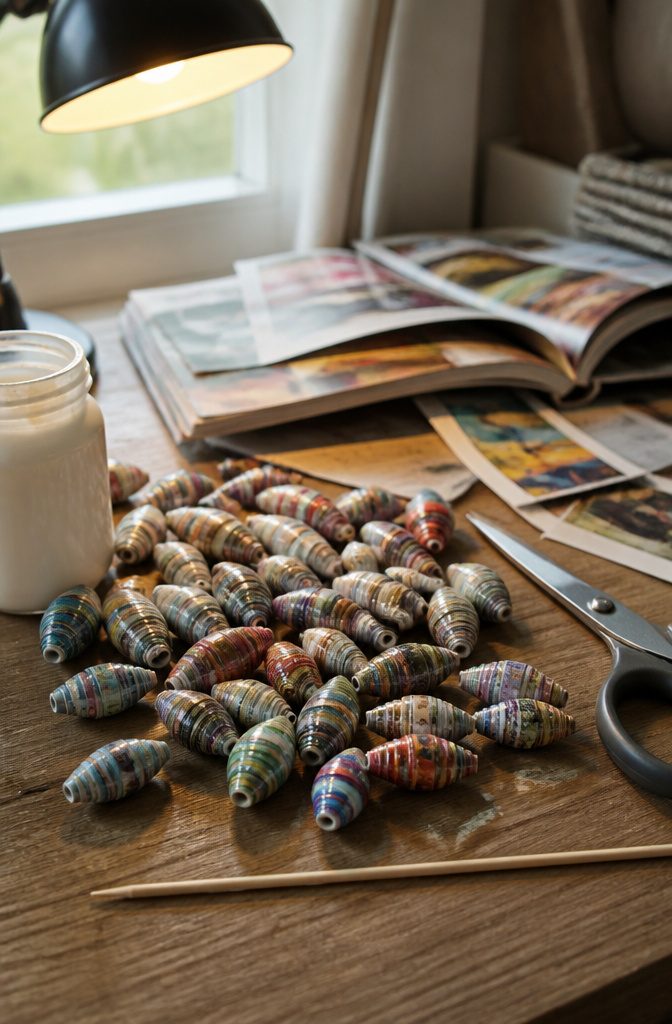
Magazine pages that would otherwise hit the recycling bin make the best paper beads, and the results look nothing like the scrap they came from.
Cut long triangles out of old magazine pages or colored paper, then roll them tightly around a wooden skewer or toothpick.
A dab of glue near the end holds the shape, and brushing on Mod Podge or clear nail polish seals the surface and adds a slight gloss that makes the bead look finished.
Old magazine pages work better than plain copy paper because the printed color becomes the pattern, and the clay-coated stock holds its roll without splitting.
Thinner paper crumples if the triangle is too narrow; heavier stock needs a sharper point to taper neatly.
One skewer can hold several beads while they dry. Slide them off once the sealant hardens, and string them into bracelets or necklaces, or thread them onto safety pins for jacket flair.
The whole process takes under an afternoon, and the only bought supply is the adhesive. Everything else was already heading for the bin.

LET YOUR CRAFTS TAKE FLIGHT: Add a flutter of fun to your craft projects with Butterfly Cutouts from FreshCut Crafts! This set includes 20 multicolor cardstock sheets featuring butterflies in two different sizes, making it easy to add dimension and charm to your bulletin boards, spring displays, and creative lessons—no scissors needed.

PACKAGE INCLUDES: You'll get 54 paper cutouts in 9 shapes (6 pcs each style)and 100 adhesive dots, enough to meet your needs.

Stunning Butterfly Decor: the butterfly decoration set includes 18 large butterflies in two sizes, feathers measuring 15.75 inches/ 40 cm and 9.84 inches/ 25 cm, with 6 designs; This variety allows for extensive and full coverage on walls or backgrounds, creating a captivating and lush visual effect for any event or space
4. Paper Chains
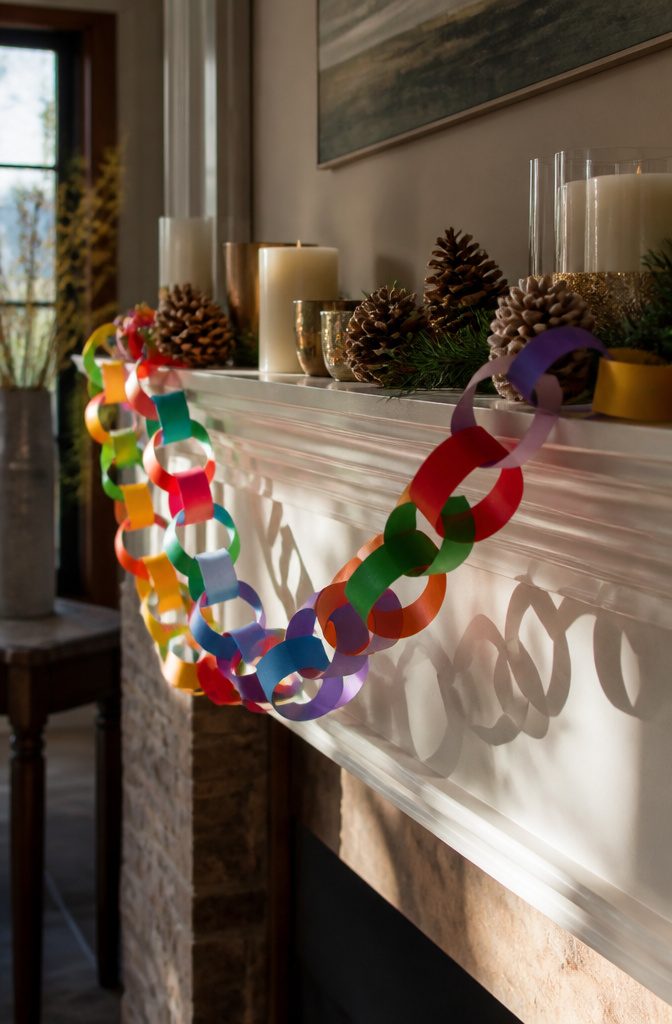
The loop-and-link method is the easiest way possible to make paper chains, and it still holds up after all these years.
A strip of construction paper gets one dab of adhesive glue, you press the ends into a ring, then thread the next strip through that ring before sealing it.
Repeat until the chain is long enough to drape a mantel or a doorway.
Kids can manage this with scissors and a ruler, which makes it a reliable afternoon project when school is out.
The same setup works for holidays, swapping red and green for Christmas or orange and black for Halloween. Adults tend to reach for it too when a party needs fast color and there is no time for anything fussier.
Construction paper is the standard material, though colored cardstock holds the shape longer if you want the chain to survive a whole season.
What keeps this alive as a craft is that it scales in both directions.
A preschooler makes five loops and calls it done. Someone with sharper scissors and a pen for marking even widths can run a hundred links in an hour and fill a whole room.
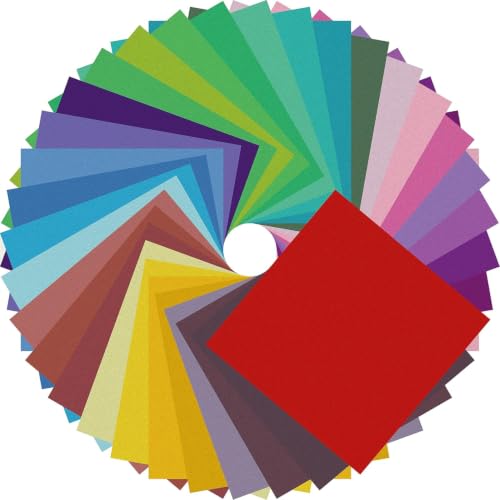
Premium Craft Paper: Thick wood pulp origami sheets hold crisp clean creases without tearing or splitting during repeated folding; neatly cut square edges and rich assorted solid colors simplify folding cranes, flowers and modular origami, solving the common trouble of thin flimsy paper failing detailed handmade crafts
5. Paper Wreaths
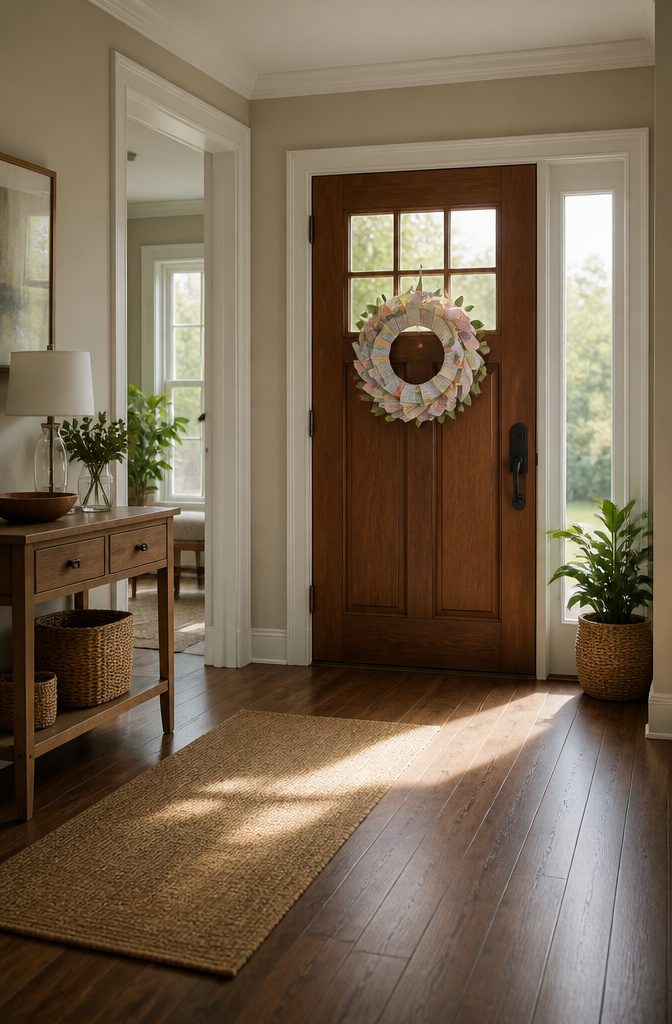
A paper wreath can hang on your door in December or stay up through July, and the base is what makes that flexibility possible. Most builds start with a styrofoam ring as the armature.
Patterned paper strips loop around it, adhesive pressed to hold the ends together before the rest of the strip sticks to itself. The pattern faces outward, so what shows is the side you chose.
The leaf variation opens up the material choices.
Cardstock, wrapping paper, textured stock, or solid color paper each give the finished wreath a totally different feel. One sheet type reads as craft-room cheerful; another turns the same shape into something almost botanical.
Skill level shifts with the layering.
The strip-loop method is nearly instant. A leaf build means cutting individual shapes and deciding how densely to overlap them, which takes longer but builds more depth.
Either way, a "V" cut at the strip end, or the angle of a leaf stem, is the small move that makes the silhouette read as intentional rather than piled-on.
6. Paper Pinwheels
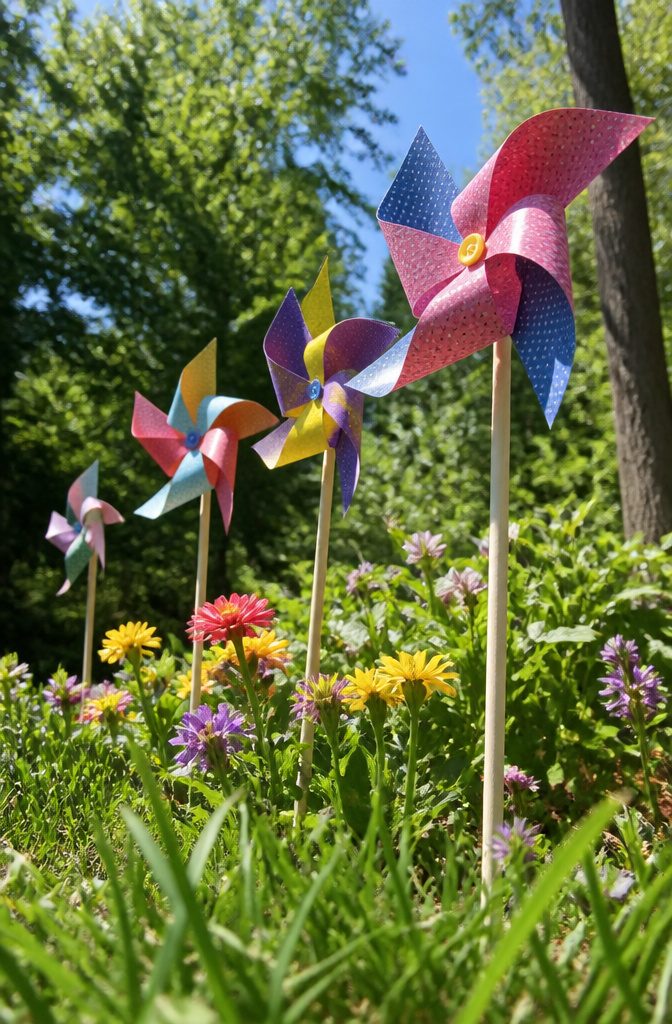
Square paper cuts into a classic pinwheel faster than most projects on this list. Fold the sheet diagonally both ways to mark the center, then cut from each corner toward the middle, stopping about halfway.
Bring every other corner into the center and fasten them with a push pin or a small brad, and the pinwheel will spin freely when you push that same pin through a straw, pencil, or wooden dowel.
Kids can handle the folding and cutting themselves, but the pin calls for an adult hand.
I have seen a child try to force a push pin through cardstock and bend the shaft sideways, so hold the pin steady while they press and the assembly stays intact.
Seasonally, these read summer instantly, and red-white-blue paper shifts them straight to Fourth of July without any redesign.
Double-sided paper gives you two colors in one spin, and scaling the square down makes cupcake toppers or up makes lawn decorations, both from the same template.
7. Paper Garlands
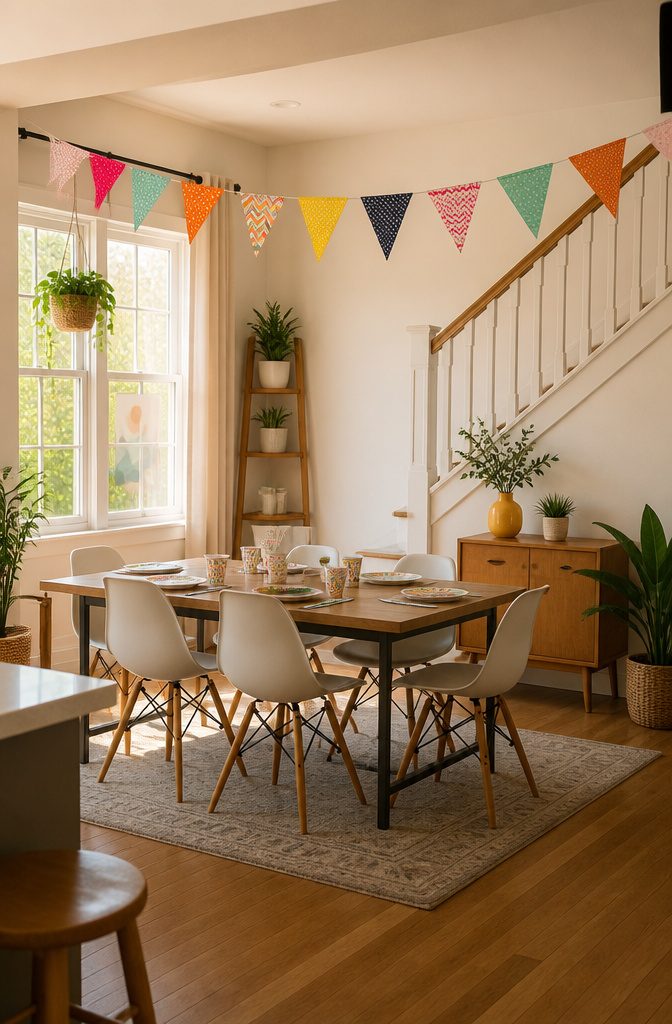
Paper garlands sit in that sweet spot where a project looks like more work than it actually is.
A stack of cardstock triangles, a hole punch, and kitchen twine are enough to string a doorway full of color in under an hour.
The shape matters less than the repetition: circles read playful, triangles feel modern, and seasonal cutouts (hearts, leaves, stars) make the same materials work for any holiday without buying new supplies.
Scrapbook paper with a small repeating pattern holds up better than thin printer paper, which wilts after a week.
For parties, I string garlands about a foot apart so they photograph well without blocking conversation across a table. In a kid’s room, denser spacing and double-sided tape on the wall turn the same shapes into a semi-permanent backdrop.
The time scales cleanly.
Twenty shapes make a mantel accent; two hundred shapes fill a whole patio for a summer dinner. The cutting is the slow part, so a $5 rotary cutter pays for itself if you plan to make more than one.
8. Paper Mâché Bowls
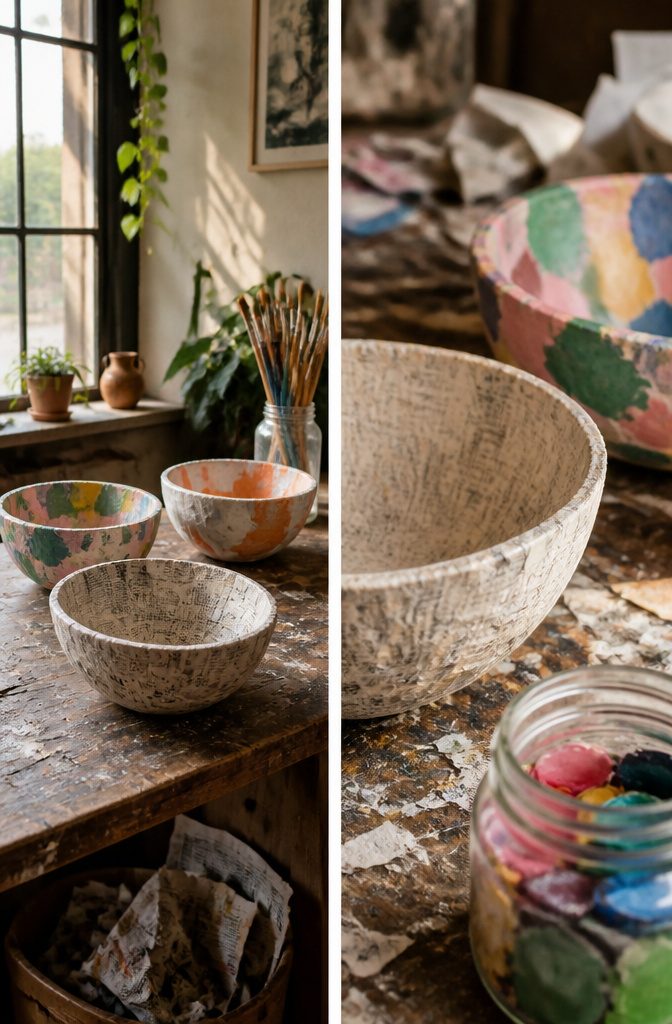
Newspaper strips and a flour paste turn an ordinary bowl into a mold for something sturdier than you’d expect.
Tear the paper into rough two-inch strips, dip them through the paste, and lay them across the outside of a bowl you’ve wrapped in plastic.
Six layers will give you a rigid form that holds its shape, but the work happens in stages; each layer needs to dry before the next goes on, and that means this is a two-day project, not an afternoon one.
The stripping away is where patience pays off. Once the paper shell feels completely dry, peel the plastic away from the original bowl and the new one should release clean.
The inside stays rough, the outside carries the seam lines, and both of those take paint or Mod Podge differently than raw paper would.
Acrylic paint covers evenly, a coat of sealer makes it practical for actual use, and book pages instead of newsprint give a completely different surface to work with.
9. Origami Projects
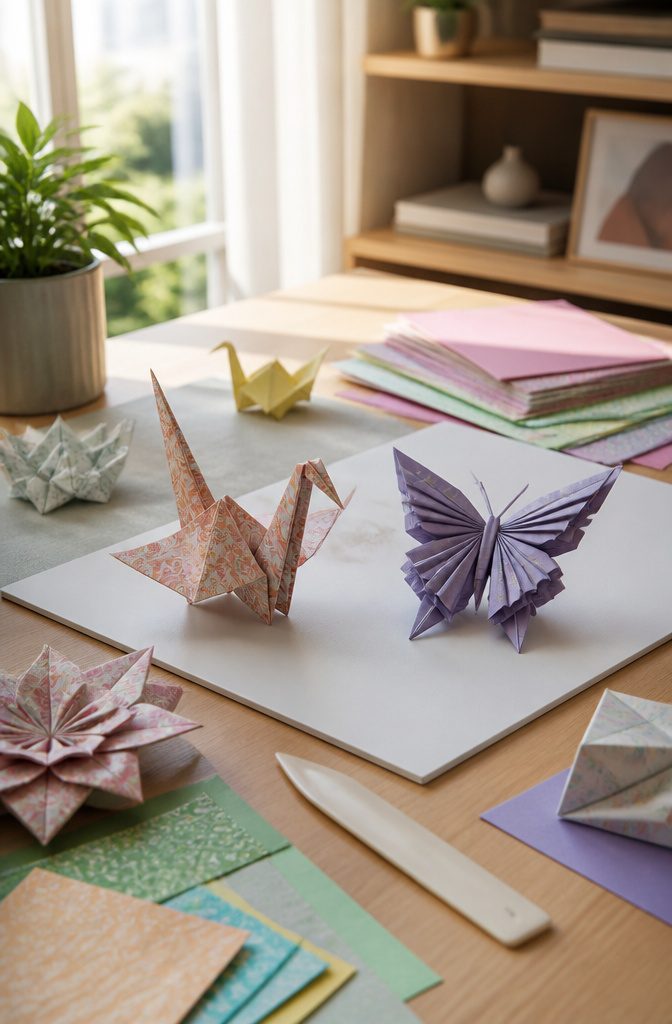
Square paper is non-negotiable for origami, and that single requirement trips people up more than any fold itself. Standard 8.5-by-11-inch letter paper needs a quick trim before it will cooperate; the models simply will not line up otherwise.
The adult side of origami shows up in the precision folding demands, not in the subject matter.
A classic swan or a simple panda works at any age, but the concentration required, the crease-by-crease patience, reads as deliberate rather than playful.
Some tutorials specifically frame this as relaxation for adults, and the evidence is in the finished piece: a pen holder that actually holds pens, no glue, no extra materials, just paper folded into something functional.
That utility feels different from a child’s afternoon project.
Older kids can manage the simpler animal models. The twelve-step tutorials floating around prove that much.
But the layered wings, the intricate insects with vellum or tissue paper layered for transparency, those ask for steadier hands and a longer attention span than most children bring. Two paths, same starting square.
10. Paper Masks

A paper plate and a pair of scissors are enough to get started, which is why this project still shows up at every age level.
The same basic moves work for a five-year-old’s rainy-day lion mask and for something an adult might actually wear to a costume party: cut the eye holes first, poke the holes slightly wider than you think, then attach string or a stick handle depending on whether they need hands free.
Cardstock holds shape better than thin paper plates, but either works if you bend the curve to fit a face.
Ribbon ties stay put on kids who won’t keep a stick upright; sticks keep the mask from getting sweaty against skin during a long party.
Decorative elements, paint, or glued-on paper shapes turn the blank oval into anything from a superhero domino to an animal face.
The Halloween timing is obvious, though I have seen these used for Mardi Gras and masquerade themes too. What separates a usable mask from a frustrating one is the placement of the eye holes.
Hold the blank up to the wearer’s face and mark with a pencil before cutting; guessing leaves too many kids peering through the forehead or the cheek.
11. Paper Lanterns
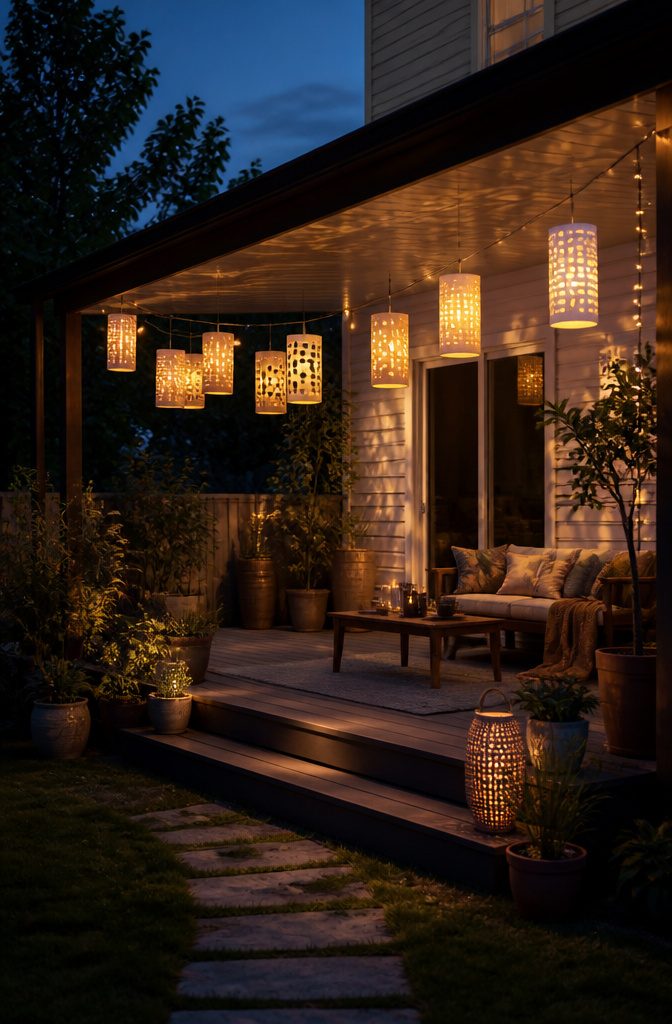
Paper lanterns are one of the most stunning paper craft projects out there and surprisingly easy to make. The folded-and-cut cylinder technique works with any thin paper you have on hand, tissue or lightweight craft paper both do fine.
Fold the sheet in half lengthwise, cut slits from the folded edge toward the open side, stopping about an inch short to keep the structure intact, then unfold and roll it into a tube with glue or tape.
LED tea lights are what make these safe for actual use, since real candles will scorch paper in seconds.
The glow filters through the cut slits in soft stripes, and the lantern itself weighs almost nothing, so stringing several together over a porch or across a room takes only regular thread.
I have seen these used for summer dinners, strung between trees, but the same grouping works in a window during December when the daylight goes early.
Smaller versions, maybe four inches tall, sit well on tables as centerpieces where a full-size lantern would block faces.
12. 3D Paper Models
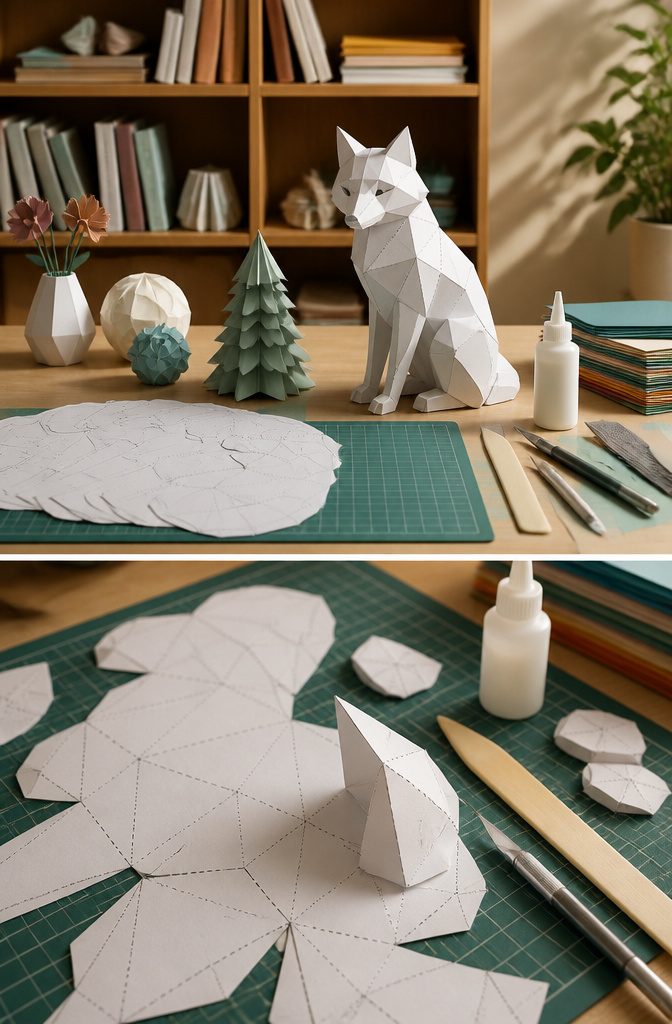
3D paper models are the way to go if you want a build that actually fills a shelf.
A kit gives you pre-cut templates; the work is in the assembly, not the geometry. You score every fold line with a dull blade or the back of a knife, pressing hard enough to weaken the paper without slicing through.
Folded edges meet at tabs, and adhesive glue holds the seam while the angle sets. One afternoon of focused time gets you through a medium build, maybe a geometric animal or a layered lamp fixture.
The finished piece reads as adult work, not a grade-school cut-and-paste, and it displays as wall art or a table centerpiece without apology.
Skip this if you want something mindless; the small tabs and tight corners demand attention, and a crease in the wrong direction is hard to walk back.
13. Paper Dolls
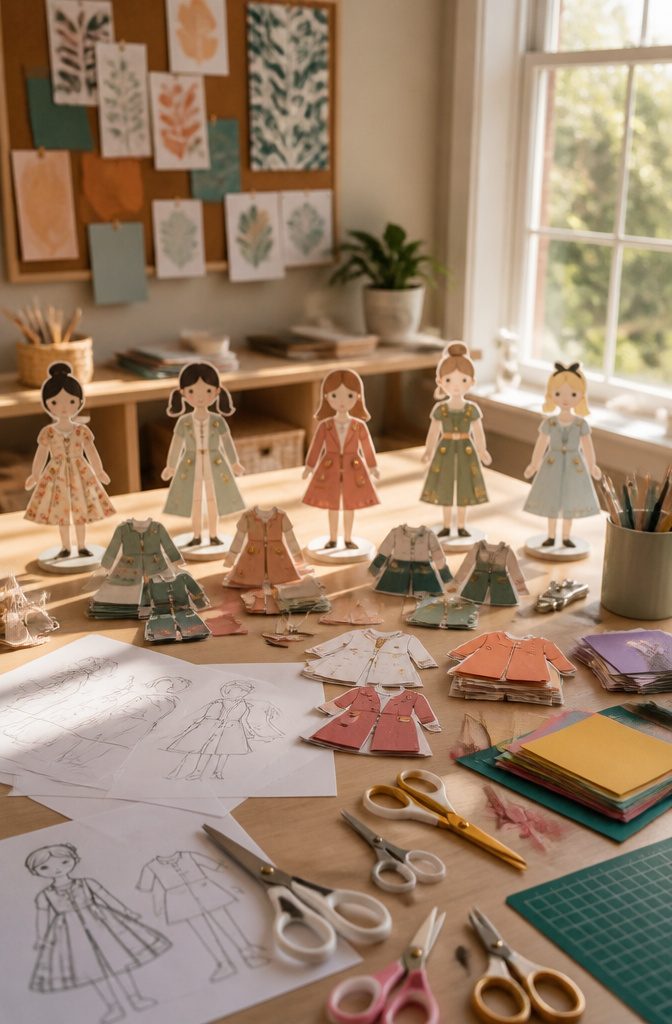
Paper dolls sit at the sweet spot between kid craft and paper art. The classic chain-fold method still works: fold a strip of craft paper accordion-style, sketch half a figure along the folded edge, and cut.
Open it up and you get four or six identical dolls holding hands, depending on your fold count. The trick is keeping the hands reaching past the folded edge so the chain stays connected.
Individual cutout figures take more time but give you cleaner results.
A standalone doll with separate tabbed clothes slips on and off, which is half the fun. Scissors do most of the work; glue only shows up if you want to add hair or permanent shoes.
The same project scales way up.
Kids go for bright colors and simple shapes, while adult makers treat the blank body as a canvas for detailed paper engineering. Jointed versions use small paper fasteners at the knees and elbows so the doll actually sits or waves.
A standard sheet of craft paper yields about six chain dolls if you fold carefully, or two to three standalone figures with room for a few outfit changes.
14. Paper Photo Frames
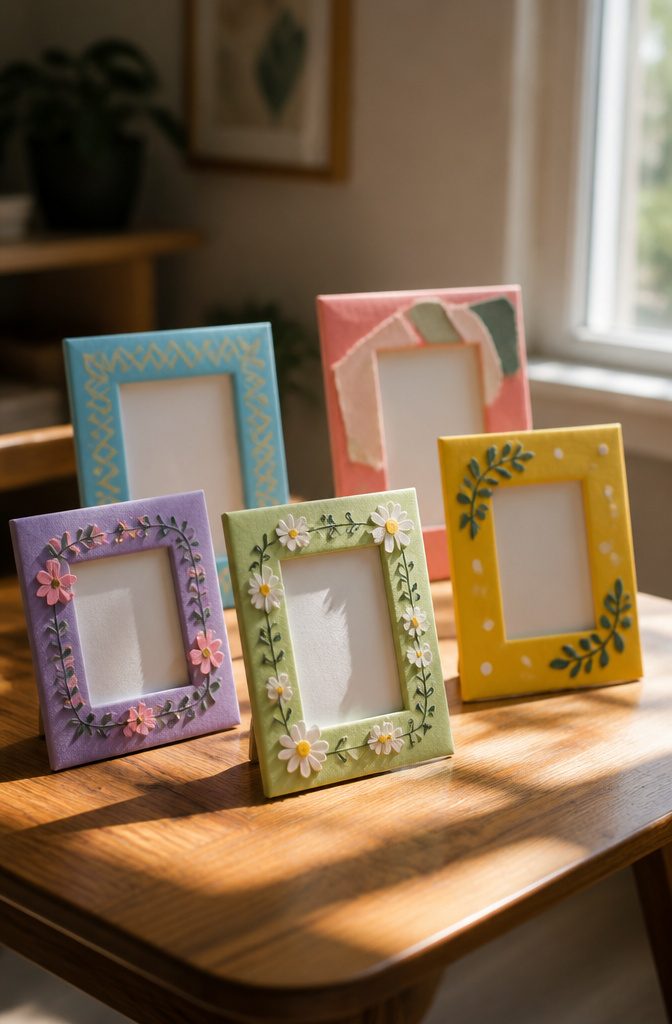
A standing paper frame starts with a piece of cardstock or thin cardboard cut to twice the height of your print plus one inch.
A 4-by-6 photo needs an 8-inch-tall backing sheet scored down the middle so it folds like a book standing on its short edge.
The aperture sits on the front half only, cut out with a craft knife. SliceProducts suggests wrapping the frame edges around a pencil for a rolled, dimensional look, though a flat cut works fine if you are after speed.
The stand is the back half folded in reverse to make a triangular kick leg, or a simple scored flap that tucks under.
Either way, the frame supports itself without hardware. Papercraftworld recommends hot glue for layered embellishments, but a single sheet decorated with markers or patterned paper needs no adhesive at all.
Standard print sizes are easy to plan around.
Leave a half-inch border on all sides of the aperture for a 4-by-6, a little more for 5-by-7. Cardstock from any craft store holds up, and the whole thing takes maybe twenty minutes once you have the scoring down.
I have seen these passed out as party favors and as last-minute gifts for grandparents, both of which land better than another store-bought frame.
15. Paper Kites

A diamond kite built from paper and light sticks comes together in about twenty minutes, but the real work happens outside where you need running room and steady wind.
Copy paper will fly, yet it warps the moment humidity rises. Rice paper or a light kraft sheet holds paint without doubling the weight, and that matters because every gram of marker ink steals lift from the sail.
The frame is two sticks, one vertical and one horizontal, lashed where they cross with cotton thread. String notches at the four points of the diamond carry the bridle line that meets your flying string at a simple loop.
Get the bridle point too high and the kite noses down; too low and it stalls. Tape the paper to the frame at the edges, not across the face, so the sail keeps its curve.
A sled kite forgives more mistakes. Two parallel sticks with a paper sleeve between them need no bridle at all; the wind shapes the curve.
Either form proves the same lesson: decoration looks better on the ground, but a plain kite in the air beats a gorgeous one in the garage.
What Paper Does Which Job
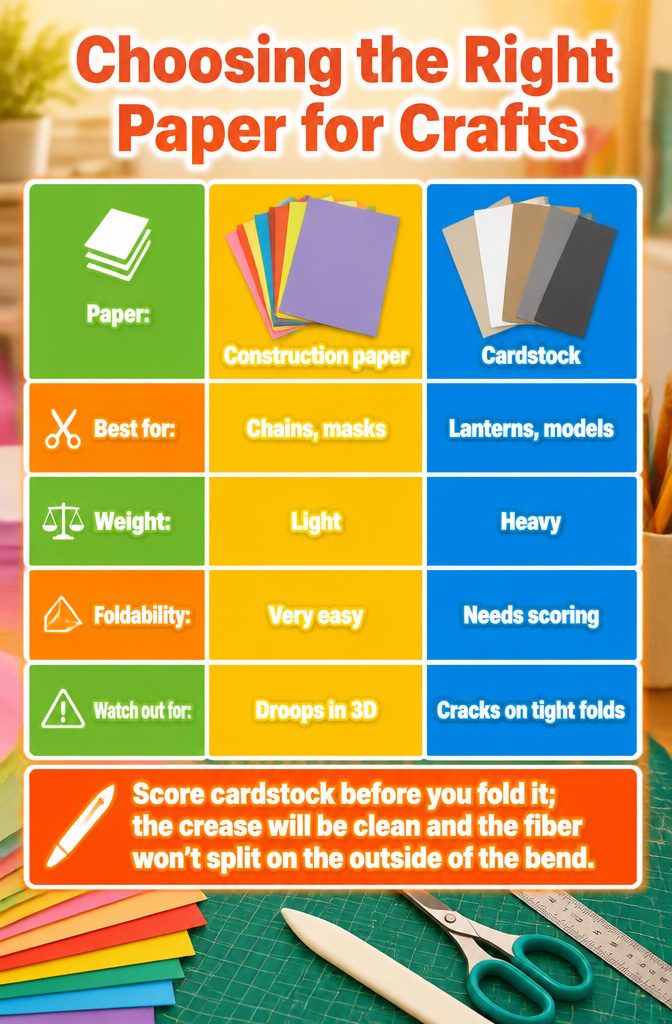
Construction paper folds easily into chains and simple pinwheels, but the same softness that makes it forgiving will let a petal droop if you try a layered flower.
Cardstock holds a crease sharp enough for 3D models and lanterns; the tradeoff is that a too-tight fold cracks instead of curves, and you will need a bone folder or the edge of a ruler to score it first.
Scrapbook paper brings printed patterns to tissue-paper territory, though the weight varies by brand enough that one sheet punches clean and the next frays at the cut.
Tissue paper is where you get the translucent glow for lanterns and the ruffled volume for flowers, and the only way to keep it from tearing is to cut several sheets stacked with a sharp blade, not scissors that push the pile sideways.
| Paper | Best for | Weight | Foldability | Watch out for |
|---|---|---|---|---|
| Construction paper | Chains, pinwheels, kids’ masks | Light | Very easy | Droops under its own weight in 3D shapes |
| Cardstock | Lanterns, 3D models, frames | Heavy | Needs scoring | Cracks on tight or reverse folds |
| Scrapbook paper | Decorative accents, layered cards | Medium | Varies by sheet | Fraying at cut edges |
| Tissue paper | Flower petals, lantern screens, garlands | Very light | N/a (gather, don’t fold) | Tears if cut singly or with dull blades |
Score cardstock before you fold it; the crease will be clean and the fiber won’t split on the outside of the bend.
Skill Levels and Time
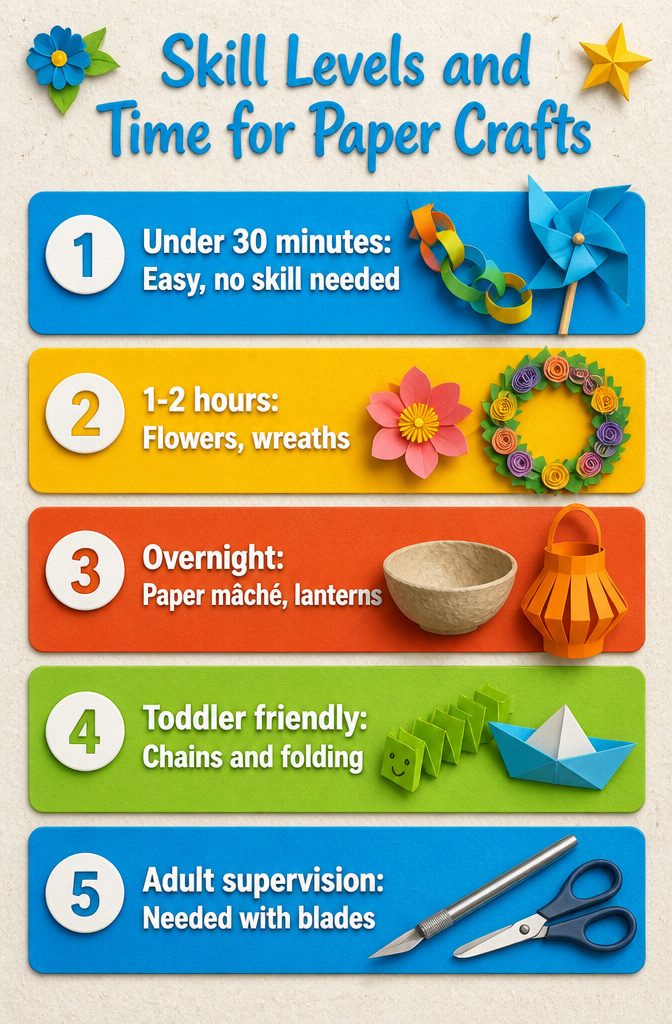
Fifteen paper crafts spread across a real range of commitment.
The quick ones, like paper chains and pinwheels, sit at the under-30-minute mark and need no skill at all; a toddler can manage the folding with a hand on the scissors.
Paper flowers and wreaths climb to an hour or two, still doable while the glue is wet, but papercut art and 3D models want a steadier hand and a craft knife you actually trust.
The overnight projects are the ones that look simplest going in. Paper mâché bowls need three layers with drying between each, and lanterns with glued seams won’t hold their shape if you rush them.
I learned that the hard way with a globe that sagged because I hung the cord too early.
Most of these lists sell the idea that paper is for every age, and it is, but the gap between "can touch the supplies" and "can finish unsupervised" matters.
Anything with a blade needs an adult in the room. The bead-stringing and folding projects don’t.
Seasonal Timing for Paper Crafts
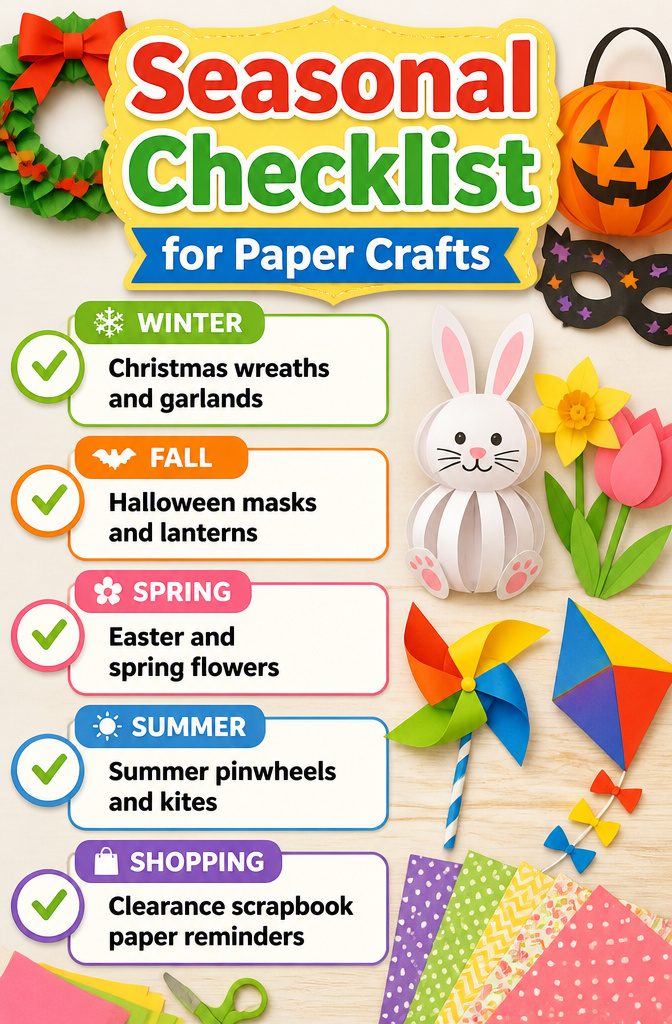
Paper crafts tend to pile up by season whether you plan it or not. I finally started sorting my stash by month after finding a half-finished Easter bunny garland in July, the scrapbook paper already warped from humidity.
Keep holiday projects in a single bin so you can pull the whole season at once. Here is how I split mine now:
- Christmas wreaths and garlands go into the bin first, since they take the longest and I always underestimate drying time for layered paper rings.
- Halloween masks and lanterns fill a smaller box; tissue paper panels for lanterns crease if you stack anything heavy on top, so they sit on their own shelf.
- Easter and spring flowers share space because the same bright paper works for both, and a paper Easter bunny with 3D strip construction uses leftovers from either project.
- Summer pinwheels and kites stay flat in a portfolio until June, since any humidity before then warps the struts.
Planning by season means I buy scrapbook paper when it hits clearance, not the week before the holiday when the good patterns are gone.
Recycled Paper You Already Have
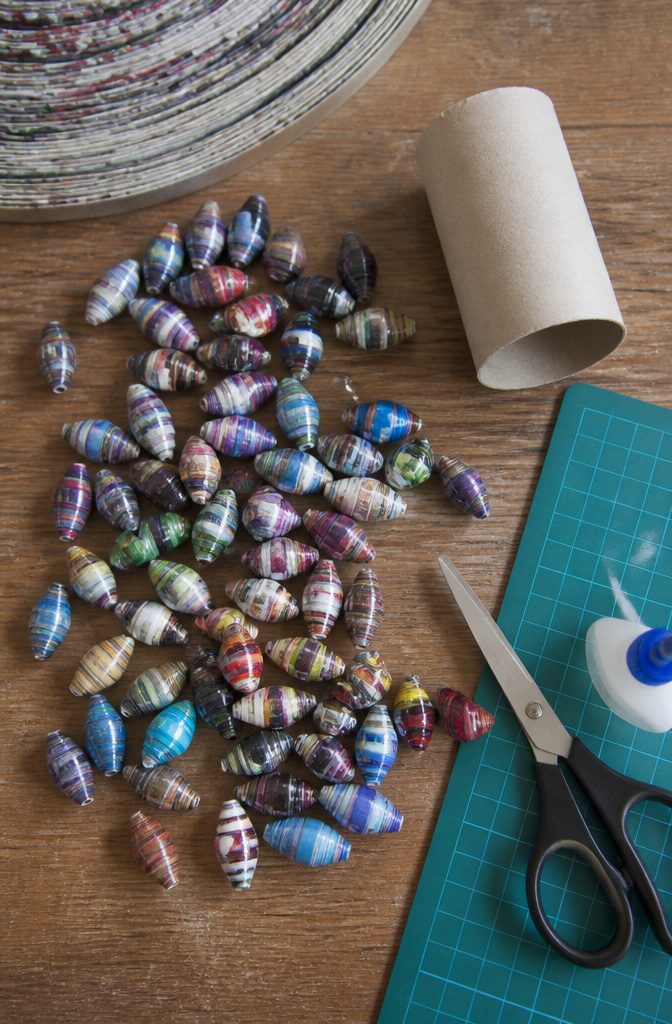
The glossy pages from last month’s magazines work better than you’d expect for paper beads. The coating gives them a slight sheen once rolled, and the thin paper tightens neatly around a toothpick.
I ran through a stack of junk mail last spring trying this, and the heavier cardstock envelopes were a different story: they cracked when rolled, so stick to the thin, flexible pages for anything that needs a curve.
Toilet paper rolls have more body than they look like they do. Cut one lengthwise, flatten it, and you’ve got a strip thick enough to stand on its own as a pencil holder or the base for creatures.
A single roll yields about three inches of usable height once you trim the torn edges, which is plenty for a desk caddy.
Newspaper layers underneath painted surfaces add that ridged texture you see on paper mâché bases, though for small models the newsprint itself becomes the finish if you leave it visible and seal it with glue.
The sustainability piece is almost accidental.
You’re using paper that was already in the house, bound for recycling or the bin, and the projects don’t read as "recycled craft" unless you want them to. A magazine-page bead strung on cord looks like any other bead.
The toilet roll cat holder looks like a cat. The material disappears into the object, which is the point.
Frequently Asked Questions
What are some easy paper crafts for kids?
Paper chains, pinwheels, and paper flowers are all easy enough for children to handle. Paper chains need only strips of construction paper, glue, and the ability to thread loops together.
Pinwheels involve simple diagonal folds and corner cuts, though an adult should manage the push pin. Even toddlers can fold and cut the basic shapes for flowers, and bright construction paper forgives uneven edges.
How do you make paper flowers?
Fold your paper in half, trace half a petal against the crease, and cut to get a symmetrical shape when unfolded.
Stack three or four sizes with the smallest on top, gluing only at the base of each petal so the top edge curls outward naturally.
Construction paper keeps petals stiff and open; tissue paper gives softer, more believable edges but tears easily when wet.
What materials do I need for paper crafts?
Scissors and glue cover the basics for most projects. Construction paper or cardstock handles chains, pinwheels, and flowers; tissue paper works for softer petals and lantern screens.
A wooden skewer or toothpick helps roll paper beads, and a dull blade or bone folder scores cardstock before folding for 3D models and lanterns. LED tea lights are the safe choice for lighting lanterns.
What are some fun paper crafts for adults?
Origami and 3D paper models reward the patience and precision adults bring. A folded paper pen holder that actually functions needs no glue or extra materials.
3D models with pre-cut templates take focused afternoon assembly but display as finished art. Origami specifically gets framed as relaxation for adults because of the deliberate, crease-by-crease concentration it demands.





