
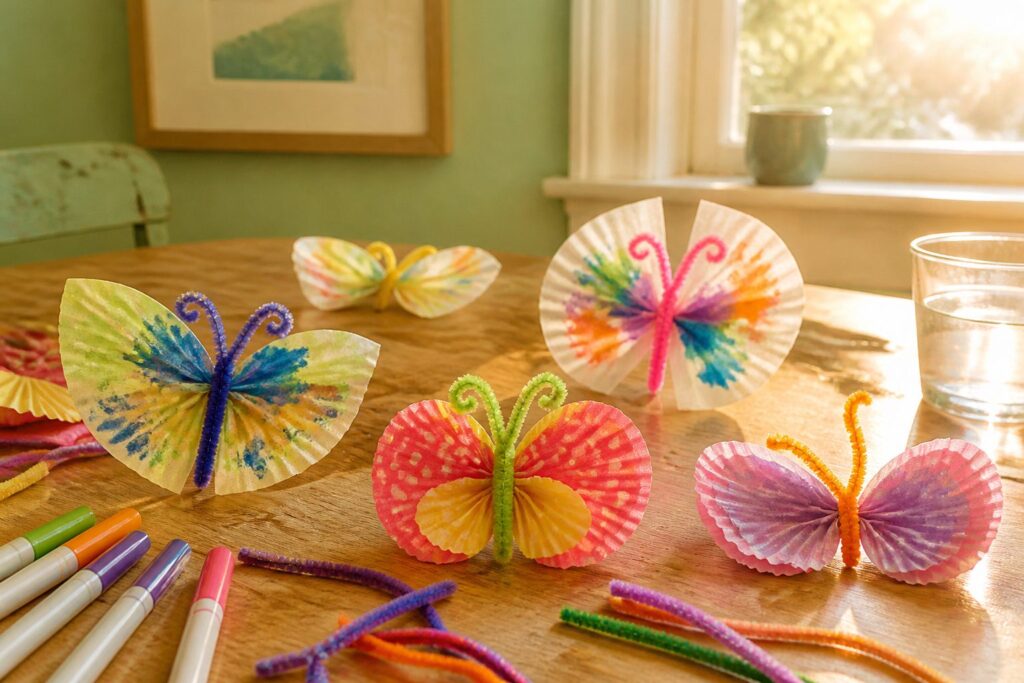
Butterfly crafts for kids are simple projects made from items already in a kitchen drawer: coffee filters, pipe cleaners, markers, cupcake liners, paper plates.
Washable markers matter most for the classic coffee filter version, since permanent ones barely bleed. Go easy on the spray, too, because overlapping red, green and blue turn muddy brown.
Coffee Filter Butterflies
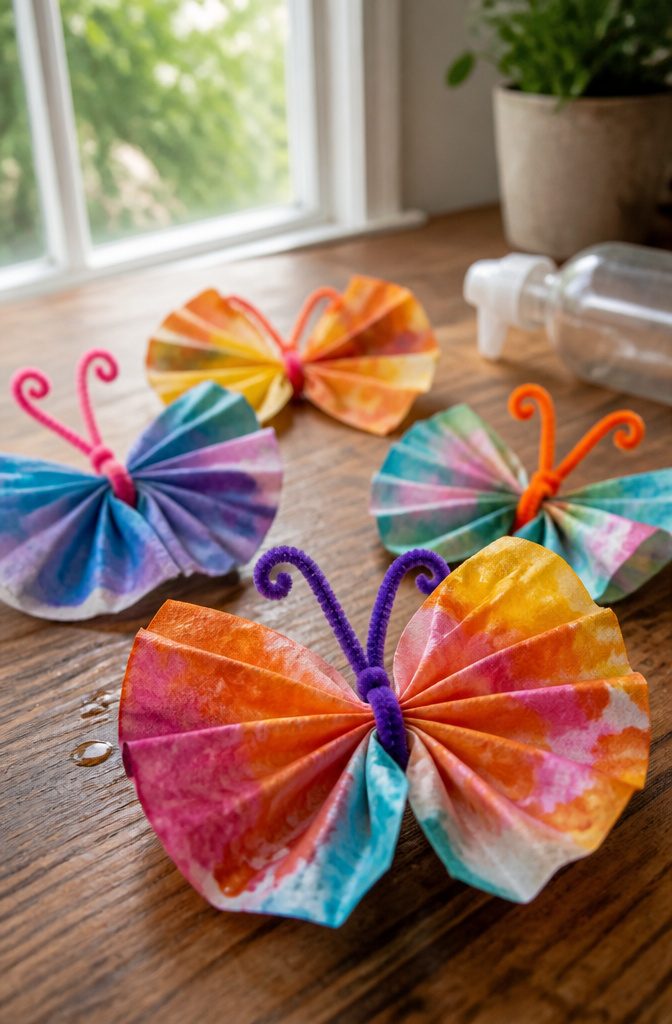
Coffee filters are the best first butterfly craft because the paper does the artistic work.
Kids scribble on a flat filter with washable markers, mist it lightly with water, and watch the colors spread into soft wings. Washable markers are the right choice; permanent ones barely bleed.
Let the filter dry flat, then pinch it through the center and wrap a pipe cleaner around the pinch.
Twist the ends up and you have antennae. A clothespin clipped over the middle also works as a body, and it gives small hands something easy to hold.
Go easy on the water.
Too much spray and the colors turn muddy brown, especially when red, green and blue overlap. I’d steer kids toward two or three neighboring colors, like yellow and orange or blue and purple.
Butterfly Life Cycle Craft
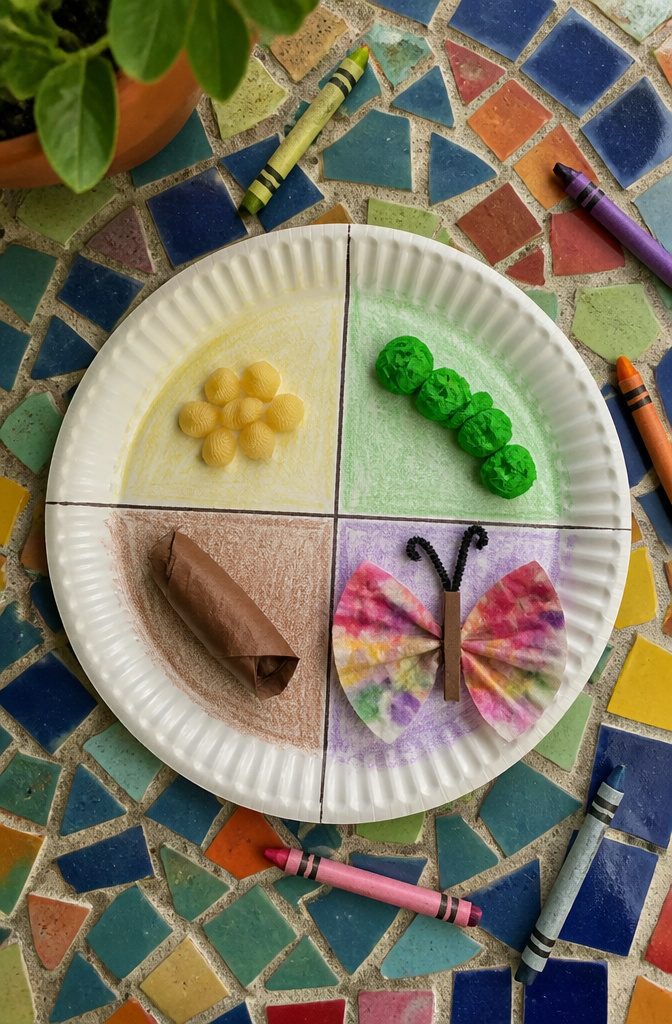
A paper plate cut into four wedges with a marker holds the whole life cycle: egg, caterpillar, chrysalis, butterfly. For eggs, small pasta shells or pom-poms glue down well and look right as a tiny cluster.
Green tissue paper balls or a snipped pipe cleaner make the caterpillar. Rolled brown paper or a scrap of green fabric works as the chrysalis, and coffee filter wings or colorful paper cutouts finish the butterfly.
Have kids label each wedge with a crayon or paint marker, because writing the four names is where the vocabulary and sequencing stick.
Read The Very Hungry Caterpillar first, then let them retell the story by pointing around the plate in order.
Cupcake Liner Butterflies
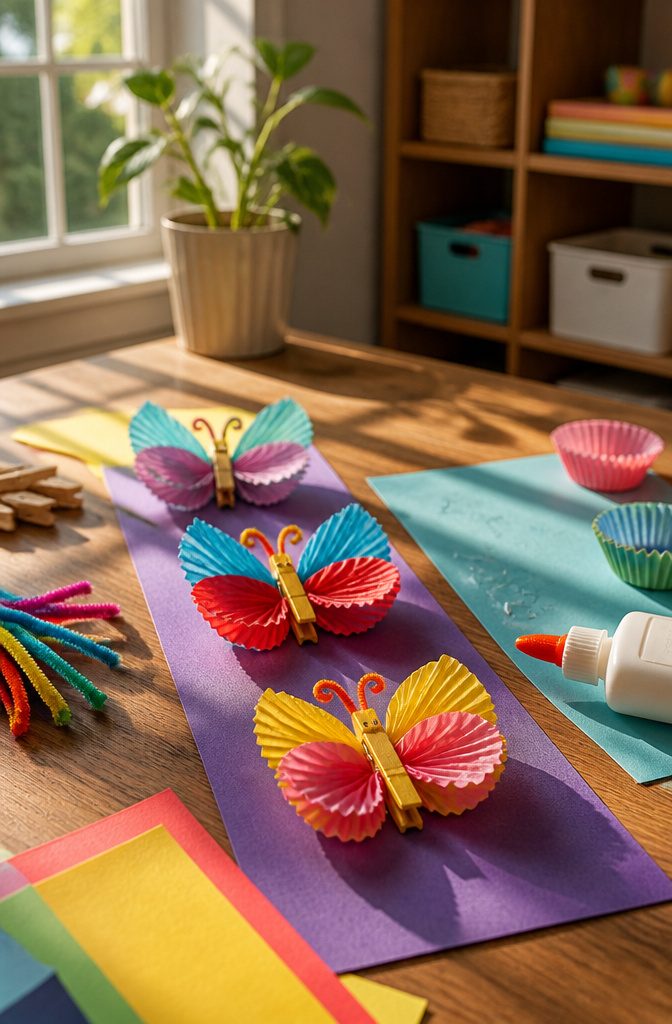
Cupcake liners already have the wing shape built in, which is why this is one of the easiest butterfly crafts for small hands.
Press each liner flat with your palm, then pinch it in the middle so it folds into a bow-tie. Two sizes layered together look best: set a smaller liner over a larger one, so the wings show two colors.
Glue the pinched center to a craft stick, holding it for a slow count of ten so the paper doesn’t spring back open. A dot of white glue is enough, and a glue stick tends to let go.
Liners cost very little and come in bright colors, and the crinkled paper is easy for kids to grip. Leftover liners work fine, and mixing patterns makes every butterfly different.
Butterfly Suncatchers
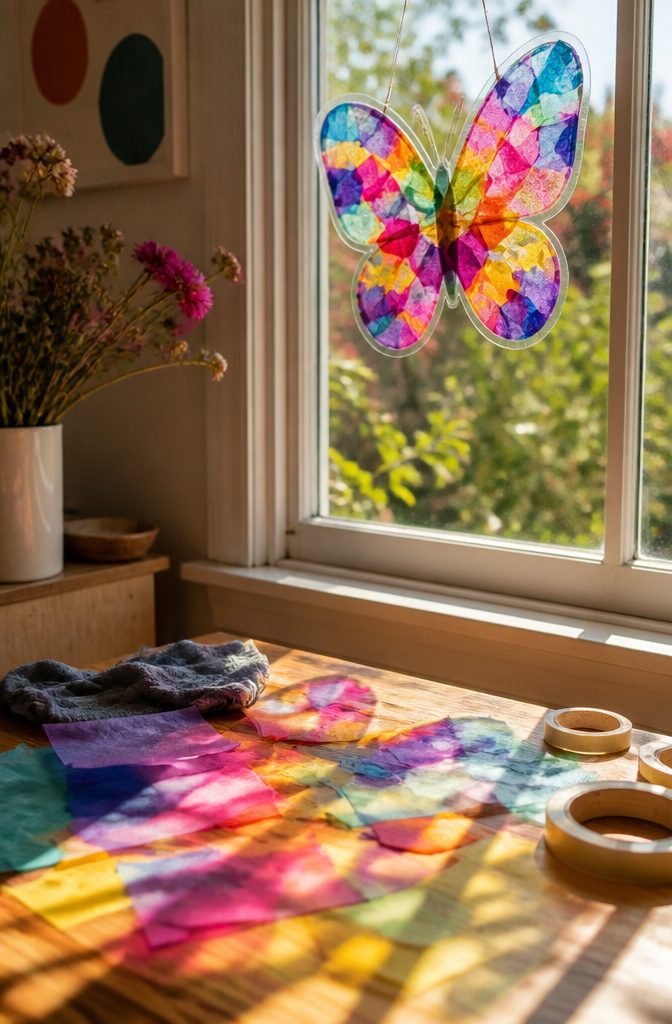
Light does all the work in a suncatcher. Tissue paper looks muted on a table, but pressed between clear contact paper and hung in a window, the overlapping colors glow like stained glass.
Peel the backing off one sheet and lay it sticky side up. Kids tear tissue into small pieces and press them down, and torn edges blend better than cut ones, so the wings look layered instead of blocky.
Seal it with a second sheet, then cut out a butterfly shape and hang it in the window.
Expect sticky fingers.
Tissue clings to hands as readily as to the sheet, so I’d tape the corners down and keep a damp cloth nearby. Younger kids can still do this one, since there’s no paint and nothing to spill.
Butterfly Masks
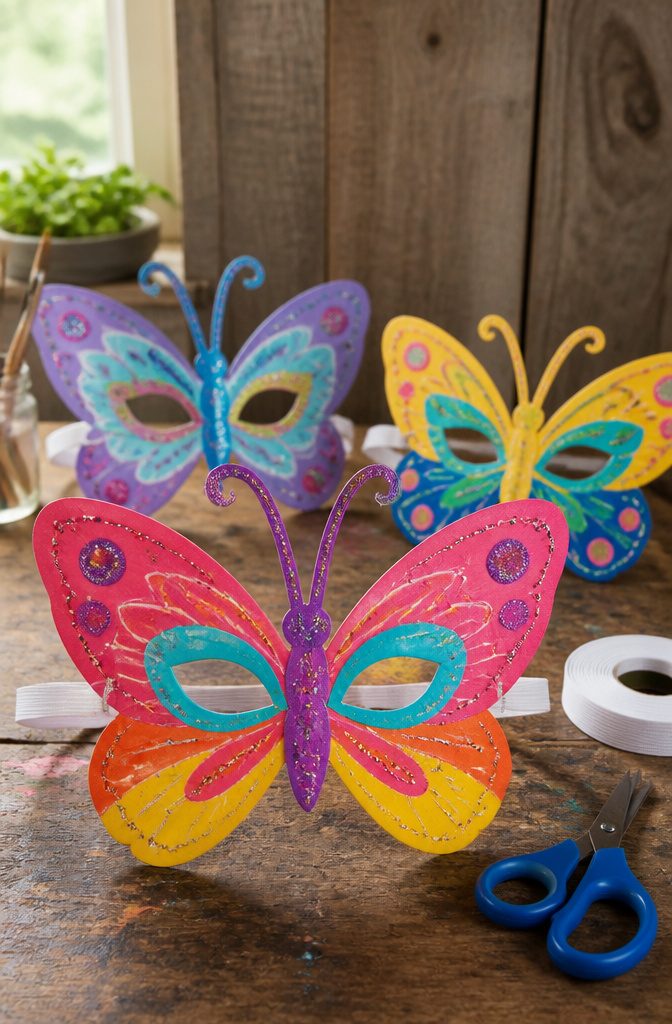
Cardstock holds a mask shape far better than printer paper, which flops against the face after a few minutes of play.
I cut a butterfly outline with two big wings and two eye holes, then let kids color or paint the wings however they like.
Markers, crayons, tissue scraps and glitter glue all work, and symmetry matters less than you’d think, since a lopsided butterfly still looks great on a six-year-old.
For wearing, punch a hole on each side and tie on elastic, or tape a craft stick to the bottom edge as a handle.
Elastic frees the hands for running around; the stick is the better pick for younger kids who dislike anything touching their ears. Either way, these masks suit dress-up play, especially with paper wings to match.
Painted Paper Plate Butterflies
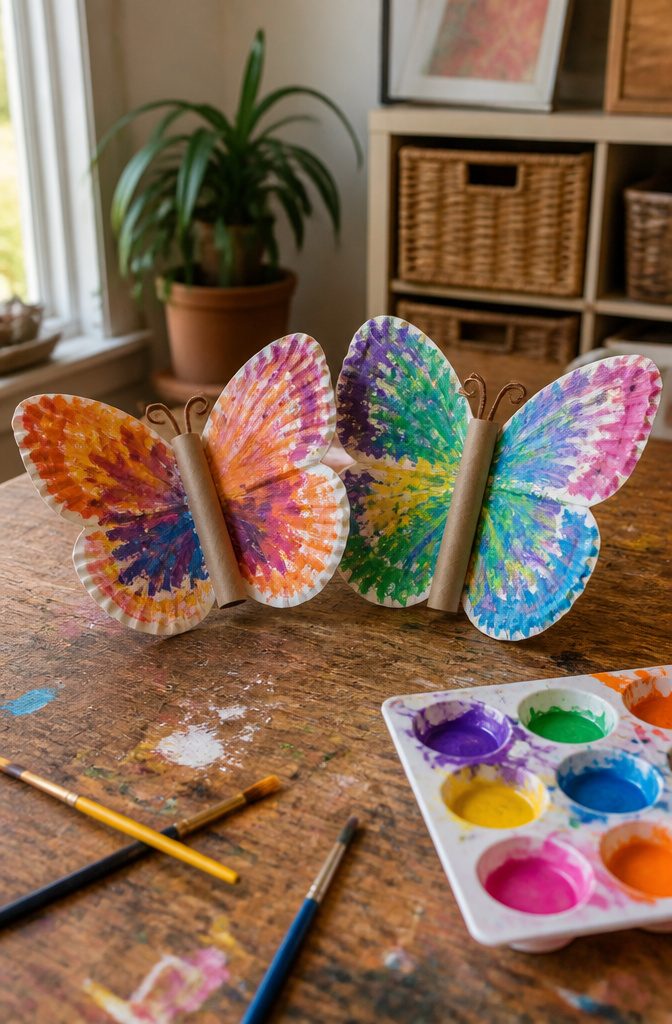
A paper plate gives you a wing shape with almost no cutting: fold the plate in half, cut it into two halves, and tape or glue the halves to a clothespin or a rolled strip of cardboard so the flat edges meet at the middle.
Scalloped rims already look like wing edges, so I leave them alone.
Washable tempera or poster paint works best on the uncoated side, because it covers in one coat and dries within the hour. Watercolor soaks in and warps the plate.
Twist a pipe cleaner in half for antennae, curl each tip around a pencil, and push the twisted end through the top of the body.
Compared with coffee filters, plates are the tidier choice. Paint stays where you put it instead of bleeding across the surface, so there are no wet drips on the table.
Bow-Tie Noodle Butterflies
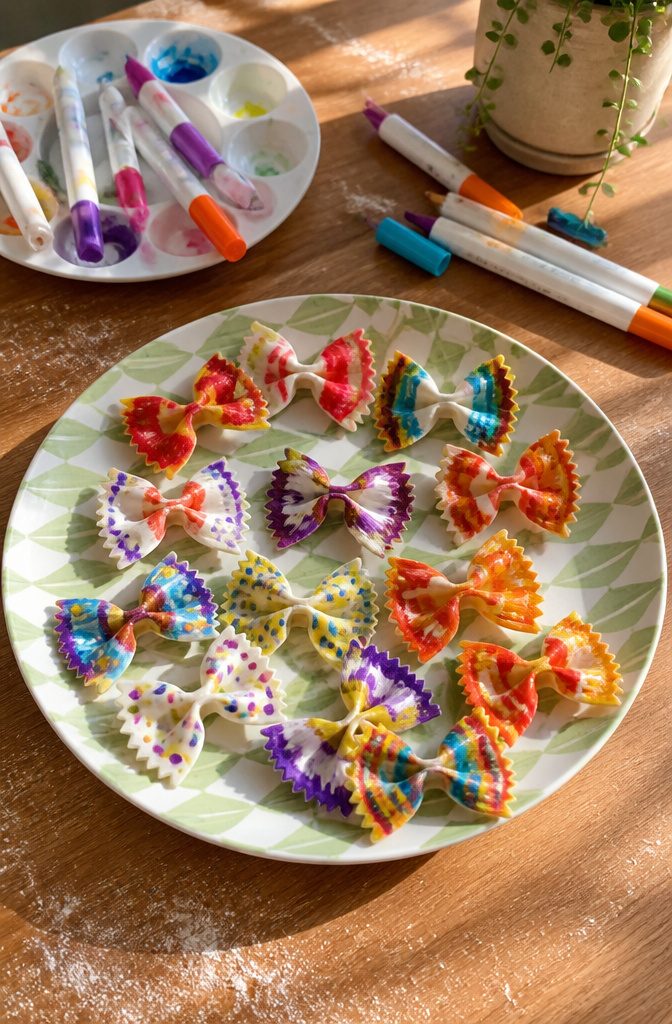
A bow tie noodle is already a butterfly with its head missing. The pinched middle makes the body, and the two ruffled halves read as wings, so the shape does most of the work before a marker touches it.
Paint markers beat wet paint here. Pasta is porous, and a loaded brush soaks in, softens the surface and drips down the ridges.
A paint marker lays down opaque color in one pass and dries without warping the noodle, so you can flip it over and do the other side right away.
Color the wings in stripes, dots or swirls, then draw a body down the pinched center. Set the finished noodles on paper to dry, and let kids handle them gently since dry pasta snaps.
Butterfly Handprint Art
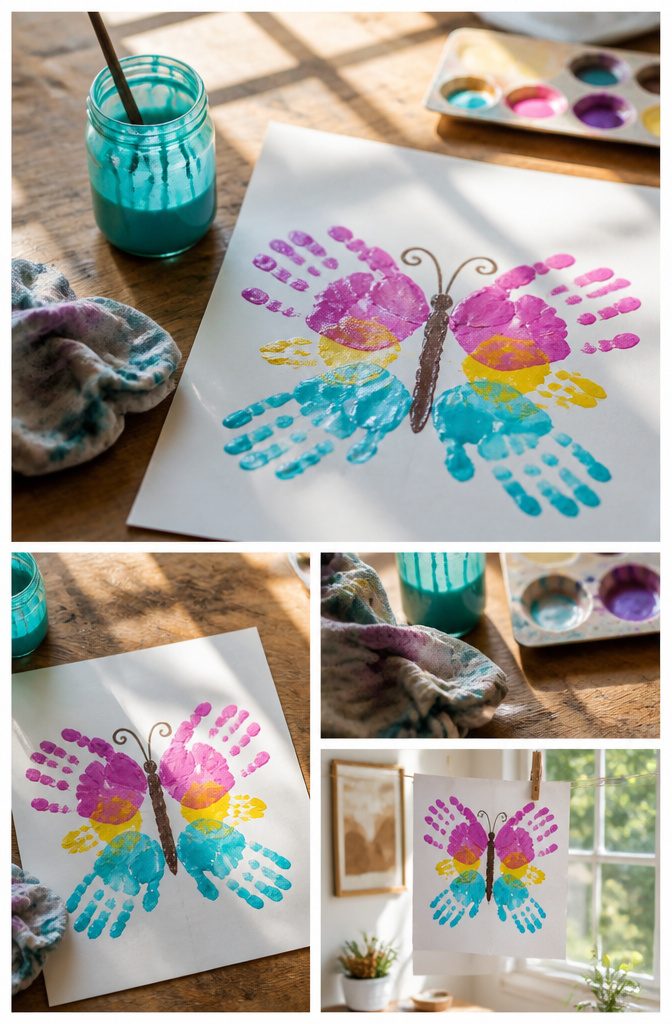
Painting the color straight onto a child’s palm gives the wings more character than stamping from a brush-loaded tray, because the paint lands in uneven swirls that read as natural wing patterns.
Press two hands side by side on the paper with the thumbs pointing up and inward, and the fingers fan out into wings.
Once the paint dries, draw a body down the center and add antennae and details with a marker.
This is the project I’d hand to the youngest kids, since the only skill involved is pressing down.
It also makes a keepsake, so write the date on the back. Preschool teachers often send these home as gifts for Mother’s Day, and parents tend to keep them.
Butterfly Symmetry Art
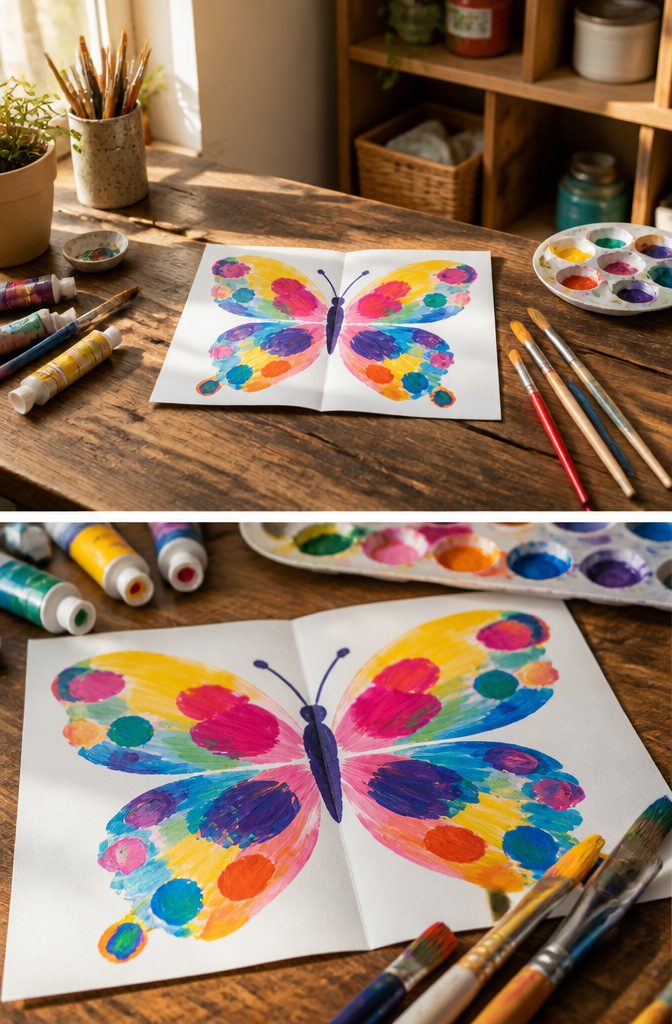
Paint only one half of a sheet of paper, fold it closed, and press. The other half prints a mirror image, and that is symmetry a child can see: both wings match, and the fold line becomes the butterfly’s body.
Prep is close to nothing. Markers or paint, a sheet of paper, and a few minutes of drying are all it takes.
I’d skip planning the design. Let kids paint freely on one side before folding, since the surprise of the print is the fun part.
A second round works well too: paint the same picture on both sides by hand, then compare it with the pressed version and see where the marks drifted.
Once dry, fold the paper again and cut a wing shape, so both wings come out identical. Tape on pipe cleaner antennae and it’s done.
Butterfly Sensory Bin
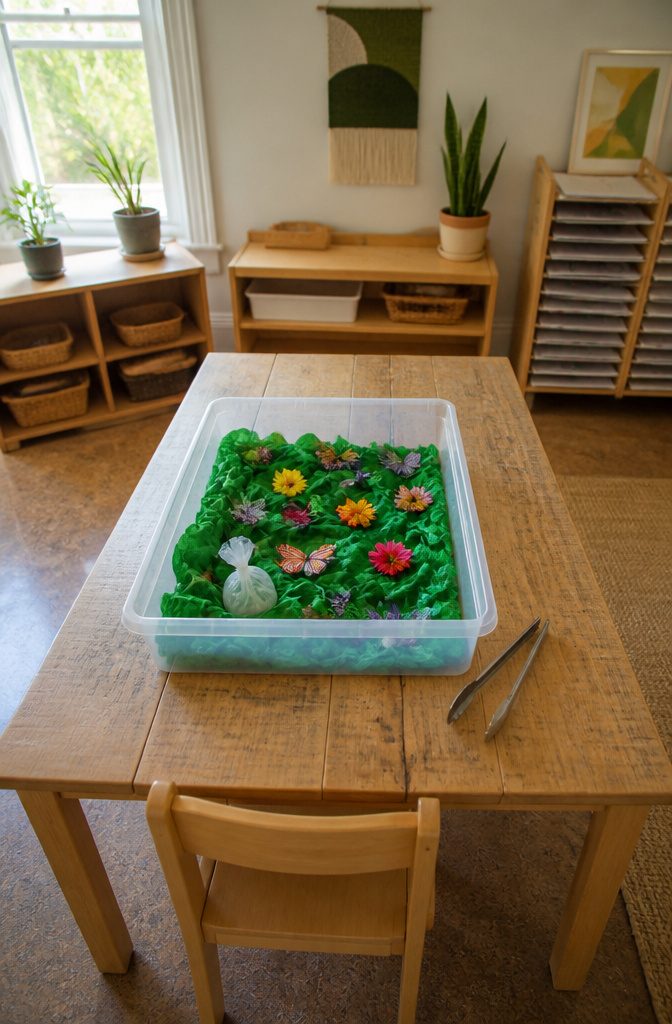
Green fabric does the heavy lifting in this bin.
Crumple or bunch it across the bottom and it reads as grass, and it gives small hands something soft to dig through. Sandwich bags or other small plastic bags become cocoons, and artificial flowers and toy butterflies finish the meadow.
Add tweezers or tongs and the bin becomes a butterfly rescue game: kids pinch each butterfly out of the grass and drop it into a container.
It builds fine motor control, and scoops or butterfly-shaped counters turn it into counting practice.
I like to set the bin beside whatever craft is on the table. Kids who just made a butterfly can tuck it into the grass, which adds touch and pretend play to a craft that is otherwise only about looking.
Materials You Already Own
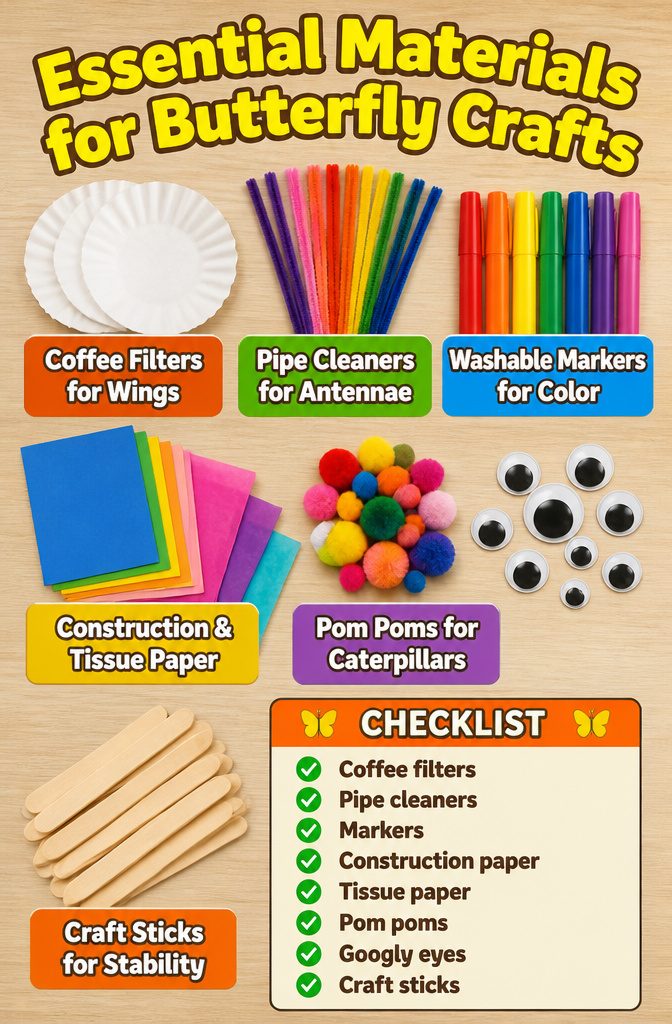
Most butterfly crafts start from the same short shelf, and nearly everything on it is probably in your kitchen drawer or classroom cabinet already:
- Coffee filters make the wings. They take marker, liquid watercolors or food dye, and they’re the base for the classic butterfly.
- Pipe cleaners (also sold as chenille stems) become antennae and bodies. Pair them with clothespins or craft sticks.
- Markers, washable or dot style, color the wings. Misting a marked filter with water blends the colors.
- Construction paper and tissue paper cover cutout wings and layered color.
- Pom poms and googly eyes suit caterpillars better than butterflies.
- Craft sticks hold a finished butterfly upright.
I’d start with filters, pipe cleaners and markers. That trio covers the most projects, and you can skip the sequins and pony beads until the first batch is done.
Skills Kids Build
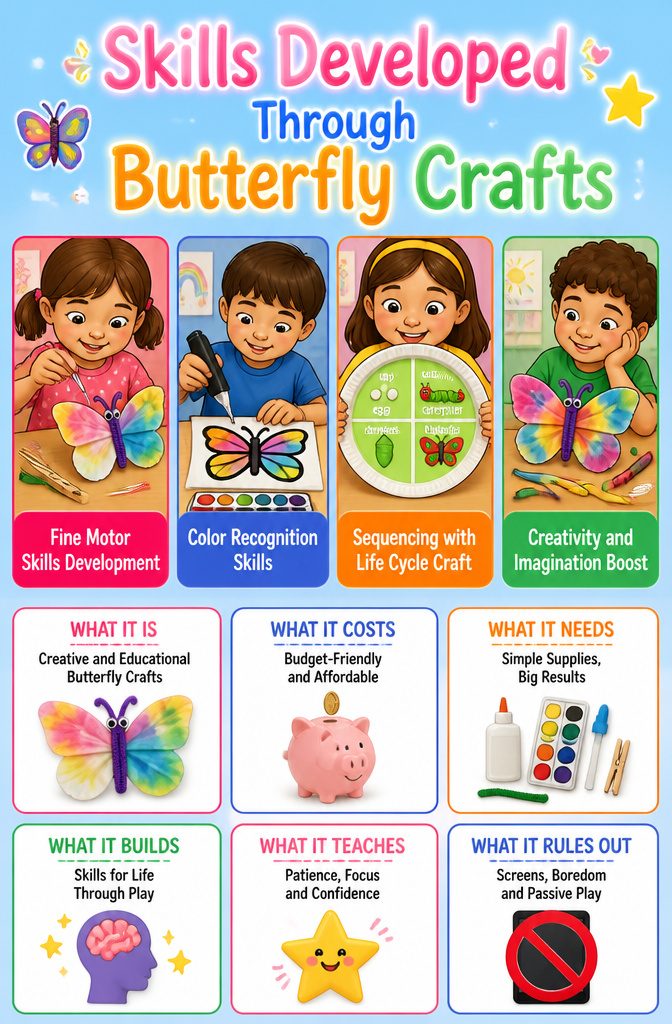
Fine motor work is the easiest skill to spot. Coffee filter butterflies ask for droppers, accordion folds and a pipe cleaner twist or clothespin squeeze, which is a full workout for small hand muscles.
Black glue butterflies are harder: a child has to control the squeeze to outline the wings, then fill them with watercolor.
Color recognition comes from the wing work, since kids choose, name and mix as they go. For the life cycle, I’d pair The Very Hungry Caterpillar with the paper plate life cycle craft.
Egg, caterpillar, chrysalis and butterfly each get a section, and labeling them builds sequencing and vocabulary. Kids can then retell the story using their plate.
Spring Is the Natural Season
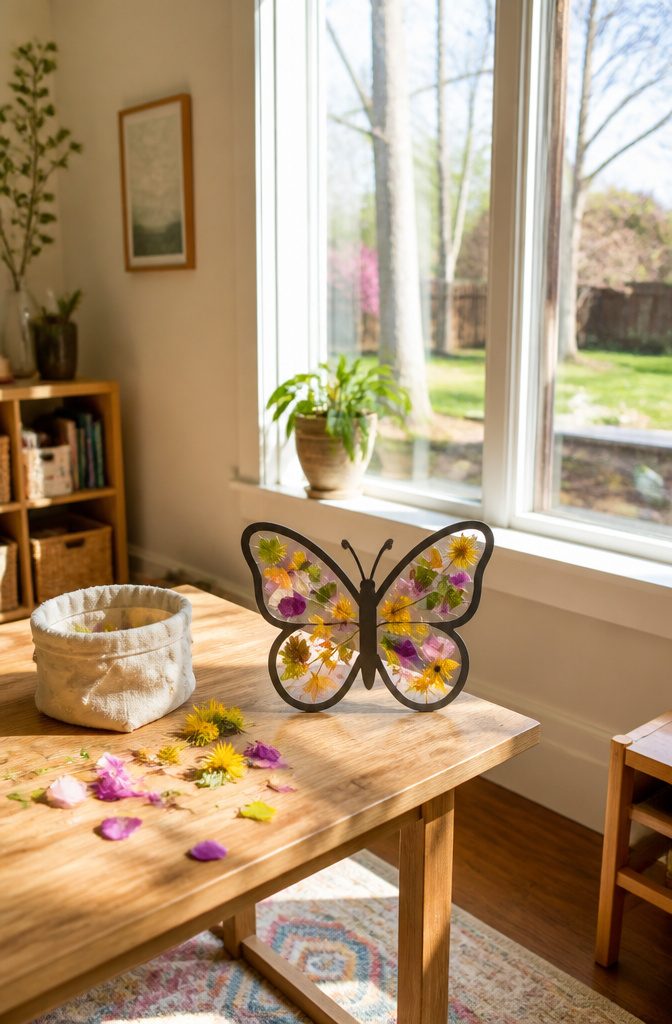
Spring is when butterflies come out and start flying around gardens, so a butterfly craft made in April or May has something real to point at through the window.
Kids who spot one on a walk can match it to the paper wings drying on the table, and that link is what turns a craft into science.
For nature walks, I’d pick the contact paper butterfly.
Kids collect petals, leaves, and small treasures along the way, then press them onto sticky contact paper at home. Tape the finished piece to a window and the light comes through.
Indoors on a rainy day, a butterfly and chrysalis craft suits a spring theme well, since children love watching a fuzzy caterpillar become a flying insect.
Frequently Asked Questions
What are some easy butterfly crafts for kids?
Coffee filter butterflies, cupcake liner butterflies and tissue paper suncatchers are three of the simplest.
Coffee filters do the artistic work as markers bleed into soft wings, and cupcake liners already have the wing shape built in. Handprint butterflies are the best pick for the youngest kids, since the only skill involved is pressing down.
How can I teach kids about the butterfly life cycle?
Make a paper plate life cycle craft: cut the plate into 4 wedges for egg, caterpillar, chrysalis and butterfly.
Kids glue pasta shells or pom-poms for eggs, tissue paper balls for the caterpillar, rolled brown paper for the chrysalis and coffee filter wings for the butterfly.
Read The Very Hungry Caterpillar first, then let them retell the story by pointing around the plate and labeling each wedge.
What materials do I need for butterfly crafts?
Coffee filters, pipe cleaners and washable markers cover the most projects, so start there.
Construction paper, tissue paper, clothespins and craft sticks round out the basics. Most of this is probably already in a kitchen drawer or classroom cabinet.
How do you make the easiest butterfly?
Scribble on a flat coffee filter with washable markers, mist it lightly with water and let it dry. Pinch the filter through the center, then wrap a pipe cleaner around the pinch and twist the ends up for antennae.
Use only 2 or 3 neighboring colors, since too much water or overlapping red, green and blue turns the wings muddy brown.
What are some fun activities for kids about butterflies?
Beyond crafts, a butterfly sensory bin is a hit: bunch green fabric into grass, add artificial flowers and toy butterflies, and give kids tweezers to rescue the butterflies.
Butterfly masks work for dress-up play, and a nature walk to collect petals and leaves can end in a contact paper butterfly. Reading The Very Hungry Caterpillar ties the activities together.





