
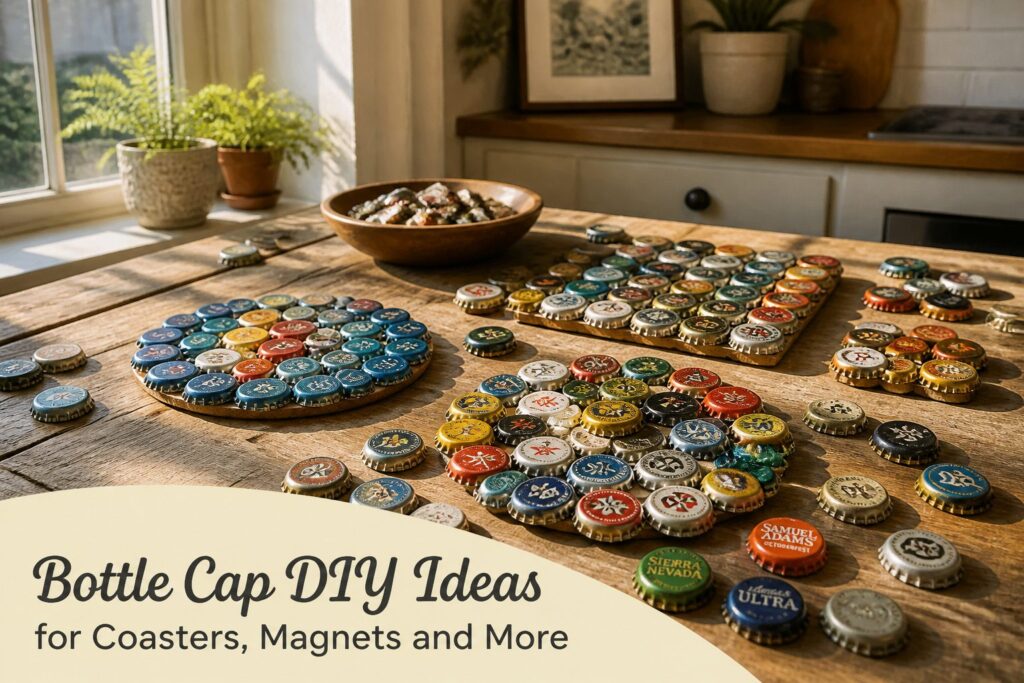
Bottle cap projects run from $3 to $50 and from a one-afternoon coaster to an animal bust that takes longer.
Your pick comes down to how much heat, resin and drilling you’ll accept: magnets need only a glue gun, caps and small magnets. Resin tabletops and backsplashes cost more and can’t be redone, so plan the layout first.
1. Bottle Cap Coasters
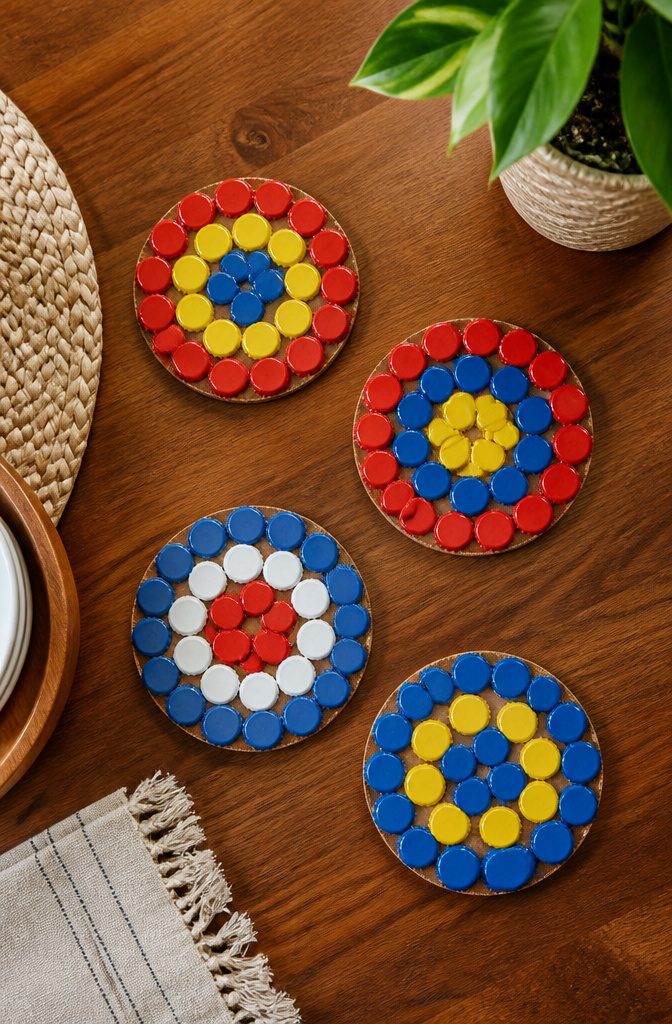
Cork makes the best base for a bottle cap coaster, and it’s the one the best-looking versions use: line the caps up on the cork in your design, glue them down, then trim the cork around the edge so the shape follows the caps.
Paint the caps in coordinating colors with acrylic first, and pick flat-bottomed caps so they sit evenly. Hot glue works, though a strong adhesive holds better under a damp mug.
Seal the finished top with a clear sealer or resin so condensation and coffee rings wipe off instead of staining the paint. Resin is more durable and costs more.
A wooden base in a round or square cut is the sturdier choice. Expect $3–$50 and one afternoon.
2. Bottle Cap Jewelry
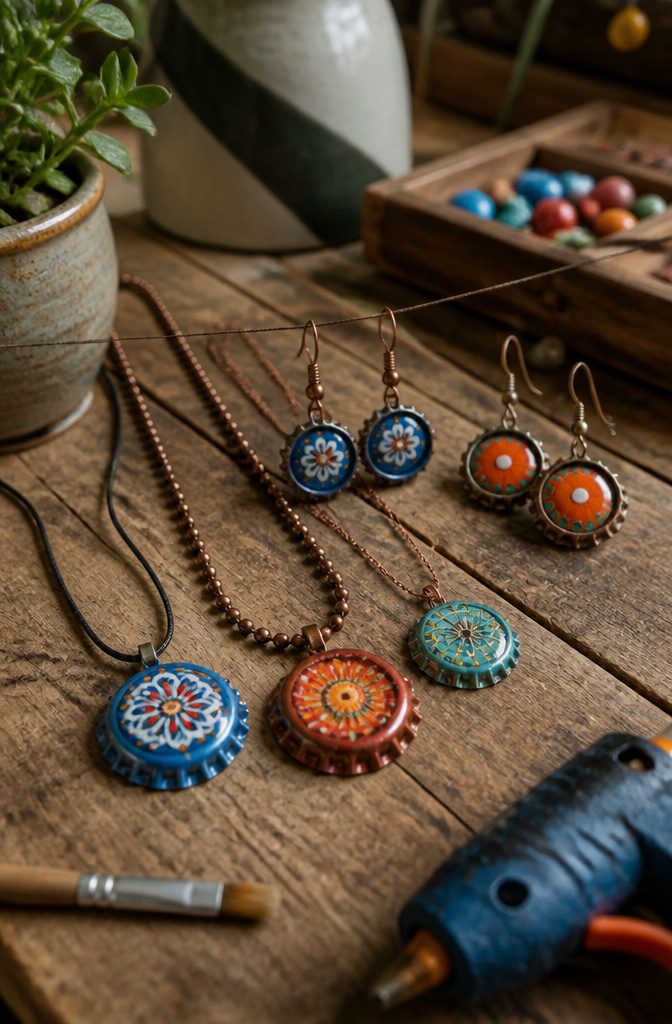
Pendants and earrings are where bottle cap jewelry works best, because one cap is already the right size for a charm.
Charm bracelets follow the same logic, and soda caps in a teen’s favorite brand make easy gifts for preteens and teenagers.
Leave the caps domed if you want a chunky, boutique look; flatten them with a hammer if the piece needs to sit close to the skin.
Then attach a bail with strong glue, or drill a small hole near the edge and run a jump ring through it. Gluing is faster; drilling holds up better on a bracelet that gets tugged.
Spray paint reaches the ridges of the crimped edge better than a brush, and acrylic craft paint covers the flat top. Stickers or small cut images work under a coat of sealer.
Drilling and tiny findings call for an adult when kids are helping.
3. Bottle Cap Wind Chimes
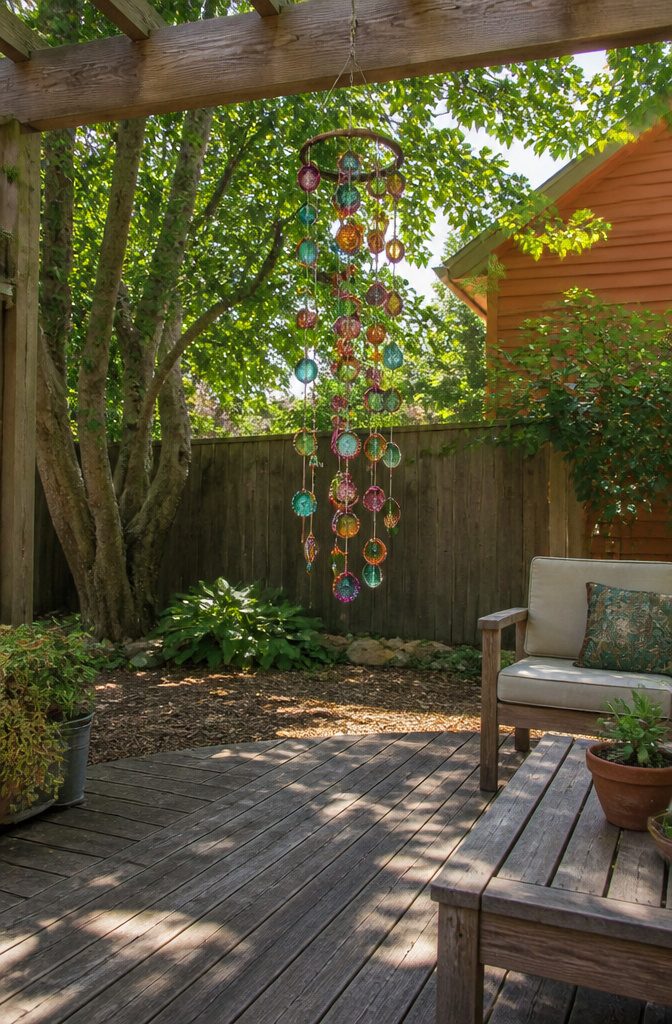
Caps get punched with an awl or drilled, one small hole in the center of each.
An awl is faster and fine for thin crown caps, but set the cap on a scrap of wood first so the point doesn’t skid. Drilling is cleaner; clamp the cap down so it can’t spin.
Thread caps and beads onto fishing line in strands of different lengths, then tie each strand to a hoop.
Space the strands evenly around the circle so the caps swing into one another instead of hanging in a flat row. Knot twice, because slick line slips.
Paint the caps before stringing. Color is the real draw here.
Don’t expect a metal chime.
Caps give a dry, light clink, more rattle than ring, with no sustained note. I’d hang it on a patio or balcony, where the movement and color matter as much as the sound.
4. Bottle Cap Wall Art
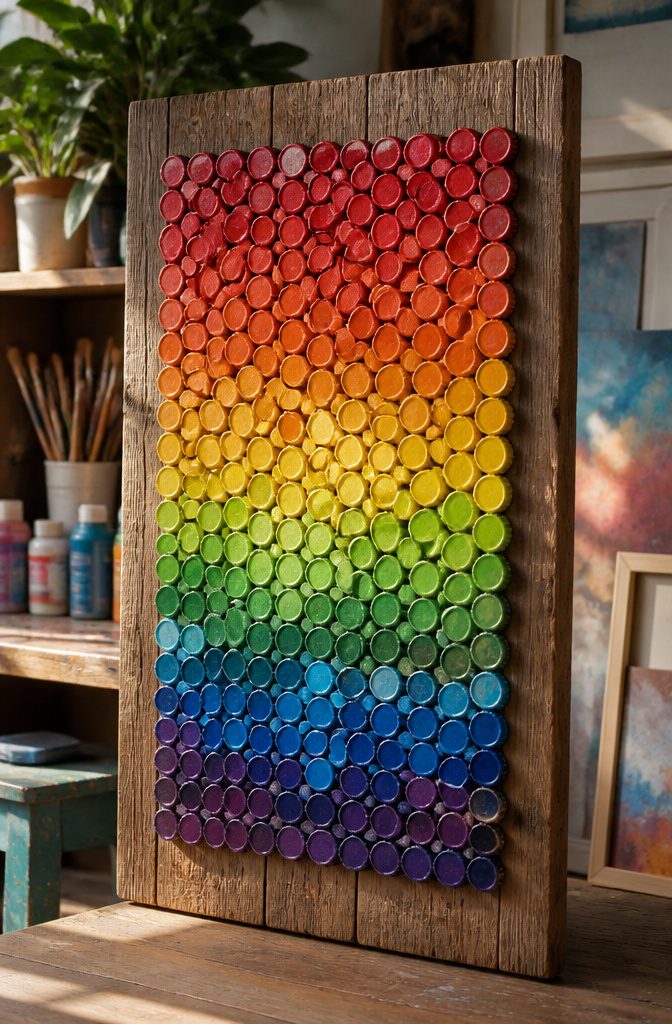
Sort the caps by color before you glue anything, because a gradient or portrait lives or dies on having enough of each shade.
Sketch the layout on the board first, then lay the caps out dry and shuffle them until the arrangement looks right. Overlapping caps of different colors is how an eye gets its detail.
For the mosaic, work from the center outward and glue each cap to the board one at a time, pressing firmly.
Epoxy or super glue bonds plastic best, so skip white craft glue. Dry-fit every row before gluing it, since one crooked cap shifts everything after it.
A wooden board or canvas both work.
I’d pick wood: it’s stiffer under the weight of the caps. A clear sealer or resin finishes it.
5. Bottle Cap Magnets
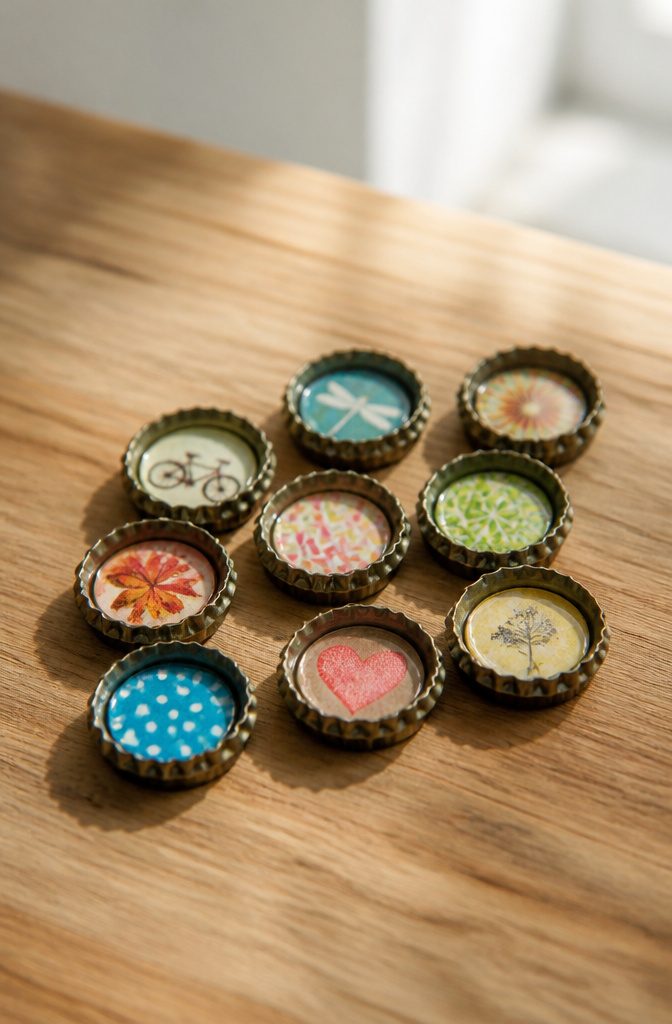
Metal caps are the ones to use for magnets, and a hot glue gun, a few caps and small magnets are the only supplies. That short list is why this is the project I’d hand a beginner first.
There are two ways to build it. Glue the magnet inside the cap and leave the front plain, which gives a rustic, kitchen-ready look.
Or flip the cap over, glue the magnet to the outside, and fill the hollow side with a picture, paint or any pattern you like. The second takes a little longer and wins for gifts, especially for a kid’s friends.
Add a dab of hot glue to the magnet, press it in, and hold it until it sets.
The glue gun is the one hot tool here, so an adult should run it. Resin should stay with adults too.
6. Bottle Cap Picture Frames
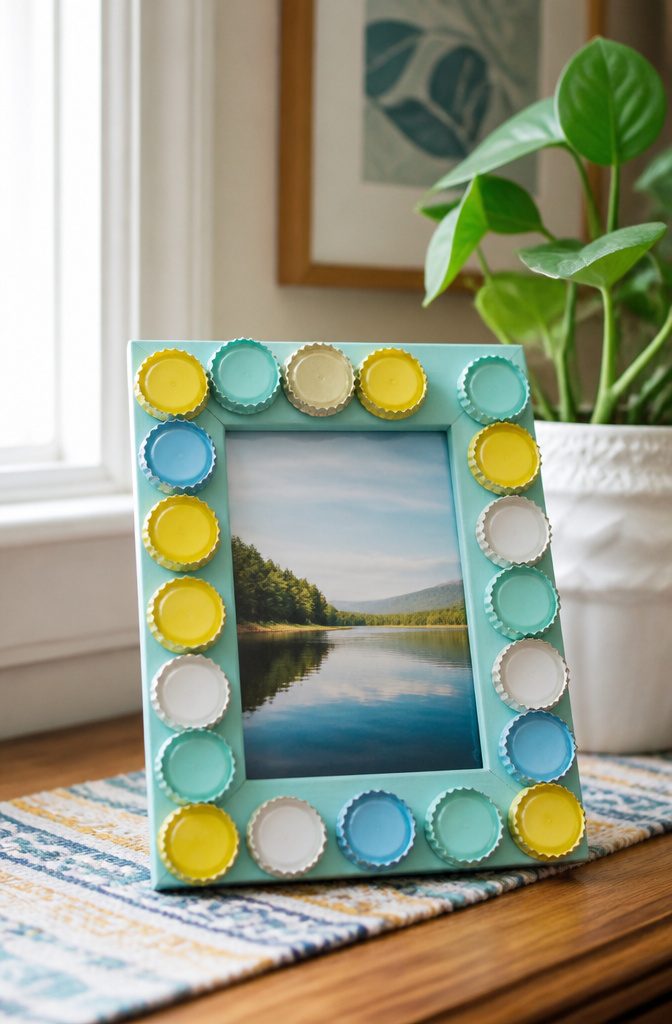
A standard frame from the Dollar Store, often under a dollar, is all the base you need, and a flat wooden or cardboard one gives caps the most surface to sit on.
Paint the frame first, then lay the caps around the border dry and shuffle them until the rows look even. Paint the caps to match the photo, or go single color for a calmer look.
Hot glue holds well here. Work one section at a time and let the glue cool before you move the frame, or the caps slide out of line.
Press each cap firmly for a few seconds. Cardboard frames carry the weight fine, but they bow if you flood them with glue.
7. Bottle Cap Garden Flowers
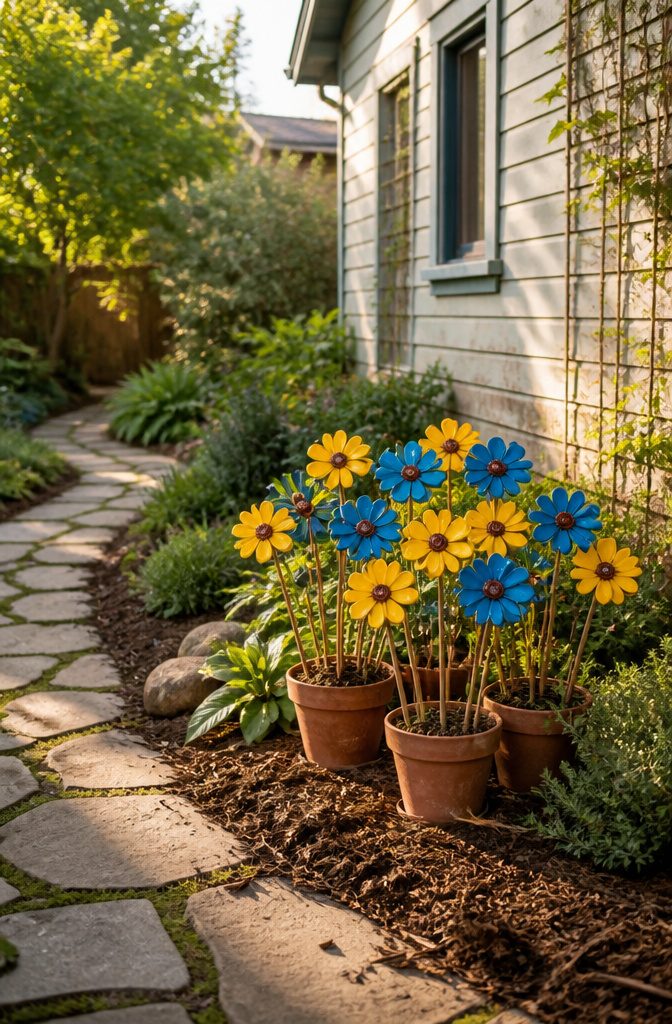
Bend each cap slightly with pliers or a gentle squeeze so the rim pinches into a petal shape, then glue the petals around a flat center.
A tin can lid works well as that base. Paint the caps in acrylic, and mix colors for a one-of-a-kind bloom or match them all for a tidier look.
Skewers or wooden dowels make the stems. A dowel holds up better in soil, and I’d skip skewers for anything taller than a small pot.
Acrylic alone won’t last outdoors, so seal both sides of every cap with an outdoor-rated clear sealer before assembly.
Bare metal edges are where moisture gets in. Bright red, yellow and orange petals with a contrasting center color read best against green leaves.
8. Bottle Cap Backsplash
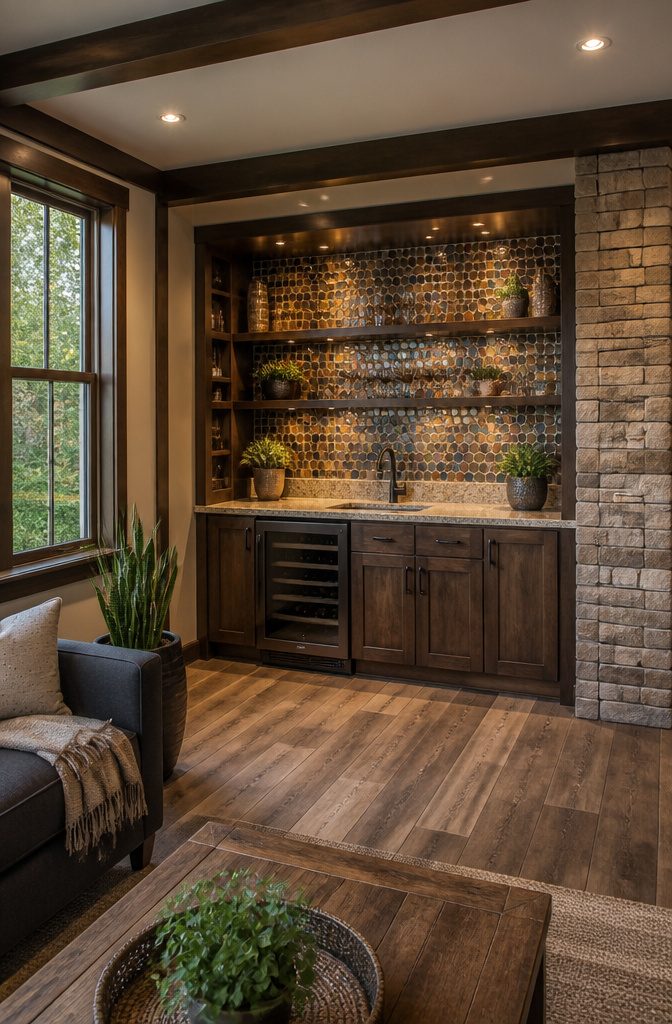
A wet bar wall is the best place for a bottle cap backsplash, because the caps are already the right theme and the area is small enough to finish.
Spray paint them in complementary colors first and let them dry fully.
Then set them, grout, and seal. Owners on Reddit who built cap surfaces say it took months of drinking and countless hours of designing, so the real cost is the collecting, not the glue.
Skip it for a full kitchen run unless you already have a garbage bag of caps from bartending.
For splash zones, finish the wall with two-part resin, which gives a wipe-clean surface and brings out the color. It costs more and can’t be redone easily, so plan the layout before you commit.
9. Bottle Cap Wreaths
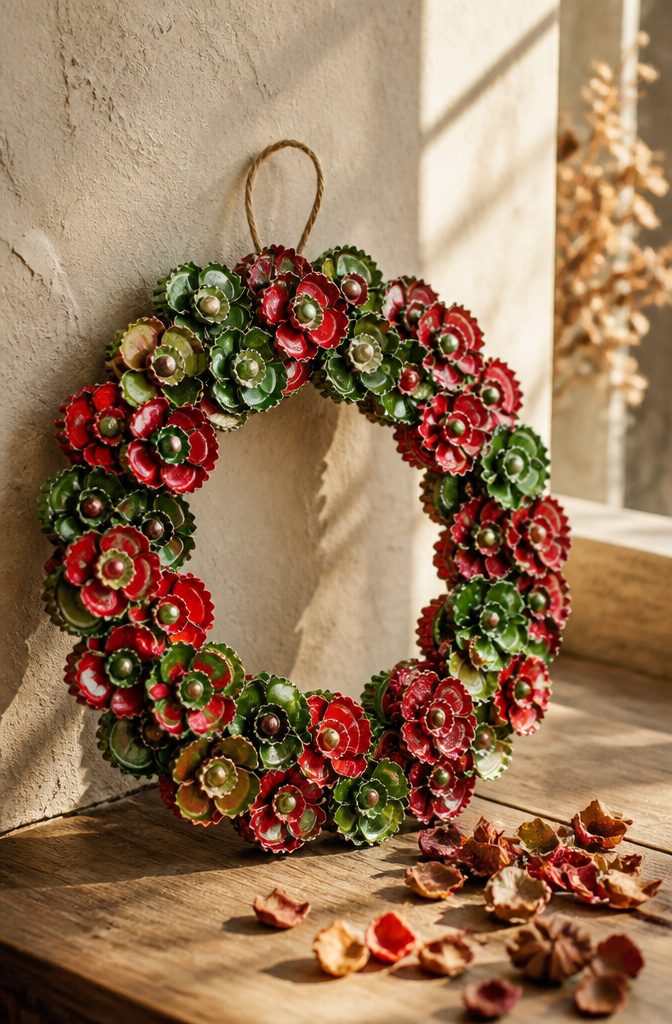
Start with the base: a foam wreath form gives you a flat, forgiving surface, while a wire ring or a bent coat hanger is lighter and leaves gaps you can hang things through.
Glue the caps on in overlapping rows, like roof shingles, so each cap hides the edge of the one beneath it.
Work from the outside edge inward, one full ring at a time, and the pattern stays even without any measuring.
Hot glue grips metal quickly, but a thicker craft glue holds better on foam if you can wait out the drying time.
Paint the caps before gluing; spray paint in a single coat covers faster than brushing each one. Red, white and green suit December, while pastels or sunflower yellow work for spring and summer.
Add a loop of ribbon or wire at the back and hang it from a hook, since the finished wreath is heavier than it looks.
10. Bottle Cap Planters
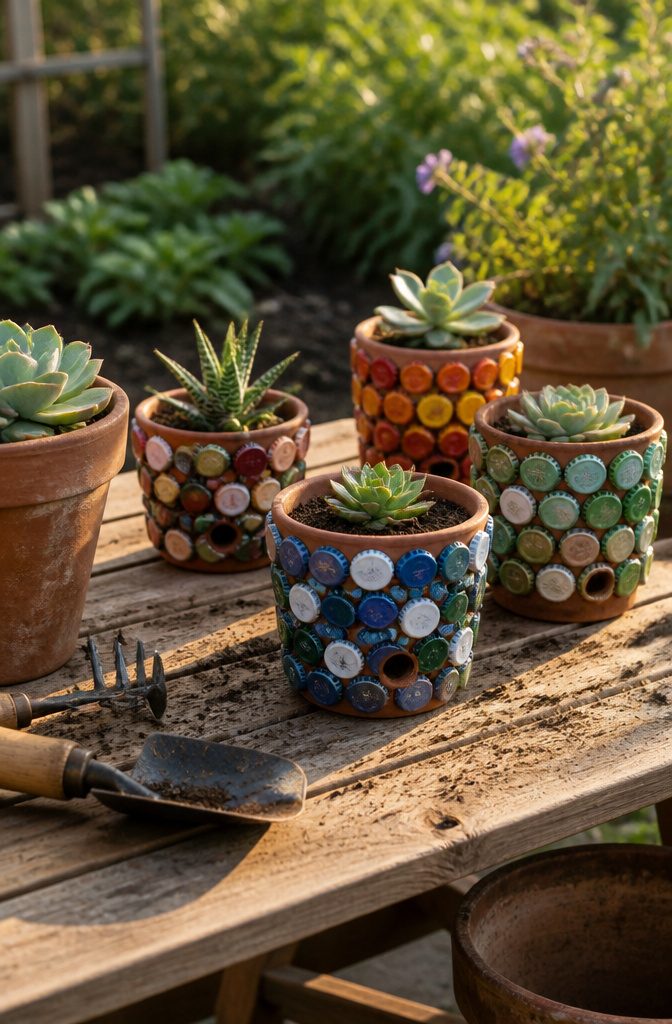
Flat-topped caps glued to a small terra-cotta pot make the easiest planter, and the pot’s curve is what decides the look.
Glue the caps in tight rows, working from the rim down, and leave the drainage hole clear. A hot glue gun grabs fast, but a waterproof craft adhesive holds up better on a pot that will be watered.
Seal the finished pot with a clear acrylic spray, covering the gaps between caps as well as the caps themselves, since water that seeps behind them loosens the glue. Keep the inside unsealed so the clay can still breathe.
For seed starters, a single cap holds a pinch of soil and one seed, though it dries out quickly and needs a punched drainage hole.
11. Bottle Cap Tabletop
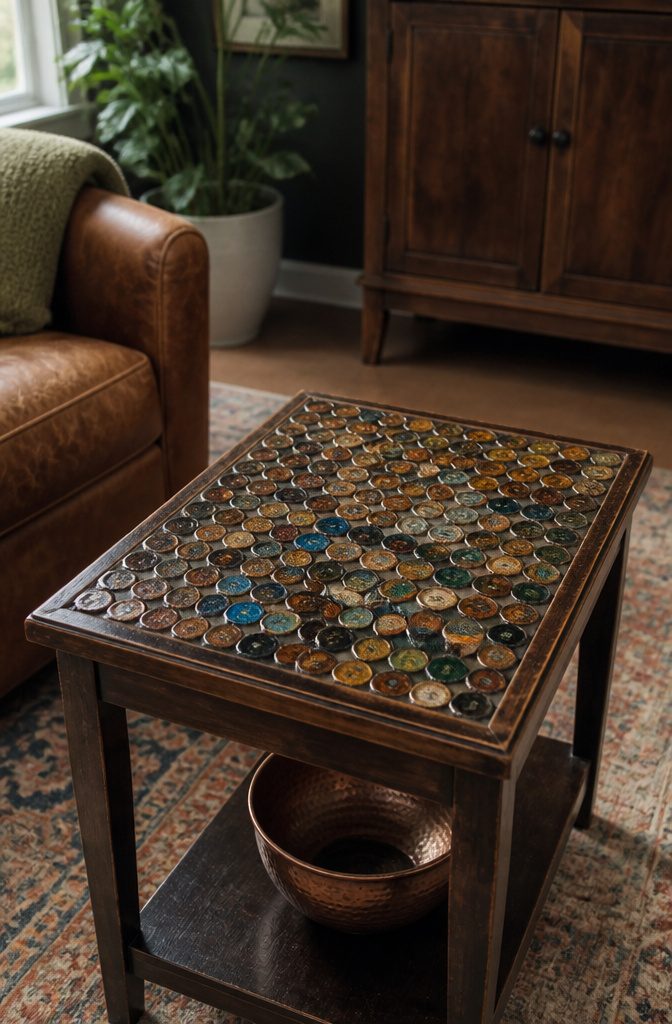
A side table is the right starting size, and a thrifted one works fine.
Clean the top, then lay the caps out dry and glue each one down only after you like the pattern. Check the spacing as you go, because gaps show up under resin.
The cap count depends on the surface, so count by laying out a single row across the width and multiplying. Beer caps suit a man cave or garage; a mix of colors suits a kids’ table.
Once the glue cures, pour epoxy resin evenly across the whole top and follow the product instructions.
Give it several days to cure fully before anyone sets a drink on it. Resin and a big cap haul push this project toward the $50 end of the range, and I think it’s worth it.
12. Bottle Cap Keychains
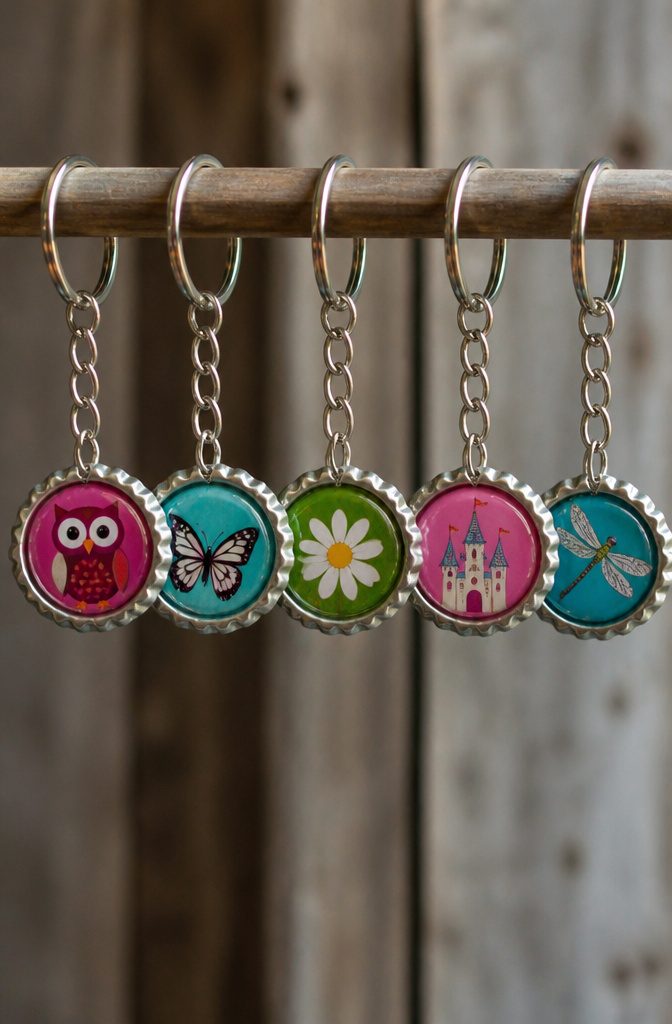
Decorate the inside face of the cap, because that is the side people see once the key ring is attached.
A printed image or a painted design both work, and a small photo trimmed to fit gives a more personal result than paint.
Seal the face with resin, since keys get knocked around in pockets and bags, and an unsealed paper image will scuff fast.
For the loop, punch a small hole near the edge of the cap, then thread a jump ring through it and clip the ring onto the key ring.
Punch the hole before you add the image and resin, so a slipped tool never ruins the finished face. I’d skip glue-on loops for anything that will carry a full set of keys.
13. Bottle Cap Candles
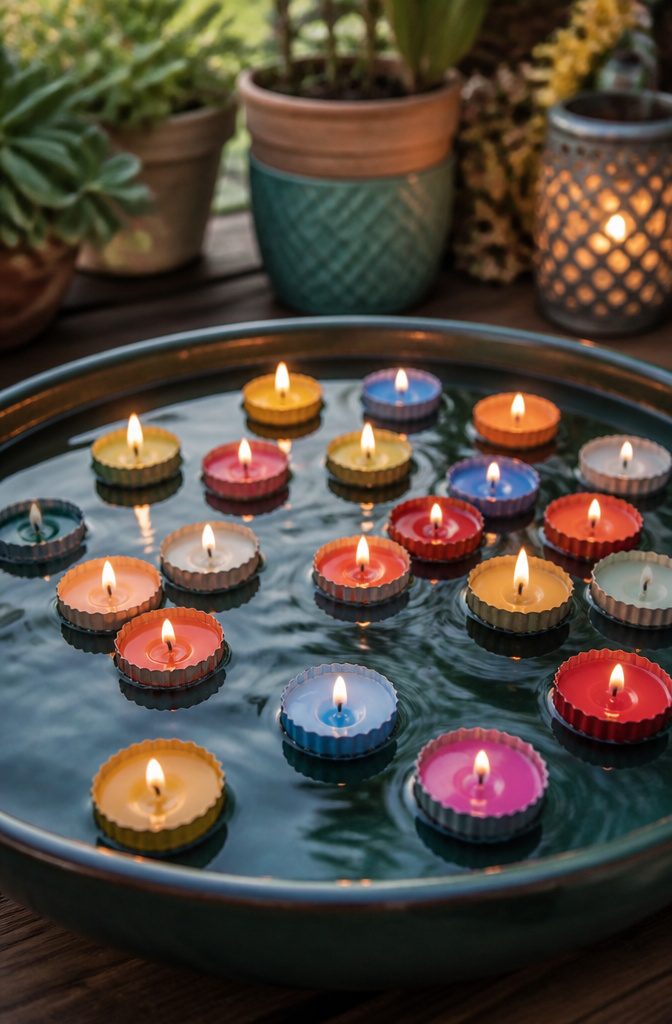
Bottle caps are light, which is why they work as tiny candle cups: pour wax into the cap over a short pre-waxed wick and the finished candle will even float, so a bowl of water becomes a small candle scene for a table or a wedding.
Crayon bits melted down give you bright colors without buying dye.
Pick a cap that sits flat and stays upright on its own. Set the wick before you pour, and keep it short, since a tall flame in a shallow cup runs hot.
Melting wax and hot caps are adult jobs, so kids can sort crayon colors while a grown-up handles the pour. Let each candle cool completely before you move it.
14. Bottle Cap Toys
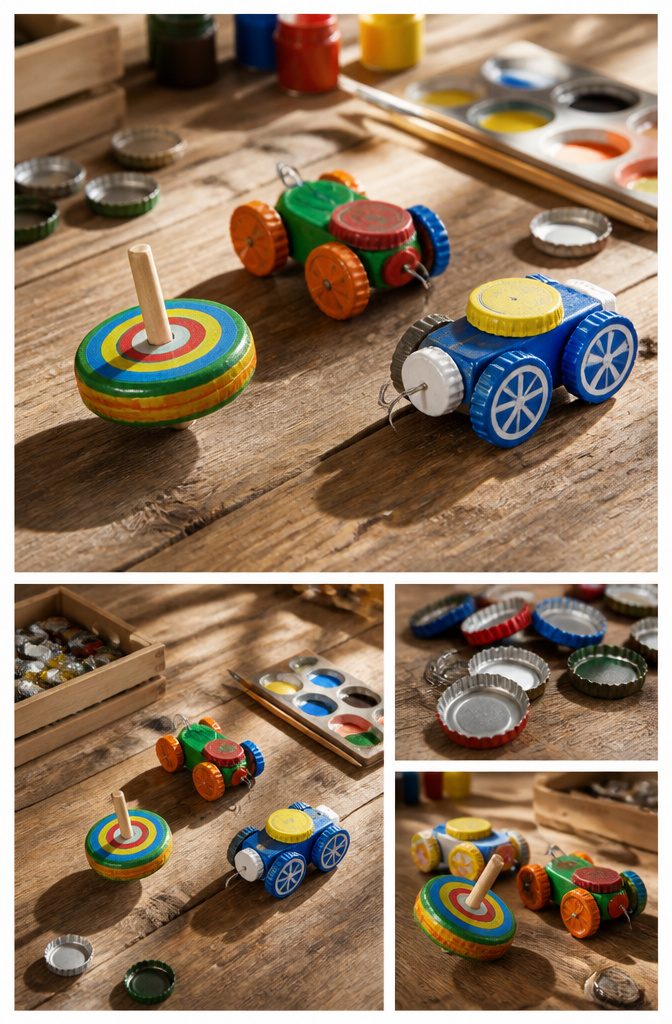
A spinning top is the simplest cap toy to build: a bottle cap and a toothpick, nothing else. Push the toothpick through the center of the cap, give it a twist between your fingers, and it spins.
Small cars take a little more effort, and a tricycle with a DC motor is the ambitious end of the range. Action figures and robots are mostly a matter of gluing caps together into heads, bodies and limbs.
Kids like these because the toy works the moment it’s done, and they can decorate it however they want.
Caps and toothpicks are small parts that can choke young children, so keep these projects for kids past the mouthing stage. Snap off or sand the toothpick points, and glue everything firmly before play.
15. Bottle Cap Garlands
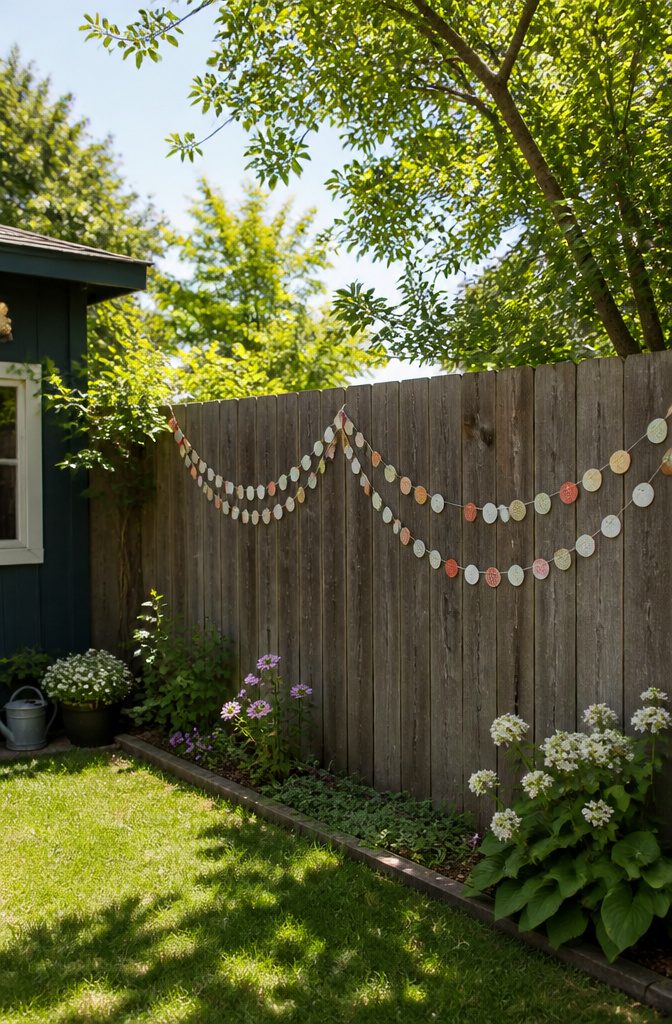
Punch each cap before you string anything, and use an awl or a drill; a nail and hammer will dent the rim and flatten the cap.
Put one hole near the edge for a hanging garland, or two holes side by side if you want the caps to lie flat against a wall.
Fishing line is invisible and lets the caps seem to float, while twine looks warmer and holds chalkboard-painted caps well. I prefer twine for party tables and line for windows.
Knot above and below every cap so it can’t slide.
Space them evenly, and mix in beads if you want a longer strand without more caps. Repeating two or three colors in a fixed order looks tidier than a random jumble.
16. Bottle Cap Sculptures
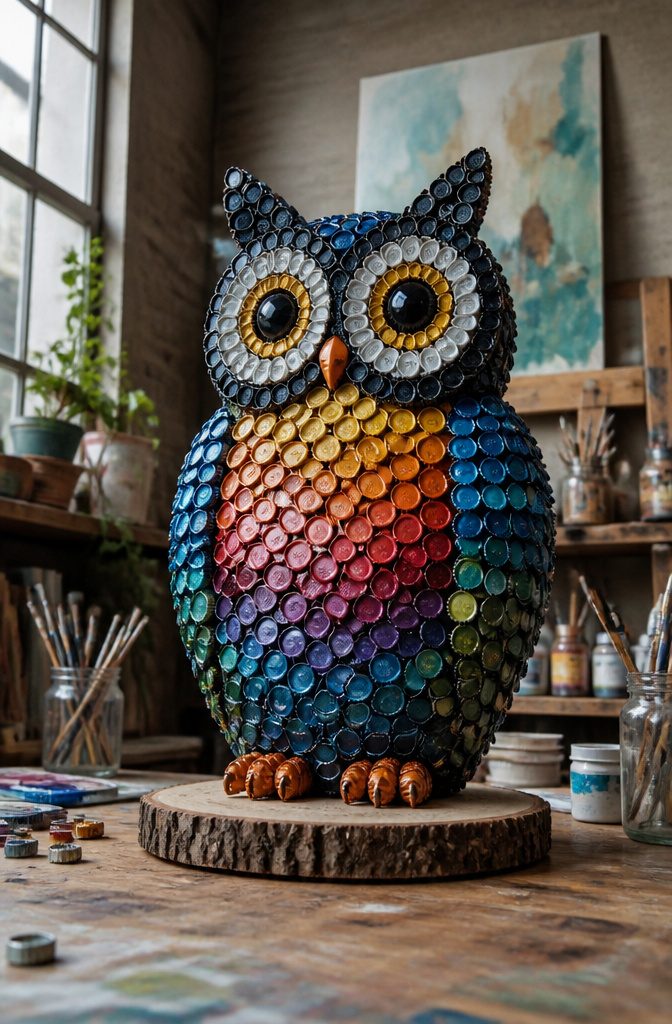
Sketch the figure on paper at actual size before a single cap gets glued.
Caps are small, round and stiff, so a form with simple stacked shapes, like a robot, snowman or owl, works far better than anything with curves or thin limbs.
Count the caps per layer on your drawing and sort them by color first.
Use a strong glue. Hot glue grabs fast but can peel off the metal later, so I’d choose a two-part epoxy or a glue made for metal and plastic for anything that will be handled.
Work in small sections, and let each one set fully before adding weight on top.
Build in rings or columns, and let every layer cure before stacking the next.
A wobbly base ruins the whole figure, and rushing is how most of these collapse. Expect an afternoon for a small piece, longer if the glue needs time to set.
17. Bottle Cap Christmas Ornaments
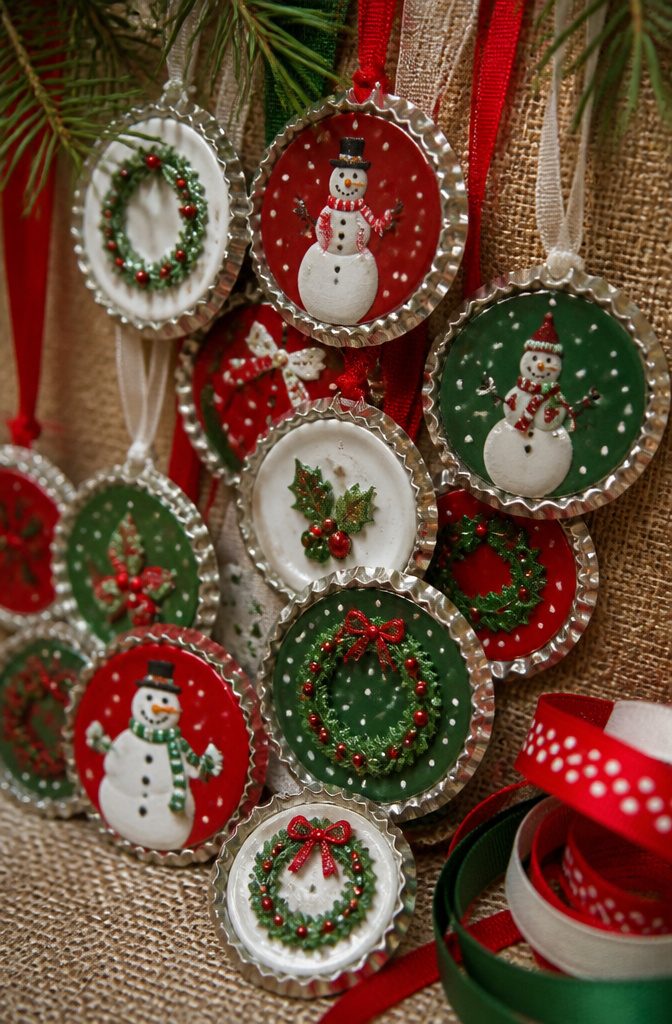
Paint decides whether a bottle cap ornament looks finished or looks like trash on a string.
Paint each cap and let it dry completely before you add anything else, because glitter and glue both drag through tacky paint and leave streaks.
Snowmen are the easiest design: a white cap, two dots for eyes, and an orange nose.
Bells and wreath-style caps take a little more patience, and a dab of glitter on the rim does the work of snow. Miniature embellishments work too, as long as they stay small enough to sit inside the cap.
Glue a ribbon loop to the back for hanging, then give it time to set before it goes on the tree. I’d pick a ribbon in a holiday color, since it shows from the front.
18. Bottle Cap Games
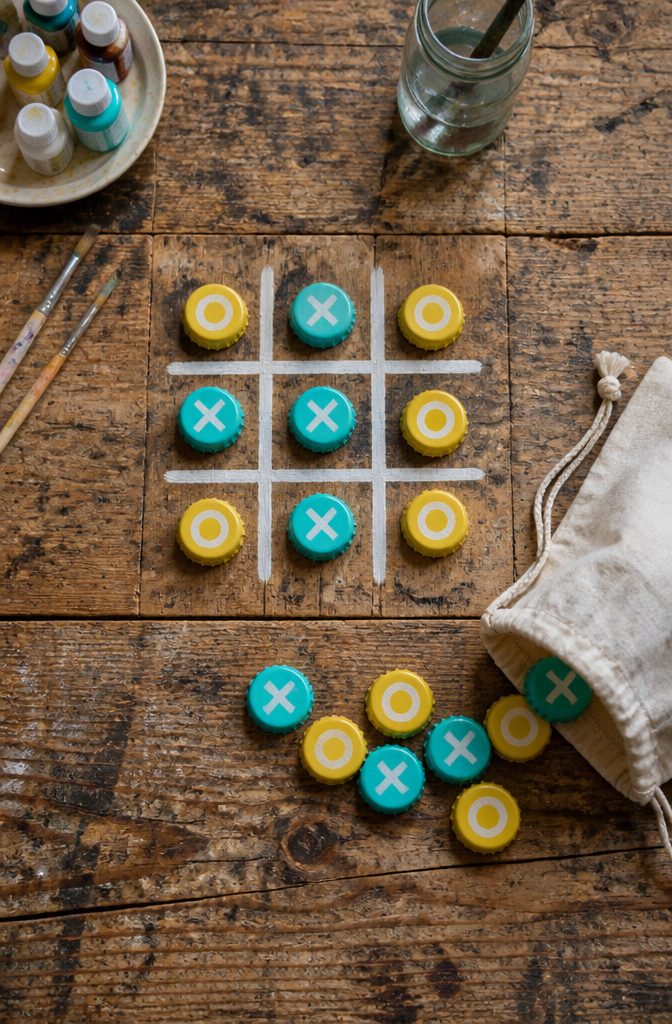
Tic-tac-toe needs 10 caps: 5 painted with one symbol and 5 with another. Two distinct sets matter more than anything else on the board.
Pick colors that contrast, such as a dark set against a light one, and paint a different symbol on each so a quick glance across the table never mixes them up.
Let the first coat dry before adding the symbol on top.
Draw the grid on fabric or wood with paint or permanent marker, and keep a small drawstring bag for the caps. Fabric wins for travel because the whole game rolls up into the bag.
For learning, write a letter or number on each cap with permanent marker. Stick matching Velcro pieces on the caps and a foam board, then sort, spell or count on it.
19. Bottle Cap Hair Clips
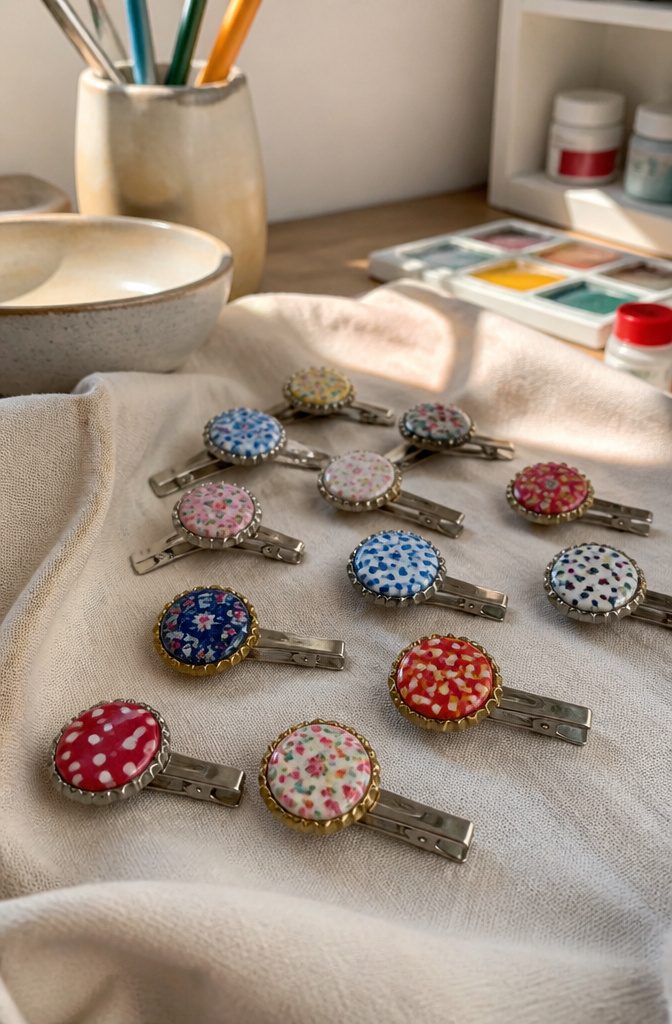
Caps that match in size make the neatest clips, so sort your pile before you glue anything.
Use only caps that are clean, dry and free of cracks; a hairline split will widen once the clip is clipped and unclipped a few dozen times.
Decorate the cap first, while it sits flat on the table.
Paint the top, or drop a small circle of patterned paper inside and seal it. The back of the cap is what gets glued, so leave that side bare.
Flat caps work best here.
A dented one rocks on the clip and the bond gets weak. Rough the underside of the cap lightly, then press it onto an alligator clip’s flat top or a snap clip’s face with a dab of strong glue.
Let it cure fully before anyone wears it, since a tug on a half-set cap pops it right off.
20. Bottle Cap Animal Busts
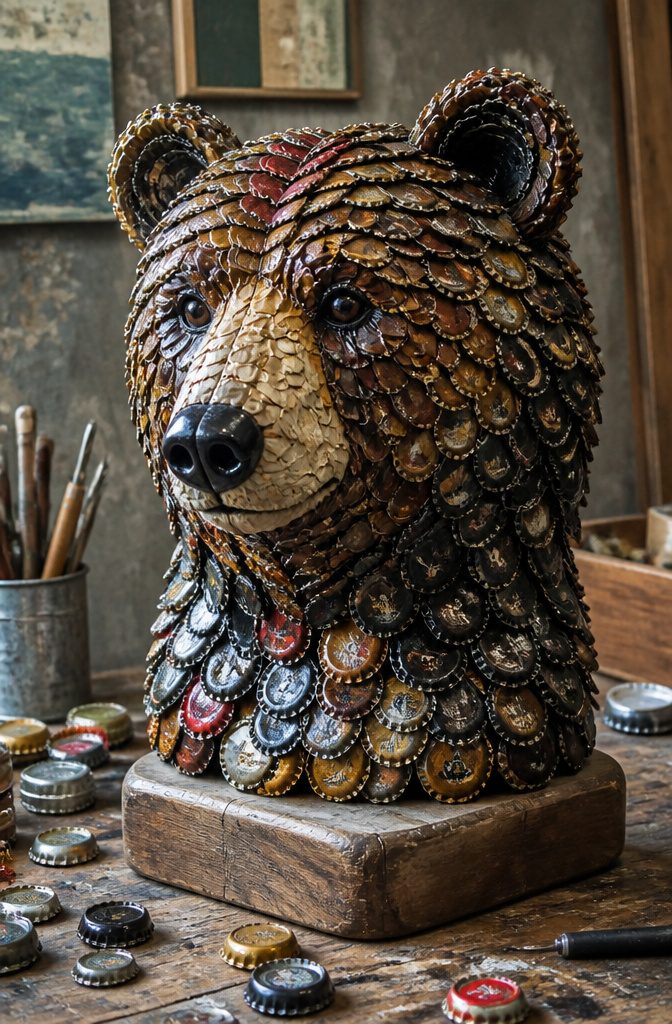
Animal busts are the hardest project on this list, and I’d save them for after you’ve finished a few coasters or magnets.
The head is built the way a mosaic is: a flat backing, usually thin plywood or heavy cardboard cut to a deer, fox or bear silhouette, with caps glued on in rows.
Fur comes from layering.
Start at the neck and work upward, overlapping each row slightly so the caps read like feathers or scales. Use sorted colors for the shading, darker near the neck and lighter toward the muzzle.
Eyes, nose and ears need their own treatment. Flattened caps, or caps turned upside down, give you raised features that catch light.
Plan the whole face on the backing in pencil before gluing a single cap, because a glued cap is nearly impossible to move. Expect this one to take more than an afternoon.
Materials You Need
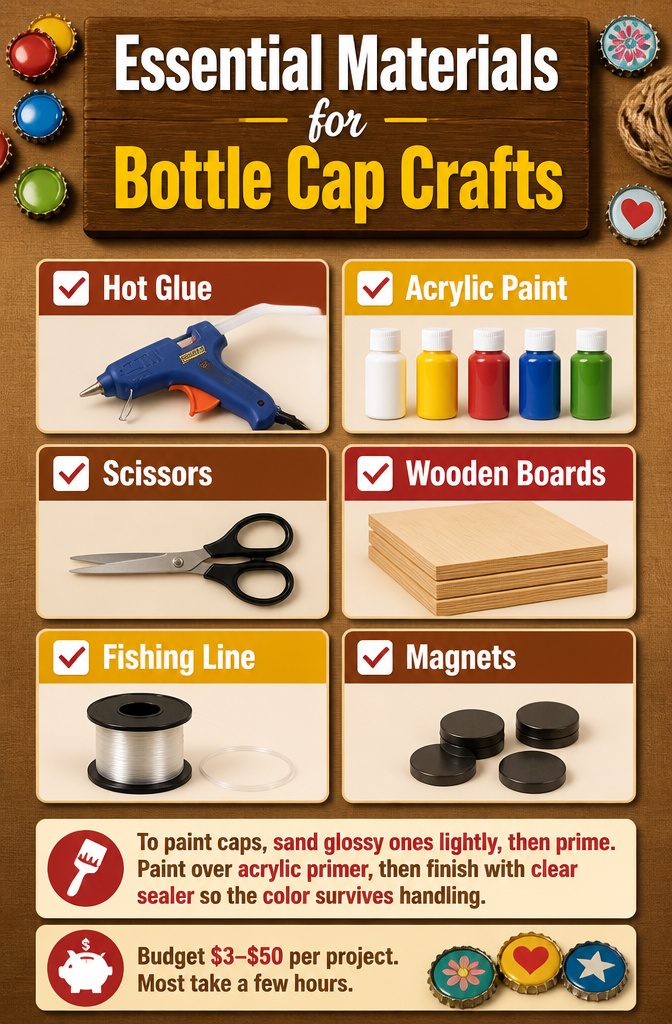
Most bottle cap projects need the same short shopping list, and nearly all of it is already in a craft drawer:
- Hot glue: a glue gun holds caps to wood, cardboard and each other in seconds, which beats waiting on white glue.
- Acrylic paint: cheap, opaque and easy to find in small bottles.
- Scissors: for trimming felt, cork and paper liners.
- Wooden boards: craft plywood or scrap pieces for coasters, signs and wall art.
- Fishing line: clear and strong enough for hanging chimes and garlands.
- Magnets: small flat discs glued to the back of a cap.
To paint caps, sand glossy ones lightly, then prime. Paint over acrylic primer, then finish with clear sealer so the color survives handling.
Budget $3–$50 per project. Most take a few hours.
Upcycling for Less Waste
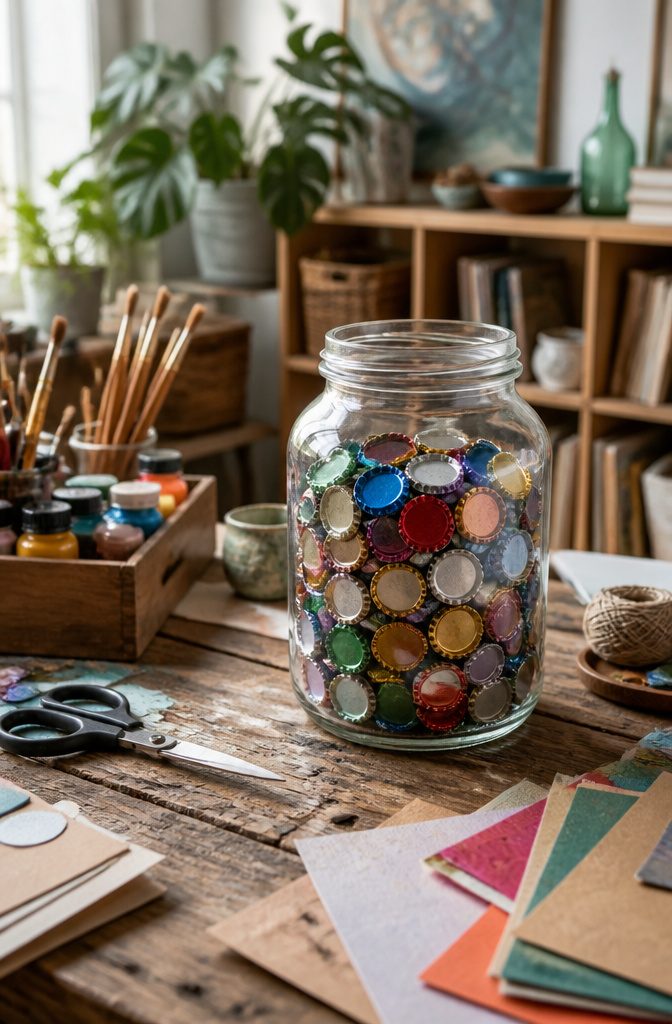
Caps are the one craft supply that most households produce on their own, week after week.
Every bottle of soda, juice or milk sends one to the recycling bin, and a lid that small is easy to lose in the sorting. Collected in a jar, they become free material that is already sturdy, waterproof and lightweight.
That changes the budget.
Paint, glue and scissors are about all a project asks for, so the main cost is whatever you already have in a drawer. For magnets, save the metal caps and buy only small magnets to stick behind them.
Reusing them also keeps small plastic and metal pieces out of the trash and gives them a second life as something you actually use.
Crafting With Kids
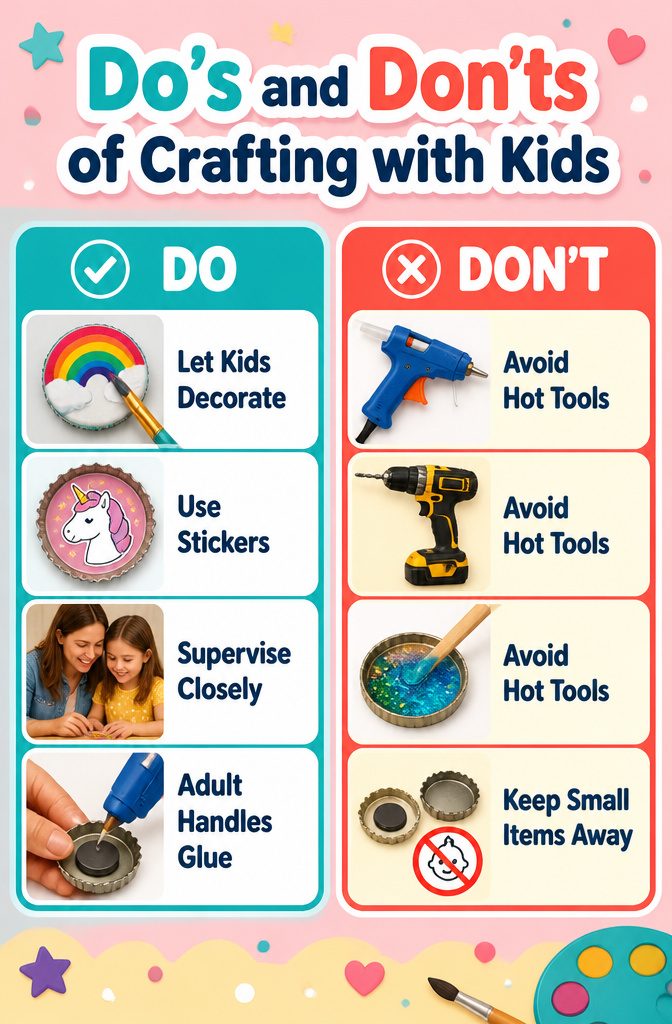
Hot glue guns, drills and resin are adult jobs, full stop. Kids can still do most of the rest: painting, sticker work and pressing magnets onto finished caps.
Fridge magnets are the best starting project for children. Metal caps are required, so the magnet sticks behind them, and the front is a blank circle for paint or a favorite pattern.
Let the child decorate while an adult handles the gluing, and the whole job still feels like theirs. Because they look good, the finished magnets also make easy gifts for a kid’s friends.
Stickers suit younger kids who can’t wait for paint to dry.
A single favorite character on a cap is enough to personalize it. Keep small caps and magnets away from toddlers, since they are choking hazards.
Frequently Asked Questions
What can I make with bottle caps?
Bottle caps work for coasters, magnets, jewelry, wind chimes, wall art, picture frames, wreaths, planters, keychains, candles, toys and more.
Magnets are the easiest first project, since all you need is metal caps, small magnets and a glue gun. Bigger builds like a tabletop or a backsplash take more caps and more time.
How do I paint bottle caps?
Sand glossy caps lightly, add a coat of acrylic primer, then paint with acrylic and finish with a clear sealer.
Spray paint reaches the ridges of the crimped edge better than a brush, while craft paint covers the flat top well. Let each coat dry fully before adding anything on top.
How do I seal a bottle cap?
Use a clear sealer over the painted or decorated face, or pour resin for a harder, more durable finish.
Resin costs more but wipes clean, which suits coasters, keychains and tabletops. For caps that will sit outdoors, seal both sides with an outdoor-rated clear sealer so moisture can’t get in at the bare metal edges.
Can kids make bottle cap crafts?
Yes, with an adult handling the risky steps.
Hot glue guns, drills and resin are adult jobs, while kids can paint, add stickers and press magnets onto finished caps. Keep small caps and magnets away from toddlers, since they are choking hazards.
What can I make out of plastic bottle tops?
Plastic tops suit toys, garlands, wind chimes, wall art mosaics, ornaments and games like tic-tac-toe.
A spinning top needs only a cap and a toothpick. Use epoxy or super glue for plastic, since white craft glue bonds poorly, and keep metal caps for magnets.





