
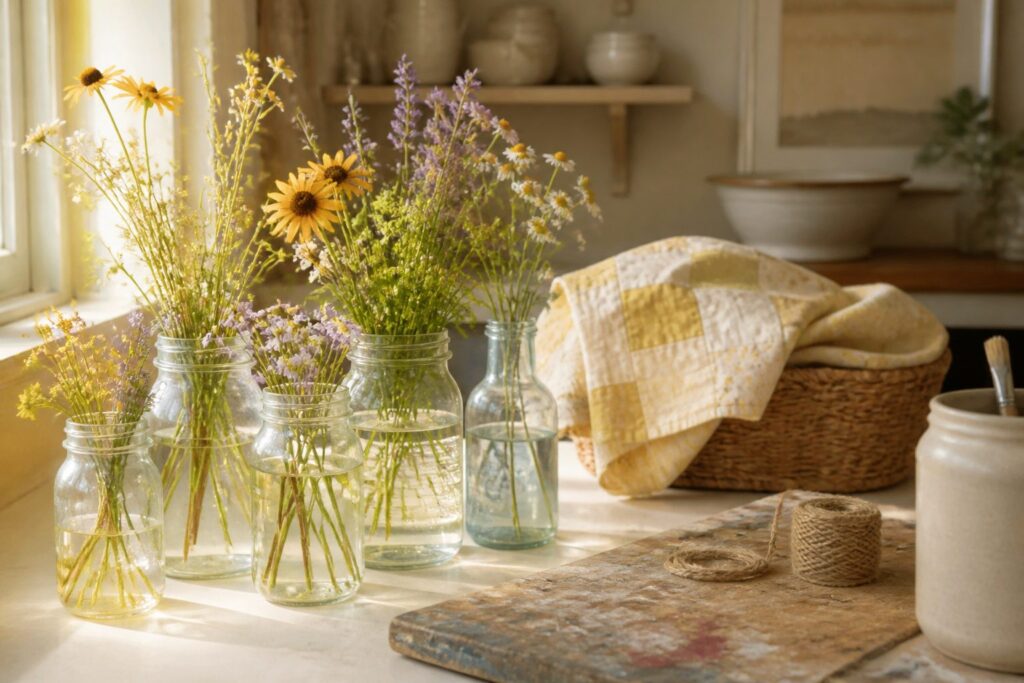
These projects run from a 30-minute jar candle holder to a patchwork tote that needs sewing, and the material you have on hand picks yours.
Prep is what trips people up: labels, glue residue and damp surfaces keep paint from gripping, and tin can rims need filing before anyone’s hands go near them.
1. Egg Carton Flowers
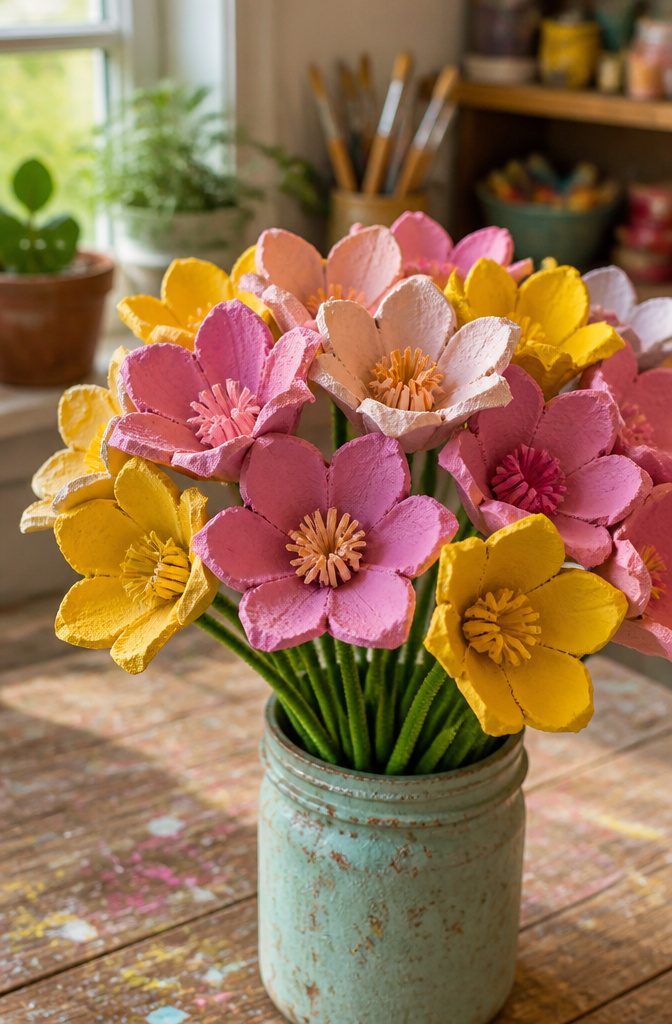
Use paper egg cartons, the gray or tan pulp kind, because foam won’t take paint well and fights the scissors.
Cut the cups apart, then snip down the sides of each one to form petals. Rounding the tips with a few small cuts looks softer than leaving points.
Paint the cups before you bend anything, since a wet, shaped petal is hard to hold. Bend the petals outward with your fingers once the paint is dry, and a pencil rolled along each one gives a gentle curl.
Poke a hole through the center of the cup and push a pipe cleaner through for the stem, with a small knot or a bead on the inside to hold it.
Glue a smaller cup inside for a layered bloom. Strung on a light cord, the same flowers become a garland.
2. Plastic Bottle Planters
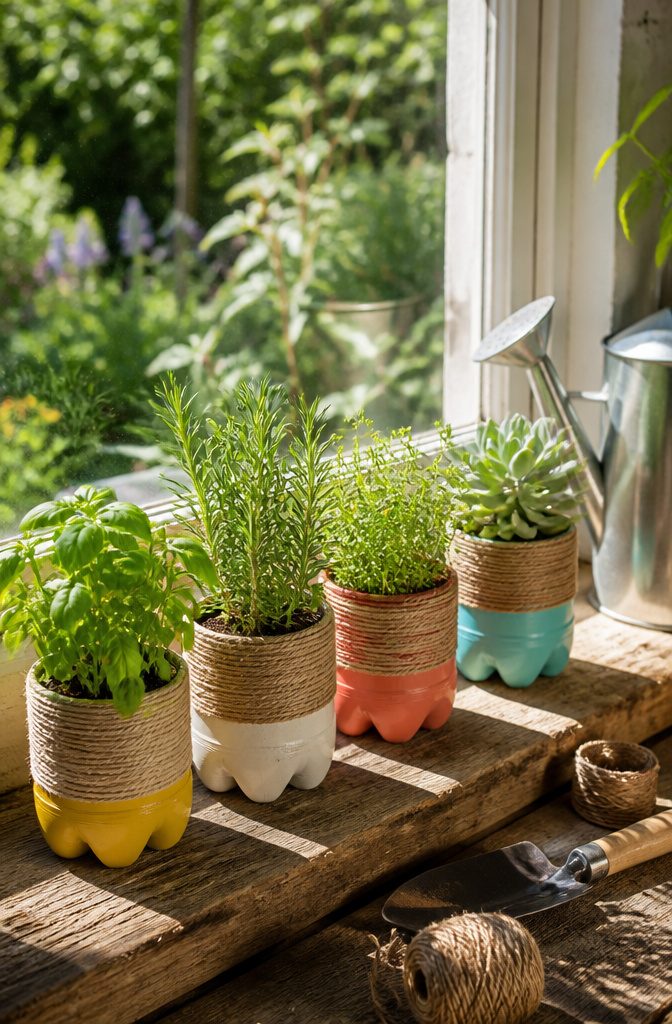
Cut a large plastic bottle about two-thirds of the way up from the base and keep the bottom as the pot.
Scissors work for most bottles; the cut edge can be sharp, so run a finger along it before you hand it to a kid.
Wash the bottle and let it dry fully before you plant, since leftover residue and trapped moisture make for a sour start.
Then punch small holes in the bottom, because a bottle with no drainage holes will hold water like a bucket and drown whatever you put in it.
Acrylic paint or a wrap of jute twine covers the printed label and gives a natural look. Potting mix with herbs, succulents or flowering plants fits a kitchen windowsill well.
It needs only scissors, glue and paint, and it finishes within an hour. The downside is that thin plastic looks like what it is unless you decorate it.
3. Tin Can Wind Chimes
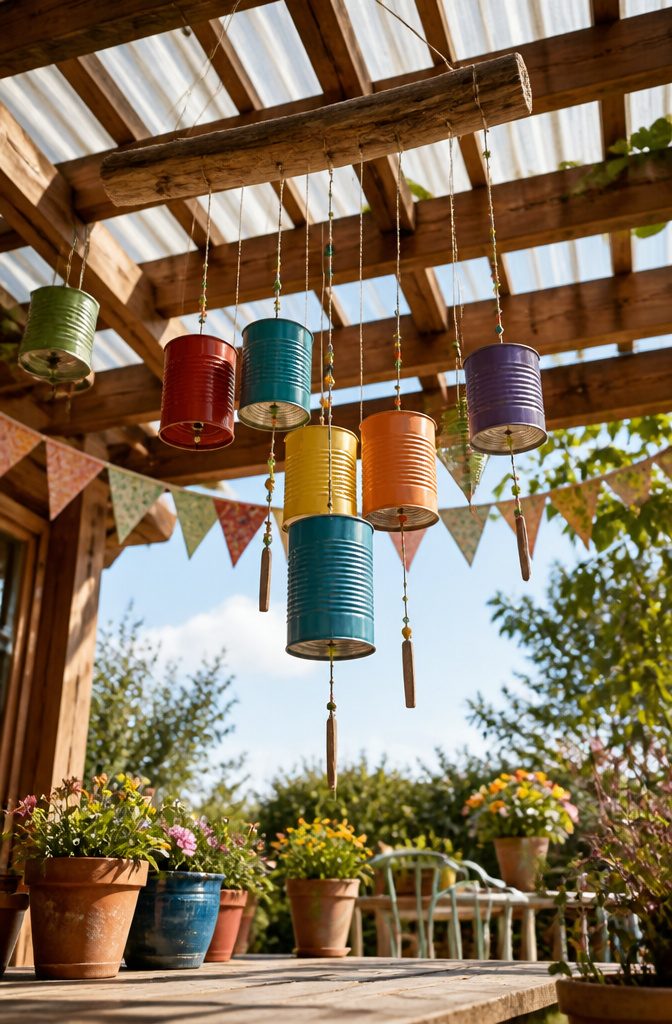
Tuna, tomato paste and condensed milk cans make the best chimes, because mixing sizes gives you different pitches.
Wash each can, dry it completely, and peel off the label before anything else. Paint won’t bond to a damp or sticky surface.
The cut rim is the real hazard.
File every open edge smooth with a metal file, or cover it with tape if you don’t own one. An adult should do this step, and kids should only join in once the rims are dull.
Punch patterns into the sides with a nail and hammer, then thread the cans on strong string or wire at staggered lengths and tie them to a driftwood or bamboo stick.
Bare metal rings with a gentle, tinny clink that I prefer to painted cans, which sound a little duller.
4. Cardboard Tube Sculptures
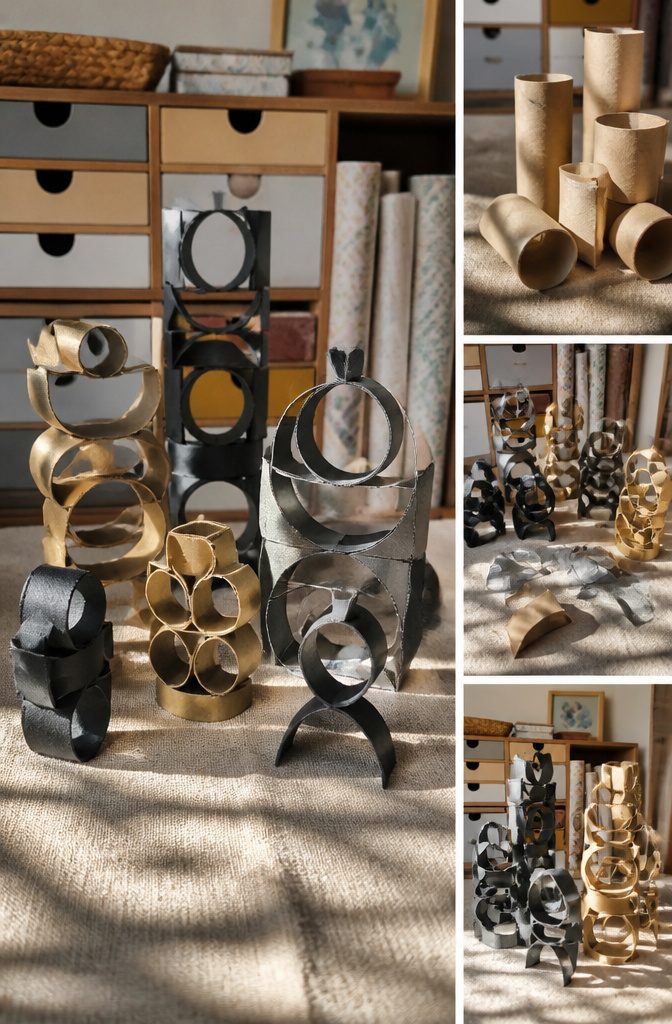
Toilet paper and paper towel tubes are the best free building blocks in the recycling bin, because they cut cleanly and glue edge to edge. Slice them into rings of different widths and you have a kit of parts.
Arranged on a flat cardboard backing in a geometric or floral pattern, the rings make wall art, and strong adhesive matters here more than anything else. Tape slips on curved edges, so I would skip it for the rings.
Once the glue dries, spray-paint the whole piece one color. Gold, white or charcoal all work, and a single coat of color hides the mismatched printing on the tubes.
For freestanding sculptures, leave the tubes whole and stack them into towers, tunnels or robots. Yarn, stickers and tape make a simple step up into mixed media.
5. Glass Jar Candle Holders
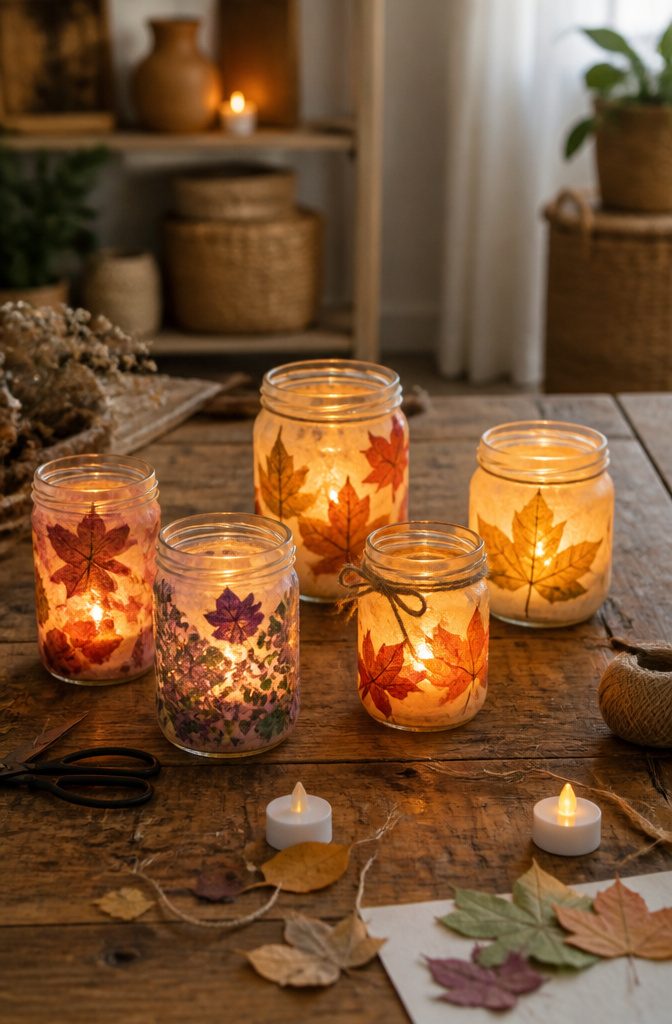
A jam or pickle jar is the best starting point here because it costs nothing if you already have one, and the whole project takes under 30 minutes.
Soak the jar in warm water so the label slides off, then scrub away leftover glue before you decorate, since residue keeps paint and glue from sticking.
For decoration, brush white glue thinned with a little water onto the outside and press on tissue paper, colored cellophane or dried leaves while it’s wet.
Let it dry completely before a tealight goes inside; tacky glue smears and traps fingerprints.
Tissue paper and leaves are flammable, so I’d choose a flameless tealight for anything a child will carry around. With a real flame, keep the decoration away from the candle and never leave it burning unattended.
6. Newspaper Seed Pots
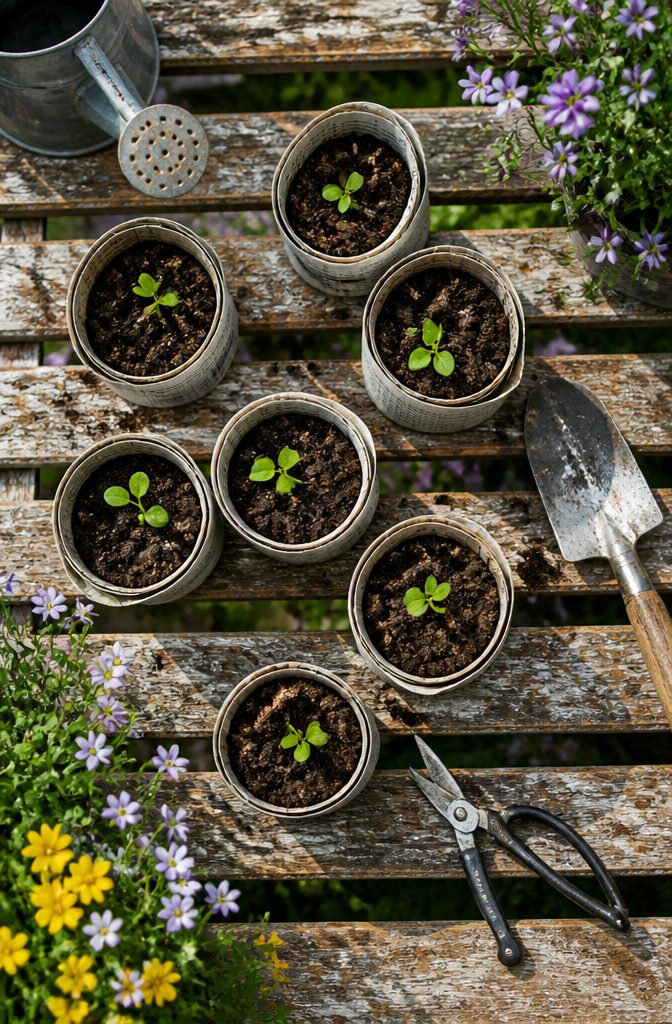
Newspaper pots start with a glass or a bottle.
Cut old newsprint into strips, roll a strip around the glass, fold the overhang at the bottom to make a base, and slide the glass out. Fill the pot with soil and sow your seeds.
The reason I like these over plastic cell trays is the transplant.
Plant the whole pot in the ground, and the paper breaks down on its own without disturbing the roots. Nothing to pull apart, nothing to throw away.
Costs run close to zero, since the only supplies are a stack of old papers and a glass already in your cupboard.
Kids can handle every step, and rolling around a cup gives them a clear target. Use a narrow glass if your seedlings are small.
7. Cereal Box Puppet Theater
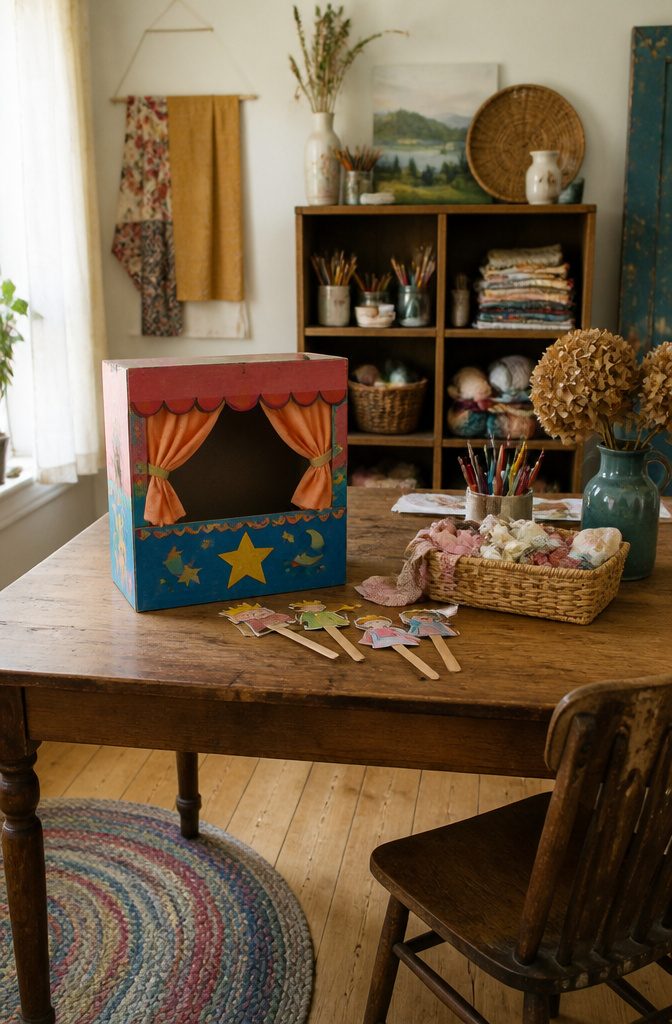
A cereal box already has the shape of a stage: a flat front panel, a deep body and a sturdy back.
Stand it on its side, trace a rectangle on the wide face, and cut the opening with scissors or a craft knife (an adult should handle the knife).
Leave a border of a couple of inches so the frame holds its shape.
Paint or glue paper scraps over the printed cardboard, then add curtains from fabric or paper. Kids decide how it looks, and that open-ended choosing is the point.
For puppets, I like paper figures taped to craft sticks, since they slide in from the side or bottom.
Paper rolls and egg carton cups work too. A finished theater suits a school project because it costs almost nothing and teaches reuse by hand.
8. Bottle Cap Magnets
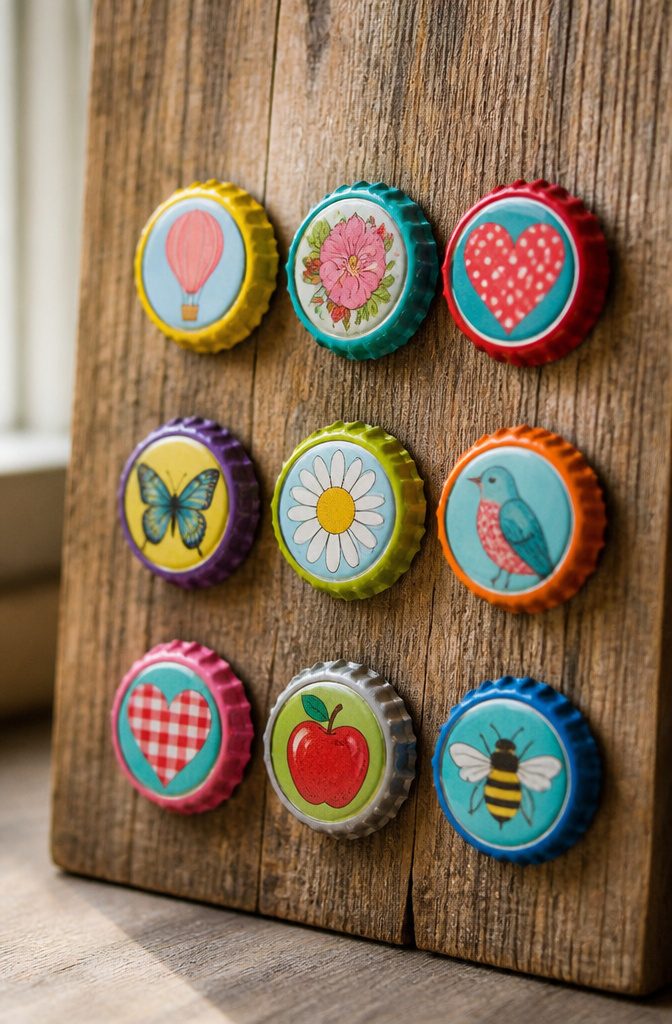
Wash the caps in warm soapy water and peel off any leftover liner or sticker residue before you do anything else.
Paint and glue grip a clean, dry cap much better, and a quick rub with rubbing alcohol clears the last tacky bits.
For the filling, small circles cut from magazines, old greeting cards or printed photos work well. Trace the cap onto the paper, trim just inside the line, and glue the circle into the well.
Finish with a drop of clear glaze or resin so the image sits under a domed, glossy top. Paint is the faster route if you’d rather skip the cutting.
Glue a flat round magnet to the back with a strong adhesive, and let it cure fully before the magnet touches the fridge. Rushing this step is how magnets slide off and end up on the floor.
9. Fabric Scrap Tote Bag
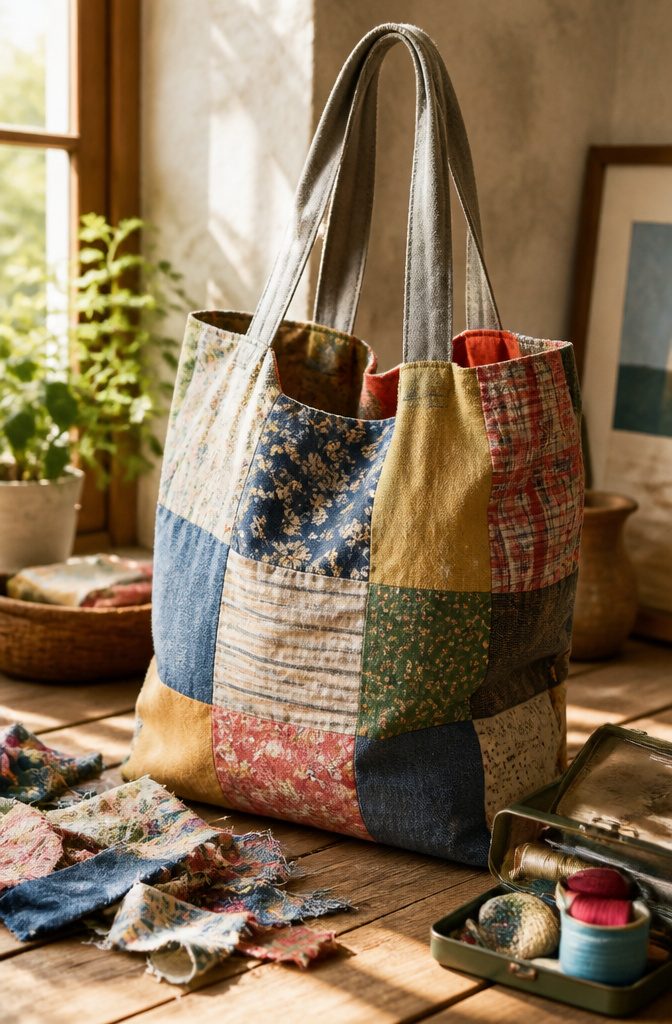
Old clothes, sarees and dupattas all work for a scrap tote, and the mismatched look is the whole design. Cut the fabric into uniform strips or squares, then sew them together in a patchwork pattern to form the bag body.
Because the pieces are meant to clash, nothing has to line up perfectly, which makes this a forgiving first sewing project.
Hand stitching is the simple route, and I’d pick it if you own no machine.
It’s slower, but a patchwork bag only needs steady, ordinary stitches. A sewing machine is the advanced option; it speeds up all those seams, though it asks for more setup and practice.
For handles, use thicker fabric or strips cut from an old belt. Belt strips hold their shape better than soft cotton, so I’d reach for one if you have it.
10. Upcycled Wine Bottle Snowman
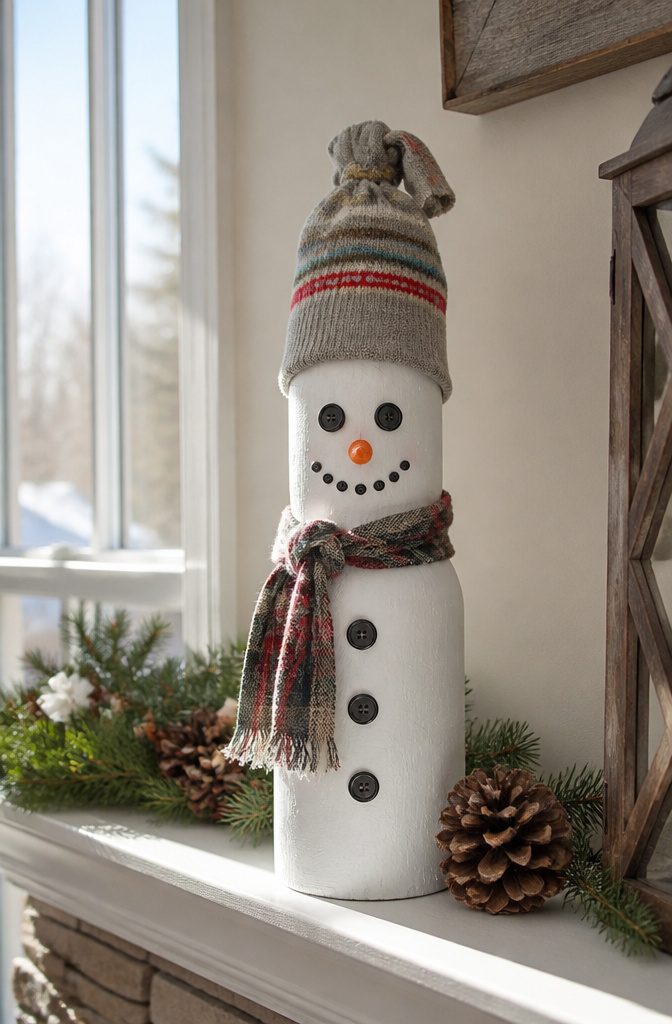
Soak the bottle in warm, soapy water until the label slides off, then scrub away any leftover glue with cooking oil and a sponge.
Paint won’t grip a bottle that is still tacky or greasy, so dry it completely before you start.
Acrylic craft paint in white works well, and two thin coats beat one thick coat every time because thick paint drips down the curve and shows brush marks.
Let the first coat dry before the second. Dab on a face with black and orange paint, or use buttons for eyes.
For the outfit, a knit hat from an old glove or sock fits the neck of the bottle nicely.
Tie a strip of fabric scrap around the neck as a scarf. I’d keep the bottle on a mantel or windowsill, since the paint will scuff outdoors.
Materials Worth Saving
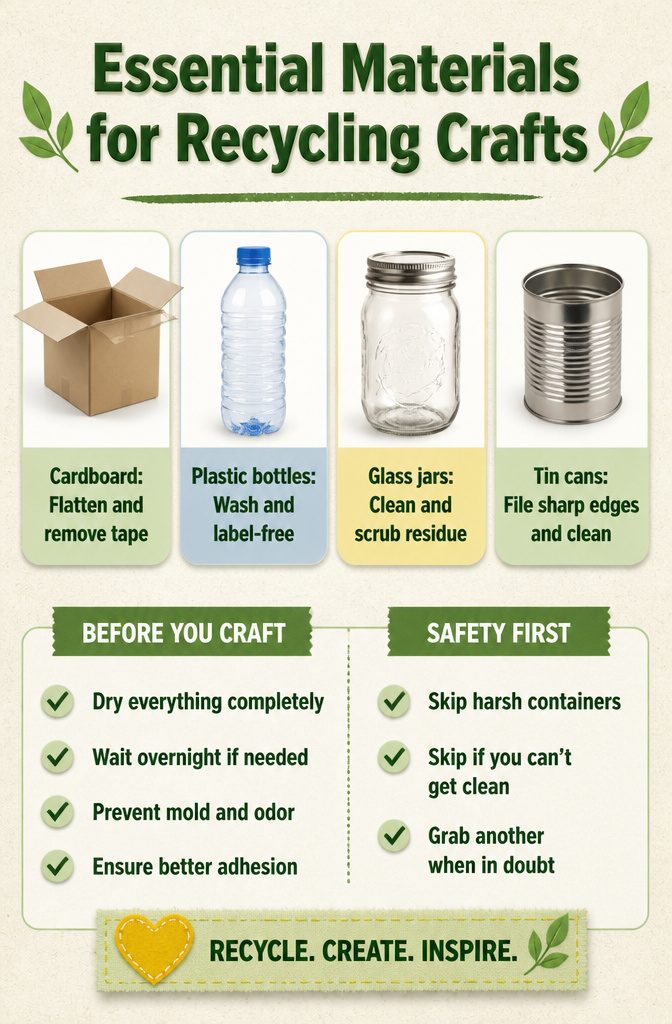
These four materials cover most of the projects in this list, and each needs a little prep first:
- Cardboard: Flatten boxes and pull off every bit of tape. Sturdy boxes suit frames, organizers and other structures.
- Plastic bottles: Wash them thoroughly and peel off the labels. They work for planters, storage and decorations.
- Glass jars: Clean them and scrub away adhesive residue, which otherwise blocks paint and glue. Jars make good candle holders, vases and storage.
- Tin cans: File or tape any sharp edges, then clean well. Pen holders, lanterns and planters are the best uses.
Dry everything completely before you paint or glue.
Damp material grows mold, holds odor and ruins adhesion, and I’d rather wait overnight than redo a finished piece. If a container held something harsh or you can’t get it clean, skip it and grab another.
Why Recycled Crafts Pay Off
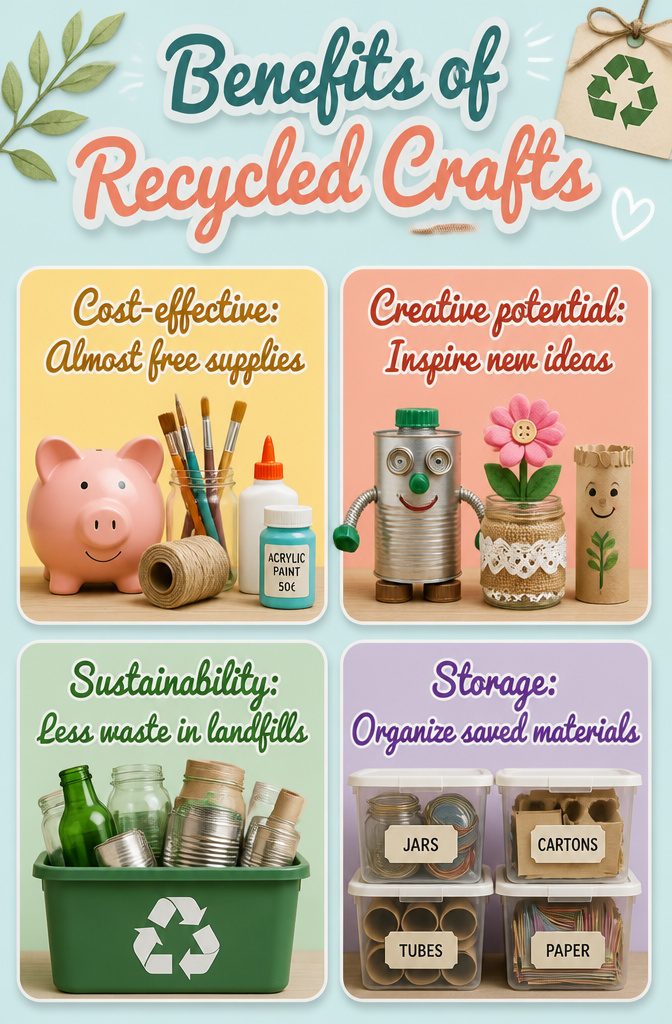
Recycled crafts start with things you would normally throw away, so the supply bill drops to nearly nothing. Soup cans, pasta jars, cardboard tubes and wrapping paper cover a lot of ground before you buy a single item.
Owners on Reddit who craft this way say they rarely spend money beyond adhesives, thread, needles and the occasional bottle of acrylic paint at 50¢.
Every jar that goes into a project is one less in the trash, and the habit tends to stick.
You start asking "what could I make with this?" before you toss anything. I think that saving first and deciding later is the cheapest craft skill there is.
Storage is the cost: saved jars, cartons and cardboard tubes pile up fast, so I keep one bin per material and cap it at what fits.
A closet of tubes and odd jars fills fast, so keep only what you will plausibly use.
Crafting With Kids
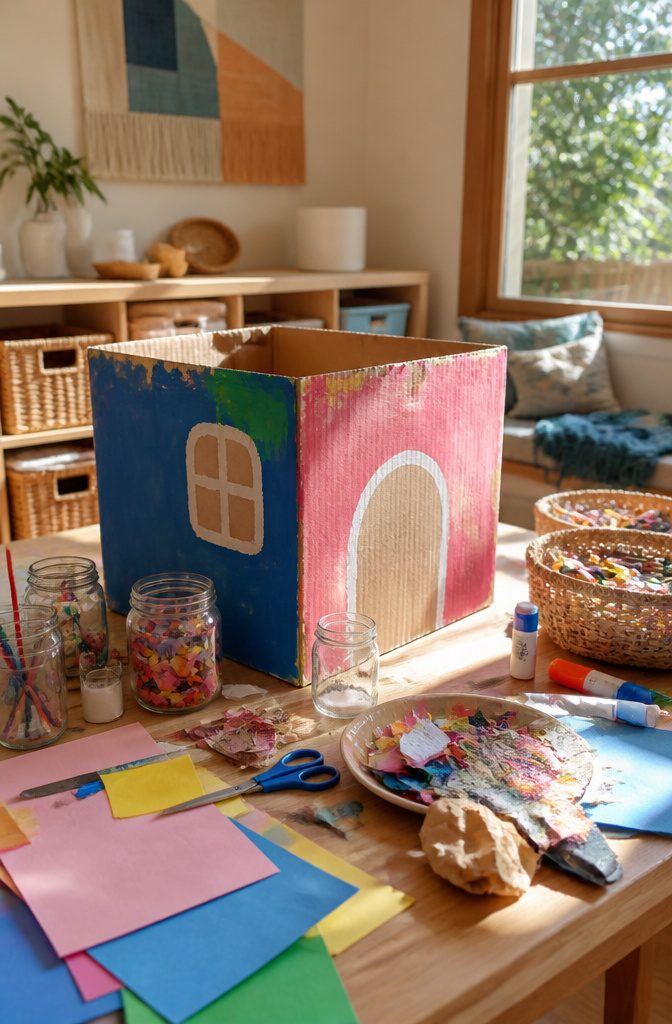
Recycled crafts work on kids because nothing in the bin has a "right" use.
A string can be a lasso, a crown or a leash for a toy dinosaur, and that kind of open-ended play gets children trying their own solutions.
They plan, build, test and change course as they go, so a box that starts as a car can end up a fort without anyone calling it a mistake.
Cutting, gluing and taping also give small hands steady practice, and scrap paper and junk mail are the cheapest scissors practice I know of.
For school projects, I’d pick recycled materials every time.
They cost almost nothing, they tie into environmental science and design units, and they teach waste reduction hands-on. Supervise the cutting, and the projects stay safe for younger ages.
Frequently Asked Questions
What are the easiest recycling craft ideas for beginners?
Plastic bottle planters, glass jar candle holders and newspaper seed pots are the easiest starting points.
They need only scissors, glue and paint, and each can be finished within an hour. Kids can help with most steps, though an adult should handle any sharp cut edges.
How do I prepare recycled materials before using them for crafts?
Wash each item, peel off labels and let it dry completely before you paint or glue. Damp material grows mold, holds odor and keeps adhesive from bonding.
Scrub off leftover label glue too, and file or tape the sharp rims of tin cans. If a container held something harsh or won’t come clean, use a different one.
Are recycled crafts suitable for school projects?
Yes, they suit school projects well.
They cost almost nothing, connect to environmental science and design units, and teach waste reduction hands-on. Supervise any cutting so the projects stay safe for younger ages.





