
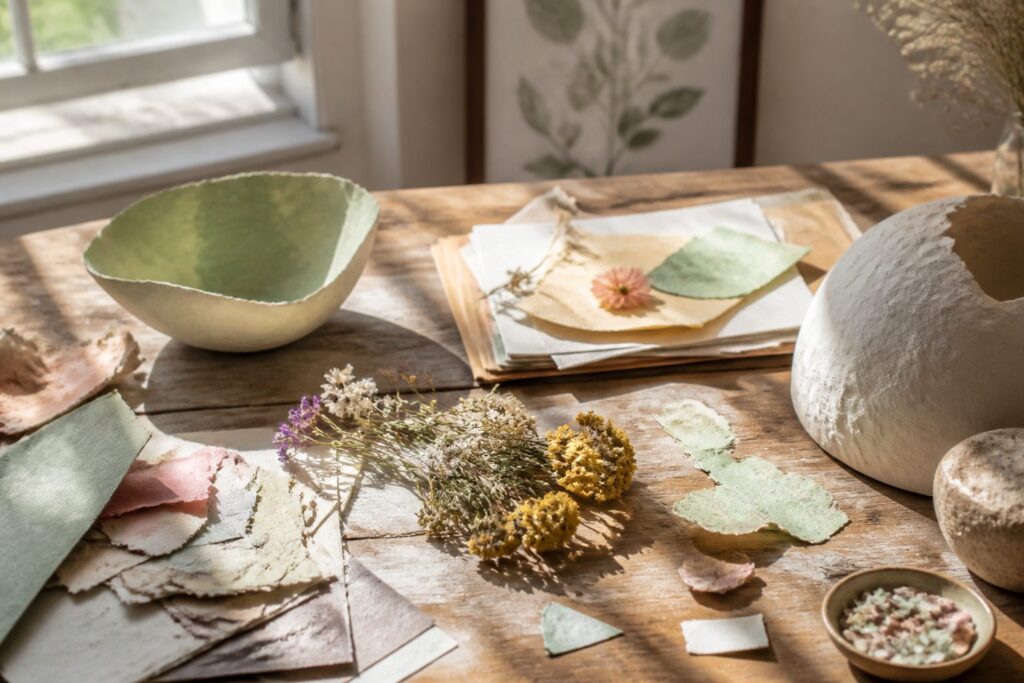
These projects run from a 5-minute tealight dressed in seashells to rock candy that needs days to grow, and drying time usually decides which one fits your afternoon.
Paint, glue and wet paste all fail if you rush them, so the quick wins are cards, paper flowers and keychains, while paper mache bowls and stepping stones need a full dry.
1. Paper Fidget Spinners
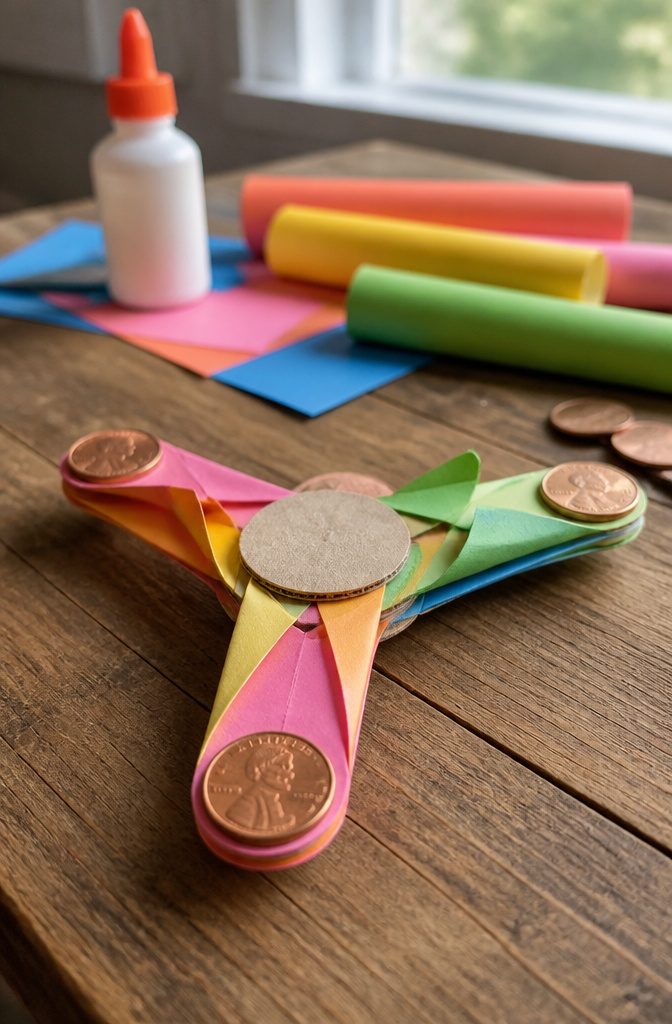
A paper spinner needs only five things: paper, cardboard, pennies, a toothpick and glue. The paper is folded origami-style into the arms, and the cardboard gives the center a stiff base to hold the toothpick.
Weight decides how long it spins. Glue one penny near the tip of each arm, not at the center, so the mass sits as far from the pivot as it can.
Weight out at the arms keeps the spinner turning on its own momentum, while weight near the middle lets it stop within a couple of turns.
Keep the pennies identical in number and position on every arm, because one heavy side makes it wobble and drag.
Let the glue dry fully before the first spin. Wet glue slides the coins out of place.
2. Rock Candy
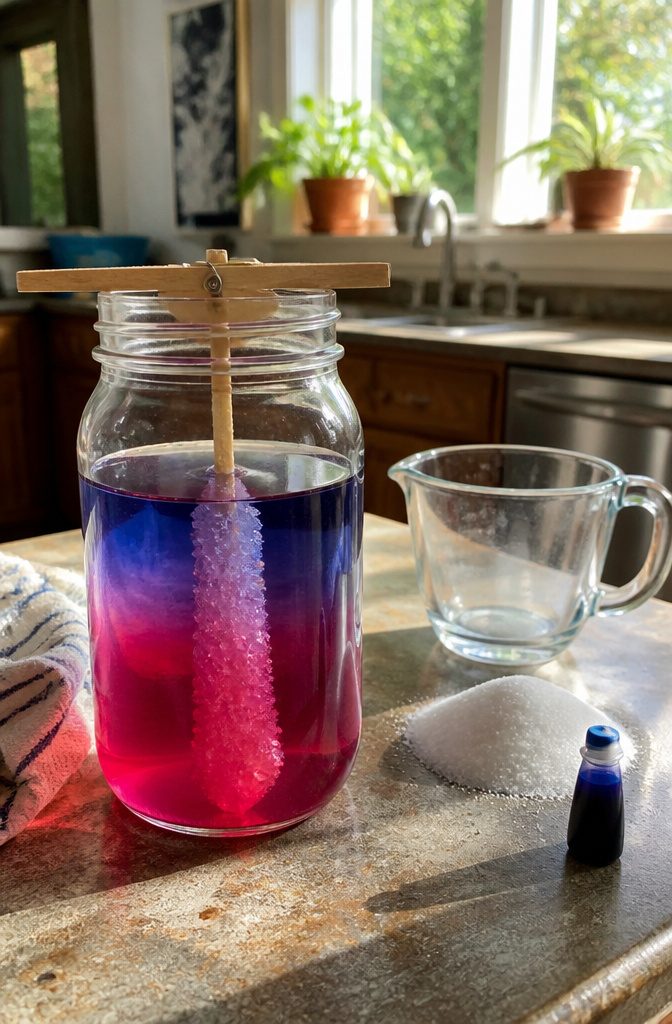
Rock candy takes patience more than skill, and the supply list is short: water, granulated sugar, popsicle sticks, clothes pins and food coloring.
No food coloring in the cabinet? Kool-Aid in different flavors adds both color and taste.
The clothes pin does the job of a third hand. Clip it across the top of the jar so it grips the popsicle stick and hangs it in the sugar solution without touching the glass or the bottom.
A stick that rests on the jar stops the crystals from growing freely.
This is a good science lesson because kids can watch it happen.
Sugar dissolves in water, and as the water slowly evaporates, the sugar comes back out of solution and builds crystals on the stick. Let the jar sit undisturbed, since bumping it can break the crystals loose.
3. Friendship Bracelets
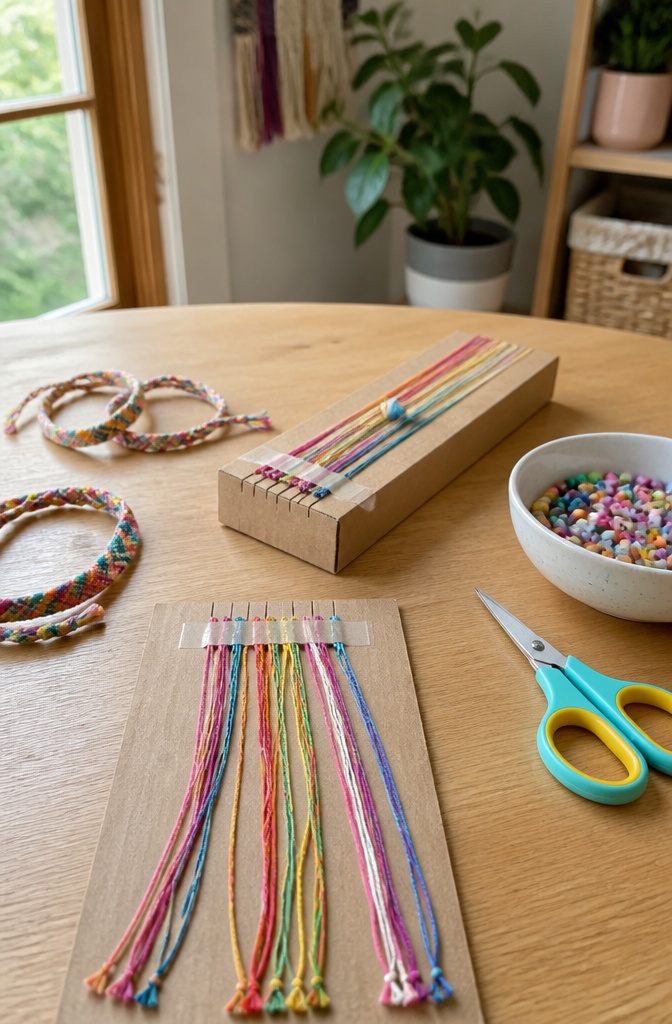
Colorful thread and a piece of cardboard are enough to start. Cut a loom from cardboard, or use a toilet paper roll, a fork, straws or a paper plate; even your fingers work.
Cut the threads to equal length so the finished bracelet doesn’t end up lopsided, knot them together at one end, and tape or clip the knot to something steady so your hands are free.
From there, weave or braid the threads into a pattern until the bracelet reaches your wrist.
If you want beads, thread them on before you braid. Simple weaving suits kids and adults at the same table, and I’d pick it over a fancier knot pattern for a first batch.
The DIY version of this idea is folded into this section, so there’s no separate project to hunt for.
4. Slime
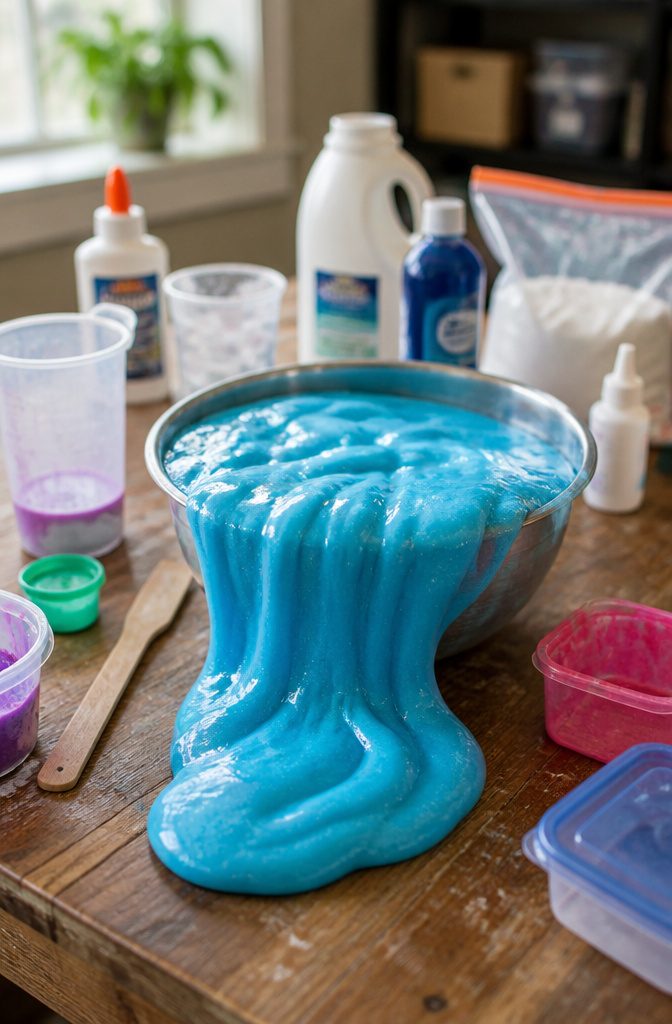
Slime takes only a few things from the kitchen and laundry shelf, and the activator is the ingredient that decides how it behaves.
Borax, liquid laundry detergent and contact lens solution all work, and each recipe pairs one of them with a glue base. I’d start with whichever one is already in your house.
The science is the best part for kids.
Ask whether slime is a liquid or a solid, then let them stretch it slowly and yank it fast and research the answer themselves. It acts like both.
Adult help matters here. Borax and laundry detergent are not safe for little hands or mouths, so a grown-up should measure and pour the activator while the kids mix and play.
5. DIY Greeting Cards
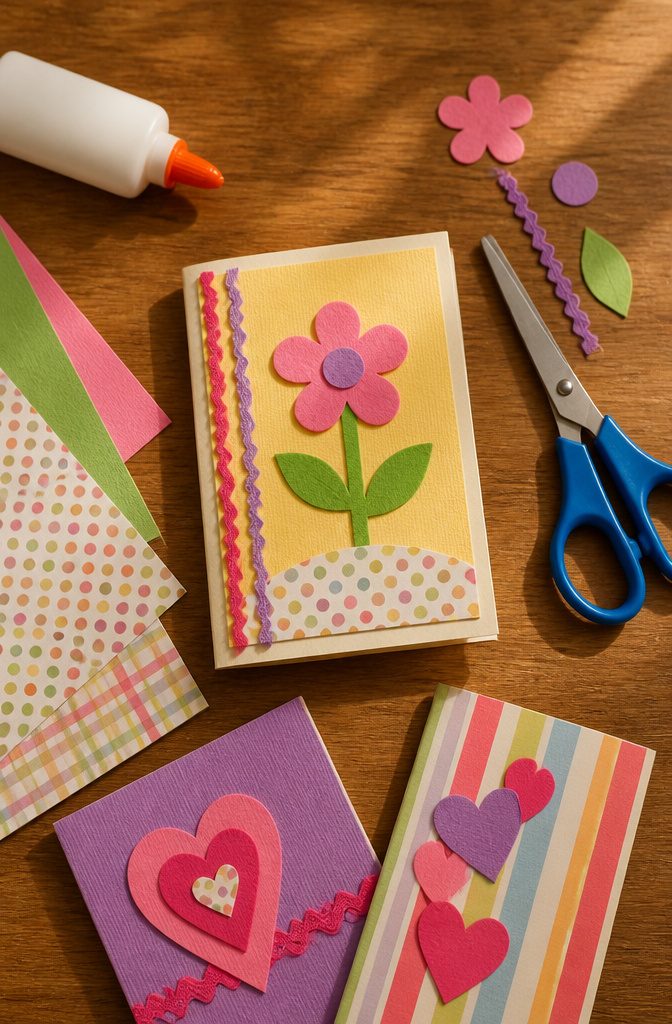
Cardstock decides whether a handmade card feels like a card or a floppy piece of paper.
Thick paper holds a fold, stands on a shelf, and takes marker and glue without buckling. Plain printer paper curls the moment it gets wet, so save it for scrap cutouts.
Fold first, then plan the front. Sketch a simple design, cut shapes from leftover paper, and glue them down.
Stickers cover mistakes well, and markers handle lettering. Write the message inside last, once the front is dry and you know the card survived.
For birthdays, a big number or a cutout cake works well.
For holidays, think hearts, trees or pumpkins. Thank-you notes suit the plainest designs.
6. Paper Mache Bowls
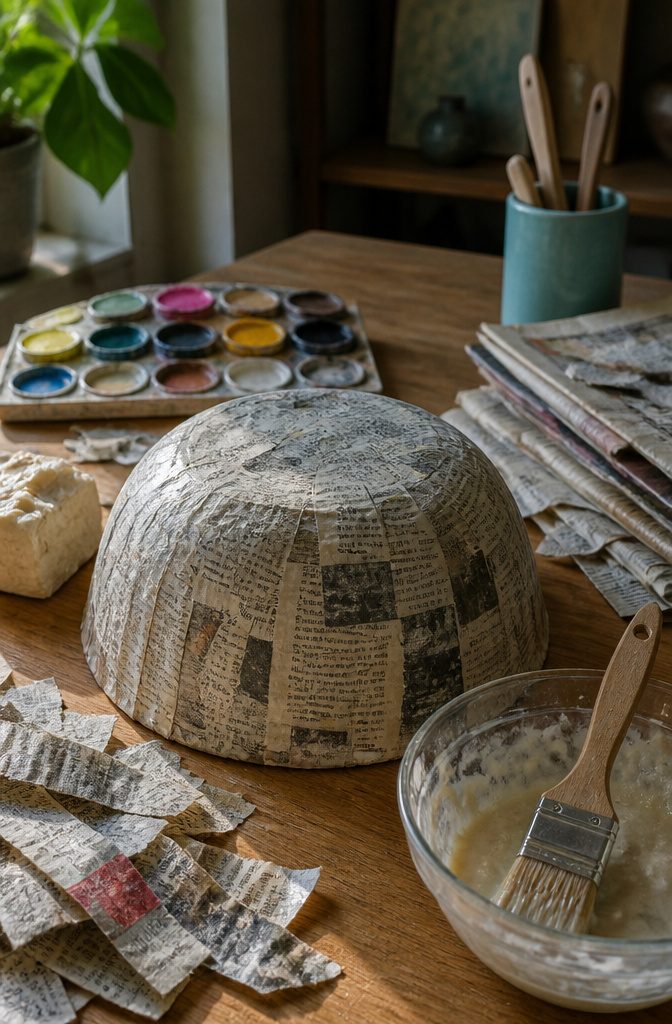
Newspaper is the right paper for this: it’s thin, it tears into strips with the grain, and it soaks up paste without fuss.
Tear it instead of cutting it, because ragged edges blend into each other and leave a smoother wall. Stir flour into water until the paste looks like thin pancake batter, with no lumps.
Turn your bowl mold upside down and dip each strip, then drag it between two fingers to strip off the excess.
Lay the strips over the mold in overlapping layers, switching direction with each layer so you can tell where you’ve been.
Let it dry completely before you lift it off the mold, since a damp bowl sags when it comes free. Once it’s off, trim the rim and paint it.
7. Painted Rocks
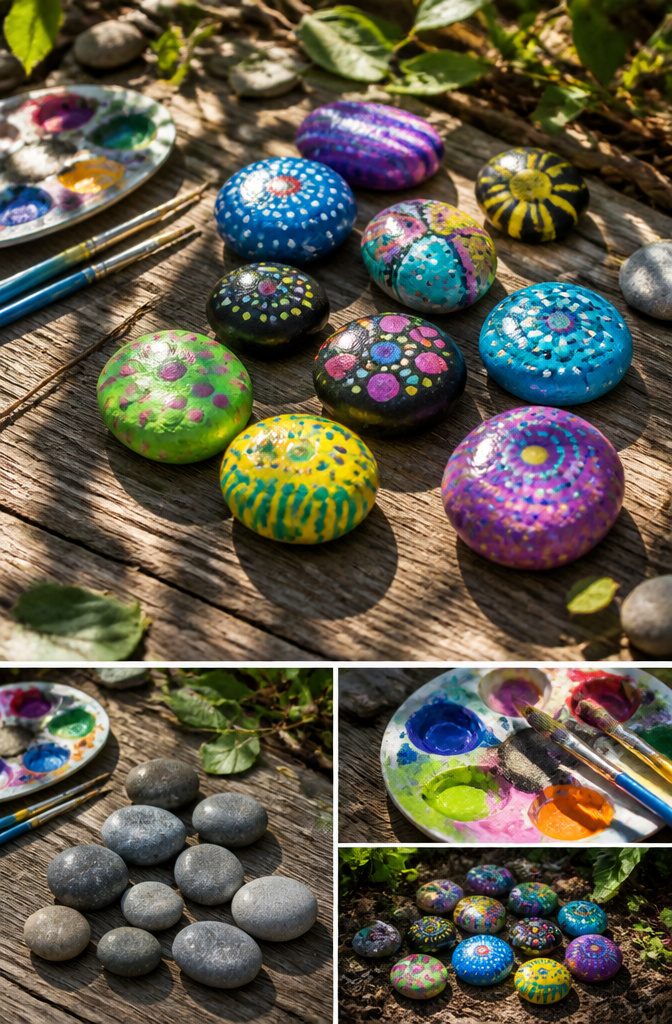
Smooth rocks win because a flat, fine-grained surface lets acrylic lay down evenly, with no pits to swallow paint or ridges that make a brush skip.
Rough, flaky stone leaves you fighting the texture instead of painting the design. Wash each rock and let it dry completely first, since dust and damp both keep paint from gripping.
Start with simple patterns or bold shapes, then let each coat dry fully before adding a second color so the layers stay crisp.
A clear sealant is optional, but it gives a glossy finish and protects the paint on anything that will sit outside.
Finished rocks work as shelf decor, paperweights or small gifts. I would also tuck a few into garden beds or leave them along a walking path for neighbors to find.
8. DIY Keychains
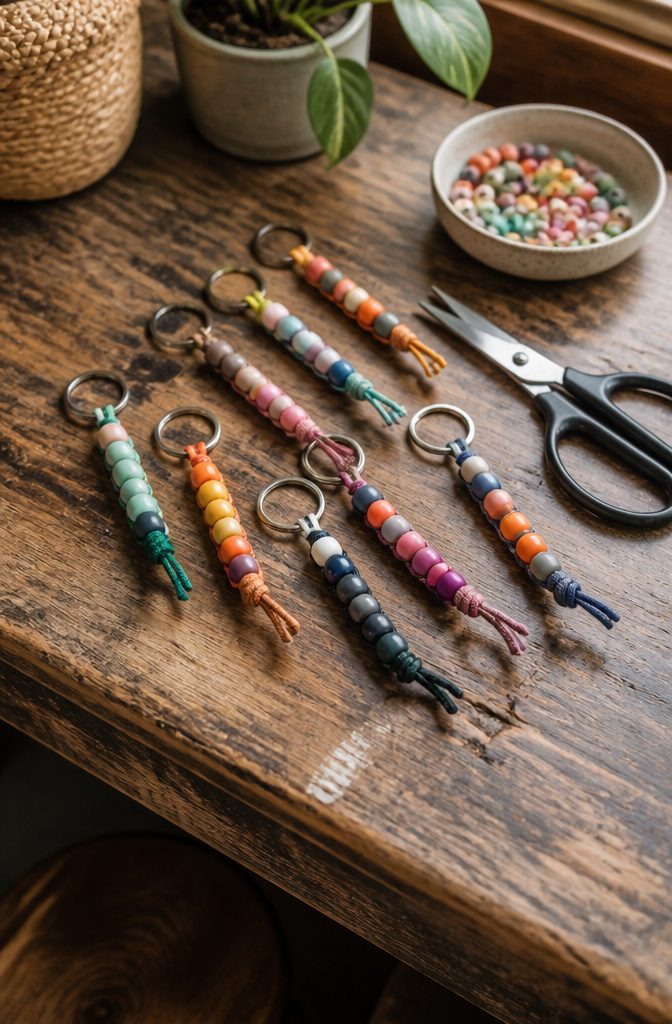
Cut your cord about 6 inches longer than you think you need, because knots at both ends eat up more length than they look like they will.
Slide a key ring onto the middle, fold the cord in half, and string beads onto both strands together, or thread a single strand and loop it through the ring afterward.
A simple pattern works best: two small beads, one large accent bead, repeated three times.
Pull each bead snug before adding the next, then tie a tight knot at each end so nothing slides off. Trim the tails close to the knot.
Plain cord frays, so I’d pick a cord with a firm end or dab the tails with a little glue. Scissors and a few beads are all it takes.
9. Egg Carton Art
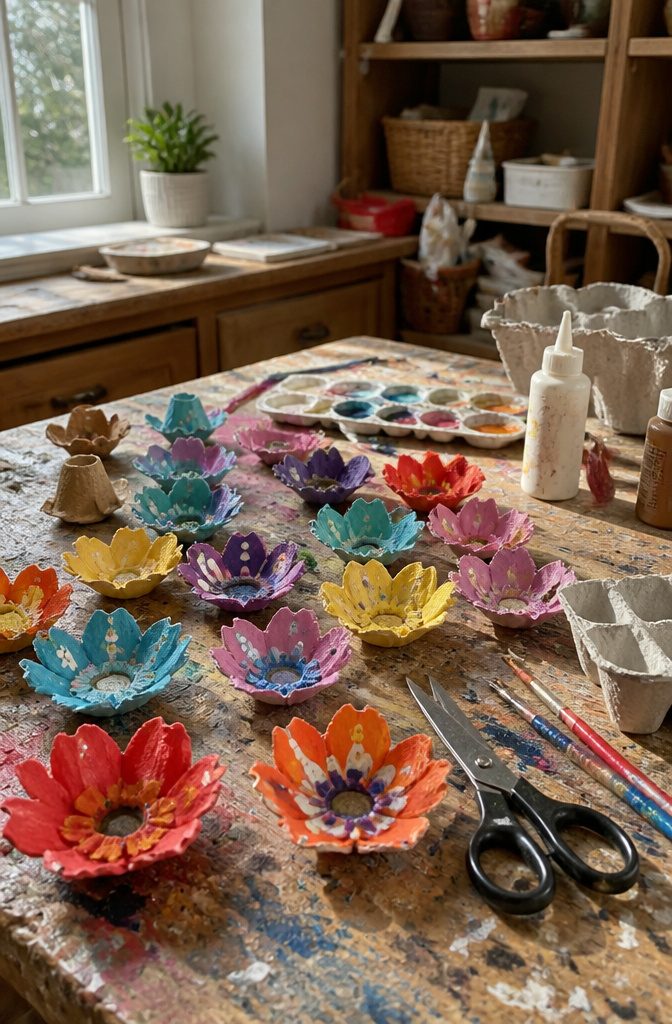
Cardboard egg cartons are the best free craft material in a recycling bin, because each cup is already a petal-shaped bowl.
Cut the cups apart with scissors, then snip the rims into points or scallops and you have a flower. Paint them in bright colors, and let the paint dry completely before you glue anything, since damp cardboard sags and slides.
Glue several cups into a cluster for a bigger bloom, or stack two for a critter’s body.
I’d skip tissue-thin brushes here. A basic flat brush covers the bumpy cardboard faster, and the gray color hides under one or two coats.
The whole project needs only cartons, scissors, paint, glue and brushes, and it works for any age.
10. DIY Tote Bags
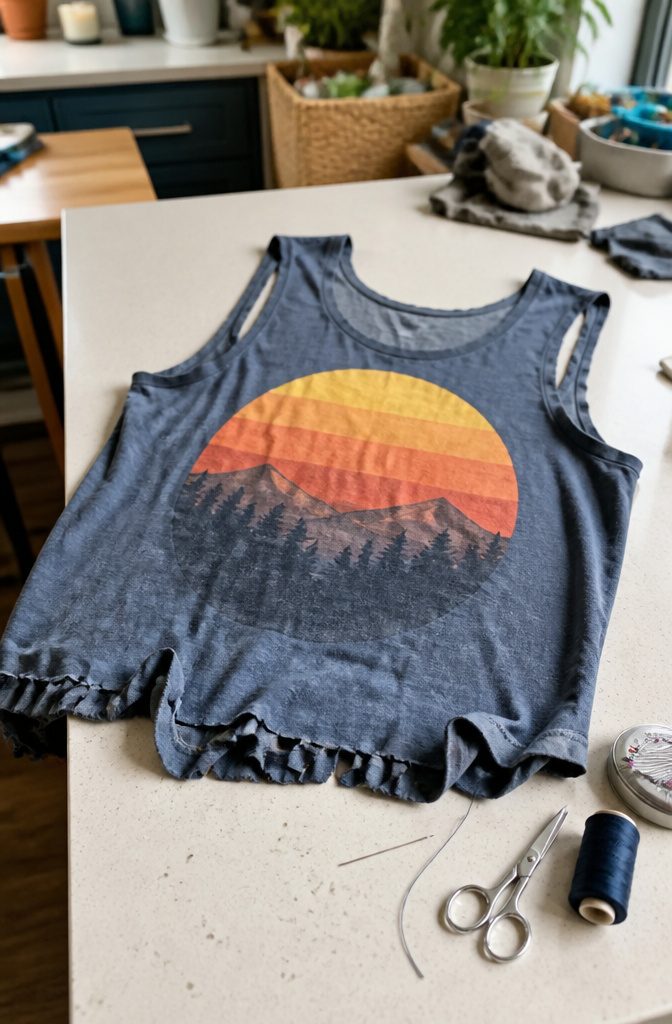
An old T-shirt, scissors, and a needle with thread (or glue, if you’d rather skip sewing) are all this bag takes.
Cut the sleeves off first, then cut away the neckline so the opening is wide enough to drop in a book or a few groceries. The leftover shoulder strips become the handles.
Turn the shirt inside out before you close the bottom. Stitch straight across the hem edge, or tie the fringe if you cut one, then flip it right side out.
Sewing holds up better for heavy loads; glue works for a bag that will only carry light things like library books. I’d choose thread for anything going to the store, since a glued seam can peel under weight.
Close the bottom while the shirt is inside out, so the seam ends up hidden.
11. DIY Wall Hangings
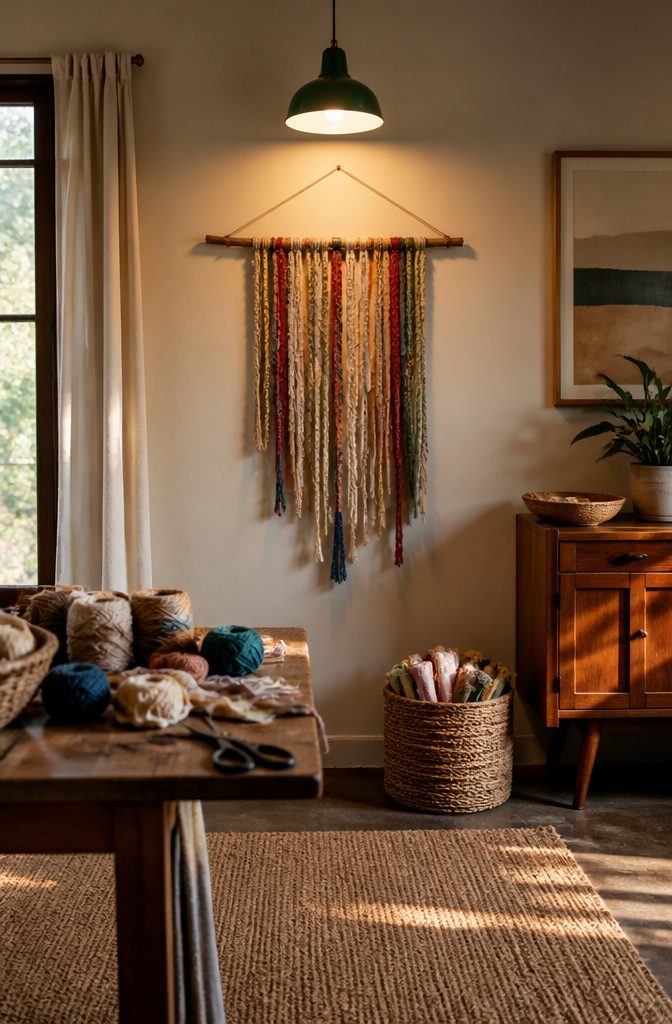
Yarn or fabric strips tied to a stick make the cheapest wall hanging I know of, because the whole supply list is a branch or rod, scraps, and scissors.
Glue is optional, and I’d skip it unless your knots slip on a smooth rod.
Cut every piece before you tie anything.
Then knot them on and layer the strands in different lengths, since a row of identical drops looks like a curtain, while staggered ones read as a design. Step back and trim after the first pass, not during it.
A rough branch with bark on suits yarn in muted tones.
A straight rod looks cleaner with printed fabric scraps. Either way, tie a loop of yarn at both ends and hang it from a single nail.
12. DIY Scented Sachets
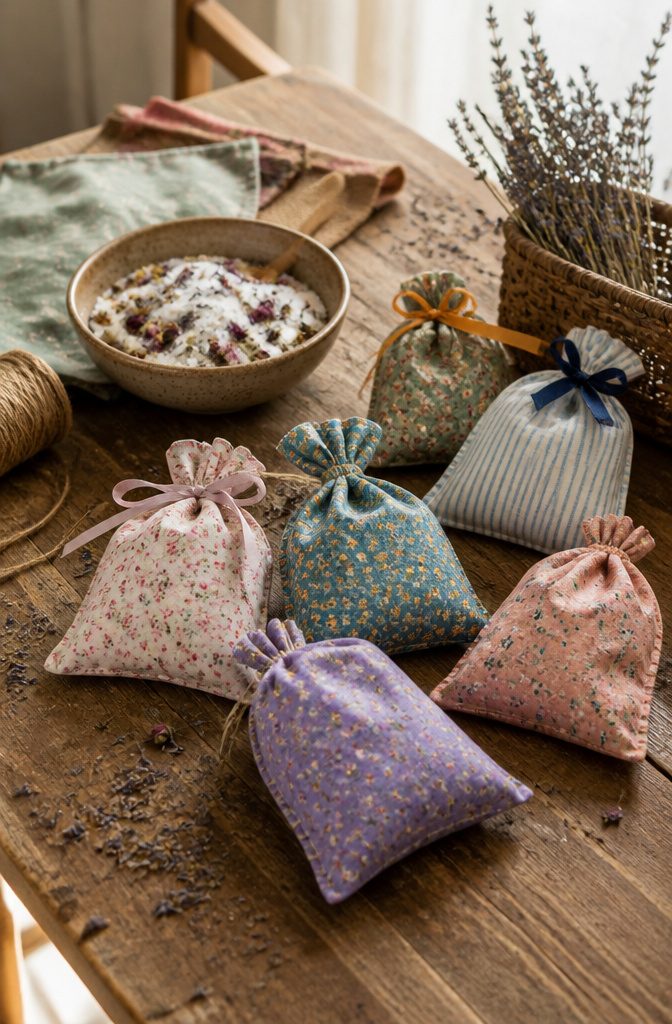
Rice or baking soda is what does the real work in a sachet, so choose the filler before the flower.
Dried flowers or herbs bring the scent, and rice or baking soda gives the pouch body, with baking soda also helping the drawer smell fresh instead of just perfumed.
I lean toward rice for a pouch you want to feel plump, and baking soda for a closet where odor is the problem.
Cut two small fabric scraps and stitch them into a pouch, leaving one side open.
Fill it with your dried mix, then close the opening. Sew the opening shut with needle and thread if the sachet will ride in a bag, since glue can let go and spill.
Glue is fine for a drawer sachet that never moves. Finish with a ribbon tied around the top.
13. Painted Mason Jars
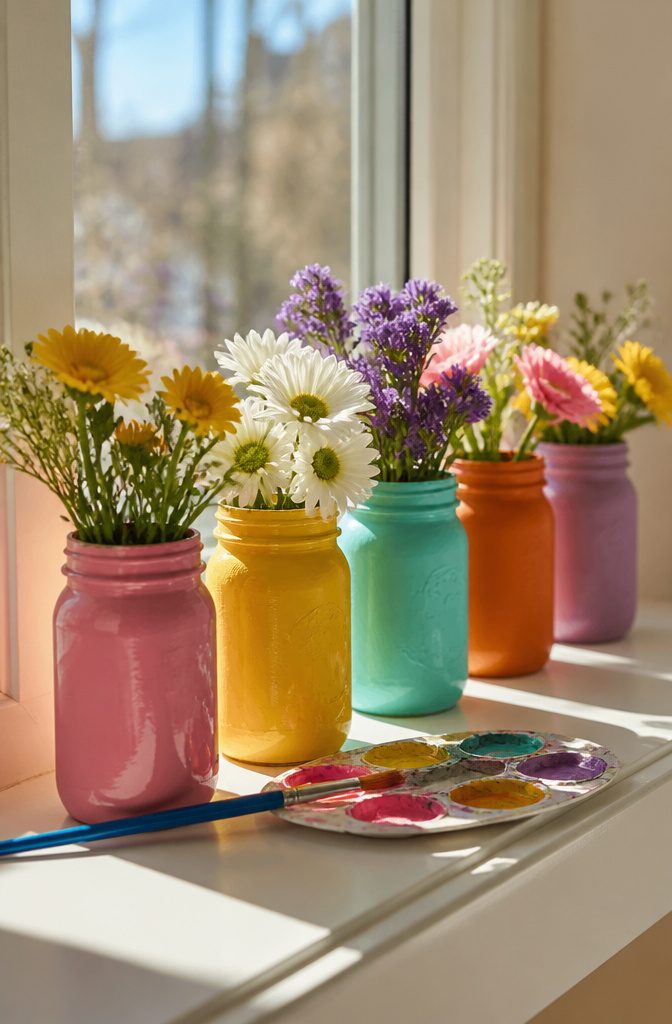
Acrylic paint, a brush or sponge, and a sealant are all a mason jar needs to go from pantry leftover to decor.
Wash and dry the glass first, because paint grabs poorly onto residue. A sponge dabbed on gives a soft, slightly textured finish, while a brush gives a smooth one.
Thin layers beat one thick coat. Let the first dry, then add a second if the glass still shows through, and seal it once the paint is fully dry if the jar will see regular use.
On a shelf or windowsill, one painted jar holds flowers, pens, or a light, and a few in matching colors read as a deliberate set.
I’d start with a simple lavender-bloom design, since it’s easy even if painting isn’t your thing.
14. DIY Photo Frames
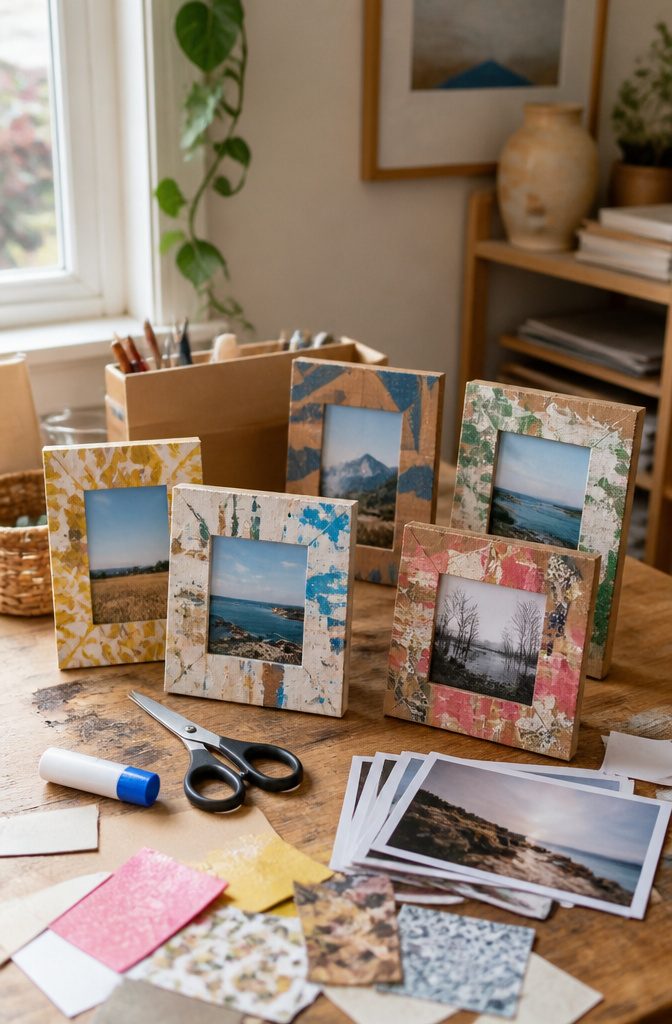
Cardboard is the best frame material for this because it is free, cuts with ordinary scissors, and holds a photo upright once you add a backing.
Cut the front in a frame shape, cut a second piece for the back, and glue them together, leaving one edge open so the photo can slide in.
Decorating is where the frame earns its place on a shelf.
Decorative paper gives a clean, finished look and hides printed cardboard; paint is better if you want a bold color, though it needs time to dry before the photo goes in.
I’d pick paper for gifts, since it never leaves a tacky surface behind.
A frame with a favorite picture inside makes an easy gift, and the maker’s own decoration is what the recipient remembers.
15. Fabric Wall Art
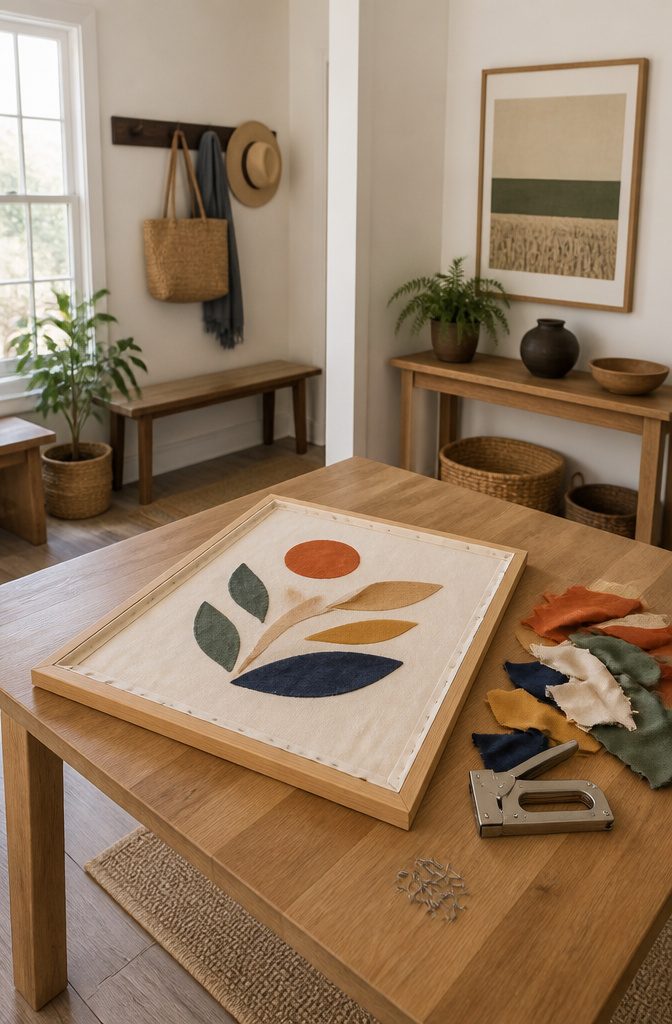
Fabric wall art comes down to one decision: what goes behind the cloth. A wooden frame gives you a taut, gallery-style canvas, while cardboard gives you a flat panel you can cut to any size from a shipping box.
Cut the fabric larger than the base, pull it over the edge, and secure it at the back with staples or glue.
Smooth the wrinkles before you fasten the last side, because once the staples are in, a ripple is there for good.
Staples hold better than glue on a wooden frame; glue is easier on cardboard, where staples tend to tear through.
I would pick one fabric for a bold look, or cut scraps into rectangles and arrange them in a grid for a patchwork piece. Either one adds color and texture to almost any room.
16. Dream Catchers
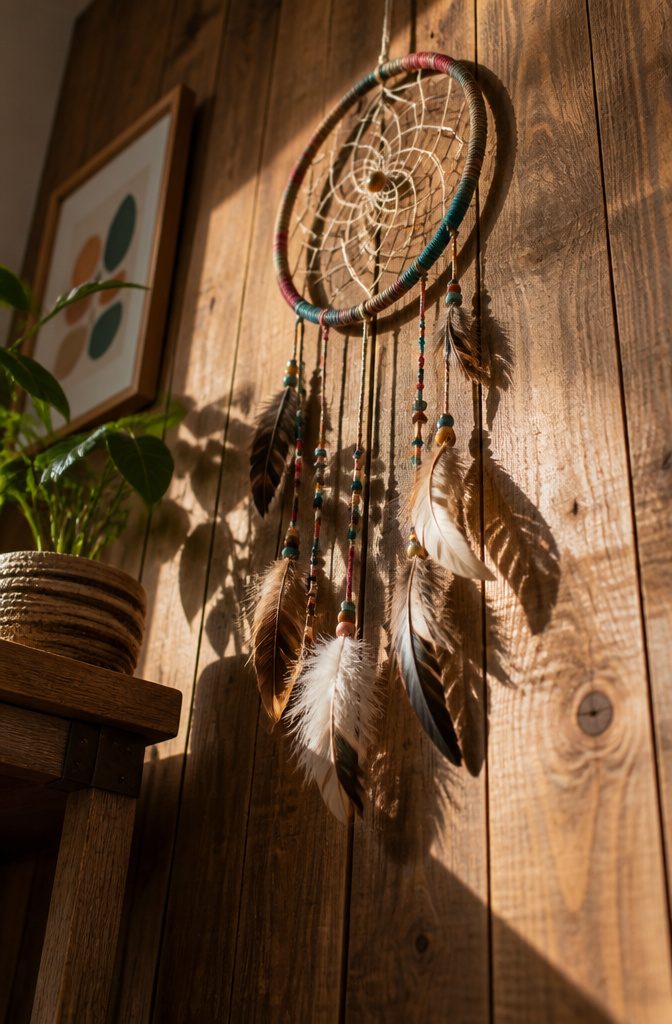
Dream catchers start with a hoop, and the hoop sets everything else: the web, the bead count, and how much weight the frame can carry.
Wrap it tightly in yarn first so the web threads have something to grip. Then weave thread or yarn across the inside in a loose spiderweb pattern, stringing beads onto the threads as you go.
Feathers hang from the bottom, glued or tied on, and a loop at the top lets you hang it. Wrap the hoop before you weave; a bare hoop lets the web slide.
The design comes from the Ojibwe people, who made these as protective charms for children. I’d keep that in mind and call yours a craft inspired by that tradition.
17. Decorative Candles
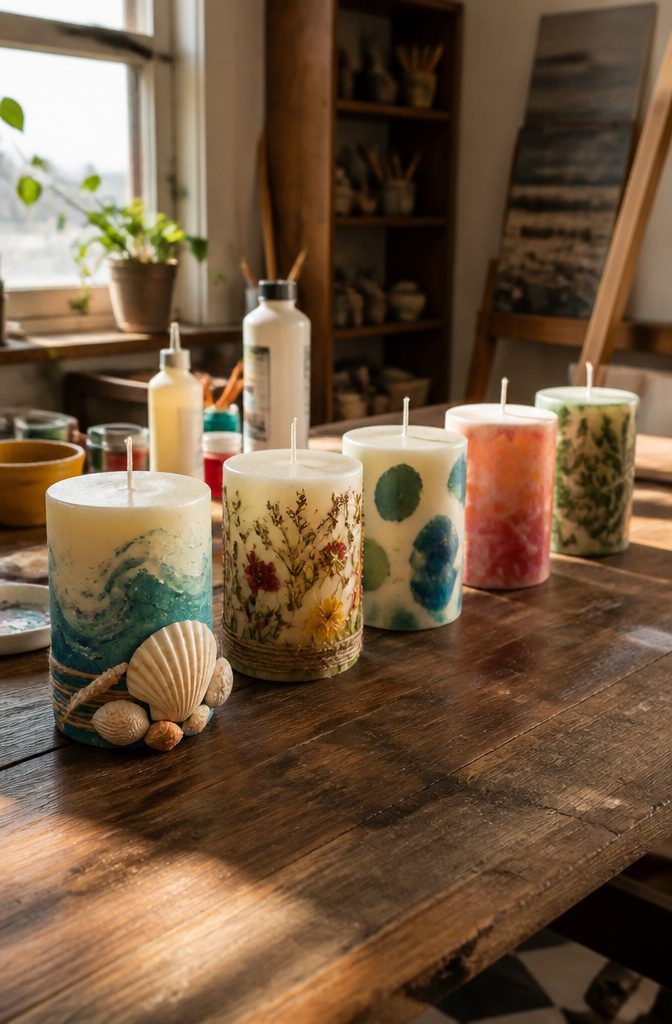
Plain candles are the best starting point for this craft, and tealights are the easiest of all. Seashells set around a tealight make a last-minute project, since the candle supplies the shape and you only dress it up.
For a larger candle, wipe the surface clean first so paint and glue grip.
Then choose your finish: paint a pattern with a brush, or stick on wax sheet designs. Let the paint dry or the wax set fully before you move the candle, or the design smears.
I lean toward wax sheets for anyone who paints shakily, because the shapes arrive already neat.
Paint wins when you want custom colors. Set the finished candle somewhere stable for display, and wrap one up as a small gift.
18. Garden Stepping Stones
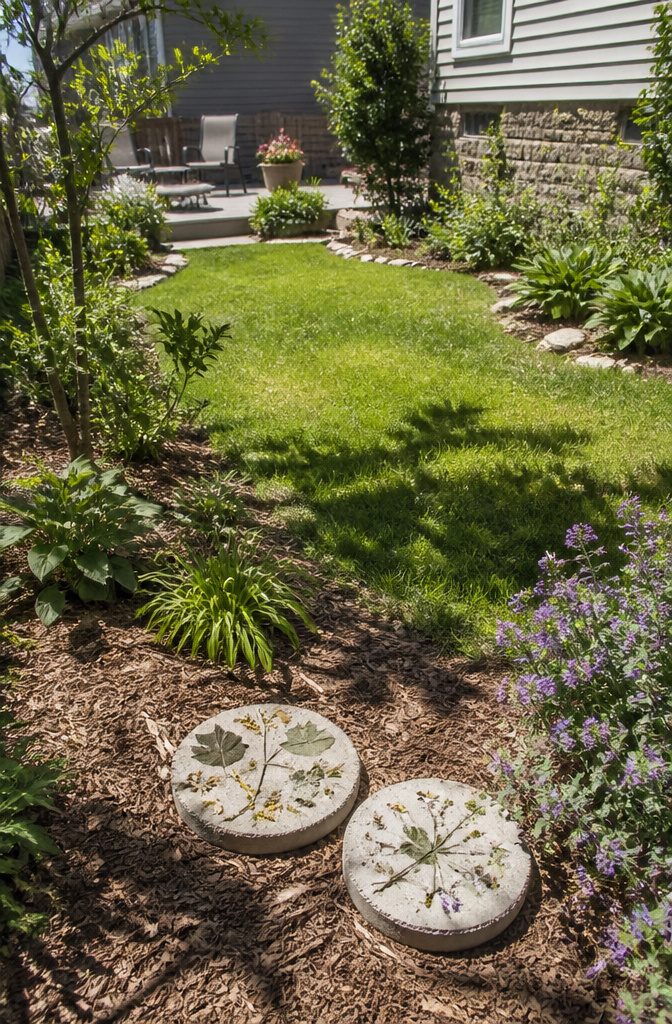
Stepping stones are the one craft here that lives outside all year, so the decorating choices matter more than the base.
Customizing them is the whole appeal: you pick the look, and kids can press in their own handprints or designs without needing any skill.
Nature themes suit the yard best, such as leaves, flowers, or a simple spiral of garden colors. Plan on a clear sealant over the finished design, because rain and sun will dull anything left bare.
Keep the pattern bold and simple. Fine detail disappears once a stone sits among grass and mulch, while big shapes read from a few steps away.
I’d skip anything you can’t live with fading, since outdoor pieces age fast. Let each layer dry fully before the next, then set the stone on level ground so it doesn’t rock underfoot.
19. Paper Flowers
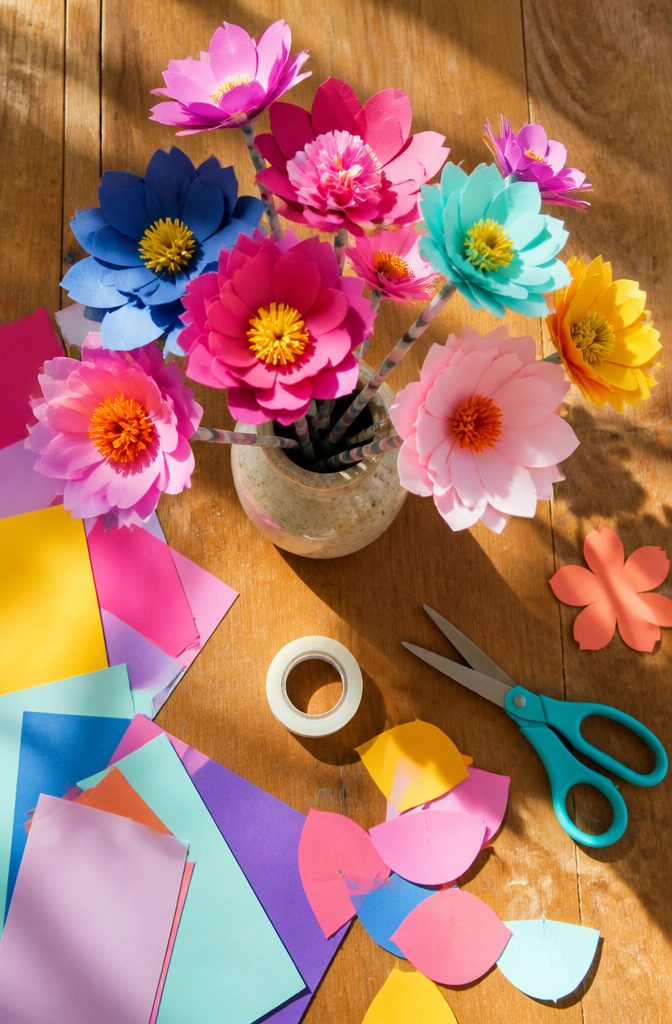
Paper flowers last far longer than fresh ones, so a bouquet on the table in March is still there in June. The supply list is short: colored paper, scissors, glue, tape, and floral wire or plain straws for stems.
Cut petal shapes, then layer them, because a flower built from one flat piece looks like a cutout. Stack 2 or 3 sizes, largest at the bottom, and glue a small center on top.
Straws beat wire for stems if kids are helping, since nothing pokes through a small hand. Wire bends into a natural curve, though, which makes a bouquet look less stiff.
Tape each flower to its stem from the back, where it won’t show. Gather them into a small bunch, and one in a teacher’s hand makes a sweet gift.
Crafts That Teach Something
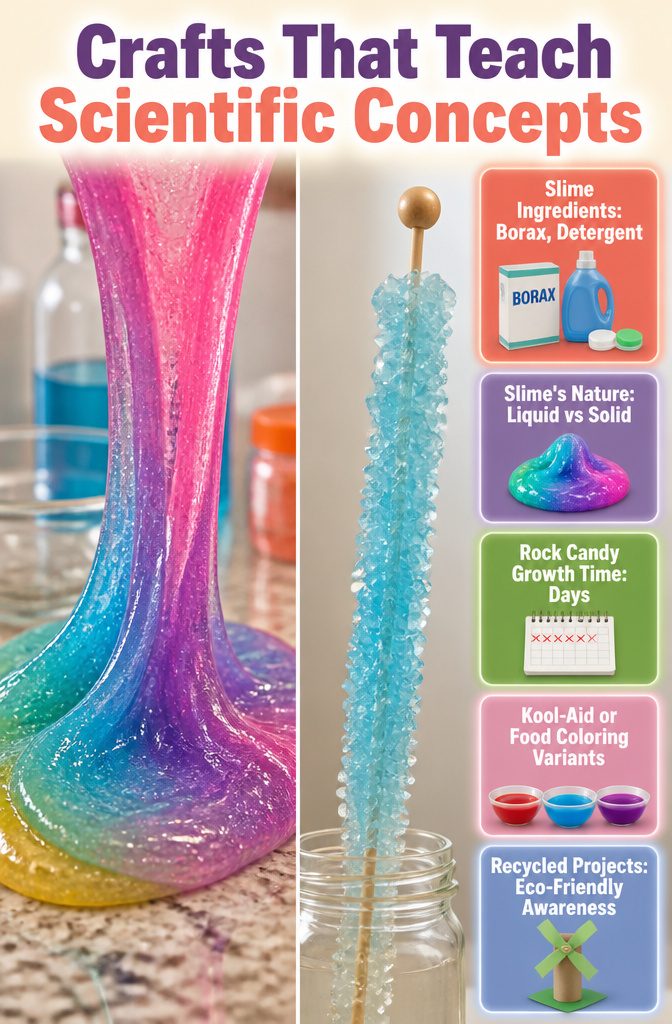
Slime turns a kitchen counter into a chemistry bench. Recipes call for Borax, liquid laundry detergent, or contact lens solution, and comparing two batches shows how different ingredients produce the same stretchy result.
Ask the kid whether slime is a liquid or a solid, then let them argue it out with research. I like that question because it has no tidy answer.
Rock candy is the slower lesson. Sugar crystals need days, not minutes, so it teaches patience along with the science, and food coloring or Kool-Aid lets kids see which batch grows best.
Painted rocks and nature projects send kids outside to look closely at what’s underfoot. Recycled tubes and containers do something similar for environmental awareness: a toilet paper tube windmill ties reused trash to wind power.
Seasonal and Holiday Twists
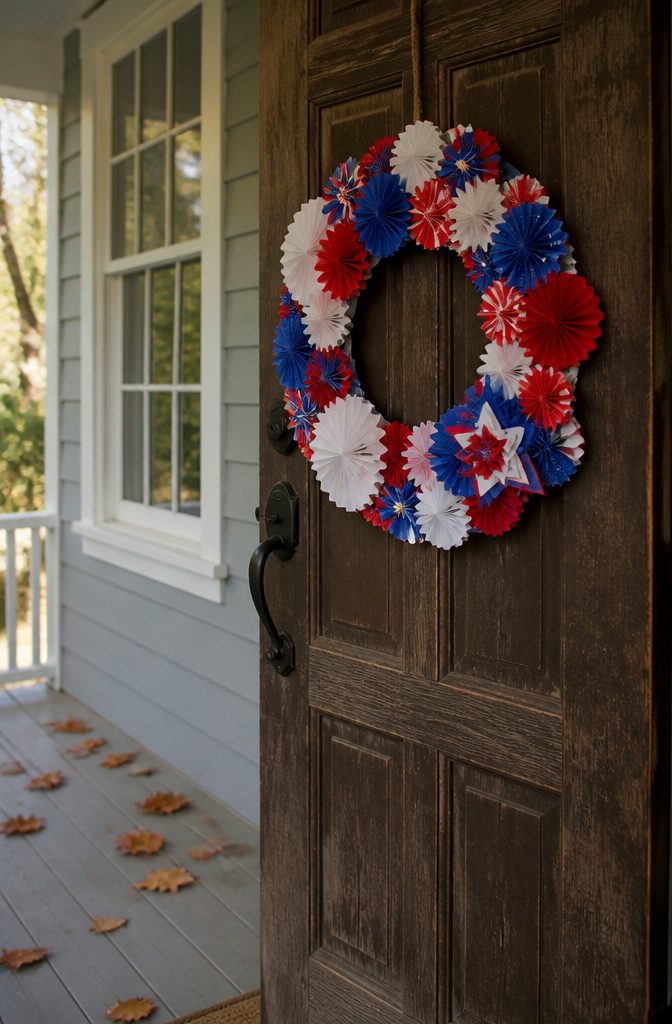
A paper wreath is a good example of one craft serving two holidays. The same red, white and blue build works for Memorial Day and again on July 4th, so you make it once and hang it twice.
Crayola’s line on this is the useful one:
arts and crafts ideas for every season
— Crayola
Your basic projects already adapt. Cards, paper flowers and painted rocks keep the same steps, and only the colors and cutouts change.
For Halloween, I’d swap in black and orange cardstock, and keep the method and change only the palette. Summer versions lean on bright scraps and simple patterns.
Frequently Asked Questions
What can I make with stuff around the house?
Friendship bracelets, painted rocks, greeting cards, egg carton flowers, tote bags from old T-shirts and paper flowers all use things you likely already own. Most need only paper, cardboard, thread, fabric scraps, glue or paint.
What are some easy crafts for kids?
Paper fidget spinners, friendship bracelets, egg carton art, paper flowers and painted rocks are all good starting points.
Paper flowers with straw stems keep little hands safe, and simple bracelet weaving works for kids and adults at the same table. Slime and rock candy suit kids too, with a grown-up handling the borax or detergent.
How do I make slime?
Pair a glue base with an activator: Borax, liquid laundry detergent or contact lens solution.
Each recipe uses one of those, so start with whichever you already have. An adult should measure and pour the activator, since Borax and detergent are not safe for little hands or mouths.
What are some creative craft ideas for home decor?
Painted mason jars, fabric wall art, yarn wall hangings, decorative candles and painted rocks all dress up a room cheaply.
A stick with yarn or fabric strips tied on in staggered lengths makes an inexpensive wall hanging. Seal painted jars and rocks so the color lasts.





