
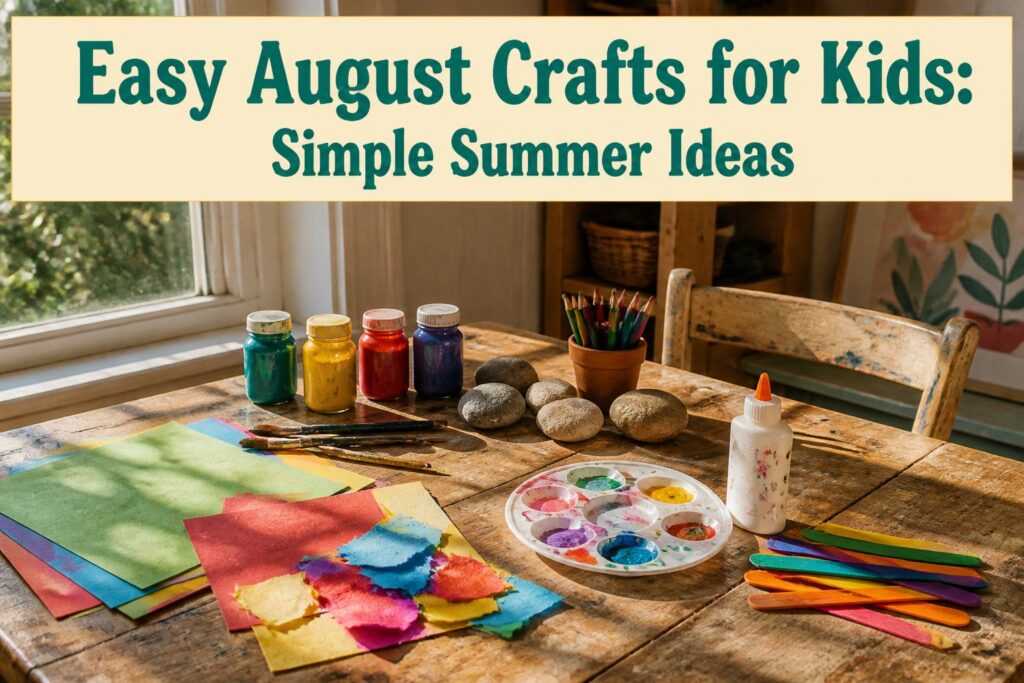
The projects run from a 2-minute handprint to a rock painting that needs a sealer, and the one thing that sorts them is how long your kids will sit still.
Pick by drying time: the popsicle stick pencil needs at least an hour for the glue to set before any paint goes on, while torn paper needs only glue.
1. Popsicle Stick Pencil
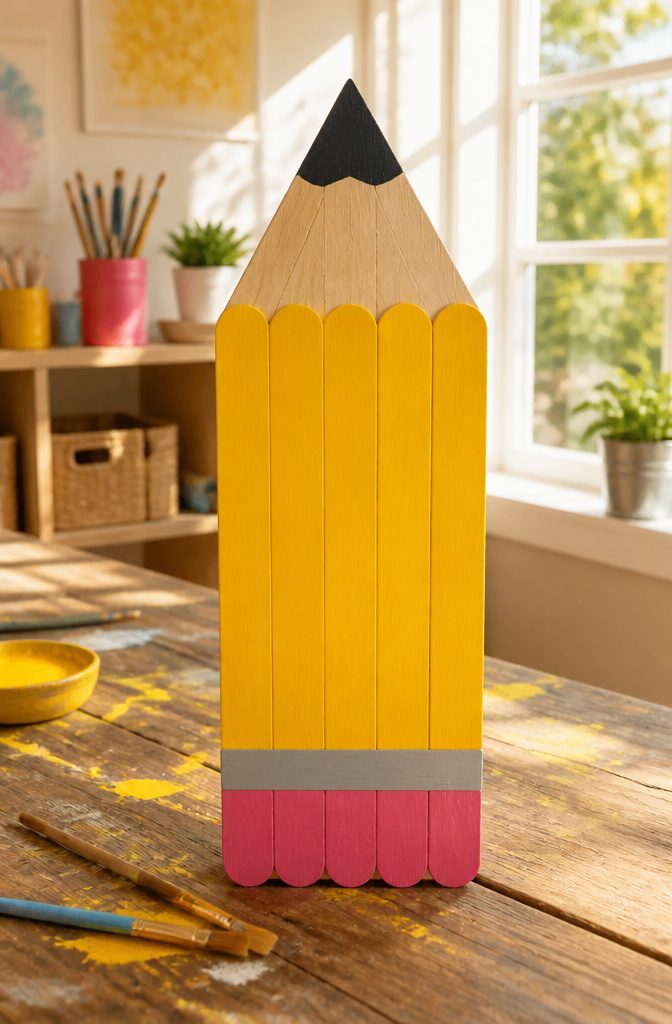
A giant pencil is just a row of popsicle sticks glued side by side, so start there.
Lay the sticks flat and edge to edge on scrap paper, run a line of glue along each seam, and press a cross stick over the back to hold the row together.
Painting comes after the glue sets, and I’d wait at least an hour for the glue to dry before any paint touches it, since wet glue lets the sticks slide apart.
Paint the body yellow, then add a triangle point at the top and a colored eraser band at the bottom.
Kids around 5 and up can handle most of it, though a younger child will want help with the gluing. Hung on a bedroom wall or propped on a desk, it makes a fine start to the school year.
2. Paper Plate Watermelon
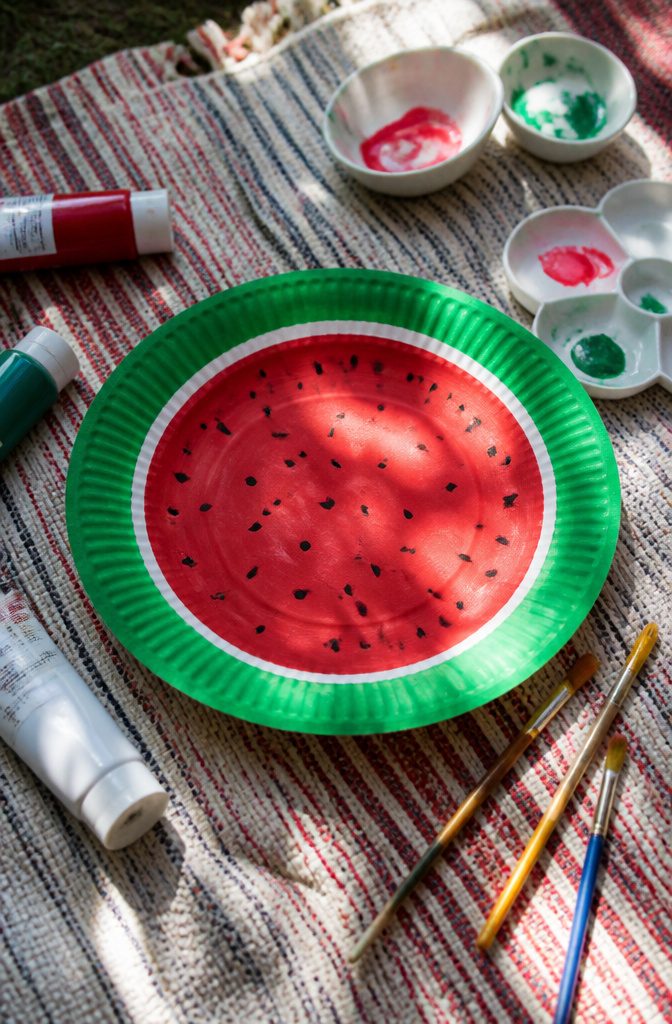
A paper plate makes a good watermelon slice because the plate’s rim already looks like rind. Cut one plate in half, and each half becomes a slice.
Paint the outer edge green and the middle red, leaving a thin white gap between them if you can manage it; that stripe is what makes it read as watermelon and not a red plate with a border.
Washable tempera paint covers the white plate in one coat and dries fast. Markers and crayons work for younger kids, but the red center needs paint or a thick marker or the plate shows through in streaks.
For seeds, use a black marker, or dip a fingertip in black paint and press dots across the red. I like the fingertip version better, since the dots come out slightly uneven, like real seeds.
3. Handprint Crab
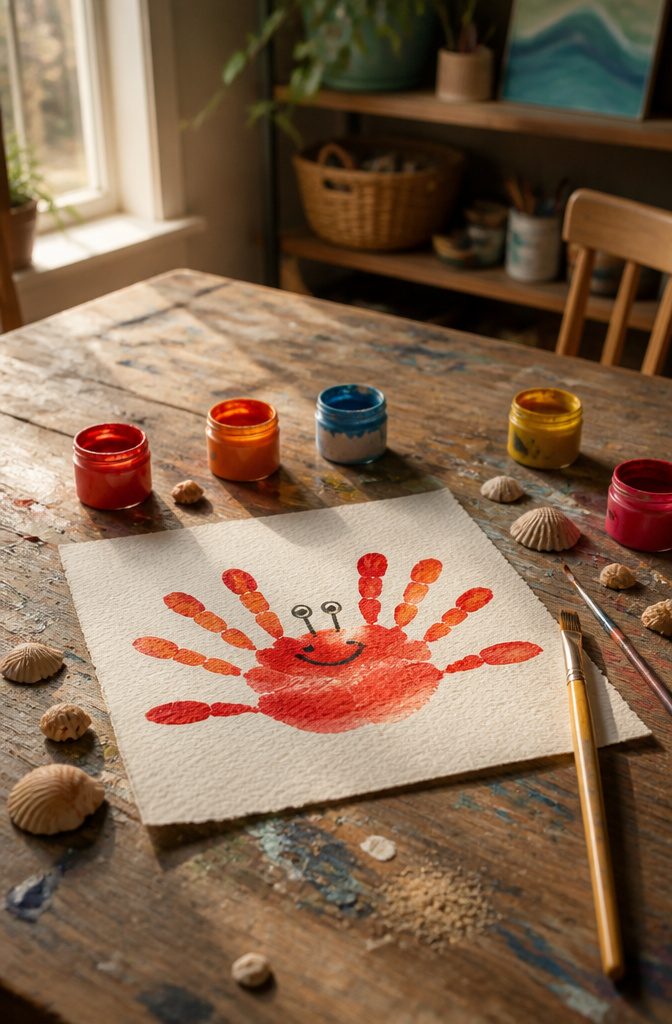
A handprint makes a better crab body than you’d expect, because the shape already has the right parts.
Press the paint-covered hand down with the fingers spread and the thumb and pinky tilted outward, then turn the paper so the fingers point toward the bottom.
The fingers become the crab’s legs, and the thumb and pinky on the sides can be shaped into claws with a marker or a few cut paper pincers.
Googly eyes go on the top of the palm, and a curved marker line makes a smile. Red or orange paint suits a crab, though any color works.
I’d pick this one for toddlers, since an adult can guide the hand while the child does the pressing. Older kids can add sand, waves, or shells around it for a full ocean scene.
4. Puffy Paint Ice Cream Cones
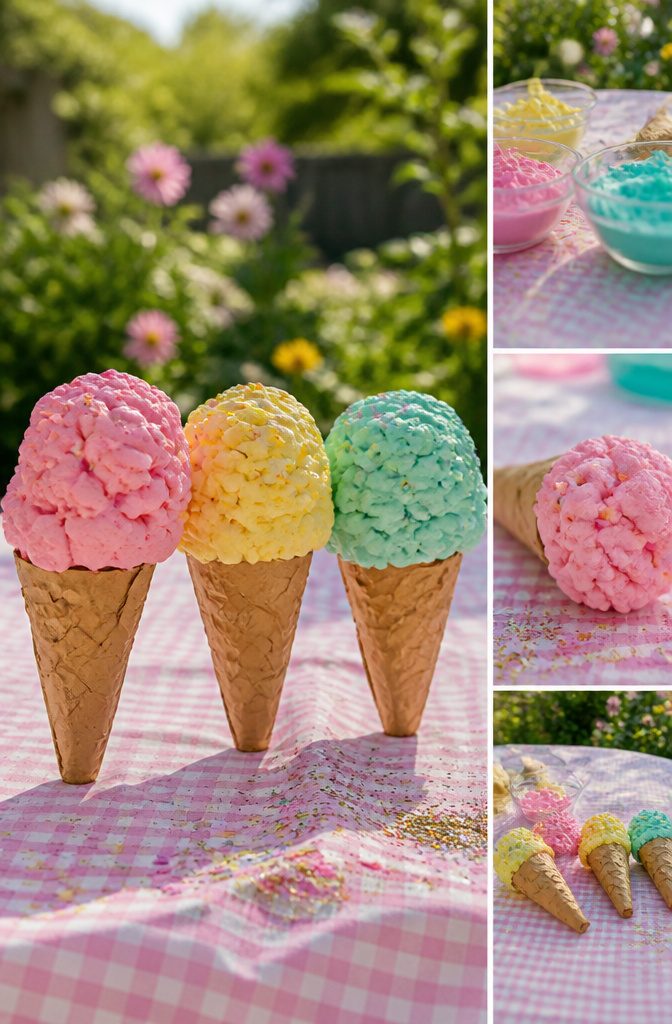
Equal parts shaving cream and white glue make the puffy paint. Use plain foam shaving cream, not the gel kind, which won’t puff.
Stir it gently in paper cups, one cup per "flavor," and add a few drops of food coloring to each. I’d keep the scoops to three or four colors so the table stays manageable.
Cut the cone from a brown paper bag, glue it down, and dab each scoop on top with a fat paintbrush. Sprinkles can be confetti or glitter, and a red pom-pom makes the cherry.
The paint is sticky and foamy, so it gets on sleeves, tables and brush handles.
Cover the table first, and take the whole thing outside if the weather allows. Keep wet wipes close.
5. Paper Plate Sunflower
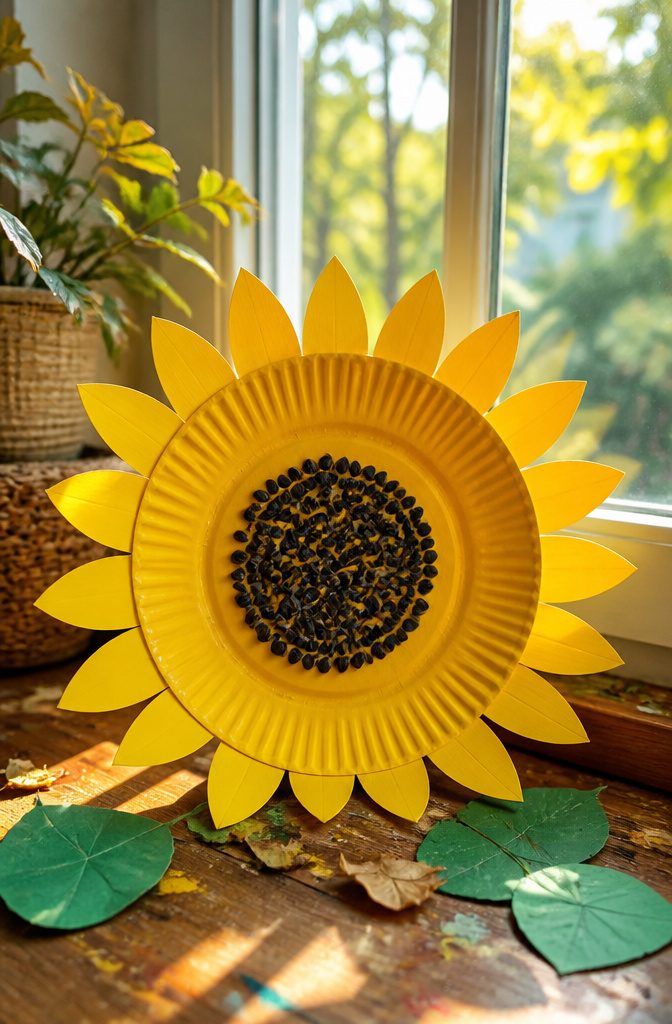
Sunflowers are a late-summer flower, and a paper plate makes a good one: paint the whole plate yellow, then cut petals around the rim before the paint dries.
Cutting a plate’s edge into pointed triangles gives you the petals, and the ridged rim keeps them looking natural. Younger kids can cut short, uneven snips, which still read as petals once the center goes on.
Paint the middle brown, using a thick coat so the yellow doesn’t show through. Add a green stem and leaves from paper, then let everything dry flat.
Tape the finished flower to a window and the light comes through the yellow paint. A row of three or four looks like a small garden on the glass.
6. Paper School Bus
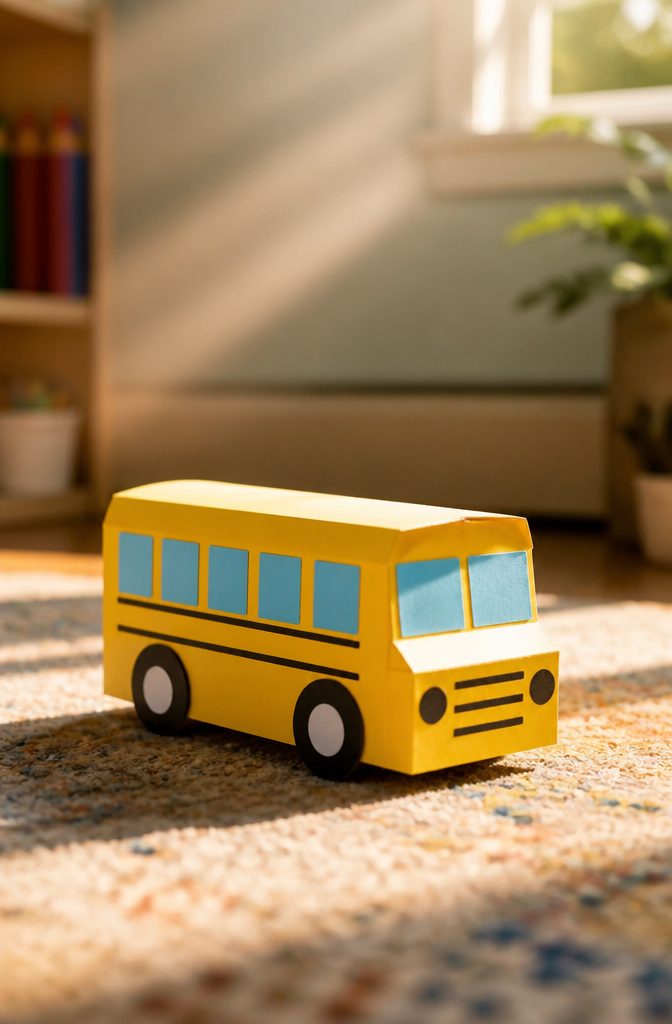
Yellow construction paper makes the best bus body, because the color reads as "school bus" before a single window is cut.
Start with a rectangle about twice as long as it is tall, and snip the top corners at the front so the hood sits lower than the roof.
Windows are easiest as a row of small squares cut from white or light blue paper and glued along the upper half. Kids who can’t manage scissors yet can use a black marker to draw them straight on.
For wheels, trace a bottle cap or a roll’s end twice on black paper, then glue a smaller gray circle in each center so they look like hubs.
I like this one for late August because the bus gives kids something to talk about before the first morning.
Let them add a driver and a few passenger faces in the windows, and the school day starts to feel familiar.
7. Nature Rainbow Collage
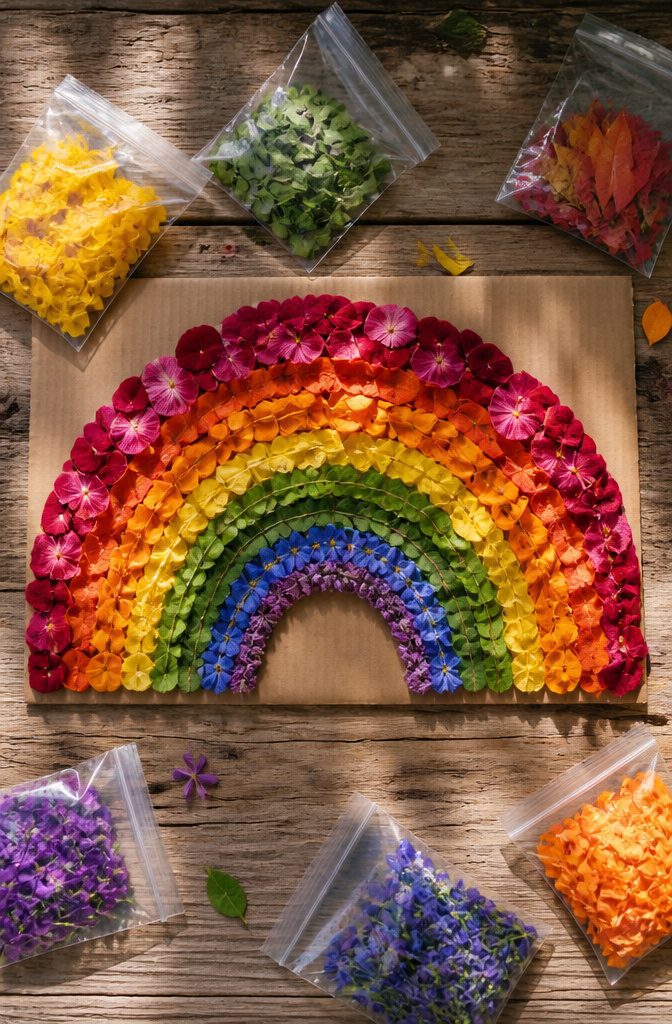
Start with a paper bag or an egg carton so the walk has a job: each kid hunts for one color at a time, red petals, orange leaves, yellow dandelions, green grass, and so on.
August hands you plenty of green and yellow, but blue and purple are scarcer, so a clover blossom or a bit of chicory is worth pointing out when you spot one.
Skip anything that is wet or fresh-cut, because it wilts and stains.
For the base, sturdy cardboard from a cereal box holds up better than printer paper, which wrinkles under glue.
White school glue works fine, and pressing each piece down for a few seconds keeps leaves from curling off. Arrange the arcs before gluing anything.
8. Ladybug Rocks
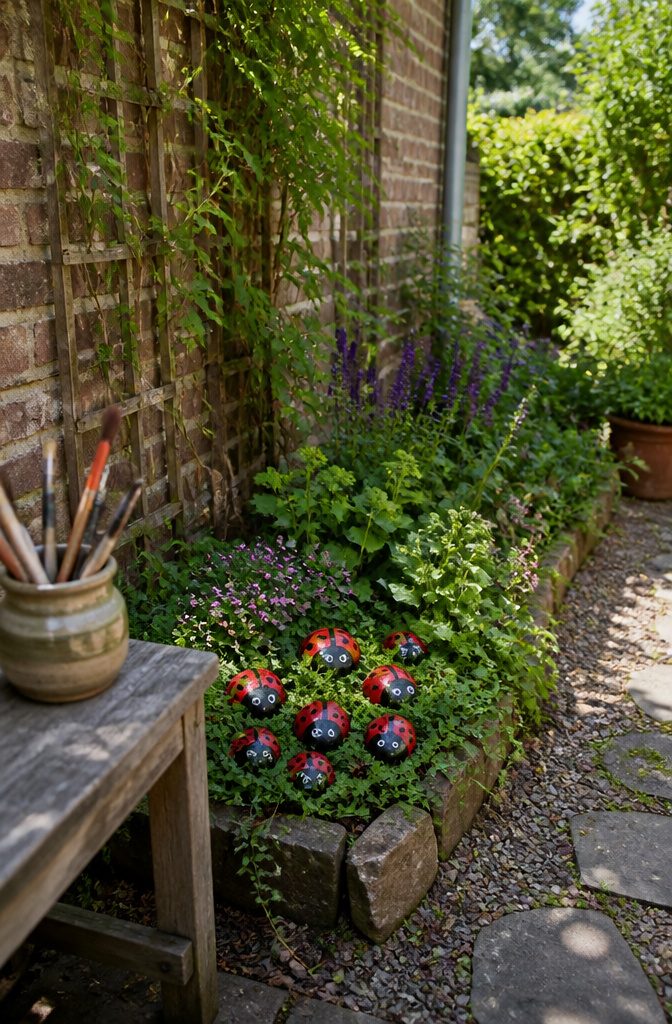
Smooth, rounded stones beat rough ones every time, because paint sits evenly on a flat-ish surface and a domed back reads as a ladybug shell right away.
River rock and landscaping pebbles both work. Wash off the dirt and let them dry fully before anyone picks up a brush.
Acrylic craft paint covers best. Give the whole rock a red base and let it dry, then add a second coat if the gray shows through.
Black goes on after that: a head at one end, a line down the middle, and a few round spots. A dotting tool or a pencil eraser dipped in paint makes tidy circles for small hands.
Brush on a clear outdoor sealer once the paint is dry, or the red will chip and fade after a few rainy weeks. Set the rocks among garden plants or along a path, tucked under leaves like they landed there.
9. Ice Cream Handprint
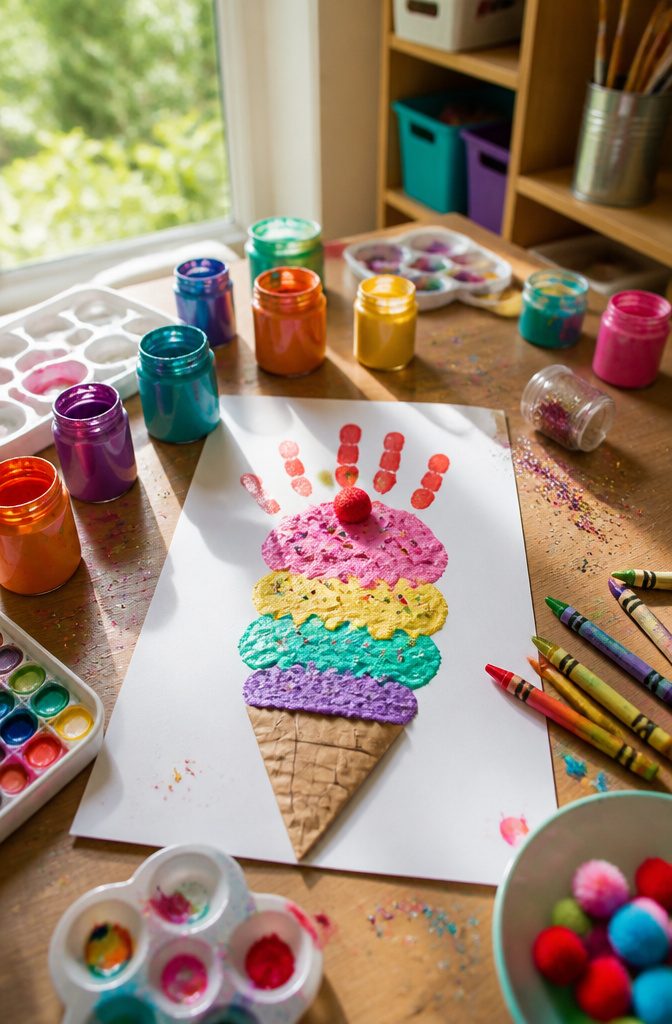
Which part of the hand makes which piece is up to you, so try a few placements and keep the steps simple.
The handprint becomes a cone with scoops, drips and toppings, and the puffy paint version uses a paper bag cone.
A handprint ice cream cone is a stamp, not a painting job, so the child’s own hand does the drawing.
Each kid picks the flavor and the toppings, which is why two cones on the fridge never match. Drips and sprinkles are where the personality goes.
The puffy paint cone works differently. There you cut a cone out of a brown paper bag and build the scoop from a mix of equal parts shaving cream (not gel) and white glue, tinted with food coloring.
It’s raised and squishy, and it suits an outdoor afternoon. I’d pick the handprint for younger kids who want a keepsake, and the puffy paint for kids who want texture.
10. Torn Paper Ocean Scene
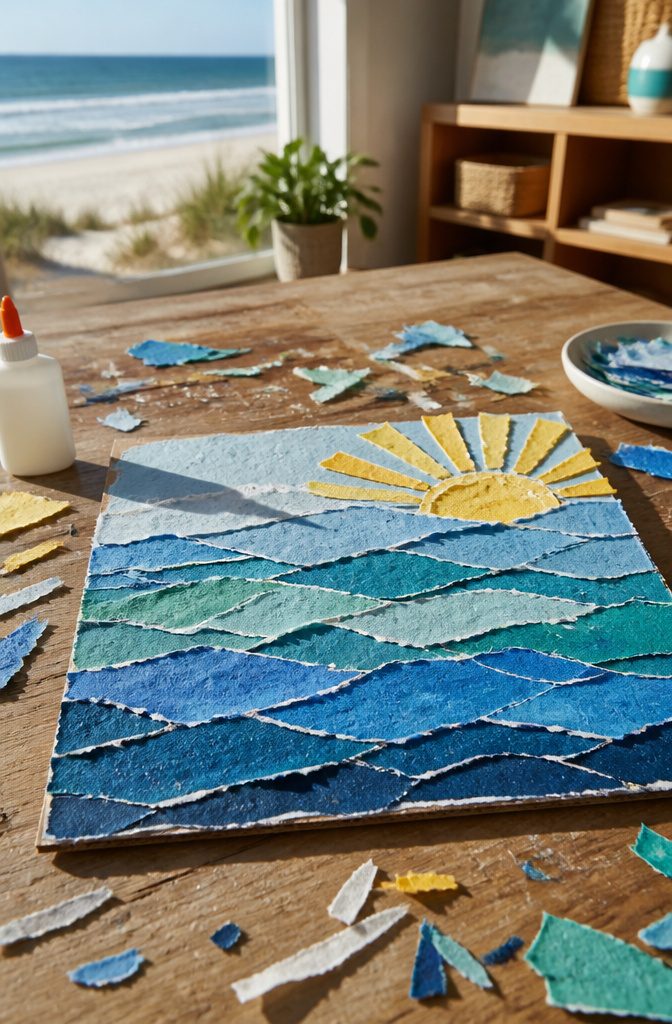
Tearing gives a child a soft, fibrous edge that reads as foam, spray and rolling water, which a pair of scissors can only fake.
It also keeps small hands from fussing over a straight line, so nobody gets stuck on a "mistake."
Start with a base of 8½ x 11 card stock.
Tear construction paper in blues and greens into strips, then layer the darkest strip along the bottom and work upward to lighter ones, overlapping each edge a little so the waves stack. Glue each strip down before adding the next.
Leave the top third open for sky. A few torn squares of yellow make a sun, and a red-and-orange sailboat bobbing on the middle wave gives the eye somewhere to land.
11. DIY Beehive
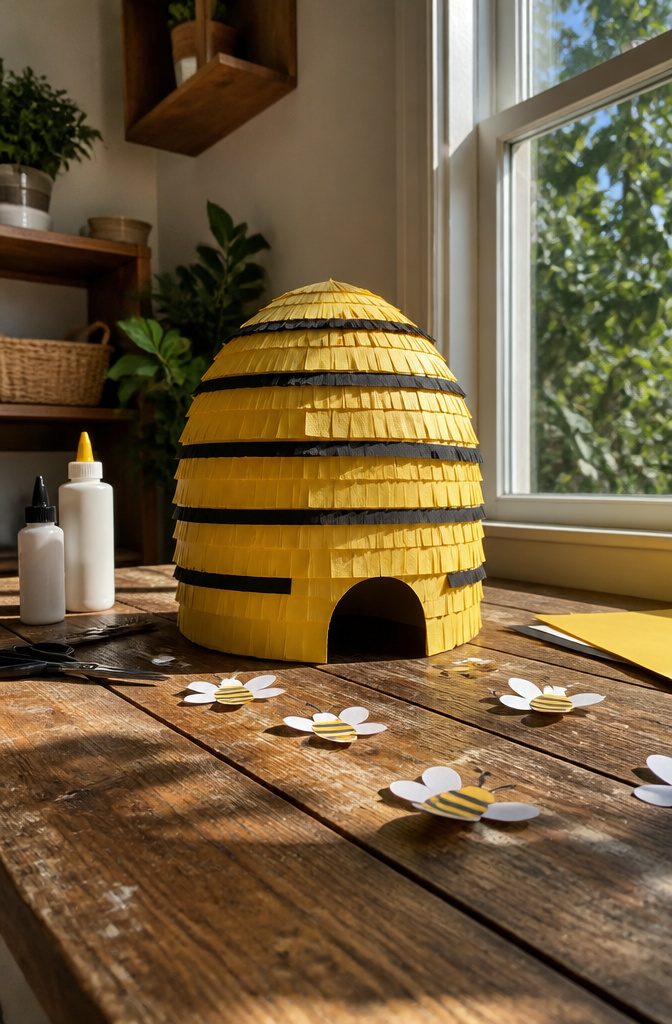
National Honey Bee Day lands on August 21st, which makes a paper beehive a good project for the last stretch of summer. Keep the beehive simple with what you have on hand: construction paper, scissors, glue, and a marker.
Start with the shape.
A rounded dome, a little taller than it is wide, reads as a skep hive right away. Cut it from yellow paper and glue it down before anything else.
Stripes come next.
Glue or draw the stripes before you add the bees, because it’s easier to place small bees around finished bands than to squeeze bands around bees. Black strips across the dome work well.
For the bees, small paper ovals with their own stripes are enough. Let kids scatter them around the hive however they like.
12. Pressed Flower Bookmarks
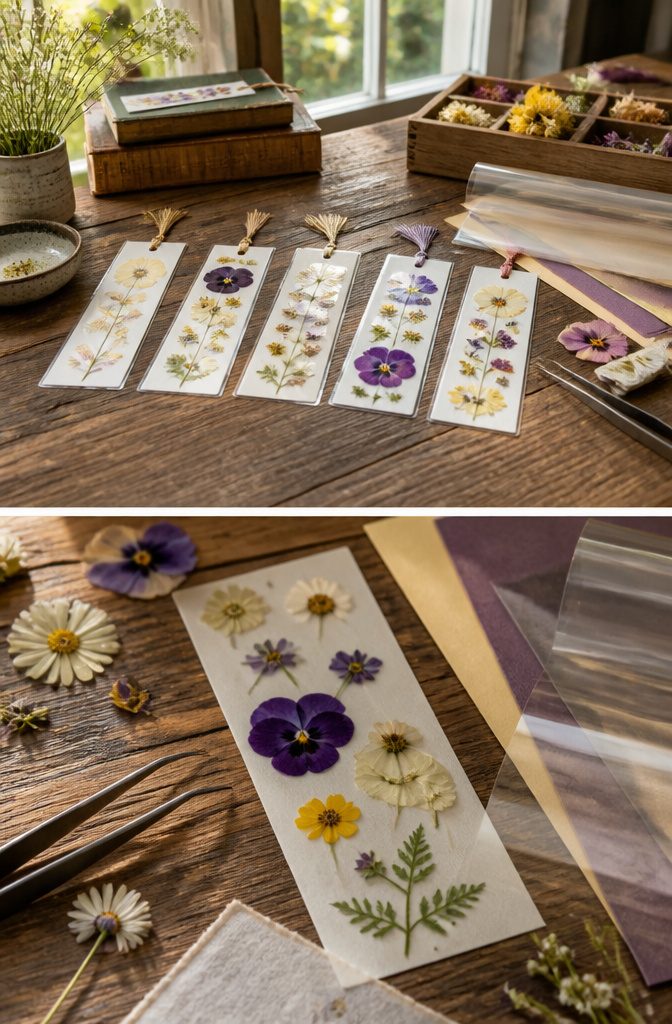
Pressing is the slow part, so pick the flowers a week or more before you want the bookmarks. Small, flat blooms like pansies, violets and daisies press best; thick ones like roses turn brown and lumpy.
Lay the flowers between two sheets of paper inside a heavy book, stack a few more books on top, and leave them alone. Peeking early tears the petals, so wait until they feel dry and papery.
Cut card stock into a strip about 2 by 6 inches, then dab a little school glue on the back of each flower with a toothpick and press it into place. Tweezers help small hands.
Cover the whole strip with clear contact paper, folded over so the edges seal, or run it through a laminator. Trim the edges and punch a hole for yarn if you like.
Back-to-School Crafts
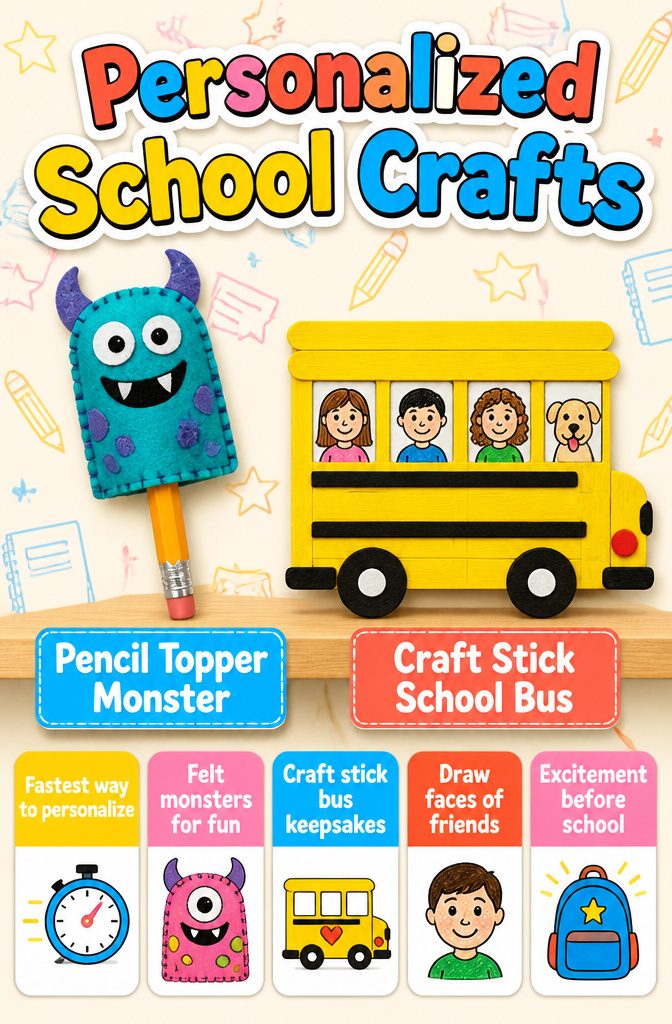
A pencil topper is the fastest way to make a school supply belong to one kid.
Felt monsters and kitties get cut and sewn small enough to slip onto the top of a pencil, so a child can spot theirs in a crowded pencil cup. That is the whole appeal, and it works.
The craft stick school bus does a different job.
It sits on a shelf as a keepsake, and little passenger faces in the windows give it more personality than a plain yellow rectangle. I’d have your child draw faces that look like friends, siblings or the family dog.
For a personal touch, let each kid pick the monster’s colors, or turn a bus or topper into a pencil holder for the desk. Both projects get kids excited about school before the first bell.
Late Summer Themes
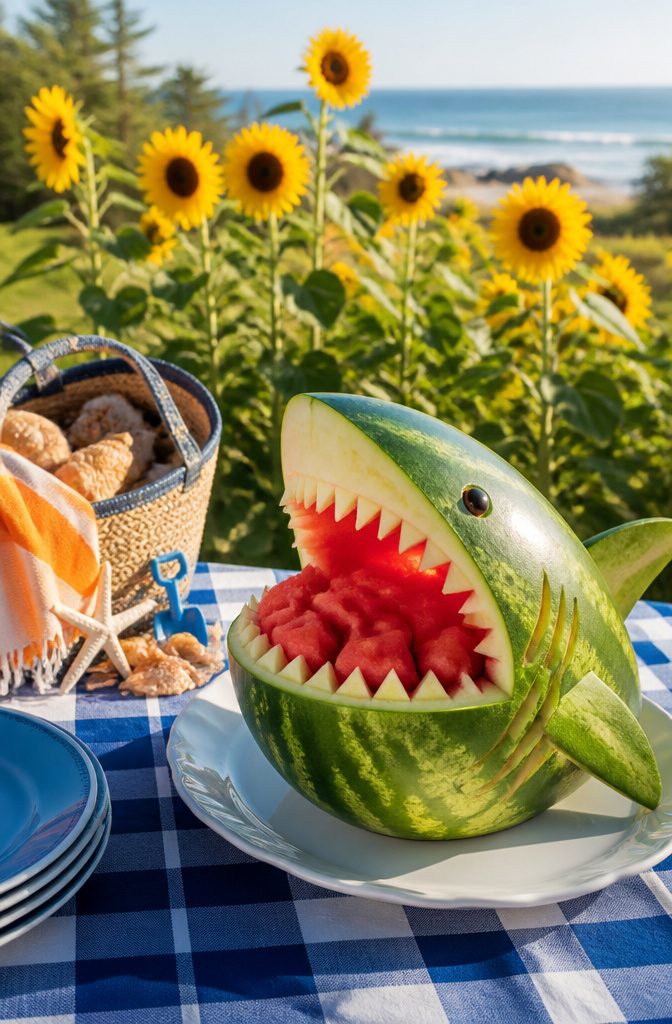
Watermelon, sunflowers and the ocean fit August because they are what kids actually see this month: picnic tables, tall yellow heads along fences, and sand still left in the beach bag.
Watermelon shows up at nearly every summer picnic, so a child already knows its colors by heart and needs no explaining. Sunflowers carry the end of summer, and I think they make the best bridge into early fall.
Ocean crafts get kids thinking about shells, waves and sand, and dates give any of these a hook. National Honey Bee Day falls on August 21, which turns a plain sunflower afternoon into a lesson on why bees matter.
Shark Week and National S’mores Day on August 10 work the same way, and a quick mention of the day is enough to get kids interested.
Simple Supplies to Stock
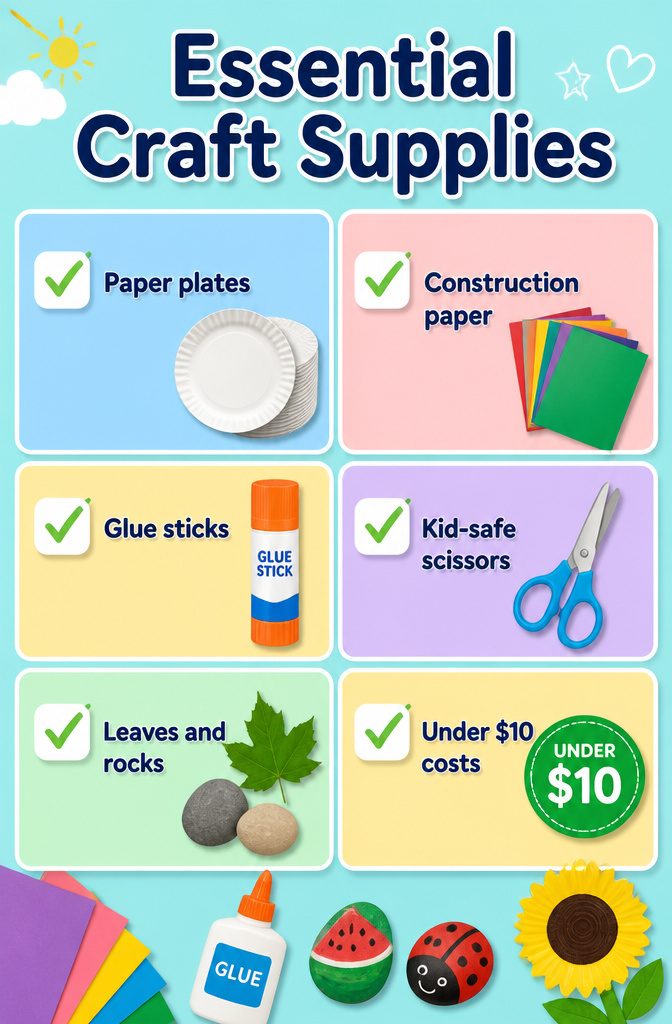
Most August projects run on a short shopping list, and nearly all of it is cheap or already in the house:
- Paper plates: the base for sunflowers, watermelon slices and more. A single pack covers a whole afternoon of crafting.
- Construction paper: cut it, tear it, or fold it. Buy a mixed-color pack so nobody fights over the green.
- Glue: a plain school bottle handles paper, and a glue stick is tidier for younger kids.
- Scissors: kid-safe pairs are fine for paper and plates.
- Leaves and rocks: free from the yard or a walk around the block. Rinse the rocks and let them dry before painting.
Dollar stores carry most of this, and most projects come in under $10. The same bin works at a kitchen table or in a classroom, so a pack bought once covers both.
Frequently Asked Questions
What are some easy August crafts for kids?
Good picks include a popsicle stick pencil, a paper plate watermelon, a handprint crab, and a paper plate sunflower.
Most use paper, paint, glue and scissors, so they suit a kitchen table. Toddlers do well with the handprint crab, while kids around 5 and up can handle the popsicle stick pencil.
What supplies do I need for summer crafts?
Stock paper plates, construction paper, glue, and kid-safe scissors, plus free items like leaves and rocks from the yard.
A mixed-color paper pack keeps everyone happy, and a glue stick is tidier for younger kids. Most projects come in under $10, and dollar stores carry nearly all of it.
How can I make back-to-school crafts fun?
Let kids personalize them. A child can pick the colors for a felt pencil topper or draw friends, siblings or the family dog as passengers in a school bus window.
Turning a bus or topper into a desk pencil holder adds a use to the keepsake, and the kids start looking forward to the first bell.
What are some fun summer themed crafts and activities for kids?
Watermelon, sunflowers and ocean scenes fit best, since kids see those things all month. A nature rainbow collage turns a walk into a color hunt, and ladybug rocks end up in the garden.
Tying a craft to a date, like National Honey Bee Day on August 21 or National S’mores Day on August 10, gives kids an extra reason to care.
What are some creative craft ideas for kids?
Try puffy paint ice cream cones, a torn paper ocean scene, or pressed flower bookmarks.
The puffy paint is made from equal parts foam shaving cream and white glue, tinted with food coloring. Torn paper gives waves a soft edge, and pressed flowers need a week or more of drying before you make the bookmarks.





