

Most of these 23 projects take an afternoon and a screwdriver, and the cheapest start at $1.49.
People rush the prep: skipping the wipe-down means adhesive lets go, and skipping the breaker on light fixtures or thermostats is the dangerous shortcut. A smart thermostat needs your HVAC model checked against the maker’s compatibility tool before you buy.
1. USB LED Light Strip
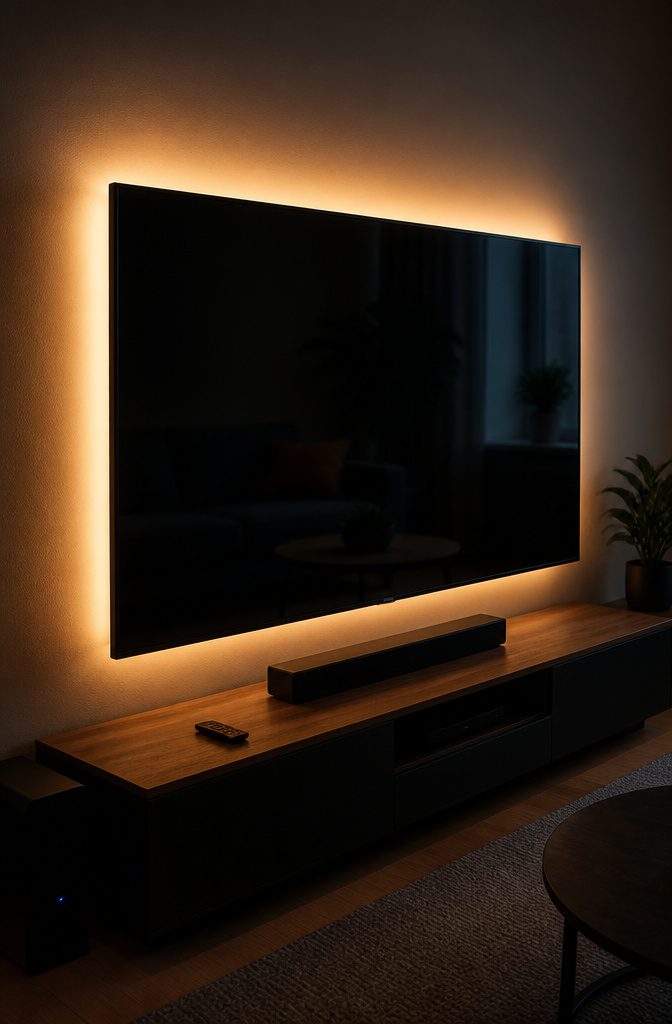
A USB LED strip peels and sticks behind a TV, and the backlight is what makes it worth the $14.99+ starting price.
The glow softens the contrast between a bright screen and a dark wall, and the screen can even look a little sharper.
Sizes run from S to XXL, so match the strip to the width of your set before you order.
Because it runs on USB, it doesn’t tie up a wall socket. Plug it into the TV’s own port and it switches on and off with the set.
Under shelves works the same way, but the strip only goes where a USB port can reach. Check the cord length against your nearest port first, since a shelf across the room means a visible cable or an adapter.
2. Stacking Shoe Organizer
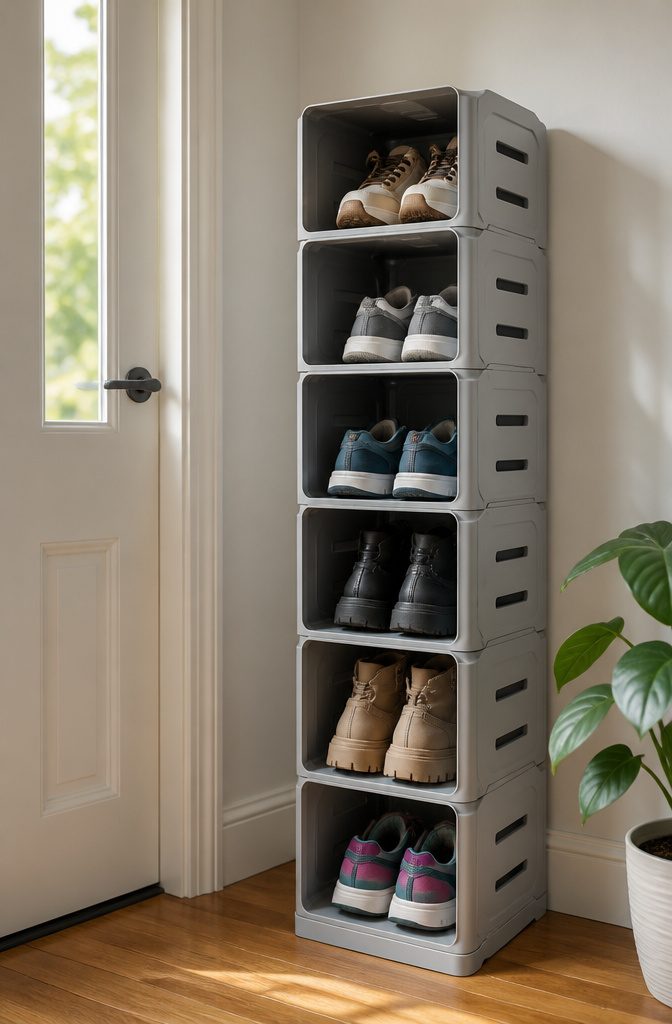
A stacking shoe organizer runs $1.49 at Ikea, and it doubles the footwear you can fit on the same patch of floor.
Each unit is a single tier, so you can stack a second on top and get two levels of storage without drilling or buying a full rack.
Tall tiers suit chunky shoes. One reviewer calls them sturdy and tall enough for sneakers and boots with some bulk, which is where thin wire racks usually fail.
I’d put one in a closet floor or entryway corner, and keep the rarely worn pairs on the top tier so daily shoes stay within reach.
The price comes with a catch: it ships with a $35+ order, so plan to add it to a larger purchase.
3. Wood Grain Tape Mirror Frame
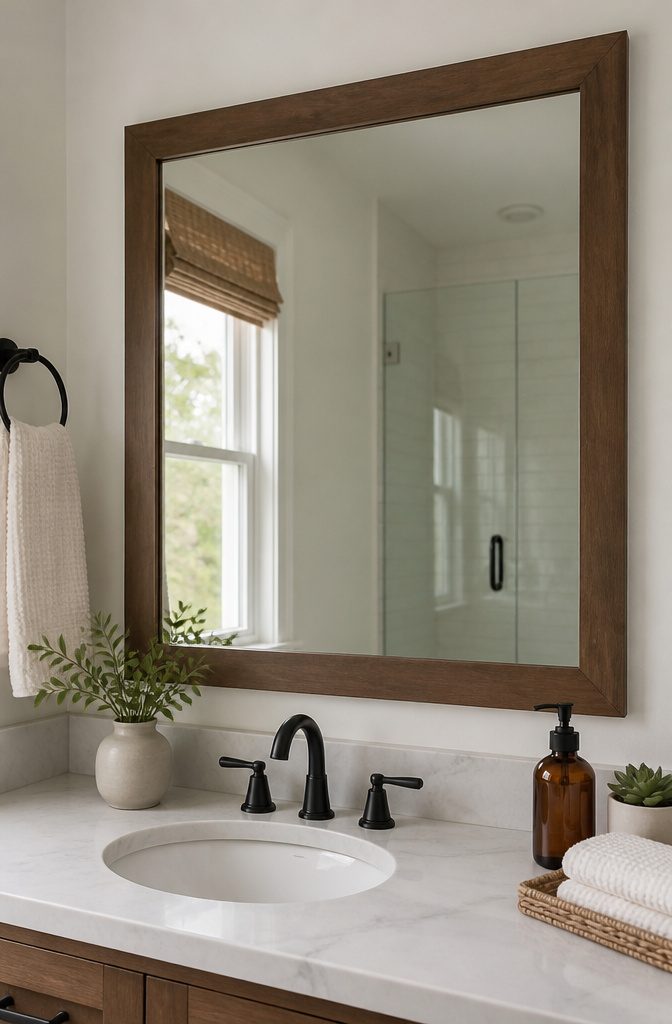
Measure the mirror’s four edges and cut each strip a little long, then trim to fit.
Wood grain tape is a thin adhesive vinyl, so a bathroom mirror is an easy place to use it: the frame goes right onto the glass, and no tools beyond scissors and a tape measure are involved.
The $6.98 price is where the cost starts, and a roll covers a standard vanity mirror with some left over.
Wipe the glass with rubbing alcohol first, because soap film and steam residue stop the adhesive from gripping.
Lay the tape along an edge and press from the center outward. At the corners, overlap the strips and slice through both layers at 45 degrees for a mitered seam that reads like real trim.
Press every edge flat with a fingertip or a credit card, since lifted corners show first in a humid room.
4. Expandable Under-Sink Organizer
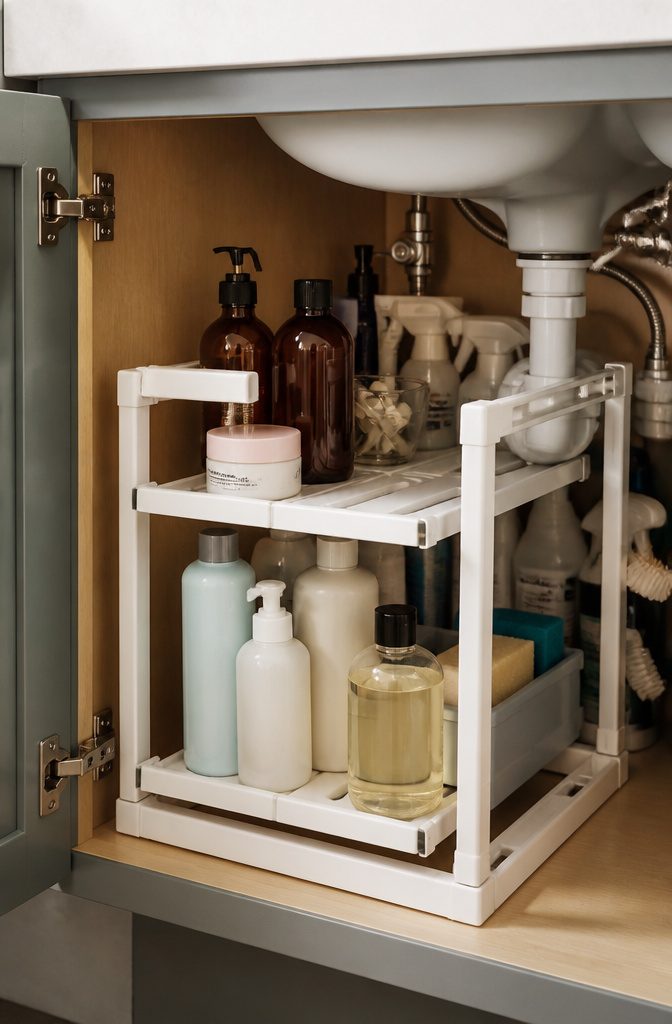
An expandable under-sink organizer is the one storage fix here that has to fit around plumbing, and that is why it costs more than a plain bin or a stack of shelves.
Most versions use two sliding shelf halves with adjustable width, so you can push them apart until each side clears the drain pipe, or set them to straddle a garbage disposal.
Measure the cabinet opening and the distance between the pipe and each wall before you buy, because the adjustable range is the whole selling point.
The price starts at $24.87, and the extra money pays for the sliding frame and the sturdier shelves. A fixed organizer that can’t bend around a P-trap often ends up wasted.
I’d choose this over cheaper bins for any cabinet with a disposal or a tangle of supply lines.
5. NoNo Bracket Curtains
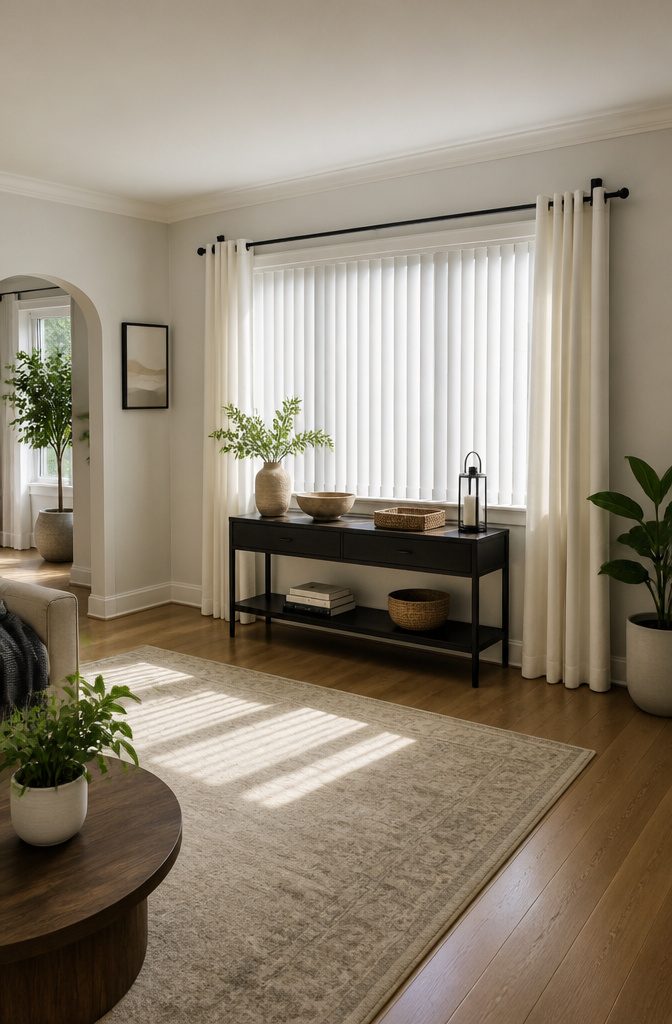
NoNo Brackets clip onto the blinds you already have, so the curtain rod hangs without a single screw going into the wall or window frame.
A set of two runs $18.95 and comes in brown, black, gold, and brass. For a renter, that is the whole appeal: no holes to spackle later, and no deposit docked when you move out.
Installation takes a few minutes and needs no tools. One reviewer hung curtains over vertical blinds without picking up anything from the toolbox.
The brackets only work if your blinds stay where they are, so they won’t suit a window you open and close all day.
Any blind you plan to raise and lower, or replace, now carries the curtain too, so I would pick this for blinds that stay closed or fixed.
If you want the rod mounted inside the window frame, an inside-mount version exists.
6. Door Draft Stopper
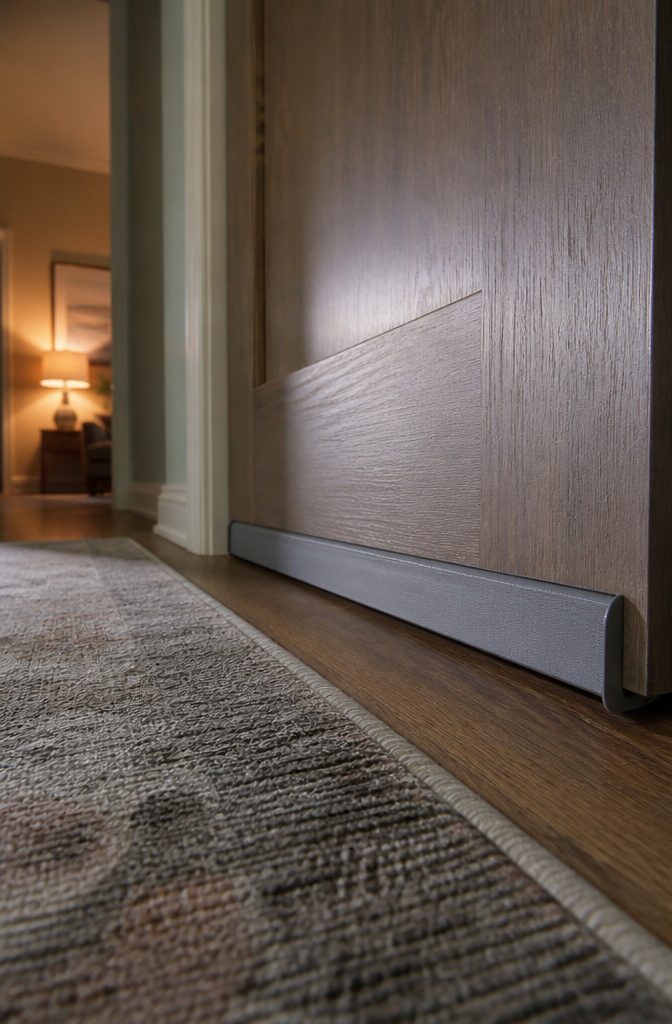
A door draft stopper starts at $8.99 and works by blocking the gap under the door, which is the one spot weatherstripping around the frame never touches.
The version I’d buy is the adhesive strip kind. You peel the tape and press it onto the door, and it reads as part of the door instead of a rolled-up pillow on the floor.
Stick it to a clean, dry door, because tape on dust or damp paint won’t hold.
One reviewer with a big gap under her door said the hallway smells and noise dropped along with the drafts, so it does more than manage temperature. It comes in four colors, which helps it blend in.
Weatherstripping seals the edges of the frame; a stopper seals the bottom. Do both if the cold still finds its way in.
7. Wood Scratch Cover
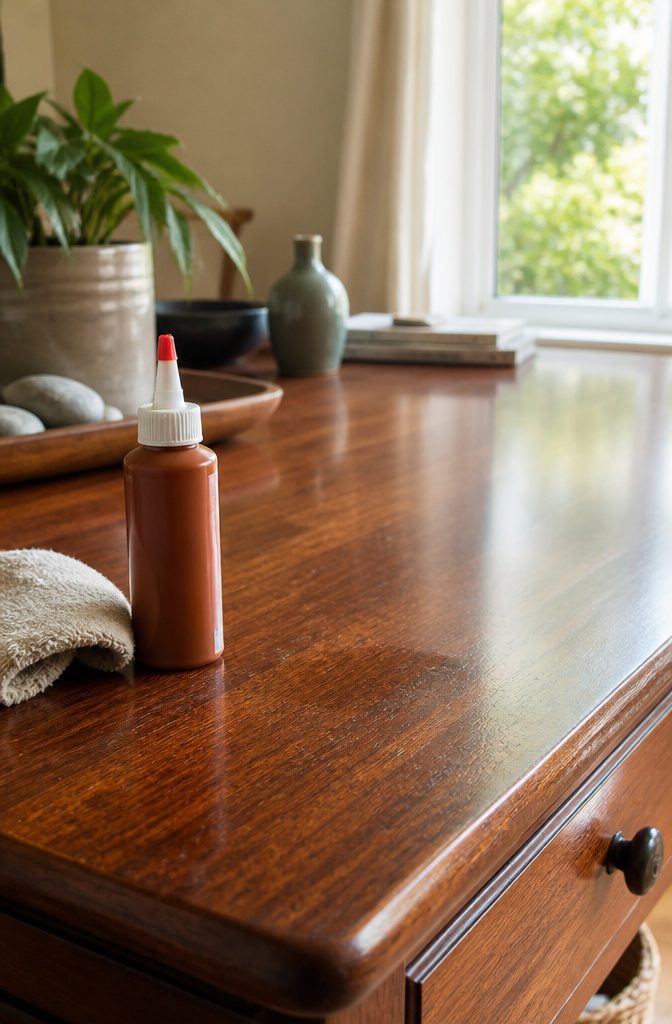
Old English scratch cover runs $4.82 at Amazon, and it’s also sold in a three-pack if you have more than one room of dinged trim.
It works on surface scratches, the shallow kind that dull a finish or show up pale against stained wood.
It will not fill a gouge. Deep cuts need filler or a wax stick, and that’s a different job.
The reason I like it for door frames and molding is that it needs no sanding or refinishing.
One reviewer bought a house where a dog had scratched the woodwork around two doors and expected to strip and refinish both; the cover-up saved that work.
Wipe the wood clean first, apply, and buff until the scratch blends with the color around it.
8. Wood Polish and Conditioner
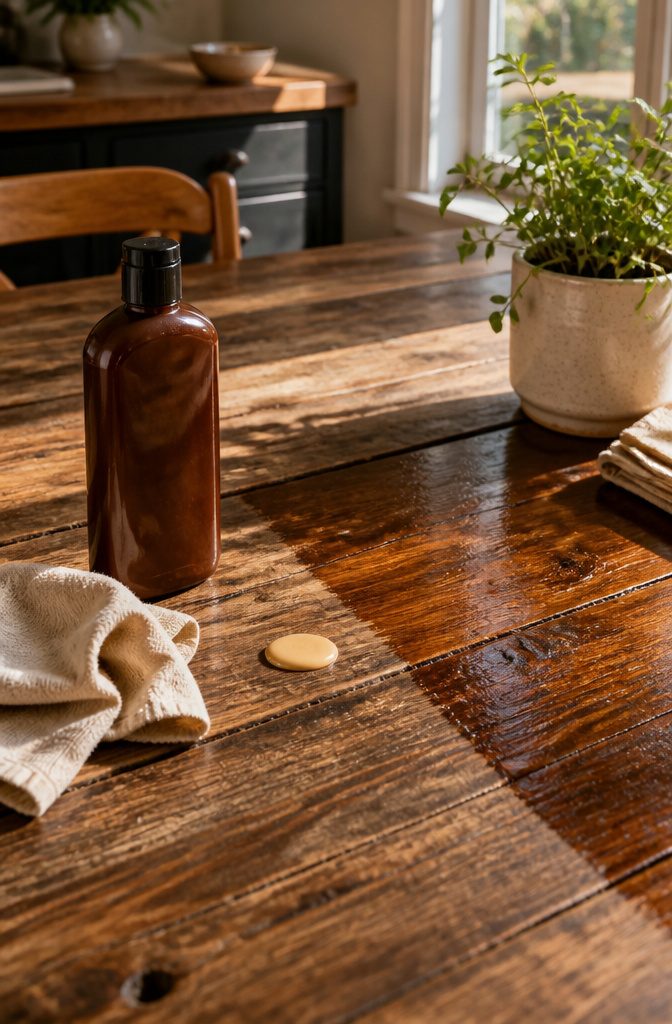
Wood polish and conditioner at $10.88 for a 16-ounce bottle is the cheapest way I know to revive tired wood without touching sandpaper.
It deepens the grain on finished and unfinished wood, so it suits dining tables, kitchen cabinets, doors, trim and antiques.
One reviewer used about 1/3 of an ounce on a 36-inch double base cabinet and a 36-inch drawer, which means the bottle stretches across a whole kitchen.
Apply it, rub patiently, wipe it off, and the shine comes out clean rather than fake.
Choose polish when the wood is dull, dry or lightly scratched, because it improves what is already there. Reach for a cover-up product only when a scratch or discolored patch still shows after the wood has been conditioned.
9. Wood Repair Markers
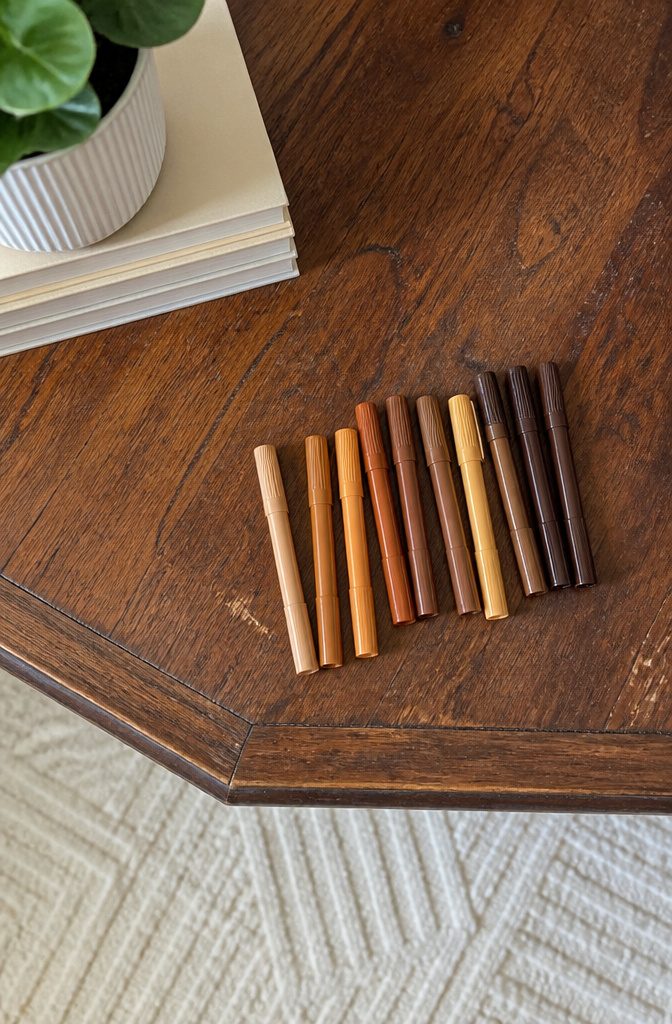
A set of 13 wood repair markers runs $9.99, which works out to under a dollar per shade, and that range is the whole reason to buy a set instead of a single marker.
Wood tones rarely land on one color, so you want a few options on either side of the match.
Test on a hidden spot first, such as the underside of a table or the back of a leg. Pick the marker that looks slightly lighter than the surrounding wood, because the color deepens as it dries.
Go over a scratch in thin passes and stop when it blends, since you can darken a spot but you can’t lighten it.
For grain, follow the direction of the lines and wipe the excess with a soft cloth right away.
10. Touch-Up Paint for Furniture
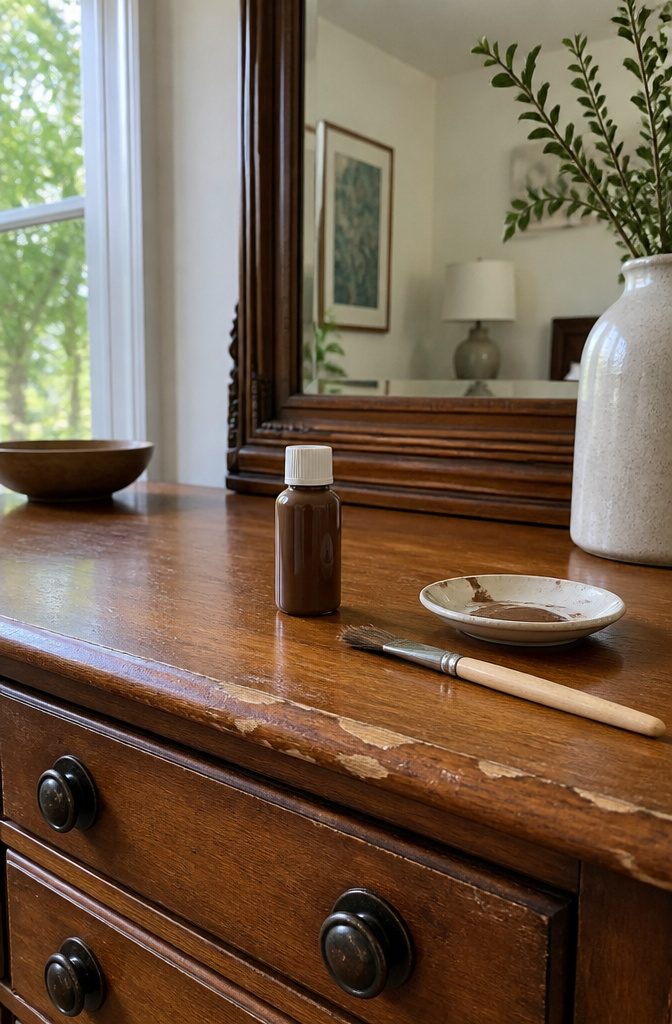
Touch-up paint starts at $12.95 and comes in two sizes, 24 colors and three-packs, which makes it the cheapest way to fix chips and marks on a dresser, cabinet or entertainment center.
The application is closer to correction fluid than to painting. One reviewer put it as "if you can use liquid paper, you can use this," and I think that’s accurate.
Color matching is where this repair succeeds or fails, so hold the bottle against the piece in daylight before you buy. Pick the closer shade over the brighter one.
Dab a thin coat on the chip, then feather the edges outward with a nearly dry brush so no hard ring shows. Let it dry and add a second thin coat only if the first looks see-through.
11. Plate Holder
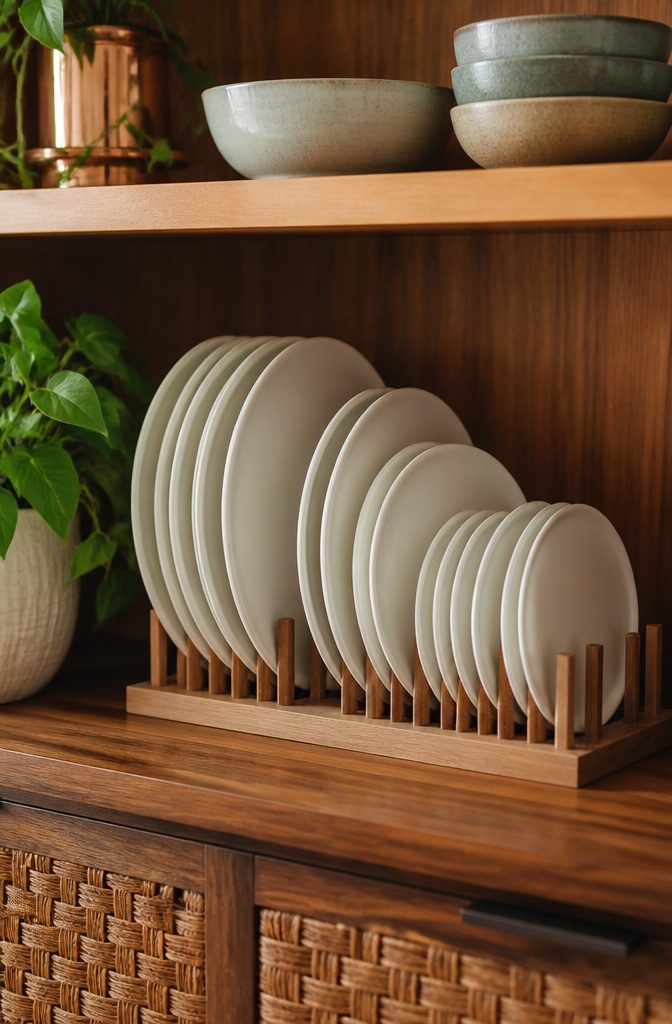
Stacked plates chip when different sizes grind against each other, and a plate holder fixes that by standing each one upright in its own slot. The Ikea Osbit runs $5.99, which makes it one of the cheapest organizers in the house.
Set it on a cabinet shelf and you can pull out one plate without lifting the pile. On a counter, it works as an open rack, and the plates stay in view.
I’d put it in a cabinet first. Vertical slots use the height of the shelf instead of stacking up and wasting it, so you can often fit something else beside or above them.
The same holder also handles pot lids, cutting boards, mail, and even tablets, so a second one is rarely wasted.
12. Peel-and-Stick Backsplash
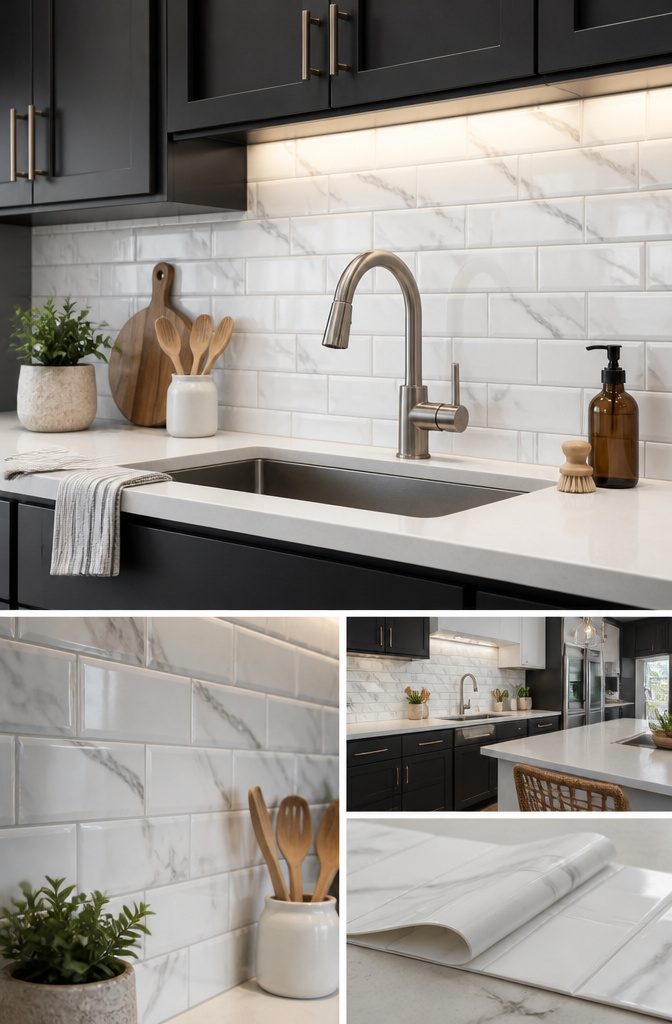
Most peel-and-stick tiles are water-resistant and heat-safe, which is why they work behind a sink or a stove, and they mimic ceramic or glass without grout or mortar.
They also come off if you change your mind, so renters get the most out of them.
Cleaning the wall decides whether the tiles hold. Wash it thoroughly first, because adhesive on a dirty surface simply won’t stick.
Measure the space and dry-fit the layout with a level so the first row runs straight.
Everything else follows that line. Peel the backing, set the tile, and press firmly across the whole face.
Around outlets, mark the opening on the tile and trim it with a utility knife or scissors. Cut the same way to remove any excess at edges.
13. Cabinet Hardware Upgrade
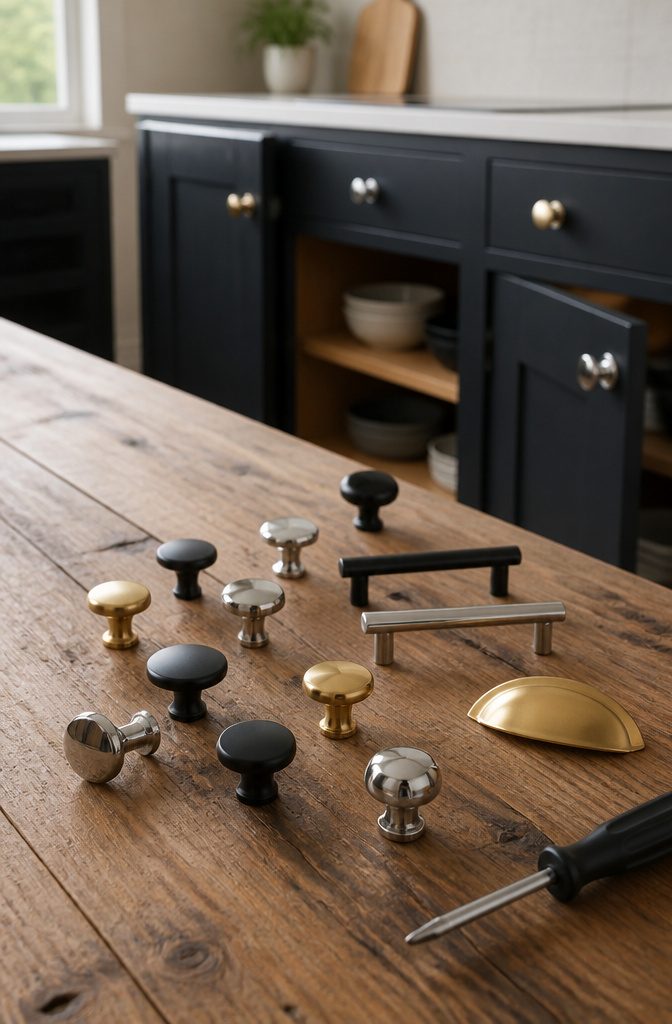
Swapping knobs and pulls is the fastest makeover in the house, and the one I’d do first. A $30 hardware upgrade can make a kitchen or bathroom look new, and the only tool you need is a screwdriver.
Hole spacing decides whether this takes minutes or turns into a drilling job.
Most hardware is standardized, so new pieces usually line up with the holes already in your doors and drawers. Take one old pull with you to the store, or measure it and order online using the same numbers.
Knobs use a single hole, so they’re forgiving. Pulls need the spacing to match.
Keep the screws sorted as you remove them, a small cup works, so nothing gets mixed up mid-project. A drill only comes into it if you pick hardware with a different hole layout.
14. Smart Thermostat
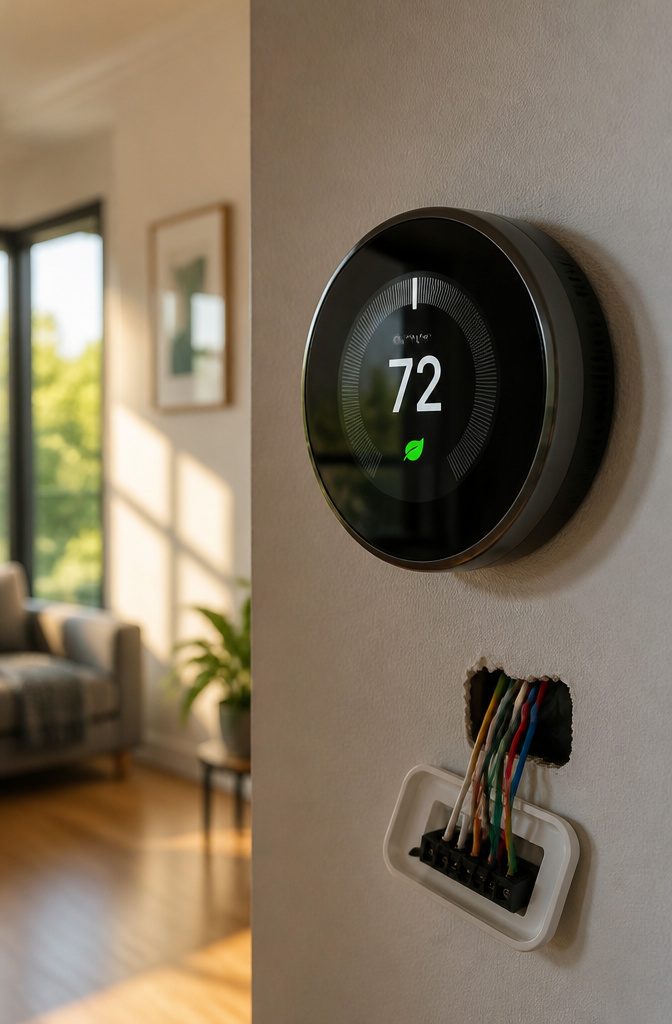
Shut off power to the HVAC system at the breaker before you touch the old thermostat, then confirm the display on the old unit goes dark.
Most smart models are built for DIY installation, and the app walks you through setup step by step, so an hour is a realistic window.
Before you pull anything off the wall, snap a photo of the wiring.
Then label each wire with the letter of the terminal it sits on, using masking tape and a pen. Those labels matter more than any other step, because they tell you where each wire lands on the new base.
Compatibility is the check I’d do first, ahead of buying. Run your HVAC model through the maker’s compatibility checker, since a thermostat that doesn’t match your system is a return trip, not a project.
15. Accent Wall Paint
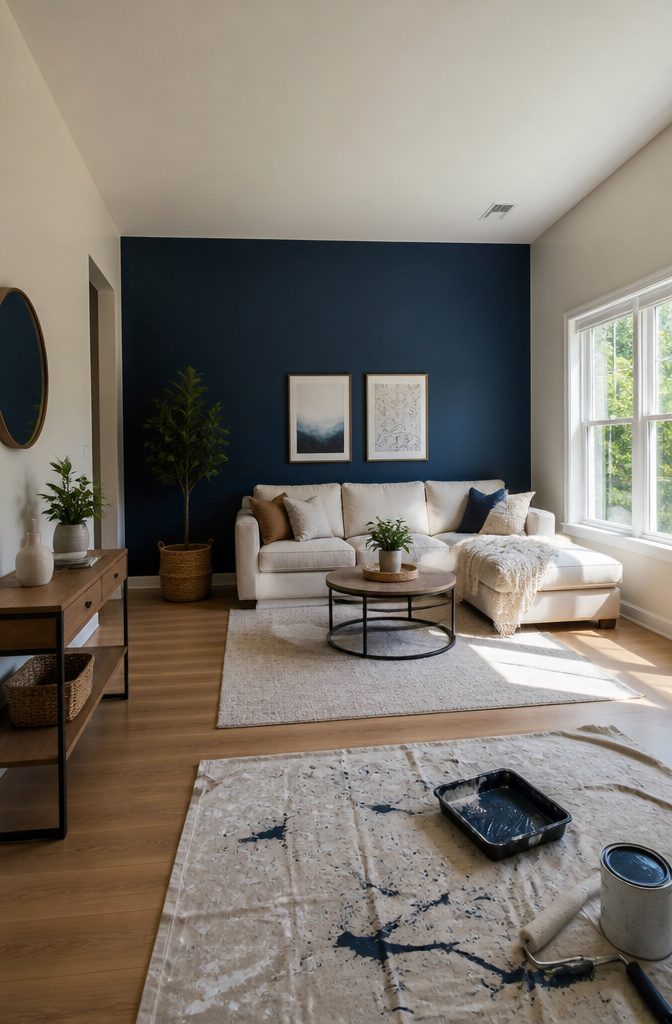
One gallon of paint usually covers a single accent wall, so you can skip the second can and finish in a few hours. Pick the wall your eye already lands on, like the one behind the bed or the couch.
Go darker than feels safe.
A deep navy against white walls and ceiling reads as a deliberate choice, while a timid shade just looks like a mismatched patch. Indigo Batik is one blue that has worked well in a bedroom.
Prep decides how the wall looks. Lay a drop cloth and run painter’s tape along the ceiling, trim and adjoining walls.
Press the tape edge down firmly before you open the can, since that is what keeps the lines crisp. Take your time with the roller, and use quality brushes for the corners.
16. Light Fixture Swap
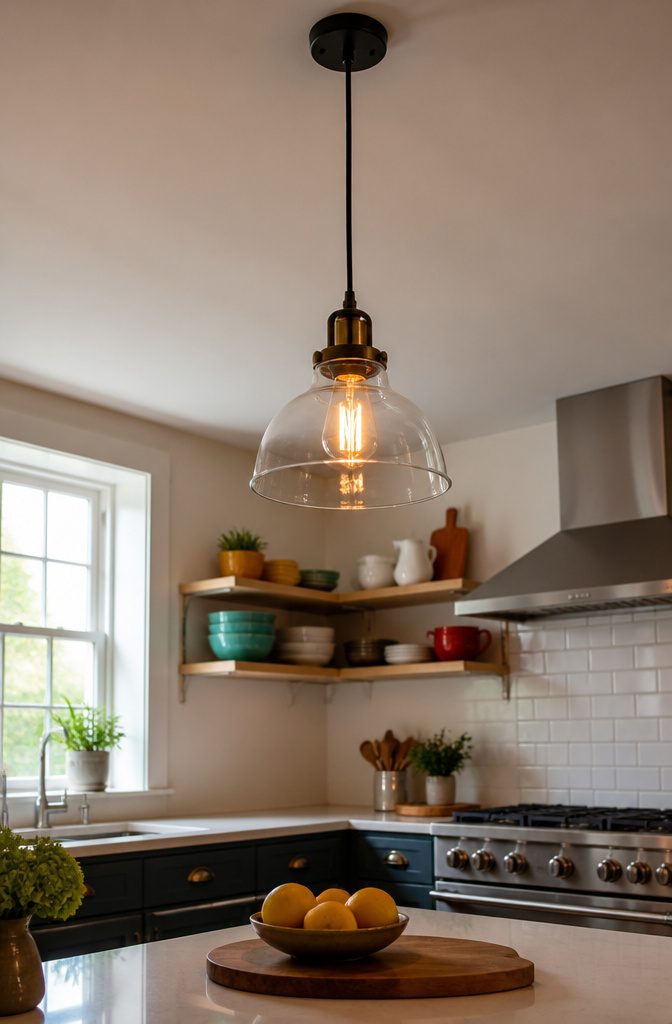
Switch off the breaker that feeds the room, then confirm the power is dead before your hands go near a wire.
A wall switch turned off is not proof, so test the fixture’s wires with a non-contact voltage tester. If you aren’t confident around electricity, hire an electrician and pick a different project from this list.
Choose a fixture that suits the room’s scale and matches what’s already there. A pendant over a kitchen island or a chandelier in an entryway changes the feel of the space more than almost any other swap.
Most fixtures ship with clear instructions, and the breaker is the step that makes this a safe afternoon job.
17. Floating Shelves
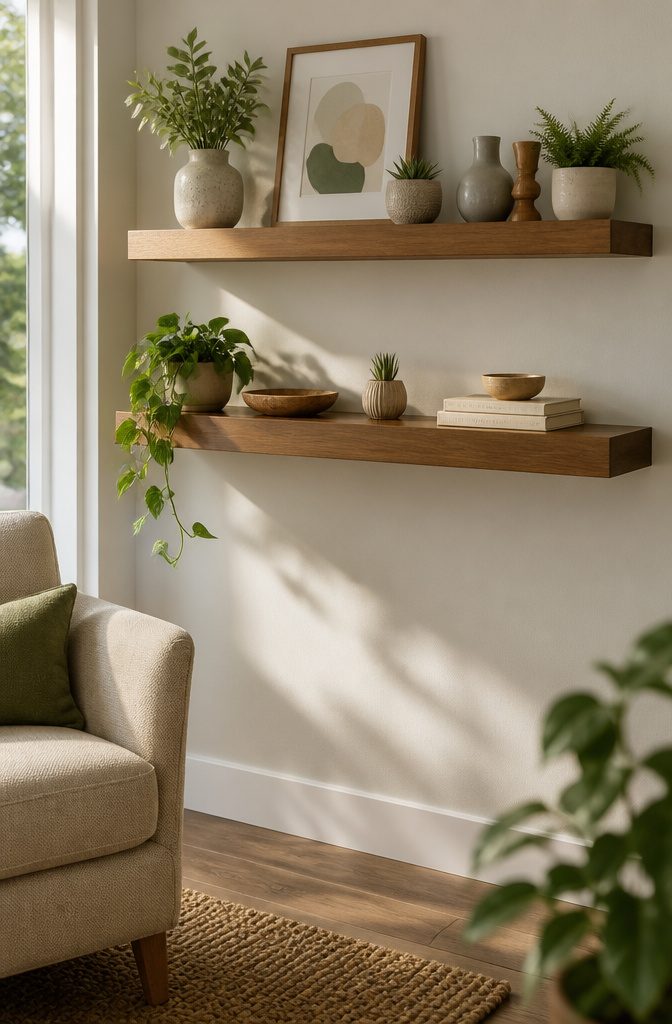
A floating shelf is only as strong as what it’s screwed into, so find the studs first.
A stud finder is the easy route; if you don’t own one, knock along the wall and listen for the dull spot, then confirm with a small test drill. Mark each stud with painter’s tape.
Hold a level against the bracket or shelf before you drill, not after. Level the mounting bracket, then drill through it into the studs, because a crooked bracket can’t be fixed once the screws are set.
Anchors are the fallback when a stud doesn’t line up with your layout.
They work for light decor, but I’d keep books and plants on stud-mounted shelves. Weight limits depend on the hardware, so check the kit’s rating.
18. Kitchen and Bath Caulk
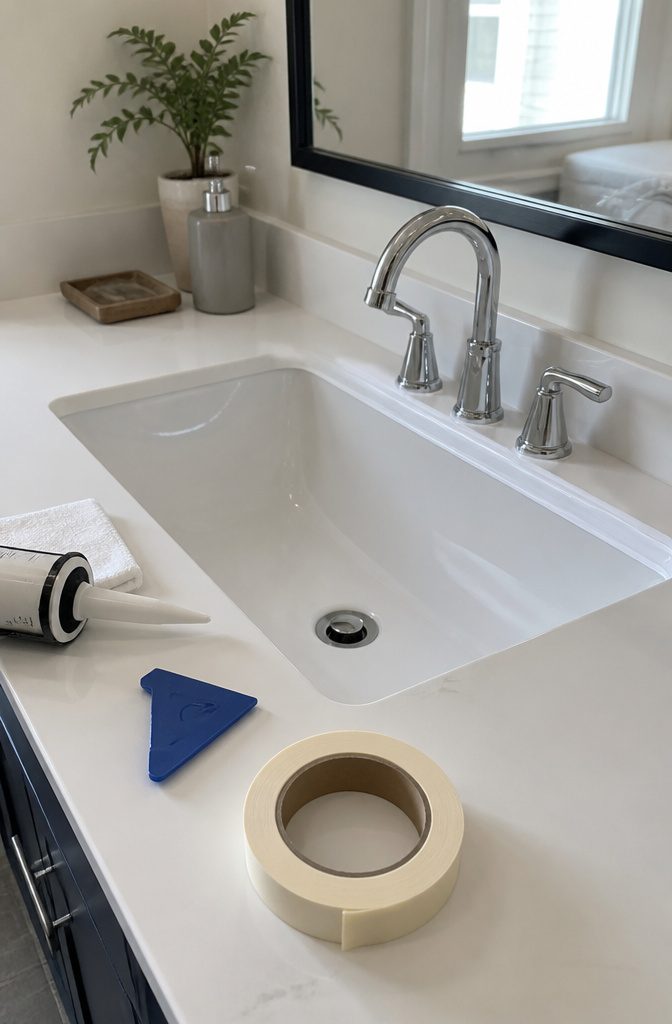
Old caulk that has cracked or pulled away lets moisture behind it, and that leads to mildew, so the first job is getting every bit of it out.
Score along both edges with a utility knife, then peel the strip free or work at it with a caulk remover tool. Wipe the seam clean and let it dry completely, because new caulk won’t grip a damp surface.
Silicone or latex suits most tubs, sinks and backsplashes; I lean toward silicone where water sits. Run masking tape along both sides of the seam to keep the lines crisp.
Squeeze one steady bead from the caulk gun, then smooth it with a finishing tool or a fingertip. Pull the tape before the caulk skins over, and give it the full cure time printed on the tube.
19. New Bathroom Mirror
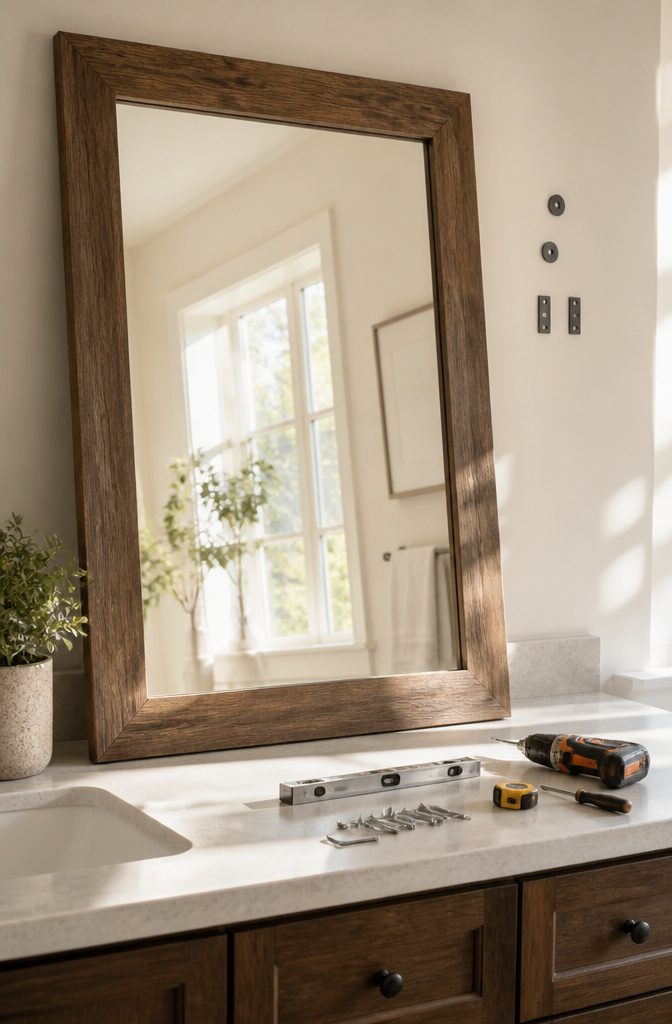
Measure the old mirror before you buy, and measure the wall space too, since a new mirror that overhangs the vanity or crowds a light fixture looks wrong no matter how nice it is.
A standard-sized mirror is the easy path, and a simple DIY frame around it gives the look of a custom piece.
Hanging hardware depends on the model.
Some mirrors mount with brackets, others with adhesive, so read what comes in the box before you unscrew the old one. A stud finder helps for a heavy mirror: screwing into a stud holds far better than drywall alone.
Hold the new mirror in place and check it with a level. Mark your holes only after the level reads true, then drill.
20. Switch Plates and Outlet Covers
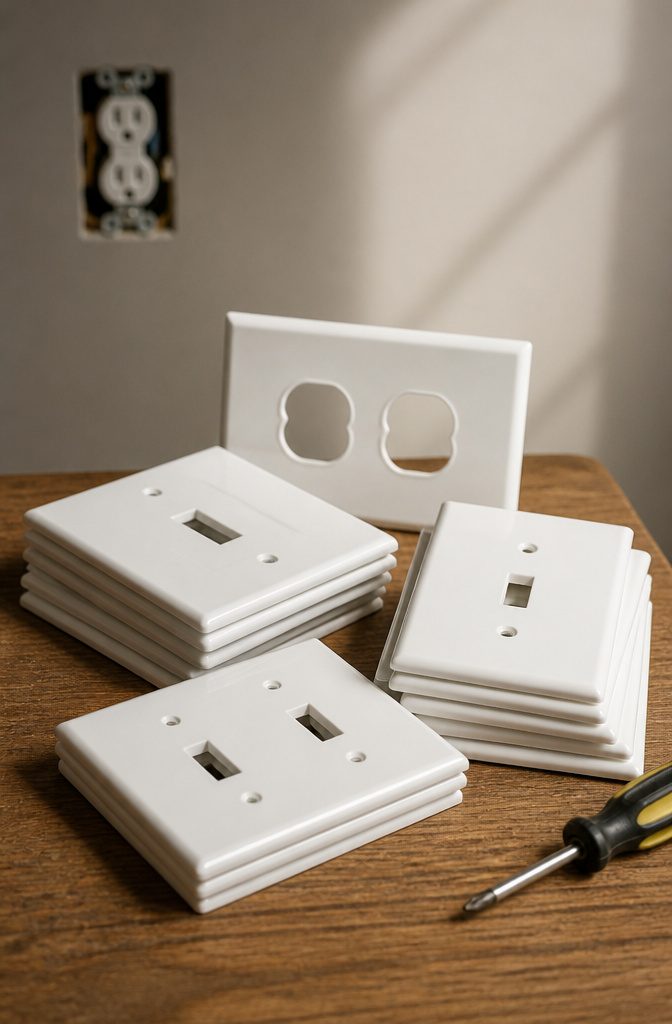
Swapping a switch plate takes a screwdriver and a few minutes, and it changes a room more than you’d expect from something that small.
Old plates yellow, collect fingerprints and show every paint smudge, so fresh ones make a wall look cleaner than it is.
Before unscrewing anything, I’d flip the breaker for that room. A plate swap rarely exposes wiring, but the switch or outlet sits right behind it, and a slipped screwdriver is not worth the risk.
Then remove the center screw, lift the old plate off and set the new one in place.
For style, I go with crisp white. Beige works too, but match the new plate to the color of the switches and outlets underneath, or the mismatch will stand out.
21. Weatherstripping
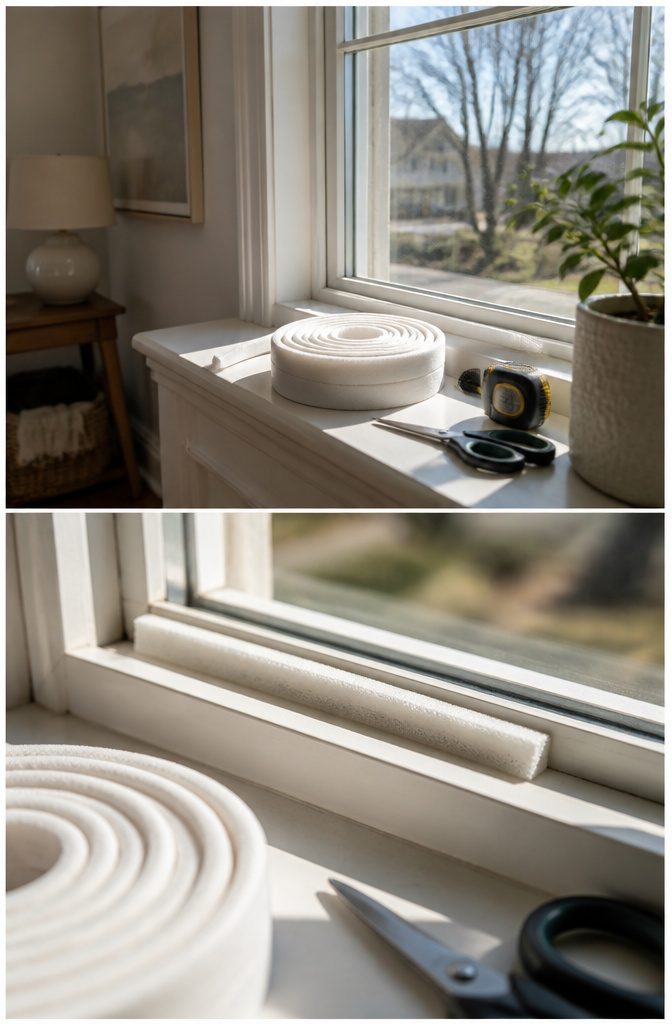
Foam tape and door sweeps do different jobs, so match the form to the gap.
Foam tape belongs on the frame of a door or window, where the moving part presses against it and closes the crack. A door sweep covers the gap at the bottom of a door, which tape can’t reach.
Most weatherstripping installs with adhesive or a few small screws, so a screwdriver is about all the tools you need.
Peel-and-stick versions only grip a clean, dry surface, so wipe the frame or door first. Skip that step and the tape lets go by spring.
If a window or door leaves a gap along the edge, V-strip is the third option, and it also goes on with adhesive or small screws.
I’d start with the exterior doors, since a chilly breeze at the threshold is the draft you notice most.
22. Simple Garden Bed
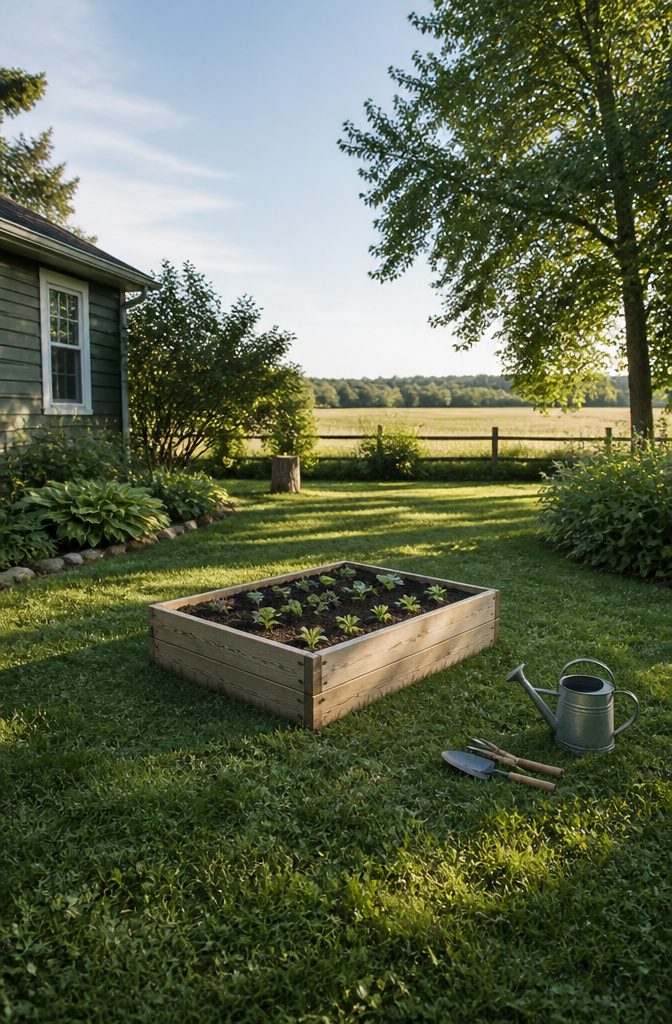
A garden bed is a rectangular frame filled with soil, and the frame is the whole build.
Use untreated wood, since this bed will grow herbs, vegetables or flowers you may eat. Pick a spot that gets full sun; a shaded corner will frustrate you no matter how good the soil is.
You can build the bed to whatever size fits your yard, since nothing about the method fixes a particular length or width.
I’d keep the bed narrow enough to reach the middle from either side, so you never step on the soil you just loosened.
Fill the frame with a mix of soil and compost, then plant seeds or seedlings.
Sun first, untreated wood second is the order I’d decide things in. Everything else can be fixed later; a bed in the wrong spot means moving the whole frame.
23. Cozy Outdoor Space
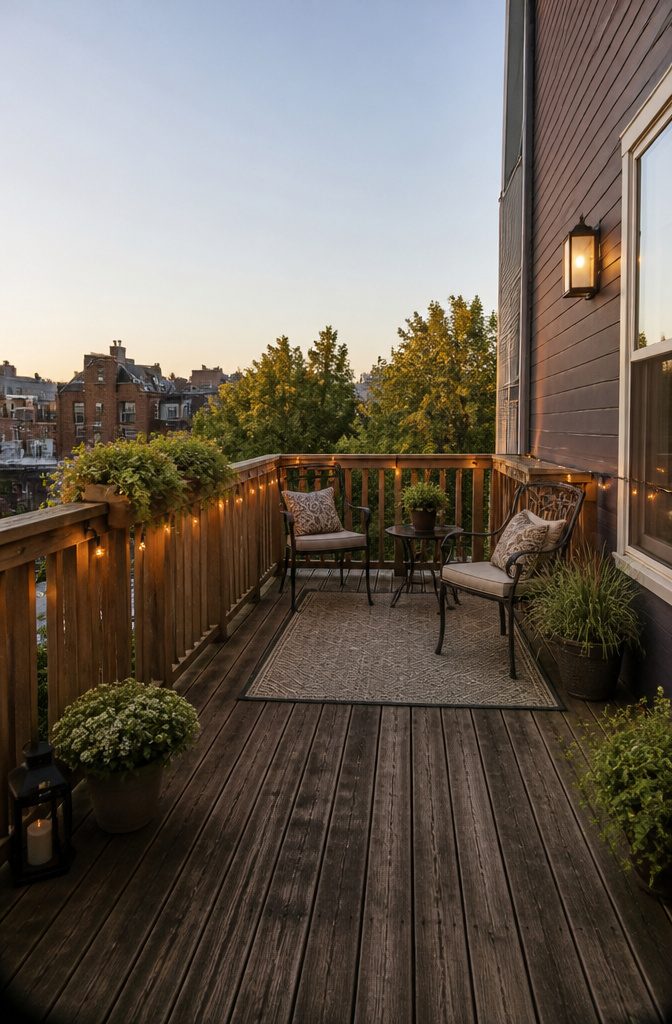
A small patio or balcony needs just three things to feel like a room: something soft to sit on, something underfoot, and light after dark.
Cushions and throws on the chairs you already own cost the least and change the most, since hard metal or plastic seats are what keep people from lingering outside.
An outdoor rug comes next.
It adds texture and defines the seating area so the furniture reads as a group instead of a pile. On a balcony, I’d pick one rug and skip the rest.
Last, hang string lights or lanterns for a warm glow in the evening. Of the three, lighting wins if you can only afford one, because it turns a bare corner into somewhere you want to be at 8 p.m.
Basic Tools to Own
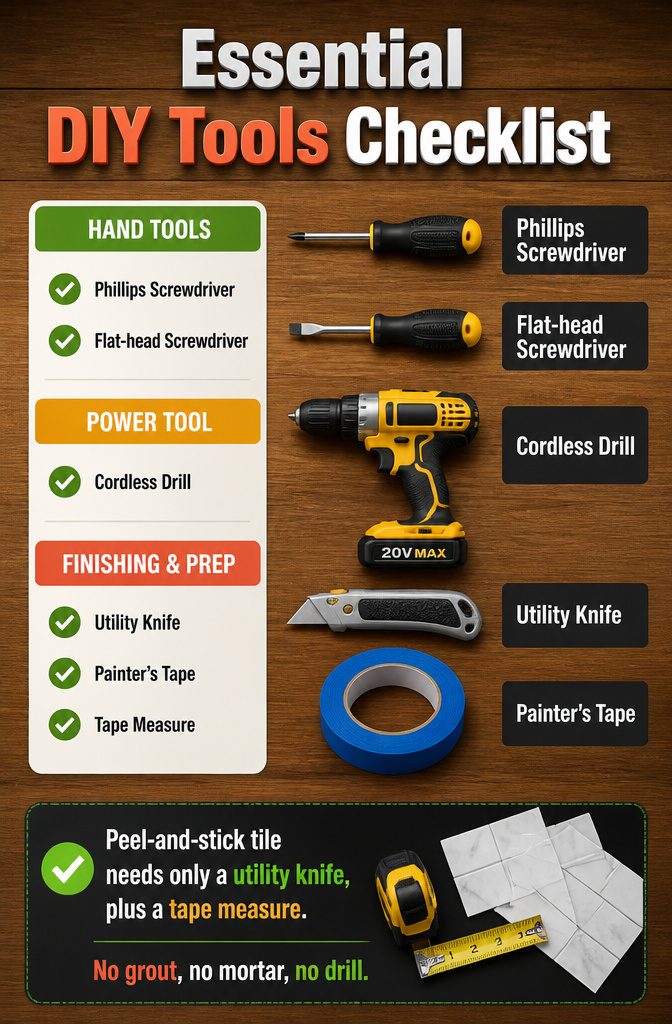
Four tools cover most easy projects. Here is what each one does:
- Screwdrivers: A Phillips and a flat-head handle most hardware, from cabinet pulls to switch plates. Hand tools beat a cheap drill for small jobs because you can’t strip a screw by overpowering it.
- Drill: Cordless is the one to buy. Shelves and brackets are where it earns its spot.
- Utility knife: It trims peel-and-stick tile and any excess material at the edges. Swap in a fresh blade before each project, since a dull one tears.
- Painter’s tape: It gives paint a clean edge and holds pieces in place while you work.
Peel-and-stick tile needs only a utility knife, plus a tape measure. No grout, no mortar, no drill.
Prep Before You Start
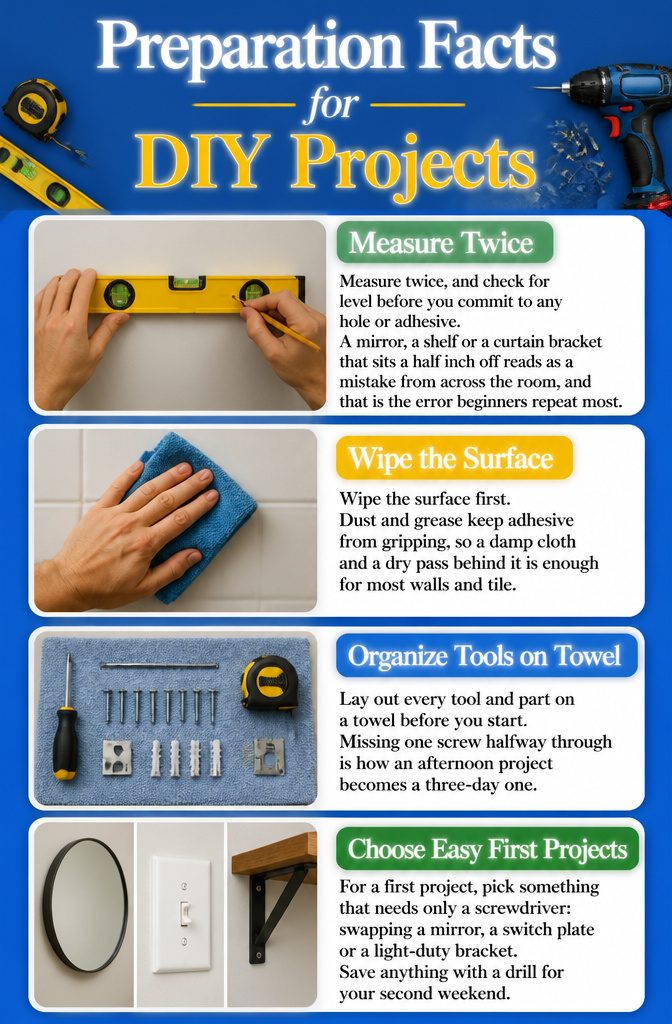
Measure twice, and check for level before you commit to any hole or adhesive.
A mirror, a shelf or a curtain bracket that sits a half inch off reads as a mistake from across the room, and that is the error beginners repeat most.
Wipe the surface first. Dust and grease keep adhesive from gripping, so a damp cloth and a dry pass behind it is enough for most walls and tile.
Lay out every tool and part on a towel before you start. Missing one screw halfway through is how an afternoon project becomes a three-day one.
For a first project, pick something that needs only a screwdriver: swapping a mirror, a switch plate or a light-duty bracket. Save anything with a drill for your second weekend.
Frequently Asked Questions
What are some easy DIY home projects?
Swapping cabinet hardware, putting up a peel-and-stick backsplash, and hanging floating shelves are good places to start.
Switch plates, door draft stoppers, and wood scratch cover take even less skill. For a first project, pick one that needs only a screwdriver and save anything with a drill for your second weekend.
How can I improve my home on a budget?
Start with small swaps that cost little: new cabinet knobs and pulls (about $30 can refresh a kitchen or bathroom), a $4.82 scratch cover, a $5.99 plate holder, or a gallon of paint on one accent wall.
These show up fast and need basic tools. Repairing what you have, like touching up chips with furniture paint or conditioning dull wood, costs less than replacing it.
What tools do I need for easy DIY projects?
Four tools cover most easy projects: a Phillips and a flat-head screwdriver, a cordless drill, a utility knife, and painter’s tape.
Add a tape measure and a level, since crooked holes are the most common beginner mistake. Many projects, such as peel-and-stick tile, need only a utility knife and a tape measure.





