

Most of these projects cost nothing but a rinsed can, scissors and an evening, and the cutting is where people get hurt. Cut aluminum has a thin, sharp edge, and pointed corners are the worst of it.
Wear gloves, favor round shapes, and file or fold every raw edge. The pendant light is the exception: it needs hundreds of tabs.
1. Soda Can Flower Wall Art
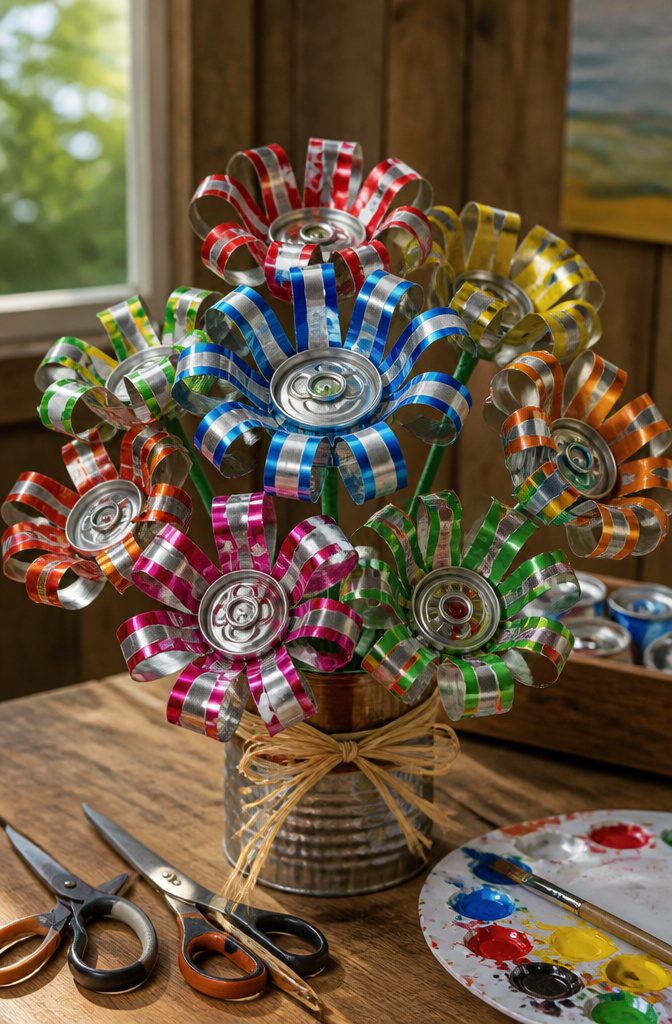
Scissors do all the cutting here. Rinse the can well, poke a hole halfway down the side, and snip around the body to split it in half.
From the cut edge, make long cuts down until you almost reach the bottom, either zig-zag for pointed petals or straight rectangles for squared ones. Any petal you don’t like can simply be trimmed out.
Aluminum bends easily, so fold each petal outward like rays of sun, then crinkle or curl them for a looser look.
Acrylics brush on well, while spray paint covers a batch of flowers fastest; puff paint adds raised dots at the center if you want some dimension.
For hanging, I’d go with magnets on the back or a nail through the base. Wear gloves, because the cut edges are sharp.
2. Soda Can Tab Pendant Light
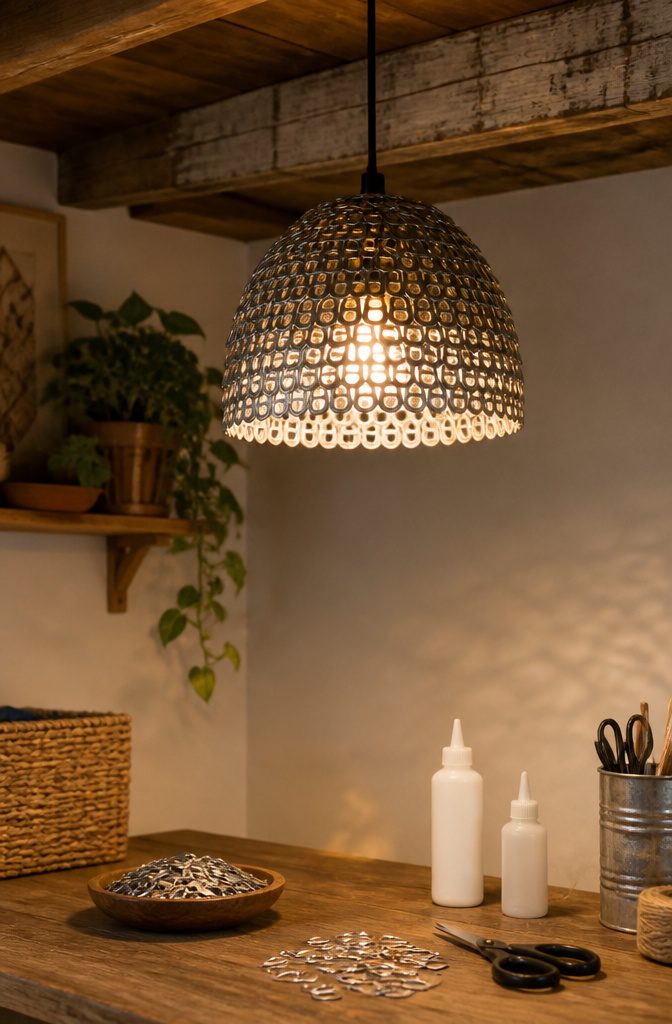
A plain plastic lampshade and glue are the only supplies the build calls for besides the tabs, which makes this the cheapest light project on the list.
The tabs are the slow part. Each one is tiny, so a shade that looks full and glittery in a photo can take a few weeks of saving, or a friend with a recycling bin.
Glue the tabs onto the shade in overlapping rows, working from the bottom up so each row hides the top edge of the one below.
Plan on hundreds of tabs, not dozens, and expect gluing to be a few evenings of repetitive work.
I’d keep the shade small. A compact pendant finishes in reasonable time, and it’s the size that looks right hanging alone over a table.
Lit, the shade throws a scaly, silvery shimmer.
3. Soda Can Lantern
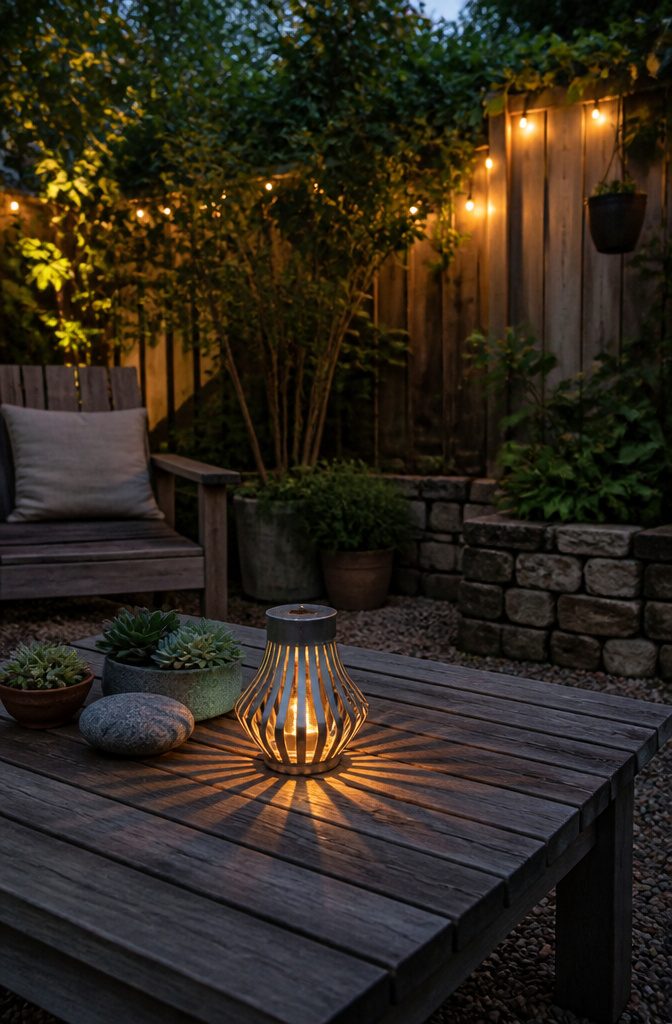
Cut the can in half first: poke a hole partway down with sharp scissors, then cut around the body.
Starting from that cut edge, slice down toward the bottom, but stop just short of it. Long rectangles give a squared look, and zigzags give points.
Next, push the strips outward.
A screwdriver does this well, and aluminum bends so easily that you can also crinkle the strips or fan them out like sunrays. Snip off any strip you don’t like.
The cut edges are sharp, and pointed corners are the worst, so I’d round off the tips of the strips if small hands are helping.
For light, I’d skip anything with a flame inside thin metal and choose a battery tea light. It stays cool and fits easily.
4. Soda Can Heart Earrings
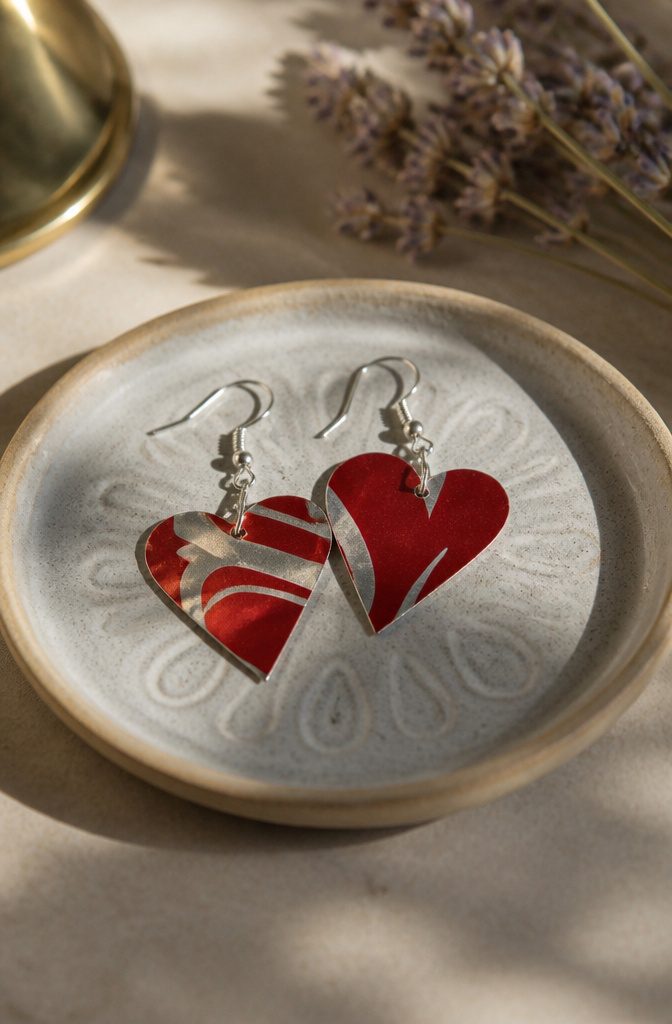
Cardstock templates come first because can aluminum is thin and forgiving to cut, but a bad shape is hard to undo.
Draw a heart, cut it from cardstock, and check that it fits the metal you have; a flattened can panel gives you room for a pair, not a whole row. Trace it twice with a fine marker.
Cut with sharp scissors and round the heart’s point slightly, since a sharp tip snags hair and skin.
For texture, set the heart on an old cutting board and tap a nail with a hammer along a pencil guide.
Keep the punches symmetrical so the pair matches. Fine marker wipes off with acetone nail polish remover.
Punch or poke a hole at the top, then thread an earring hook through it.
5. Soda Can Candle Holder
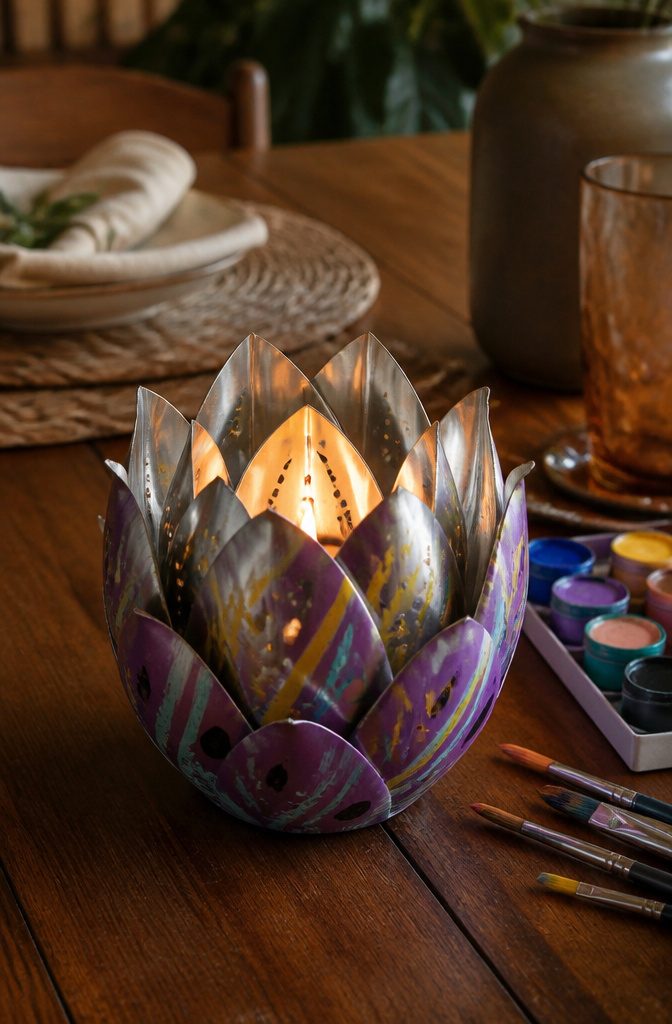
Cut the can open as a flat rectangle, not a tube: trim off the top and bottom with a box cutter, then roll the metal over a table edge to remove the curl.
A cardboard petal template keeps every petal the same width, so trace it along the sheet and cut with sharp scissors.
Fold the petals up around a votive so they hug the glass like a closed bud.
Aluminum bends easily, so you can crinkle or curl the tips for a looser look. Paint before you fold, using acrylic or spray paint, since the flat sheet is far easier to coat.
Keep the flame small.
A single votive is plenty, and I would never use a tall taper in a holder this thin. The cut edges are sharp, so run a fingertip along each petal before you light anything.
6. Soda Can Keychain
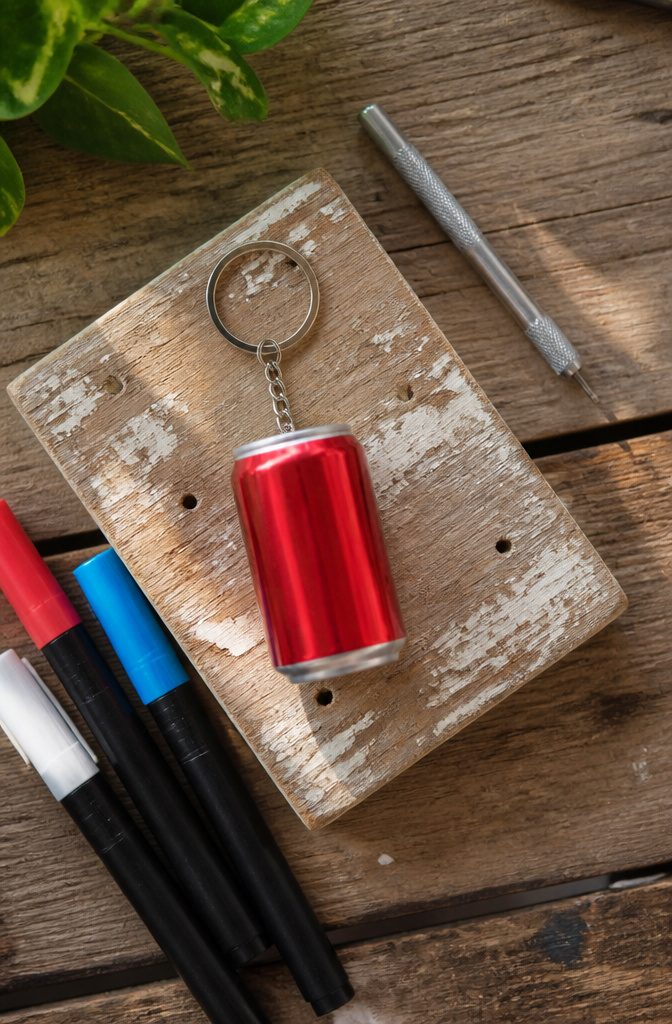
Round shapes are the safest choice for a keychain, because on can metal only the pointed corners tend to be sharp and the curved cuts come out smooth.
A circle, an oval or a rounded heart will ride in a pocket better than a star.
Trace a cardstock template onto the metal, then cut along the line with sharp scissors. Skip sharp points unless you plan to file or fold them under.
Once cut, you can leave the metal plain, paint it with acrylics, or stamp a design onto it. Aluminum bends easily, so handle the finished shape gently.
Punch a hole near the top edge, thread a ring through it, and clip on your keys. Make the hole a little in from the edge so the metal doesn’t tear.
7. Soda Can Vase
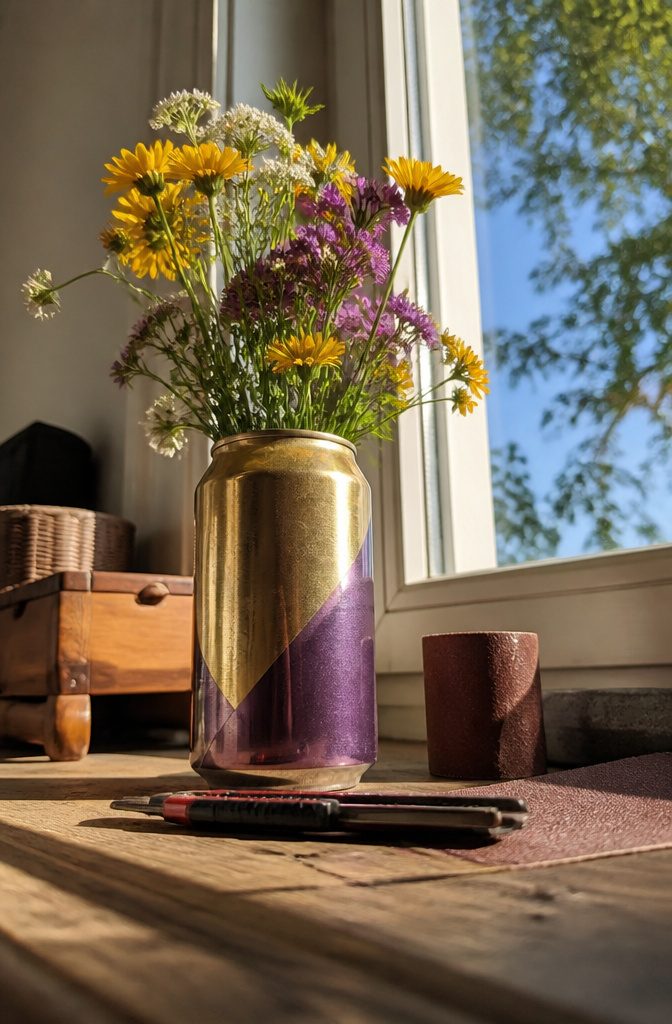
Wash the can and let it dry, then cut off the top with a box cutter: punch a starter slit just below the shoulder and work around the can.
Scissors take over from there. Sharp scissors can also start the cut if you poke a hole first, then snip around the can, which gives you more control than a blade on a curved wall.
The raw rim is the part that bites. Curl it slightly or run a file or sandpaper along it until your fingertip slides over without catching, and keep an adult on the cutting if kids are helping.
For paint, metallic spray paint gives the cleanest, most vase-like finish. Acrylic suits hand-painted designs, though it takes more coats to cover the printed label.
8. Soda Can Cookie Cutters
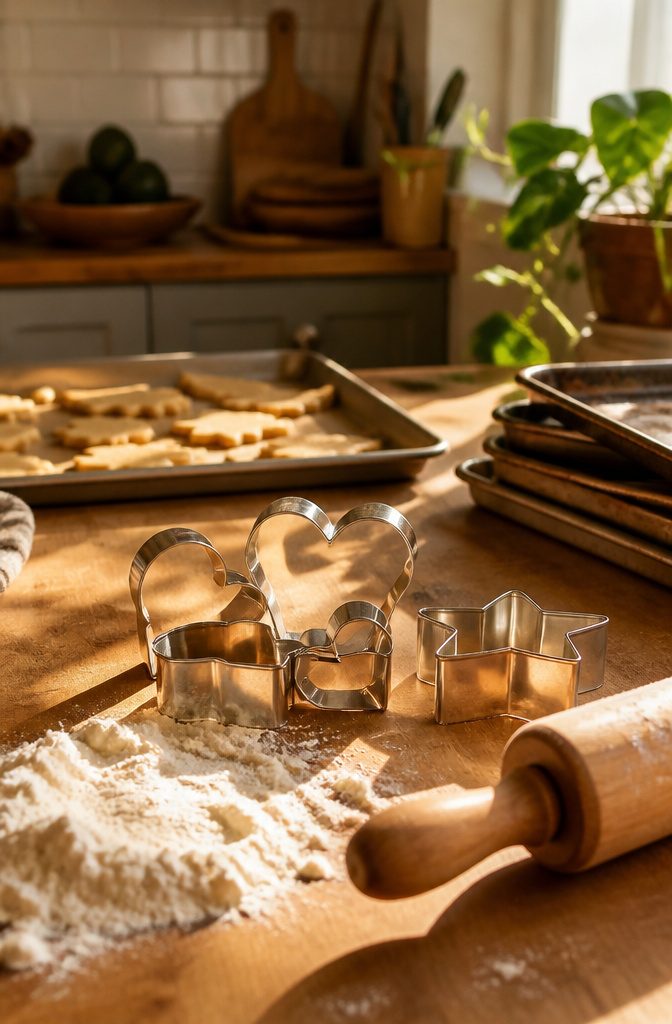
Cookie cutters start with an old metal cutter borrowed as a pattern.
Trace its outline onto the can, cut a strip with sharp scissors, and bend the strip around the pattern. Tape the two edges together where they meet.
Plain scissors handle can metal fine, and aluminum bends easily by hand. Round curves come out smooth, while pointed corners are the sharp spots, so a circle, scallop or heart is kinder to your fingers than a star.
I’d fold the top edge over onto itself to make a blunt rim you can press with your palm.
Use these for dough only. Raw can metal isn’t a food-safe surface, and the cut edges stay sharp, so they suit pressing shapes into dough and not much else.
9. Soda Can Garden Charms
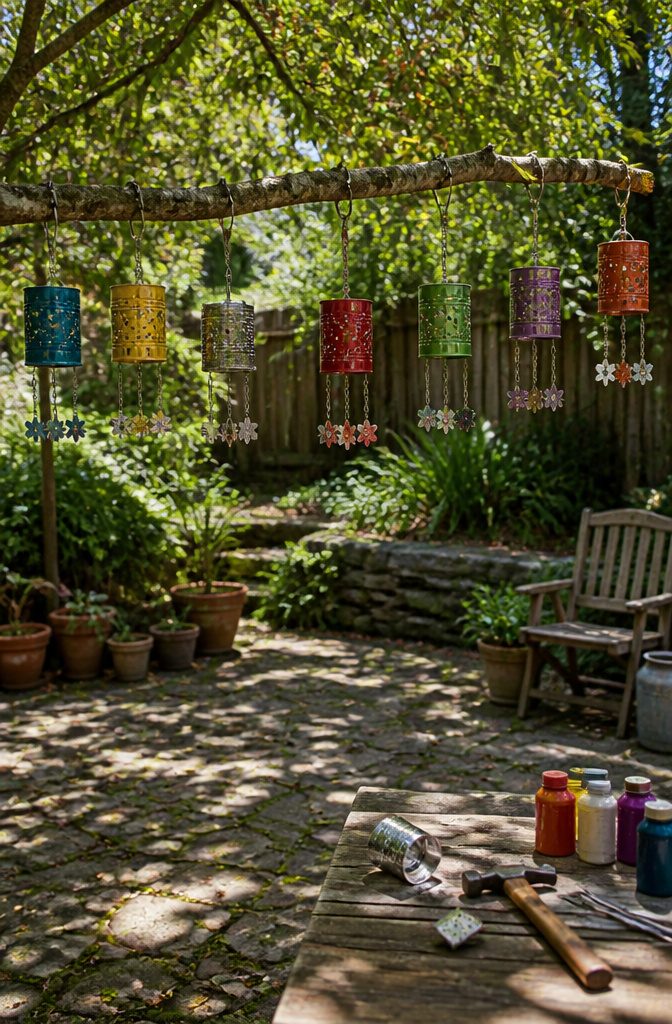
Punched tin charms start with a clean, rinsed can cut open and flattened.
Aluminum is soft enough that scissors will slice it, but an adult should do the cutting, since the edges are sharp. Shapes like butterflies, flowers and birds all work.
For the punching, set the metal on a scrap of wood and tap a nail with a hammer to make a dotted outline.
Spacing the holes evenly gives the cleanest look, and one extra hole near the top is what you hang it by.
Acrylic or spray paint both cover well, and puff paint adds a raised texture.
Thread wire or string through the top hole and loop it over a branch, fence or hook. Wire holds up better outdoors, while string suits a quick, kid-friendly afternoon.
10. Soda Can Art for Framing
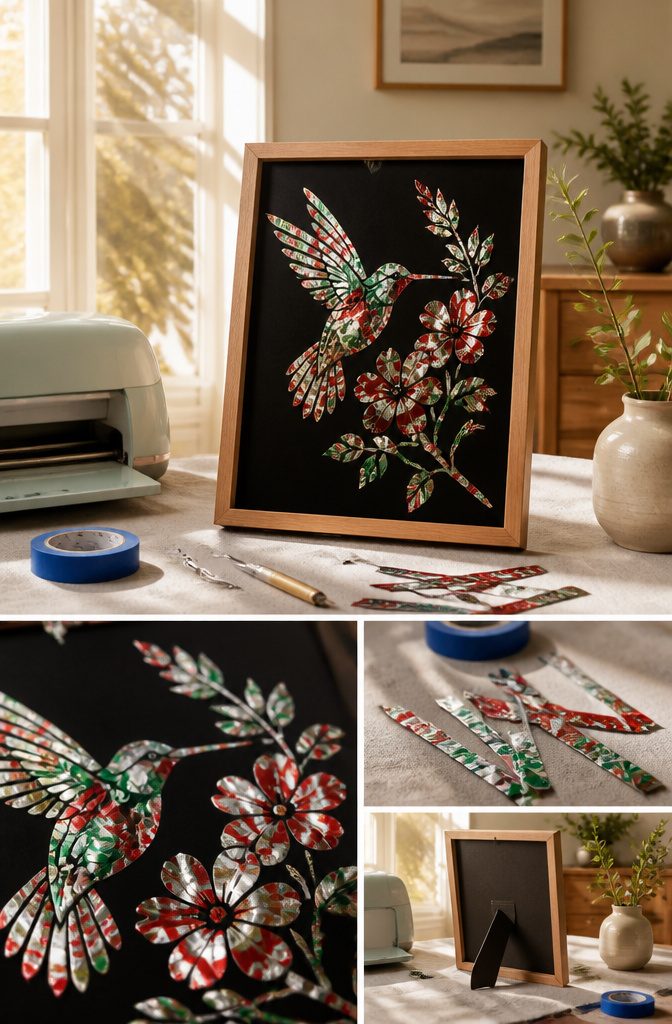
Soda can art works best as a cut silhouette: a Cricut Maker scores the shape into a flattened aluminum sheet using the fine point blade and the copper 40 gauge material setting.
Keep the design no larger than 3 1/4″ x 7 1/2″ so it fits the sheet, and tape all four edges to the mat with painter’s tape so the metal lies flat.
The machine scores the metal instead of cutting through it, so the sheet stays whole.
Bend it gently along the line and the shape pulls free with smooth edges. Hand scissors rarely give me that on thin metal, especially around tight curves and small letters.
Cut the same design again from black cardstock as a backing. Then mount the pair in a 5 x 7 frame with double-sided tape.
Safety Gear and Sharp Edges
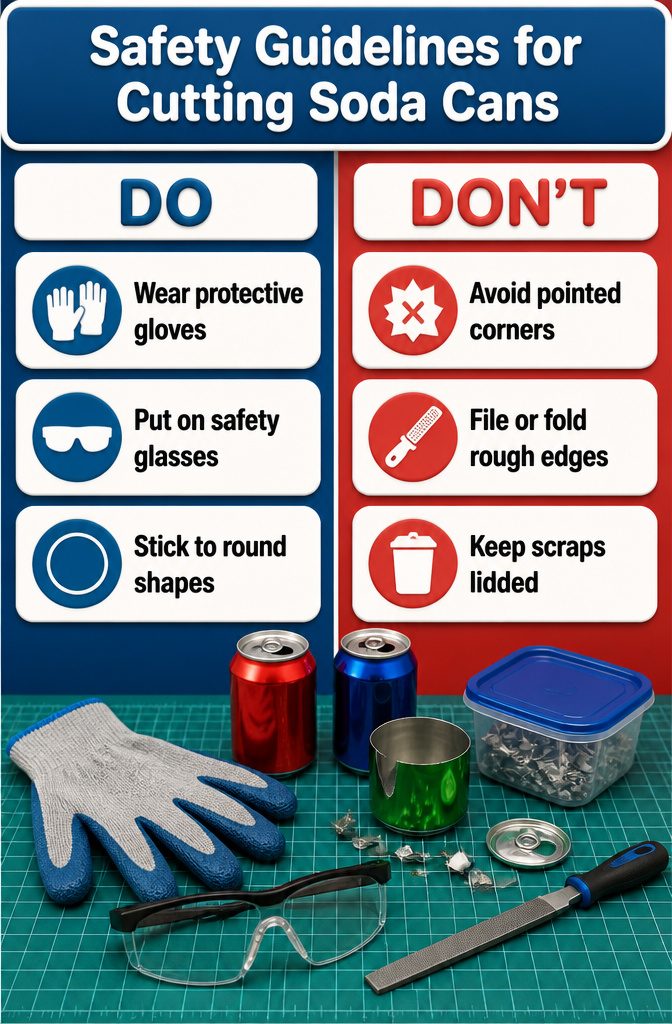
Cut aluminum has a thin, sharp edge, so a few habits matter before the first snip:
- Wear protective gloves for every cut. Hand-cutting cans is the riskiest step in these projects, and gloves stay on through painting too.
- Put on safety glasses before you cut. Small slivers of metal can fly when the can first gets punctured.
- Stick to round shapes when you can. Pointed corners are the sharp part, while rounded cuts come out fairly smooth, which matters for charms and anything kids will handle.
- File or fold any edge that stays rough. A quick pass with a file, or a fold that tucks the edge under, takes the bite out.
- Keep the scraps in a lidded container, not loose on the table.
Are soda can crafts safe?
Yes, with gloves, eye protection and smoothed edges. I’d hand the cutting step to an adult and give kids the painting and assembly.
Materials and Tools List
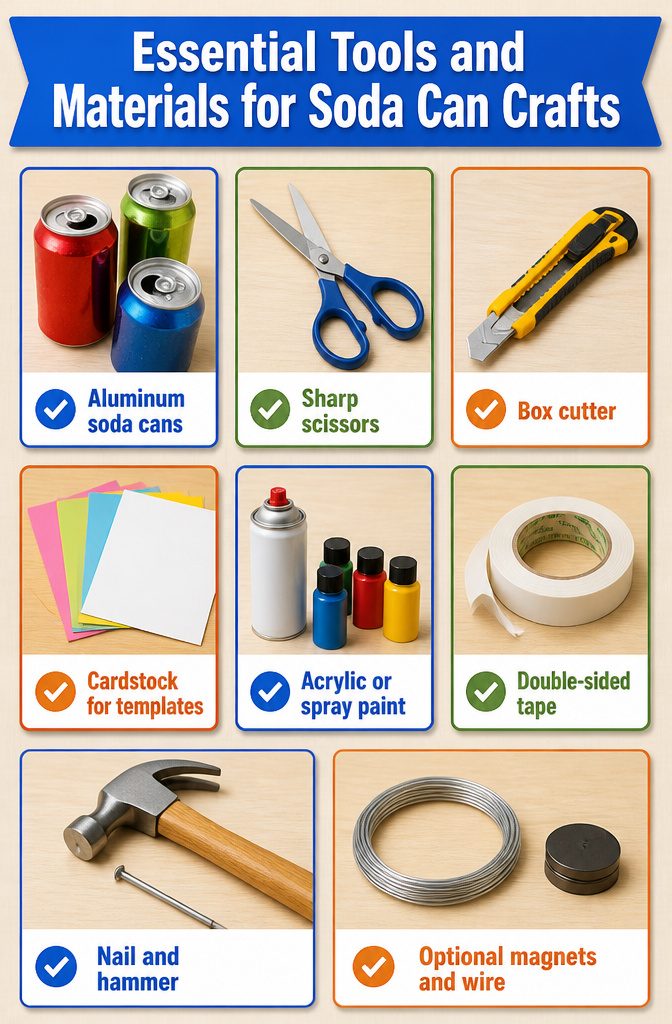
Most of this list is already in your kitchen drawer and recycling bin. Here is what I’d gather before cutting anything:
- Aluminum soda cans: any brand works. Wash, rinse and dry them first.
- Sharp scissors: they poke through the wall and cut curves cleanly.
- Box cutter: use it to slice off the top and bottom, leaving a metal rectangle.
- Cardstock: trace templates for butterflies, flowers or birds, sized to fit the metal.
- Acrylic or spray paint: spray covers faster; acrylic gives finer detail.
- Double-sided tape: it holds pieces together without glue mess.
- Nail and hammer: punch hanging holes or tack finished pieces to a wall.
- Optional magnets and wire: magnets turn cutouts into fridge decor, and wire handles hanging.
A Cricut Maker can cut the shapes from flattened can metal in place of hand templates, but scissors and cardstock get you there for free.
Why Recycle Cans
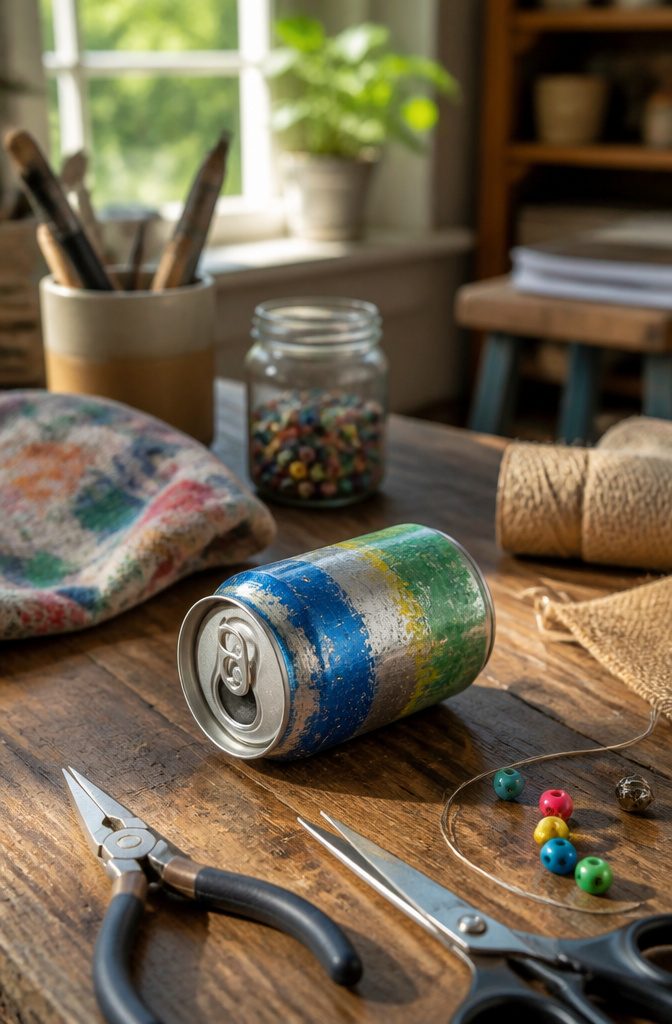
Single-use packaging fills landfills and ends up in waterways, and a soda can is one of the most common pieces of it.
One craft project won’t fix that, and I’d be wary of anyone who says it will. What a can project does is give a piece of metal a second job before it goes out with the trash.
The practical case is just as plain.
The metal is already in your recycling bin, it’s free, and it’s thin enough to cut with tools most households already own. Reusing a can costs nothing, which fits the budget-friendly spirit of these projects.
I treat crafting as a small push in the right direction, not a cure. If a project keeps a few cans out of the bin and ends up as something you actually use, I count that as a win.
Frequently Asked Questions
How do you make soda can art?
Rinse the can, poke a hole with sharp scissors, and cut around the body to split it.
Then cut strips or shapes, bend or paint them, and hang or mount the finished piece. Aluminum bends easily, so crinkling and curling are part of the fun.
What materials do you need for soda can crafts?
Aluminum soda cans (any brand) and sharp scissors cover most projects.
Add acrylic or spray paint, cardstock for templates, double-sided tape, and a nail and hammer for punching holes. Magnets and wire are optional extras for hanging.
Are soda can crafts safe?
Yes, as long as you wear gloves and safety glasses and smooth the cut edges.
Pointed corners are the sharpest spots, so rounded shapes are safer. Let an adult handle the cutting and give kids the painting and assembly.
What are some creative projects I can make with aluminum cans?
Good options include flower wall art, lanterns, candle holders, vases, heart earrings, keychains, and garden charms.
Tab pendant lights and framed cut silhouettes are also on the list. Cookie cutters work too, but only for pressing shapes into dough, since raw can metal isn’t food-safe.





