
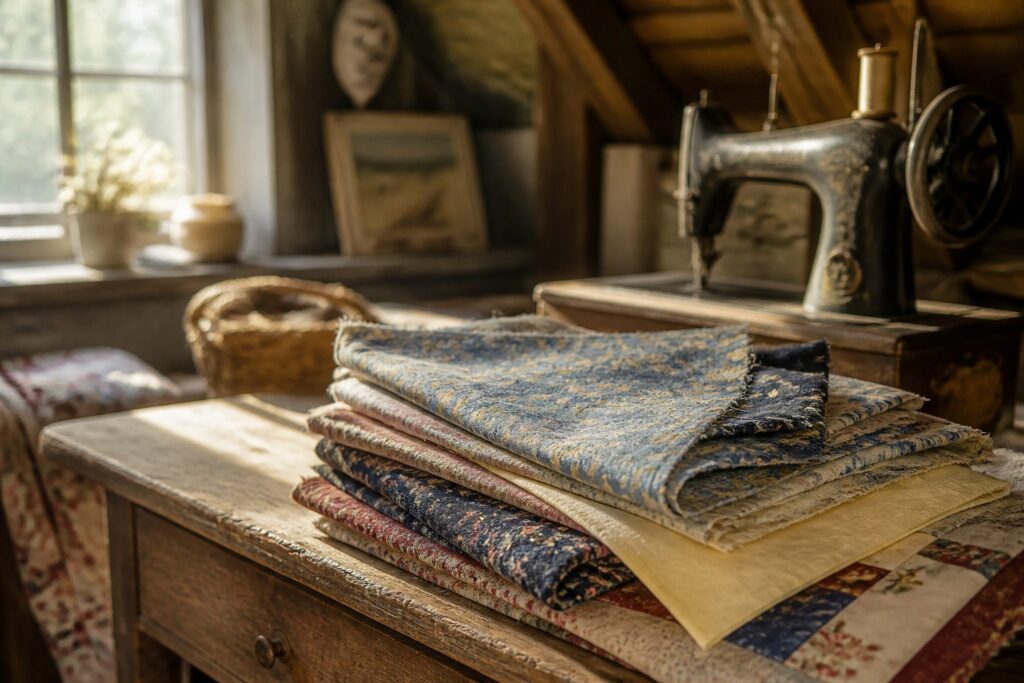
Projects here run from a potholder you can finish in one sitting to a full-size quilt that takes far longer, and your free time decides which one to start.
Fabric scraps are cheapest, since thrift store sheets, linens and frames cost the least to experiment on. A macramé plant hanger runs just under 5 feet and fits an afternoon.
1. Candle Making
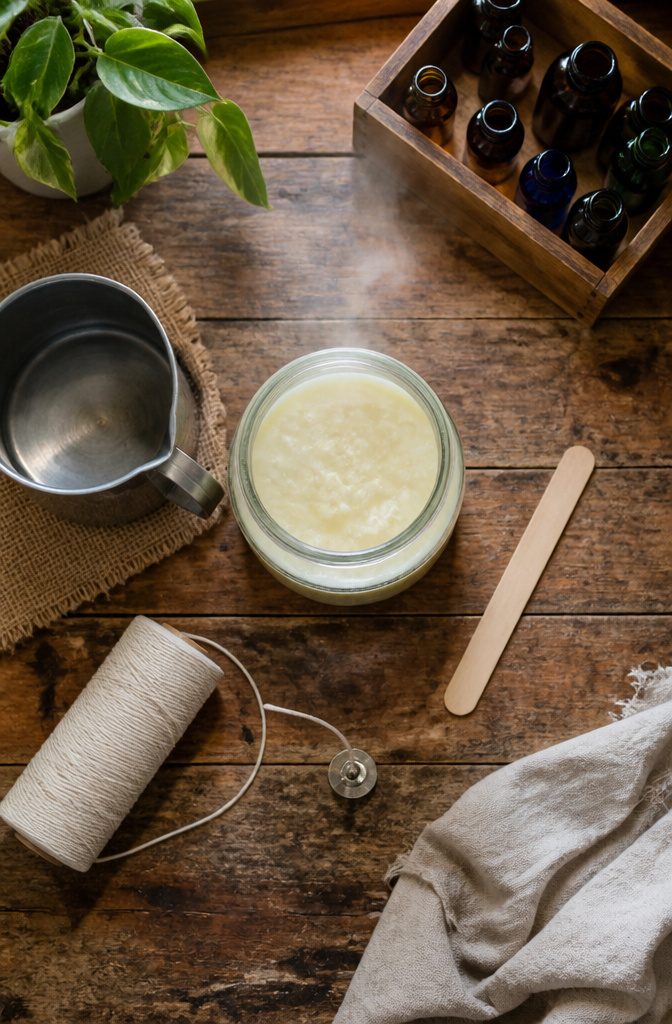
Wax choice decides how the afternoon goes, and I’d start with soy.
It melts easily, and a small container candle in a heat-safe jar keeps the project simple. Beeswax is the most old-fashioned of the three and the best fit for a vintage feel, but it costs more and takes more patience.
Paraffin is the classic candle wax and holds fragrance oil and dye blocks well, though it is the least charming of the three to work with.
Size the wick to the container, since a mismatched wick burns badly.
Melt the wax in a double boiler or melting pot, and don’t overheat it. Fragrance oil and dye are optional, so skip them if you want a plain first candle.
2. Macramé
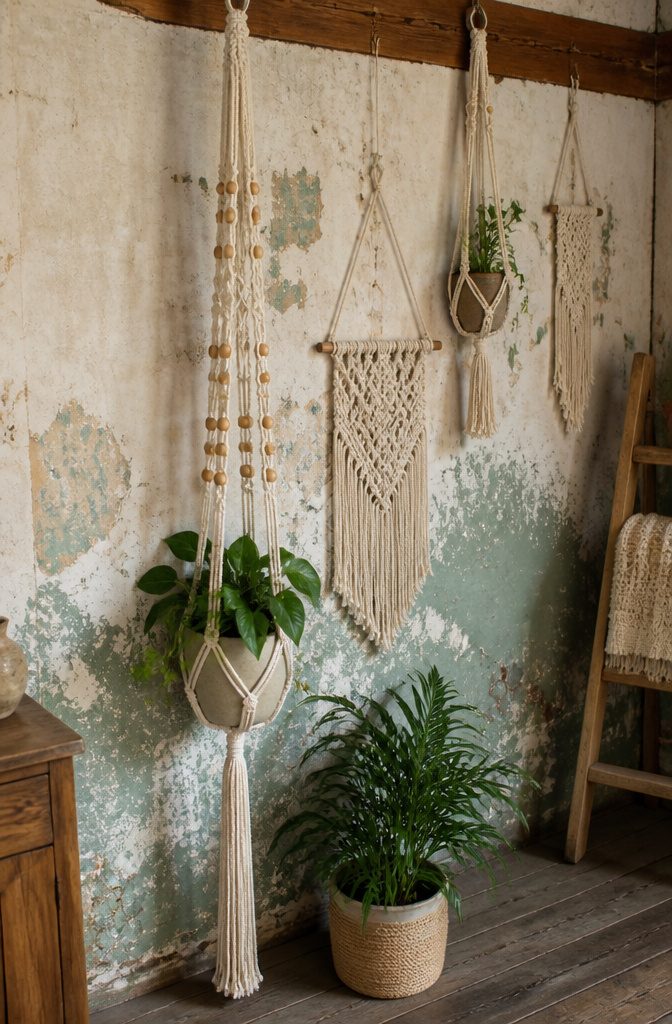
Macramé dates to the 13th century, when it traveled along trade routes and sailors used it to decorate everything from bottles to parts of their ships.
It peaked again in the 1970s as the knotwork behind boho wall hangings and plant hangers, and it has come back in modern decor.
I rank it high among vintage craft ideas for one reason: it needs cord, your hands and a few knots, nothing else.
The square knot is the one to learn first. It is versatile, and you can slide a bead onto the cord between knots for a chunky wooden accent.
A plant hanger built from simple knots and a few wooden beads comes out just under 5 feet long. That is a realistic afternoon project, and the repeated knotting is calming work.
3. Quilting
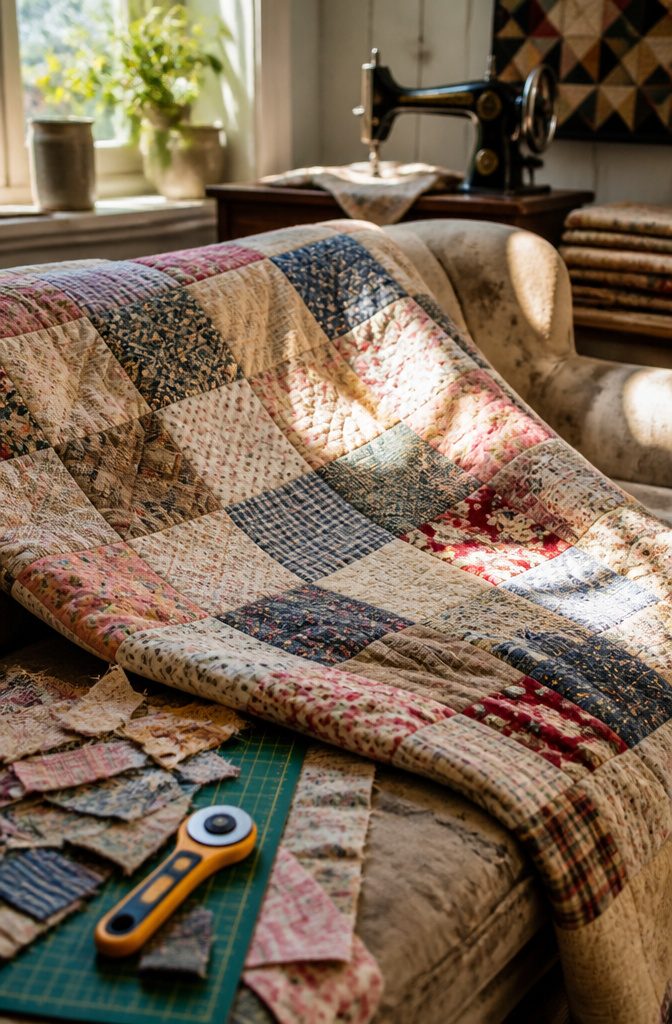
Quilting dates back thousands of years, and it began as a plain answer to the cold: layers of cloth stitched together to hold in warmth.
Patterns now carry cultural trends and personal stories, which is why an old quilt reads like a diary.
Vintage fabric scraps suit it well. Pieces from old dresses can be cut into blocks and combined into something cozy and nostalgic, and mixing textiles gives the eclectic look that matching yardage can’t.
Be honest about time, though. A full-size quilt is a long project, not an afternoon one.
Start with a potholder or placemat, which teaches straight seams and the rotary cutter in a sitting. I’d skip the bed quilt until those feel easy.
4. Embroidery
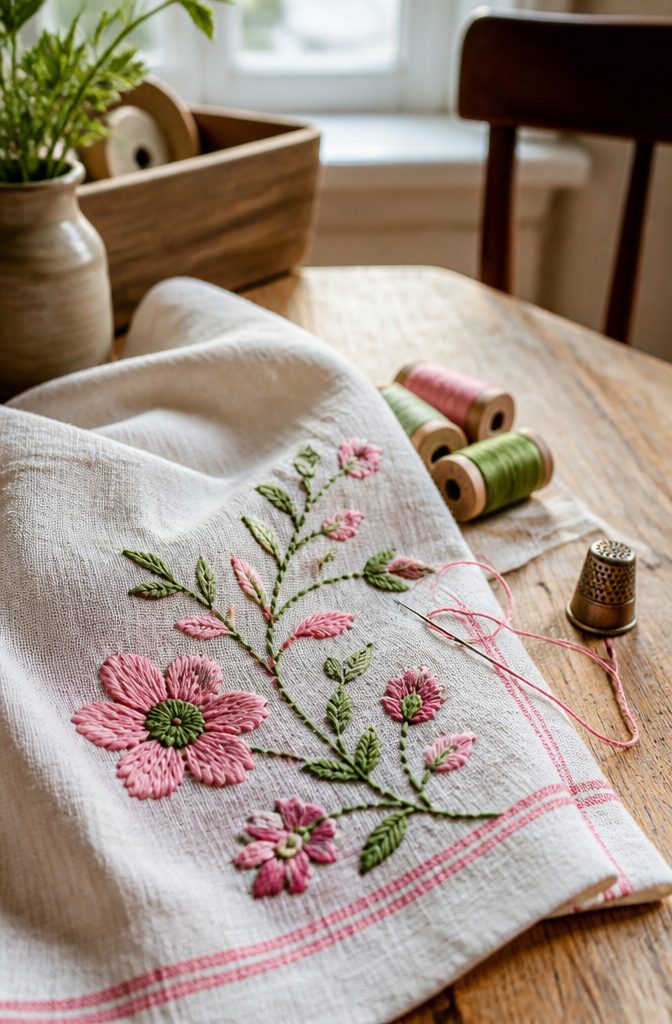
Hand embroidery has a long history across many cultures. It began as a sign of wealth and status, then settled into a household skill taught to most young women, which is why so much old linen still carries someone’s stitching.
That linen is the best canvas I can point to. The needlework on vintage pieces is hard to beat, and a stained or torn tea towel or handkerchief still has usable fabric around the damage.
Cut out the good section and stitch into it, or turn a scrap of the original work into a pendant.
Start with running stitch, back stitch and satin stitch, and pick a flower or a letter as your first design.
Uneven stitches and loose or tight tension are normal early on. A small motif fits in a short sitting, so you can pick it up and put it down.
5. Vintage Lace Flowers
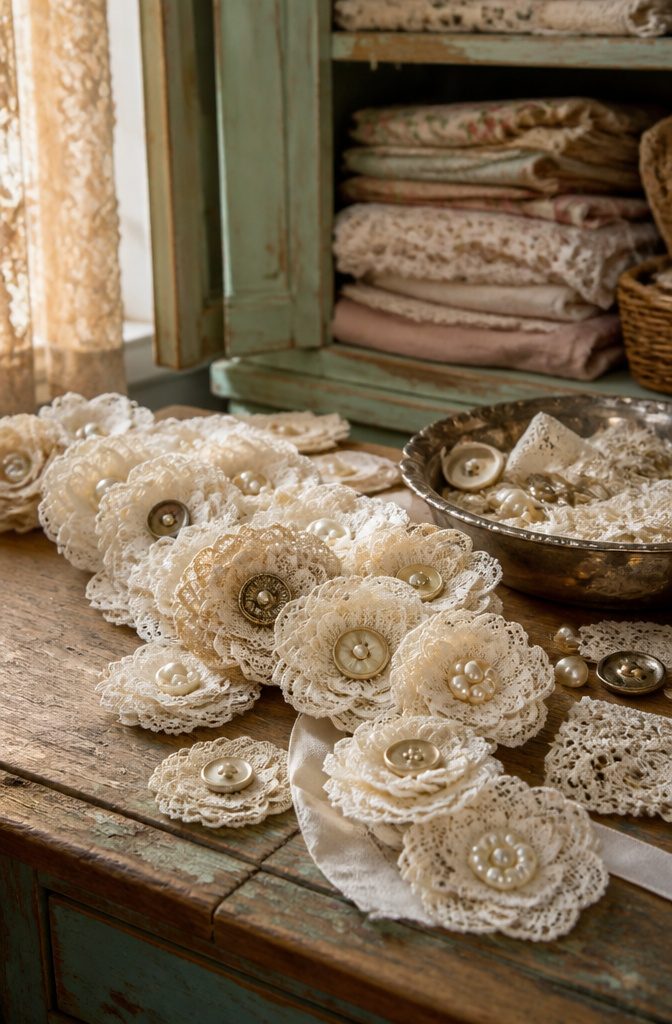
Lace works as petal material because its open weave and scalloped edges already look like a flower’s edge, and it holds a shape once stiffened.
Cut a circle, gather it along one edge with a running stitch, and pull the thread tight so it curls into a rosette. Stack three or four sizes for a fuller bloom, with a button or pearl at the center.
Soft lace flops, so brush on diluted white glue or fabric stiffener and let it dry over a bowl or cup to set the curve.
Cotton lace takes stiffener best; polyester stays springy but absorbs less. Use the finished flowers on a wreath, a pinned curtain tieback, a jar wrap, or a gift topper.
6. Vintage Handkerchief Wreath
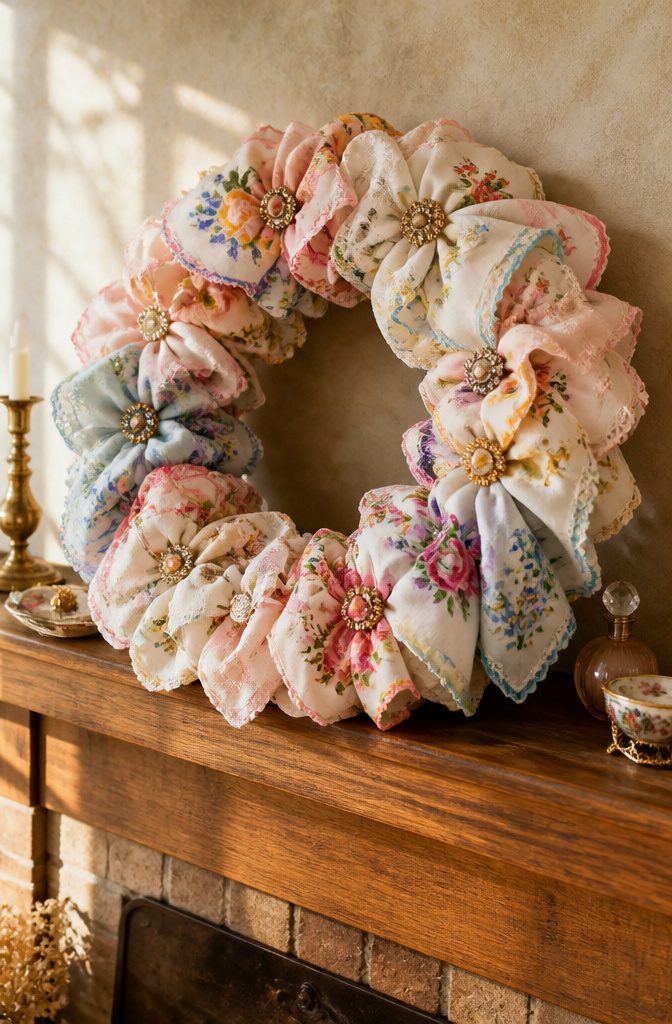
Vintage handkerchiefs already look like something you’d frame, with floral prints and watercolor hues that fade softly from one corner to the next.
A wreath is a good way to use a stack of inherited or thrifted ones, especially if no single piece is large enough to do much alone.
The brooches are what make it. Soft cotton next to cold metal and glass gives the wreath a contrast that all-fabric versions lack, and a few pins scattered among the folds catch light where the prints go quiet.
I’d keep the brooches to a handful and let the handkerchiefs carry most of the wreath, since too much metal turns it into a jewelry display.
It suits seasonal display well. Pick prints in pastels for spring or deeper florals for fall, then pin the brooches on top so you can swap them out as the year changes.
7. Vintage Fabric Flowers
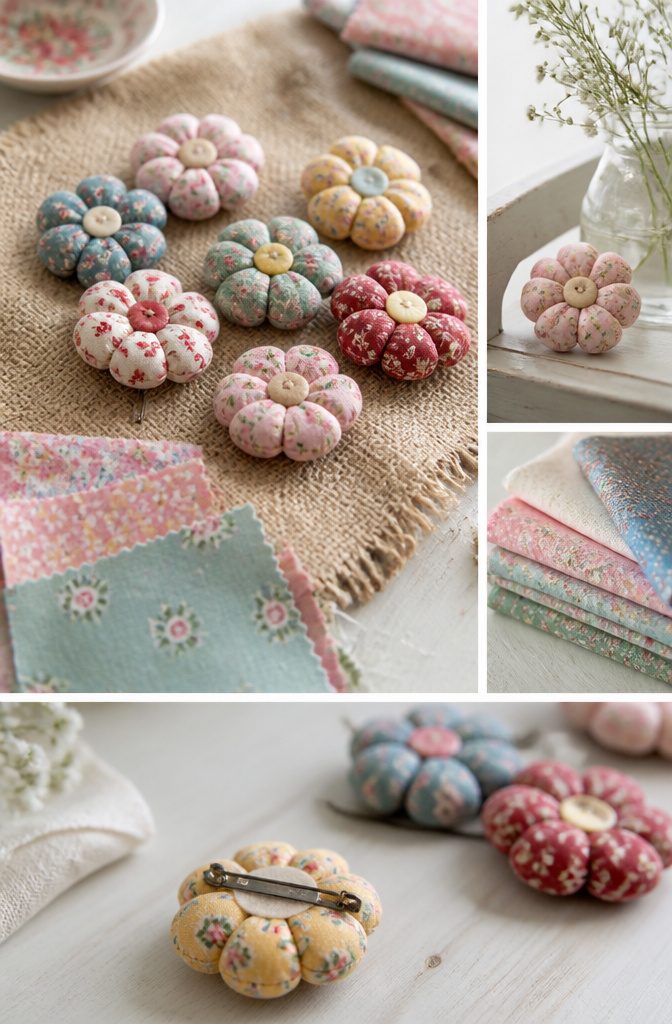
Flower pins are the best use I know for the smallest scraps of vintage fabric, the pieces too small to cut into anything else.
Old flour sacks work well, and the pins come together fast enough to finish in an afternoon with a needle and thread.
Unlike lace flowers, which stay light and open, these get their fuller, softer look from woven cotton that gathers into plump, rounded petals.
Pin one to a sweater, jacket, tote bag, or hat for a small dose of whimsy.
Use your smallest leftovers first, since a flower needs very little cloth. I’d skip stiff or heavily worn fabric here; soft, well-washed cloth folds into the nicest petals.
8. Vintage Paper Craft Ideas
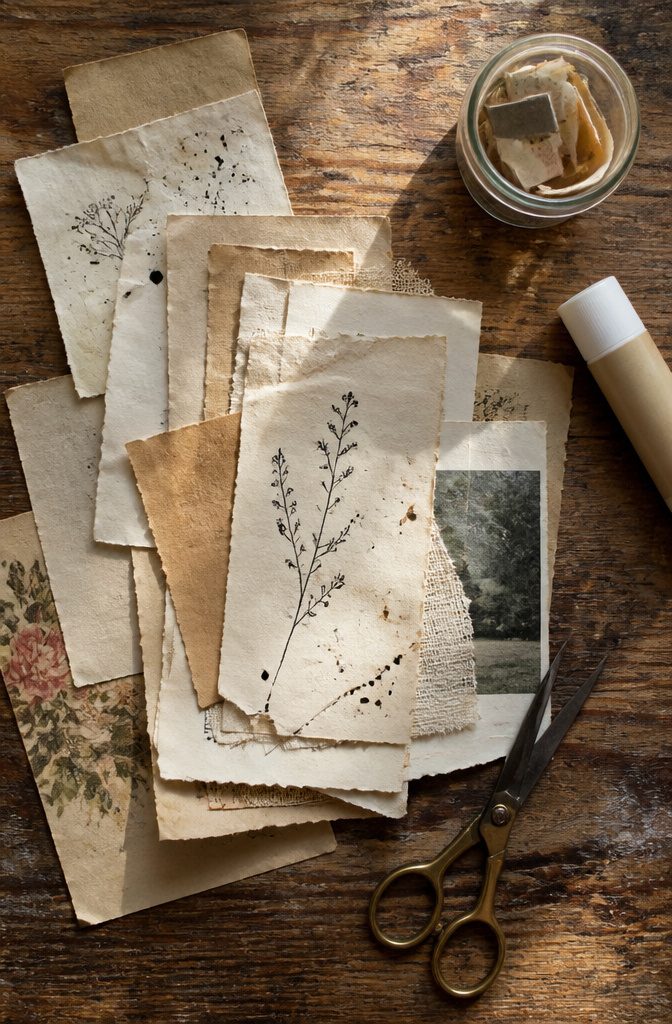
Old book pages, faded prints and other ephemera make the best raw material for paper crafts, because the age is already in the paper.
Tear the edges instead of cutting them, then layer scraps with ink or distressing so the finished piece reads as collected over time rather than made last weekend.
For a layered journal, I’d stack mismatched pages and let the torn edges show. It’s the fastest way to get depth from paper you already have.
Decoupage is the technique I’d pick for decorative pieces. You cut out pictures, glue them onto an object, and seal everything with varnish.
The craft traces back through 17th century Europe and 12th century China, so a vintage look suits it. Varnish last, over the whole surface, so the paper and glue read as one finish.
9. Vintage Tea Towel Cushion
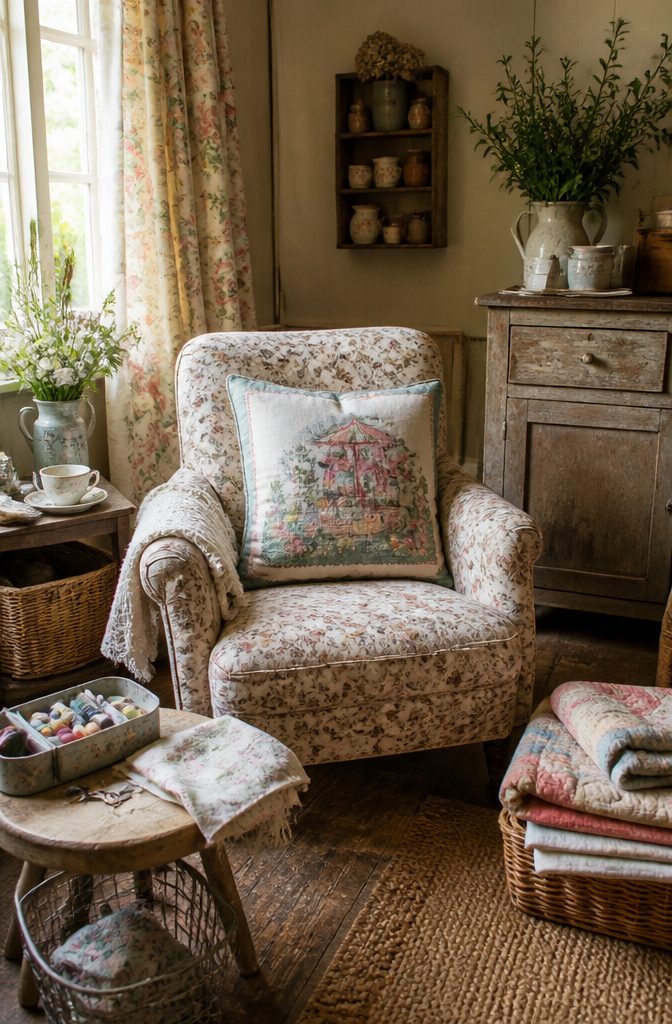
Printed linen tea towels already come with a finished edge, a pattern someone chose, and fabric that has softened through years of washing, so the cover is mostly done before you pick up a needle.
Look for a towel with a hem or woven stripe you like, because that edge can become the opening.
Cut a paper pattern the size of your cushion pad and add 1.5cm all around for the seam allowance.
Use it to cut the back. For the front, fold the paper over by a third and cut two overlapping panels, with the trimmed edges meeting in the middle as the opening for the pad.
Place the pieces with the good sides facing inward and the raw edges lined up, then pin and sew all the way around.
Snip across the corners before turning the cover right side out, so they sit flat. Press on low heat, since old linen scorches easily, then slide in the pad.
Where to Find Vintage Materials
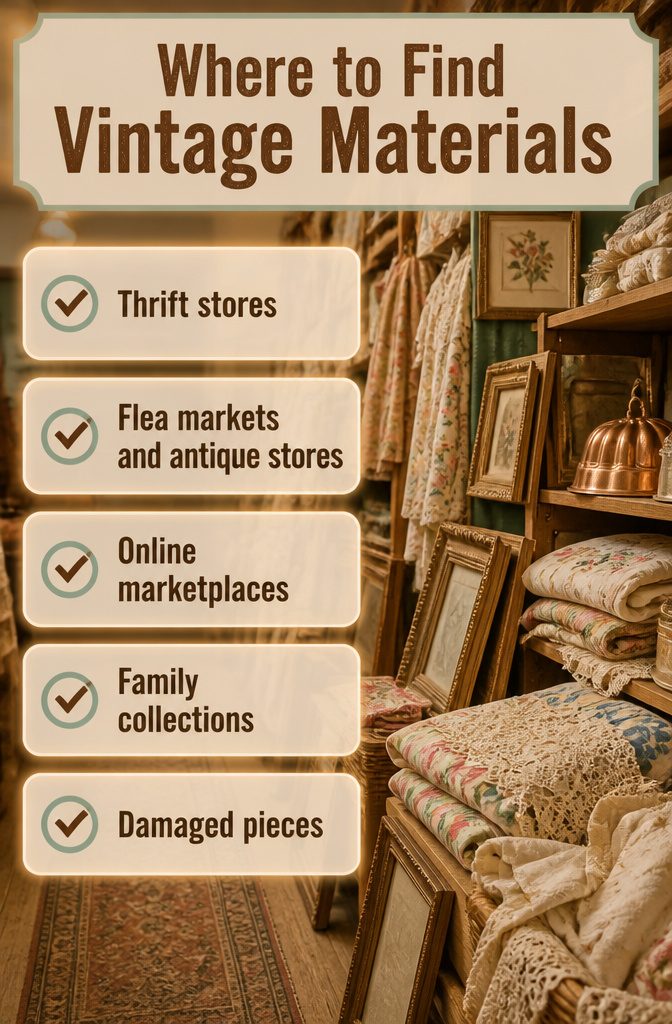
Thrift stores, flea markets, online shops and your own closets all turn up usable material, and damaged pieces still work for most projects.
- Thrift stores: Look for vintage bed sheets, linens, plain picture frames and old sewing pattern envelopes. Stained or torn fabric still has plenty of life in it.
- Flea markets and antique stores: These are the best bet for copper jello molds, and matching pairs are worth grabbing.
- Online marketplaces: Etsy works when you want a specific shape or item and don’t want to hunt for it.
- Family collections: Ask relatives about tea towels, lace, doilies and old keepsakes. Pieces with a family story make the best display crafts.
I’d start with thrift stores, since the fabric and frames cost the least to experiment on.
Sewing, Decoupage, and Upcycling
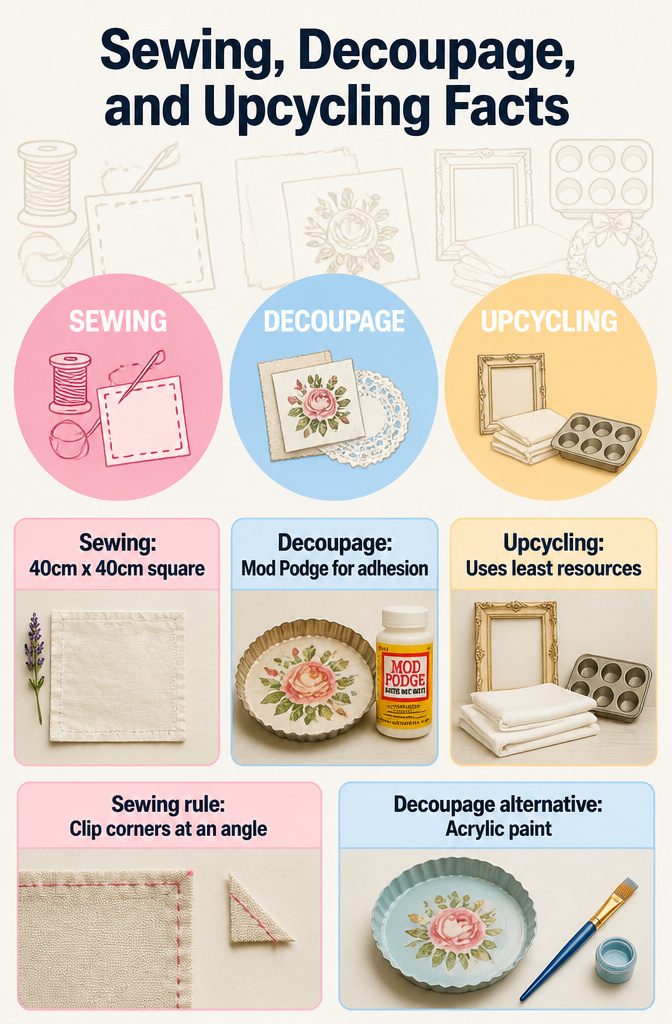
Sewing shows up in the napkins and the fabric wall art.
For the napkins, cut a square of linen or cotton about 40cm x 40cm (roughly 16 inches), leave a 2cm seam allowance, and press the edges over twice before a running stitch on the machine.
Clip the corners at an angle first, or they bunch into lumps.
Decoupage carries the mixed media photo collage and the shamrock trinket dishes.
Mod Podge holds torn fabric, lace, and aged paper to a cardboard base, or napkins to a tart tin. Acrylic paint is the plainer alternative, but I prefer the napkin print.
Upcycling ties the rest together: thrift store frames, bed sheets, and a muffin tin that becomes a wreath. It costs the least, and it’s where I’d start.
Vintage Themes for Christmas and Easter
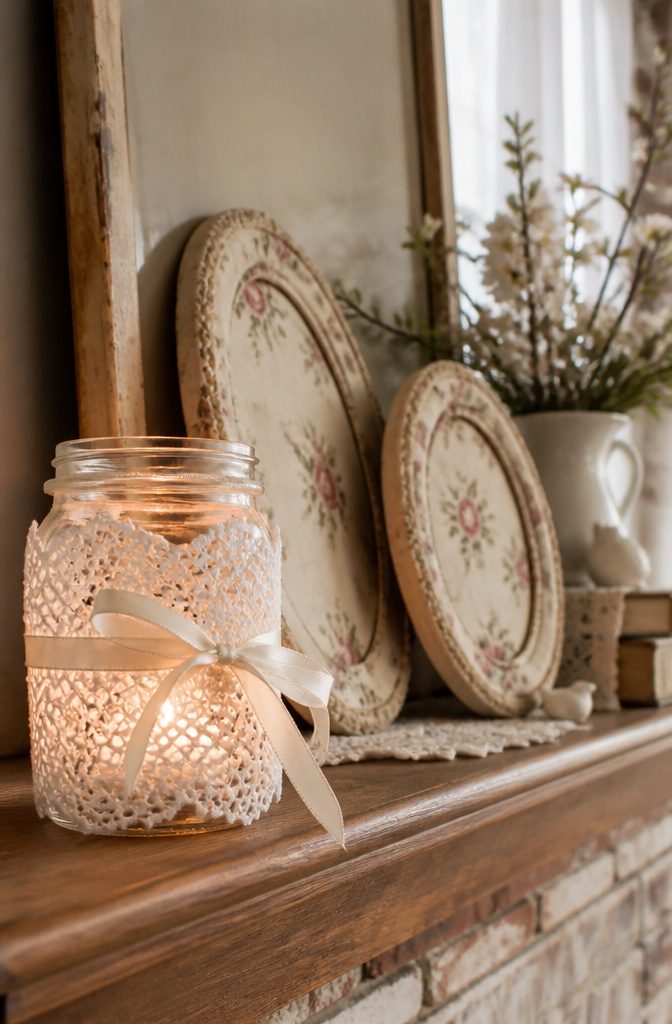
Vintage themes work best for Christmas and Easter when the base is something you already own or can pick up cheap.
Oval picture frames from thrift stores and yard sales can become spring eggs once you cover them in floral fabric cut from old bed sheets, and they look right on a mantel.
For winter, a paper doily does the work of a whole decorating budget:
Upcycle a basic glass jar into a decorative votive with a vintage, wintry charm in a matter of minutes.
Cut the doily in half, wrap it around the jar, tie it with ribbon, and drop in a tealight. White, gold or silver doilies suit Christmas; colored or patterned ones carry the same jar into an Easter table.
Frequently Asked Questions
What are some vintage craft ideas?
Good starting points are candle making, macramé, quilting, hand embroidery, lace flowers, handkerchief wreaths, decoupage and tea towel cushions.
Most use materials you can pick up cheap or already own, such as old linens, book pages and fabric scraps. A potholder, a small candle or a flower pin fits in a single afternoon.
How can I use vintage fabric in crafts?
Vintage fabric works well for cushion covers, fabric flowers, napkins, wall art and quilt blocks.
Soft, well-washed cloth folds and sews the nicest. Even stained or torn pieces are usable, since you can cut around the damage and use the good section.
Where can I find vintage crafting materials?
Thrift stores are the cheapest place to start, with bed sheets, linens, frames and sewing pattern envelopes.
Flea markets, antique stores and online marketplaces like Etsy are good for specific items. Relatives’ tea towels, lace and doilies also make strong material, especially when they carry a family story.
What crafts were popular in the 70s?
Macramé was one of the big ones, appearing in boho wall hangings and plant hangers.
It has since returned in modern decor. A simple plant hanger with a few knots and wooden beads comes out just under 5 feet long.





