
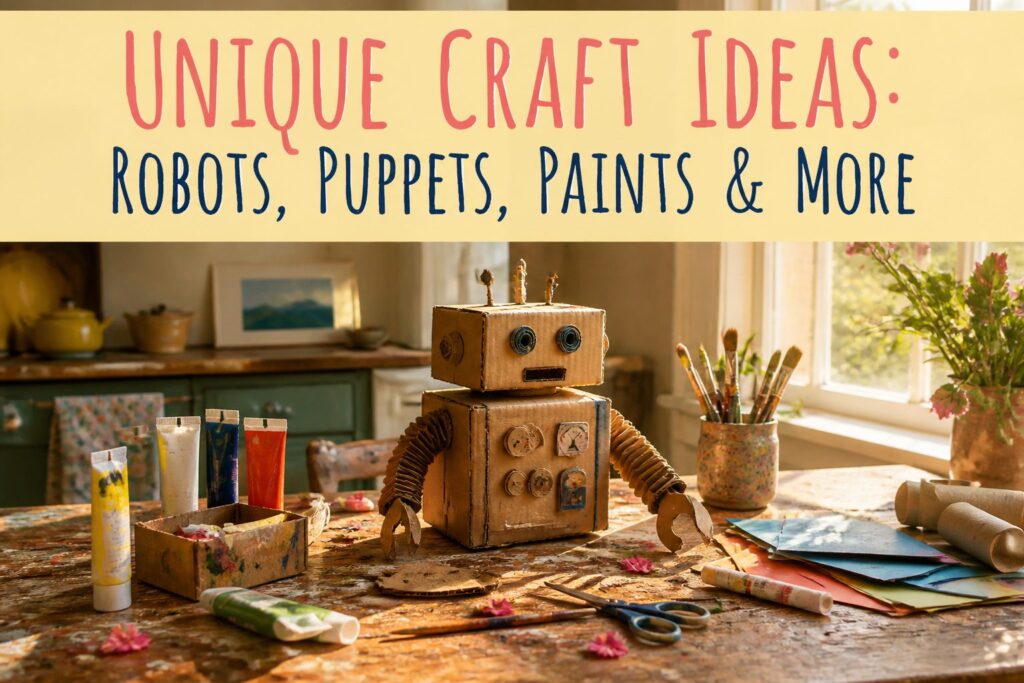
These projects run from a cardboard box and a roll of foil to a stovetop batch of cornstarch finger paint, and what picks yours is the mess you can tolerate and the age of the kid holding the scissors.
Paint-based ones, like bubble prints, need an outdoor spot and thin paint, since thick craft paint weighs the bubbles down.
1. Goofy Robots
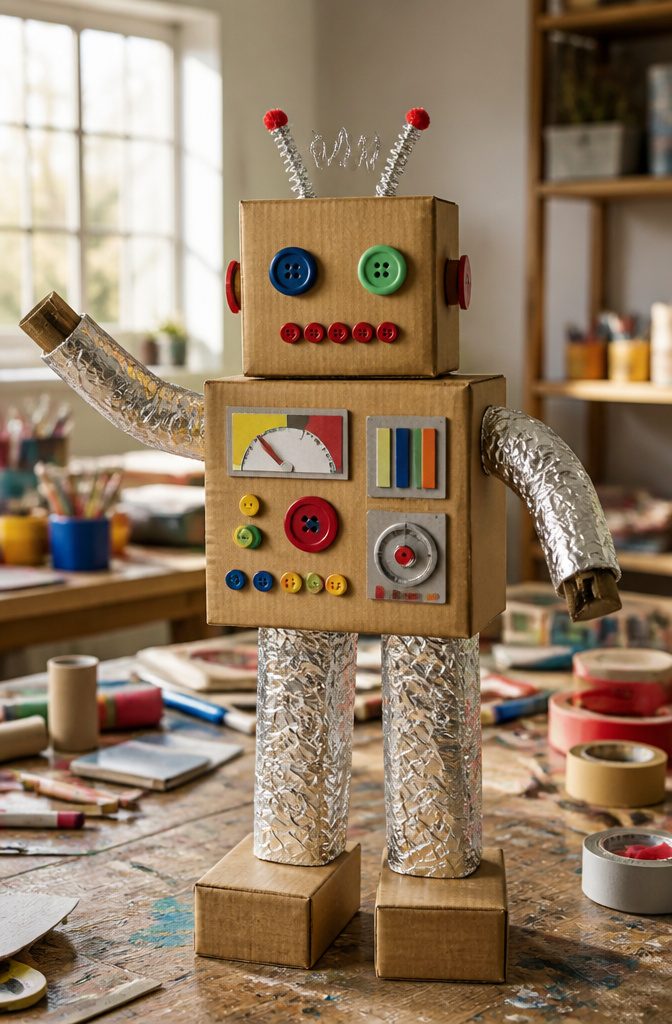
Cardboard boxes make the best robot bodies because they already have corners, and corners read as "machine" before you add a single detail.
Stack a large box under a smaller one for the torso and head, then tape on tube arms and legs.
Toilet paper rolls give you cylinders for hands or antennas, while foil wraps around a tube and turns it into a shiny metal limb.
Buttons work better than stickers for eyes and control panels, since they have real depth and catch the light.
Stickers win for gauges and warning labels because they cover flat space fast. Cover the box with foil before attaching anything else, so the decorations sit on top of the metal instead of getting buried under it.
Two kids can split the build: one handles the body, the other the face.
2. Toy Camera
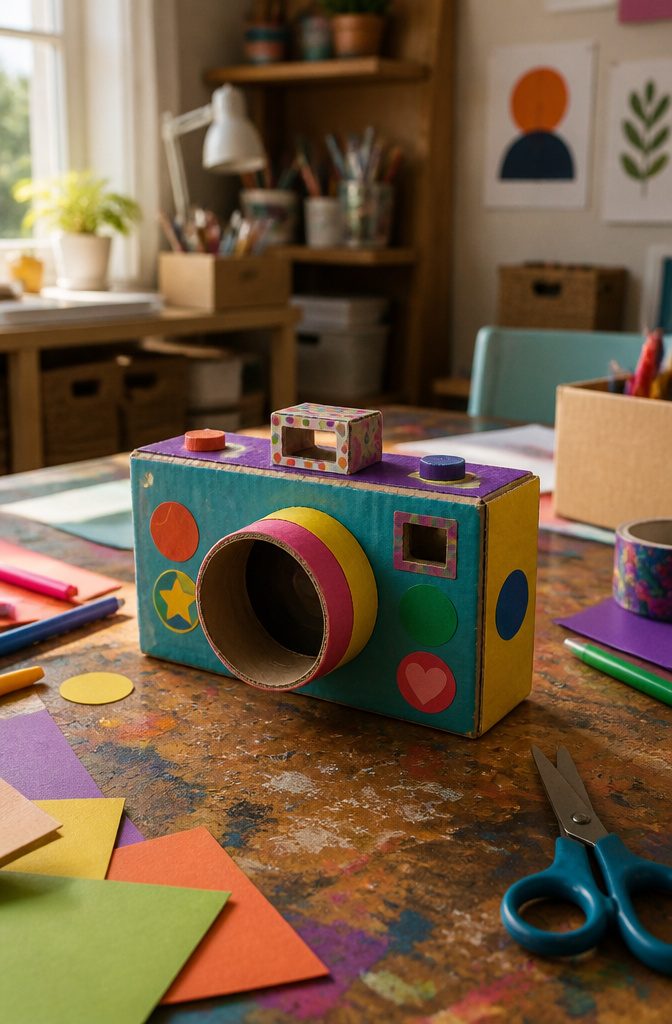
A toy camera starts with a cardboard box for the body, and the "lens" is a small box or a roll stuck to the front.
A toilet paper roll reads as a lens right away, because the round opening looks like glass from across the room. I’d pick the roll over a second box for that reason.
Kids hold these by the lens and swing them around, so glue the roll on firmly and reinforce the seam.
Markers and stickers handle the dials, buttons and brand name. A paper "flash" on top makes the camera look finished.
Once it’s done, kids can frame a shot by holding the camera up and moving closer or farther away. That makes perspective and framing part of the game.
3. Dinosaur Feet
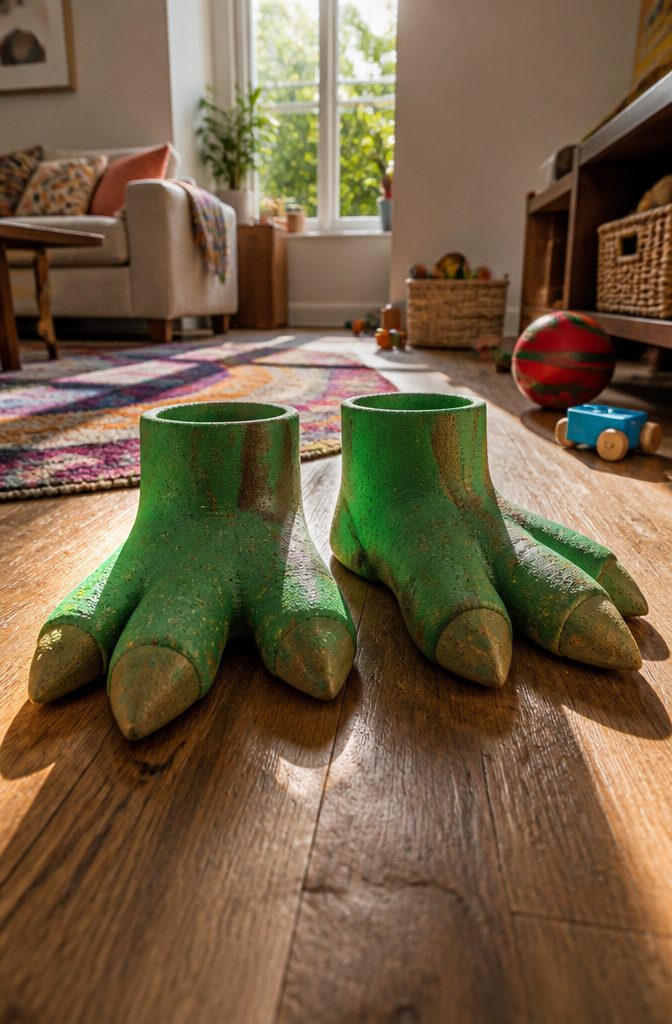
Craft foam makes the best base for dinosaur feet, because it holds a three-toed shape, takes paint without soaking it up, and cuts cleanly with ordinary scissors.
Glue and paint finish the kit, so most households already own everything but the foam.
Cut two big foot shapes with three rounded toes each, then paint them in swampy greens or browns.
Let the paint dry fully before gluing, since wet paint on foam tends to smear when a kid grabs the piece. Claws can be cut from scraps and glued to the toe tips.
Stomping is the real draw.
A child in dinosaur feet walks heavier, slower and louder, and the morning trip to the kitchen turns into a prehistoric event. I’d make a pair for every kid at a party, since one pair always starts an argument.
4. Flower Pens
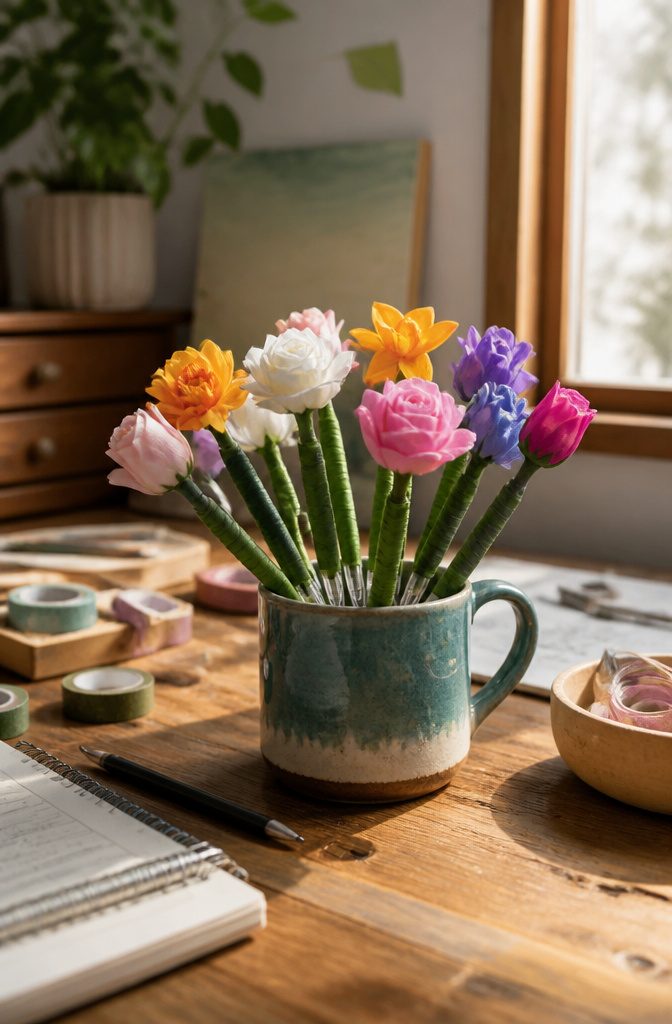
Plastic flowers and floral tape are all a plain pen needs to become a bouquet in your pencil cup.
Tape the stem flush against the barrel, then spiral the tape down so the green wraps over the stem end and hides it completely. Floral tape clings to itself as you stretch it, so no glue is involved.
Duct tape is the other route, and I think it wins for adults and teens. It comes in patterns, so the petals and leaves can match a desk or a gift.
Pick a pen with a slim, straight barrel so the stem doesn’t wobble when you write. The thicker the flower head, the more it tips the pen, so go small if you plan to use it daily.
5. Ooey Gluey Suncatchers
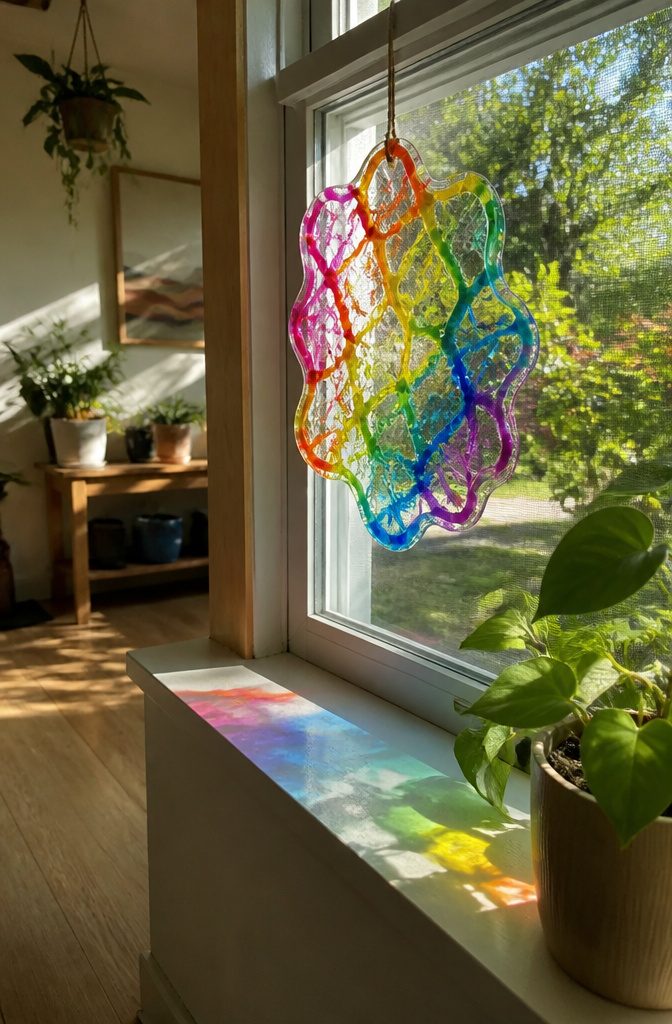
Glue and food coloring are the whole material list, and that is what makes these suncatchers a good pick for a mixed-age afternoon.
Kids drip or swirl colored glue onto a surface, let it dry into a clear, flexible sheet, then hang it in a sunny window.
The light does the work. Sunlight passes through the dried glue and throws soft patches of color across the sill and floor, and the shapes glow brightest when they hang in direct sun.
Hang them in the sunniest window you have, because a shaded one leaves the colors looking flat.
Patience is the real skill here. Thicker puddles take longer to dry, so I’d keep the pours modest and let kids practice placing drops of color next to each other with a steady hand.
6. Mail a Hug
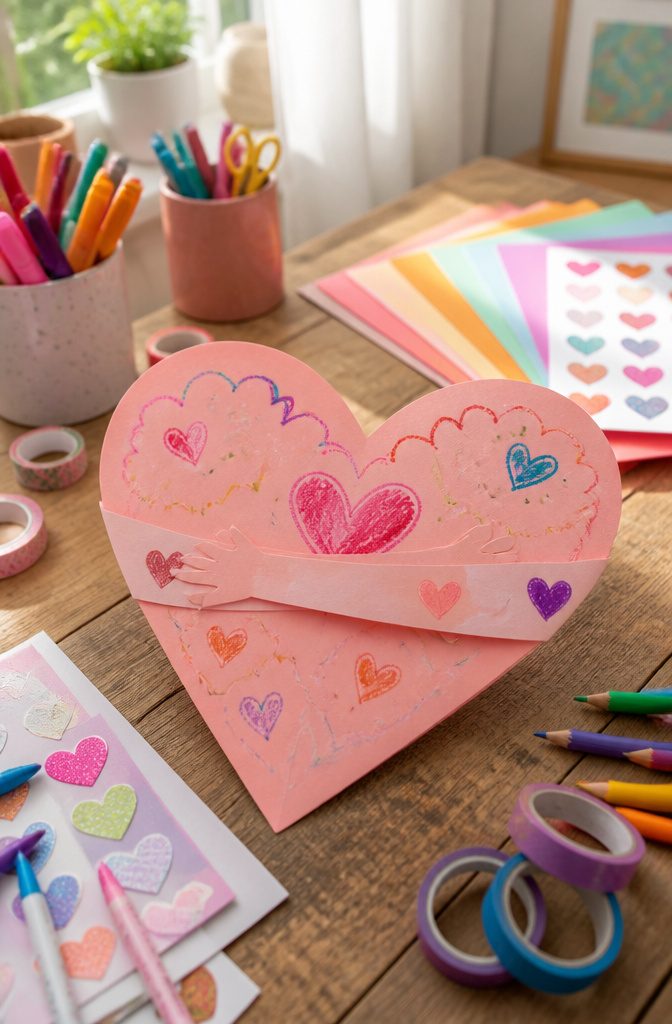
A paper hug is a flat pattern you cut out, decorate, and mail to someone far away. Glue, markers, and scissors cover all of it, and a printable pattern does the hard part of shaping the arms.
That makes it a good fit for kids roughly old enough to handle scissors, and for grandparents, cousins, or anyone who lives too far for a real hug.
It feels personal because the sender’s own hand does the work.
Let the child draw the face and color the clothes, then add a few handwritten words before it goes in the mail. Write the note on the hug itself so the message can’t get separated from it.
I’d pair it with a decorated envelope, since a bright, hand-colored one makes the whole package feel like a gift before it’s opened.
7. Pompom Ice Pops
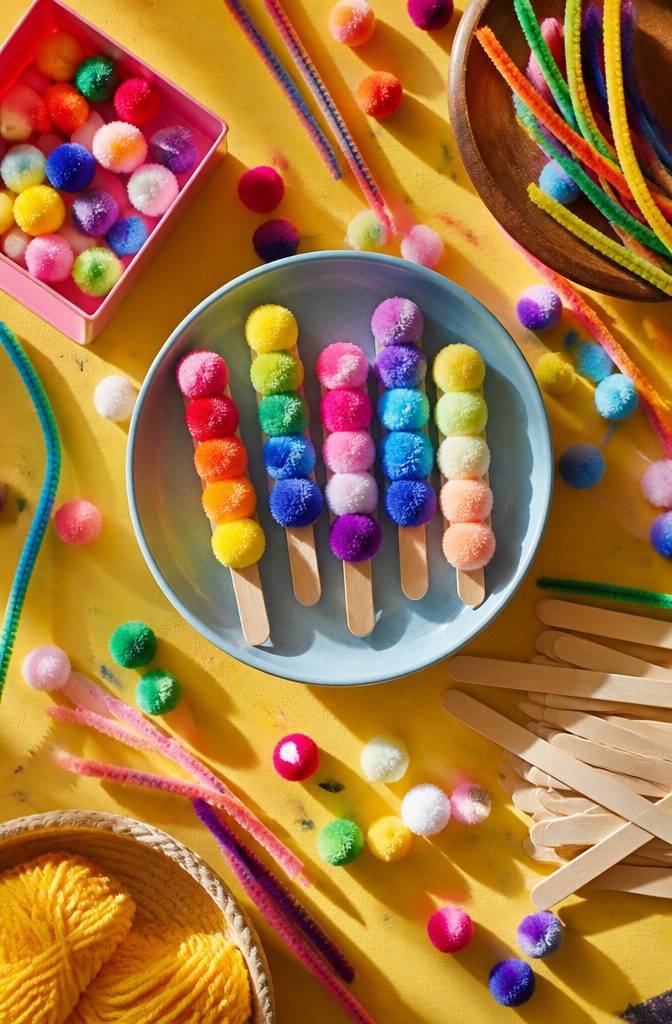
Pompoms, craft sticks and glue are all it takes to make an ice pop that never melts. Glue a stack of pompoms along one stick, and the fuzzy rows read as a frozen treat from across the room.
Color does most of the work here.
Pick one shade per pop for a "cherry" or "lime" look, or stack several for a rainbow pop. Kids can invent their own flavors, and the flavor names are half the fun.
Texture is the selling point. Pompoms are soft and squishy, so these pops feel nice in a small hand, and there is no sticky puddle to wipe up.
Pressing each pompom into the glue also gives little fingers a fine motor workout. I’d use a thick glue so the pompoms stay put.
8. Homemade Finger Paint
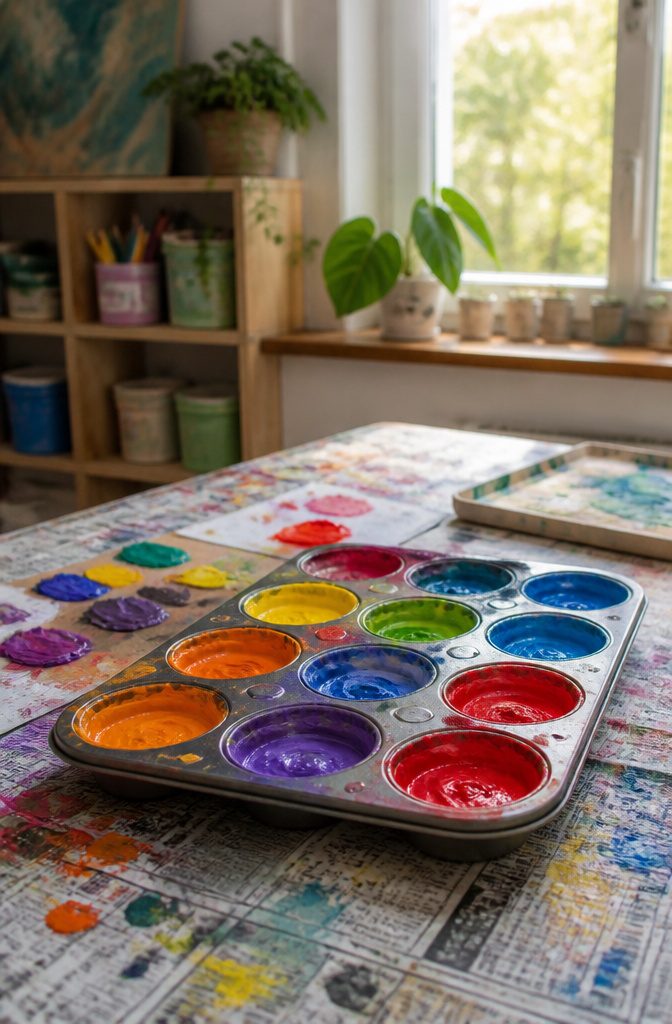
Sugar, water, cornstarch and food coloring make a finger paint that is safe for small hands and costs next to nothing.
Cook the cornstarch, sugar and water gently on the stove until it thickens, then let it cool completely before anyone touches it. Split the batch into muffin cups and stir a few drops of coloring into each.
Start with red, yellow and blue only. Kids who smear red into yellow and watch orange appear learn more about color mixing than any worksheet teaches.
Expect a mess, and plan for it.
Spread newspaper or a vinyl tablecloth and put the kid in an old shirt before the first dollop lands. Food coloring can stain skin and fabric for a day or two, so I’d skip white clothes and light countertops.
9. Water Microscope
A drop of water is a tiny lens.
Its surface curves outward, and a curved, convex shape bends light toward a single point, which makes whatever sits behind it look bigger. The rounder and smaller the drop, the stronger the magnification.
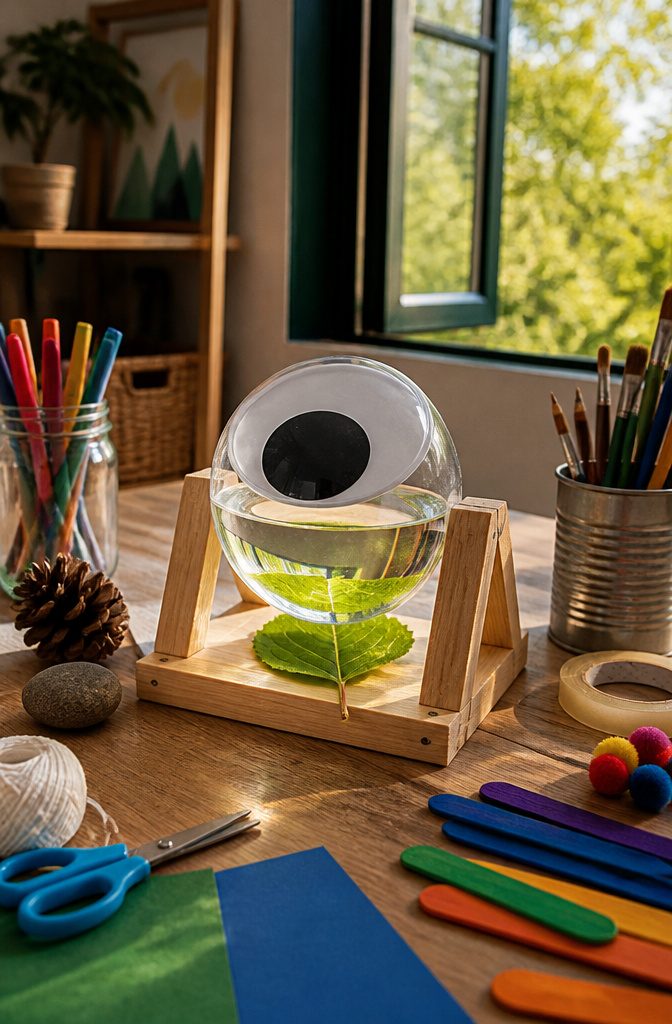
The version in this project swaps a drop for a small pool of water held in a large googly eye, set into a paper cup so it sits above your object.
Fill the eye’s dome with water, then slide a leaf or flower underneath and look down through the water. The curve of the water is the lens, so a flat puddle won’t work.
I’d start with a leaf, since the veins show up fast. Hold the cup steady, because a wobbling pool blurs everything.
10. Create a Castle
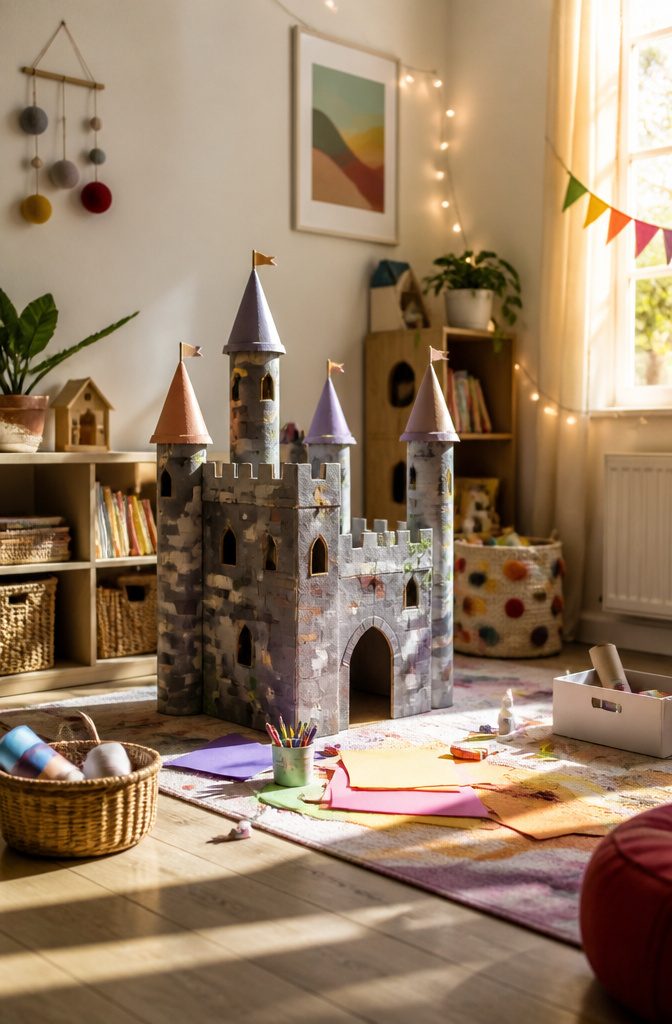
Tissue boxes and cereal boxes make the best castle walls, because their flat sides take paint and glue without any fuss.
Toilet paper rolls become the towers. Glue one to each corner of a shoebox, then top it with a paper cone cut from a quarter circle of construction paper.
Stack two rolls for a taller tower, and tape the seam before painting so it doesn’t split.
A small box turned on its side makes a gatehouse, and a cut flap of cardboard works as a drawbridge on a loose string hinge.
Gray paint covers printed cardboard best when you coat it twice. Sit the finished castle on a baking sheet or a flat piece of cardboard so it moves across the floor as one piece without the towers popping off.
11. Cardboard Tube Telescope
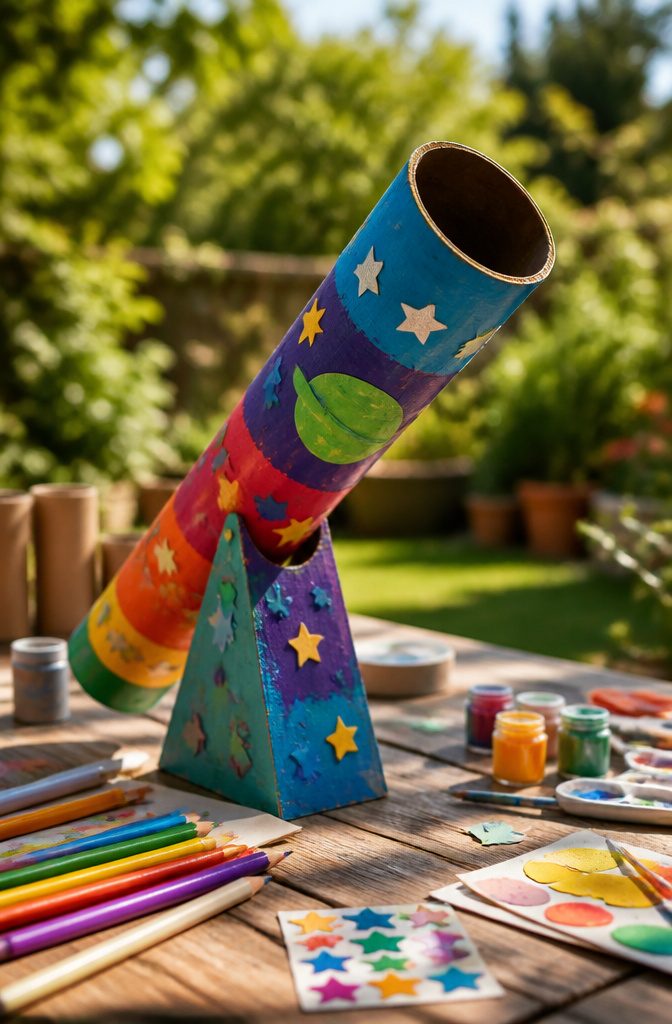
A paper towel roll is the cheapest telescope body you can make, and it’s already in the recycling bin. Paint or stickers do the rest, so the whole project fits in an afternoon with supplies most kitchens have.
Decorating is where kids make it theirs, so let them choose the colors. Paint the roll first and let it dry before adding stickers, or the tape and adhesive will lift the wet surface.
The roll has no lens, so the fun comes from how kids use it. Younger kids can go bird-watching and learn to notice small movement in a tree.
Older kids can carry it out at dusk and look for stars and planets. A tube works like a frame, and I think that narrow view is the real appeal.
12. Recycled Guitar
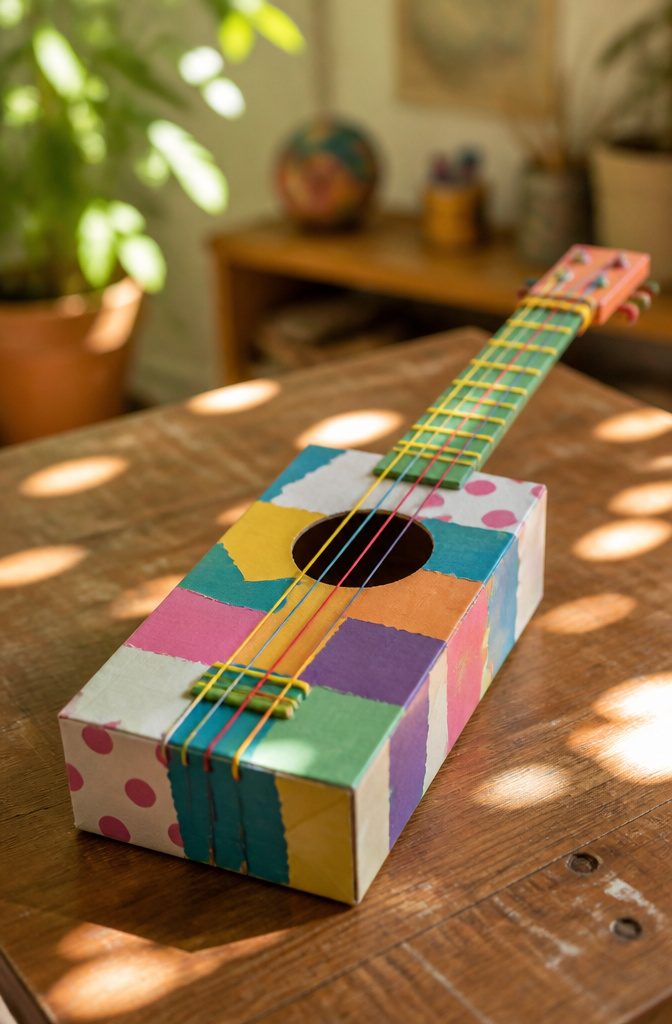
A shoebox and a handful of rubber bands make a guitar that actually plays, and the box does the real work: it is the sound chamber that makes the plucked bands audible.
Cut an opening in the lid so air can move, then stretch the bands across it.
Strings are where kids learn the most. Thick and thin bands give different pitches, and so does string length.
A tube neck with tuning pegs lets older kids shorten or tighten a band and hear the note change. Younger kids can skip the neck and spend their time decorating the box with leftover craft scraps.
The sound is a twangy, buzzy hum, closer to a rubber-band banjo than a real guitar. I think that’s the charm, and it’s enough to turn a rainy afternoon into a physics lesson.
13. Paint with Bubbles
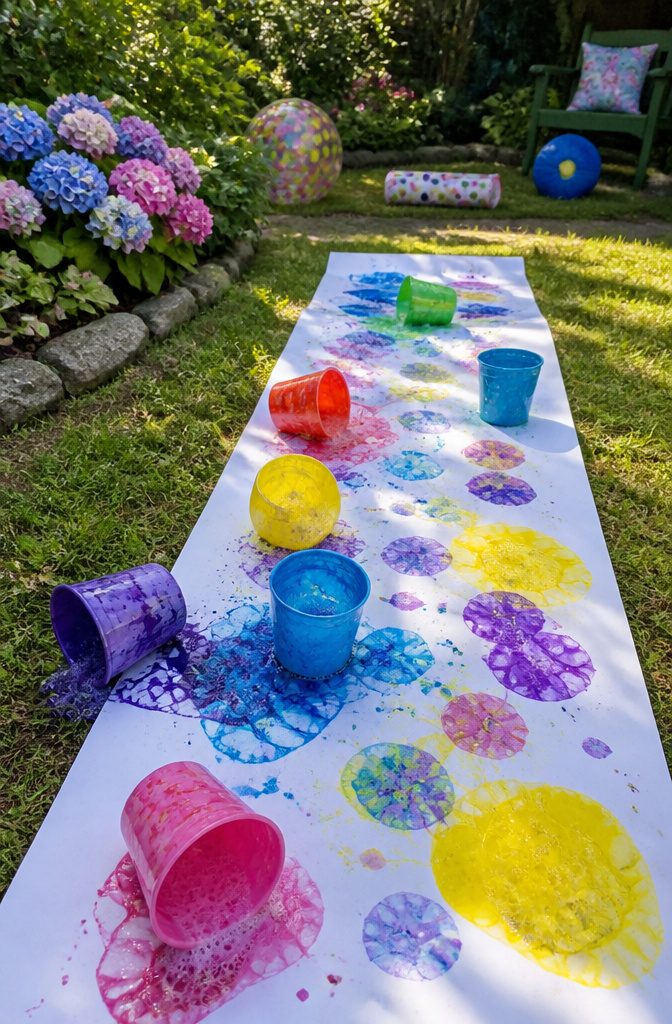
Bubble prints start with a mix of dish soap, water and non-toxic paint, and the paint is what turns a plain bubble into a stamp.
Blow into the cup with a straw until the foam domes over the rim, then lay a sheet of paper against it, and each bubble that pops leaves a thin ring of color behind.
The result is a cluster of overlapping circles, some solid, some hollow, with tiny dots where small bubbles burst.
Work outdoors, because the foam spills and the drips are part of the fun. Use a second cup for each color, and the rings blend where they cross into soft abstract patterns.
I’d skip thick craft paint here. It weighs the bubbles down, so thinner paint gives the better print.
14. Paper Plate Spin Art
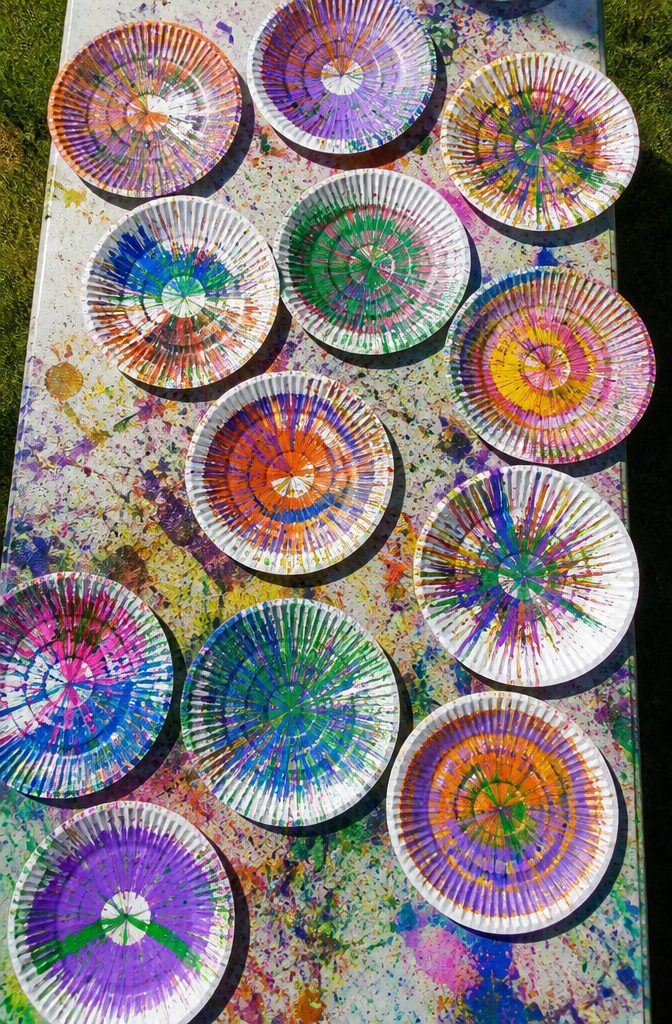
Spin art works because the paint has nowhere to go but outward. Spin a paper plate with washable paint on it and the colors stretch into streaks and rings, then blend wherever they meet.
That blending is the best part, since two neighboring colors give you a third without any mixing on your part.
Washable paint is the right pick here, and I’d keep the colors to two or three so the overlaps read as new shades instead of mud.
Every spin lands differently, so a second plate costs almost nothing and takes only moments.
For younger kids, have them look at the plate before and after the spin and describe what changed.
Older kids can try drawing a maze on the finished design. Done plates make easy gifts.
15. Easy Sidewalk Paint
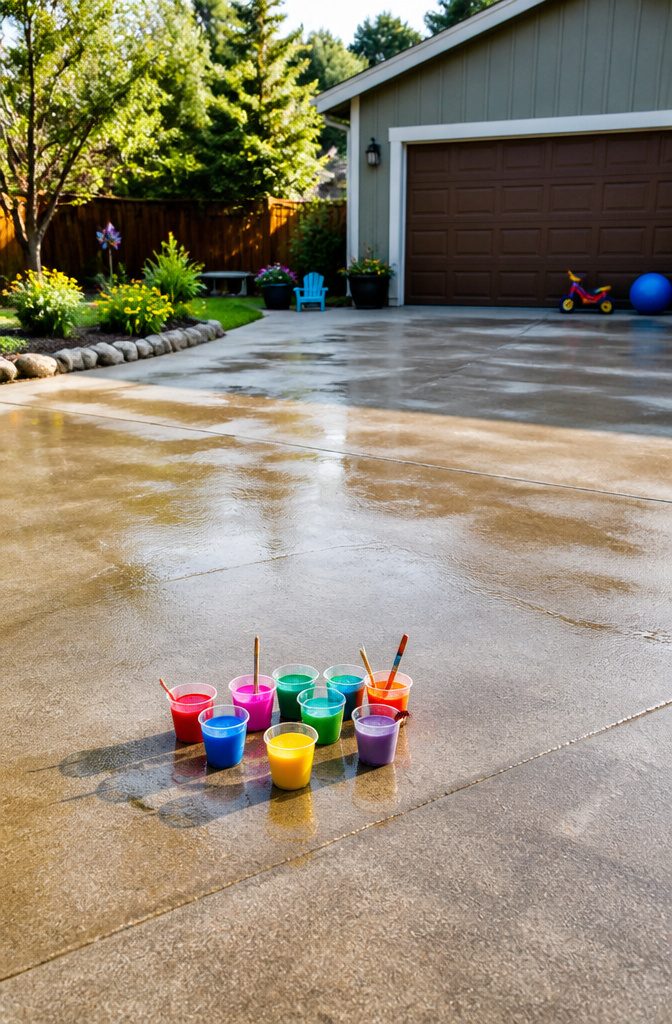
Cornstarch, water and food coloring are all the pavement needs, and no recipe amounts come with the idea, so I mix by feel.
Stir cornstarch into water until the mixture runs off a spoon like thin cream, then divide it into cups or a muffin tin and stir a few drops of coloring into each.
Cornstarch settles fast, so re-stir every cup right before each dip, or the brush picks up clear water and the color goes streaky.
Plain brushes work, and so do sponges for big blocks of color. A driveway gives you room for murals, names and shapes.
Cleanup is the best part. A hose or a rinse with plain water washes the paint off the concrete, which makes this an easy yes on a Saturday afternoon.
16. Decorate a Time Capsule
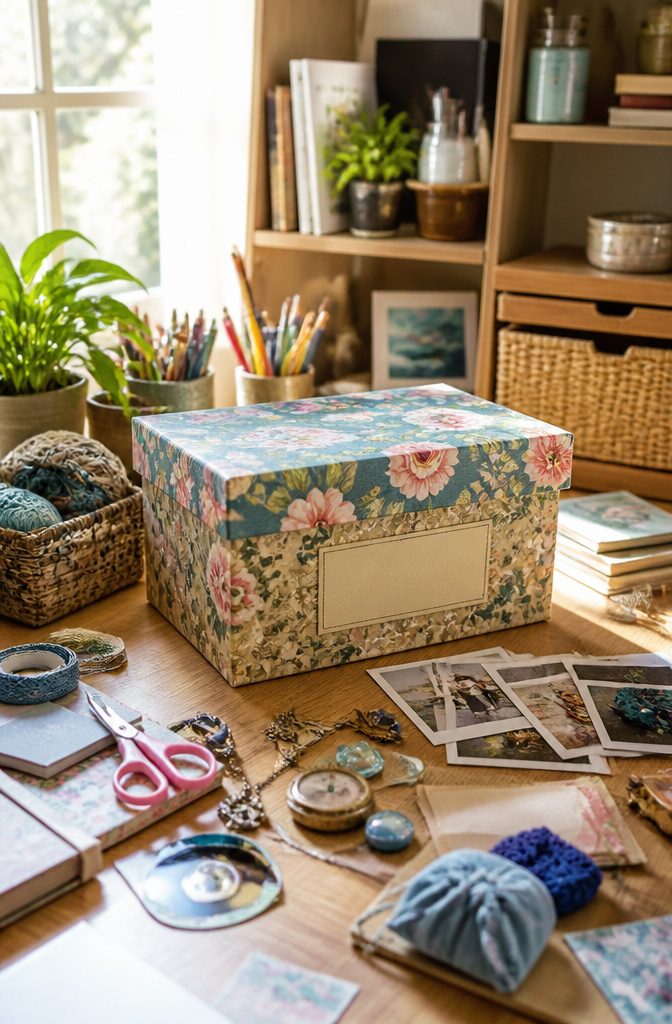
A time capsule works best when the container is decorated before anything goes in, because paint and glue need to dry fully and a sealed lid traps any dampness.
Mason jars, coffee cans and shoeboxes all take wrapping paper well, and a paper label on the front says what the capsule holds and when it opens.
Inside, I’d put photos, a handwritten letter and a few small mementos that show what your child cares about right now: a favorite toy, a drawing, a ticket stub.
Pick an opening date before you seal it and write that date on the outside, or the capsule ends up forgotten in a closet.
Letters are the part kids reread longest, so give them room.
17. String Puppet Plane
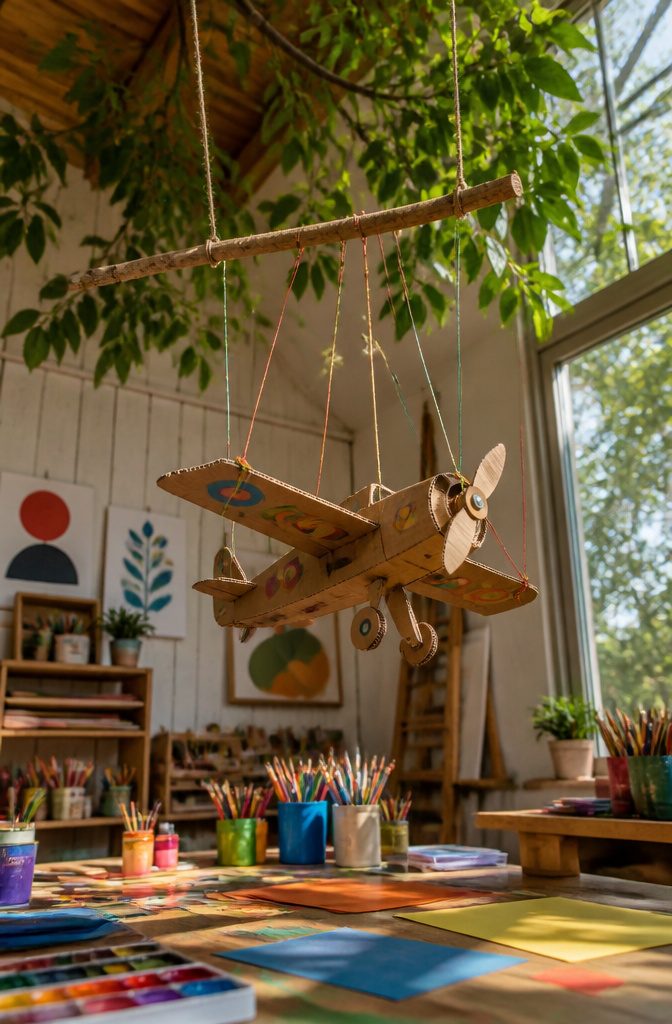
A cardboard plane hung from string is a marionette in its simplest form, and the balance of the strings decides whether it flies or just dangles.
Cut the body from cardboard, paint it, and let kids add markers, stickers or glitter before anything gets tied on.
Each string pulls on a different point of the plane. Tilt the control stick forward and the nose dips; tilt it back and the nose lifts.
Shift your hand side to side and the wings bank. Attach the strings so the plane hangs level when you hold it still, because a lopsided hang fights every move you make afterward.
I’d skip glitter on the wings if you want smooth flight, since it adds weight to one side.
Kids pick up balance and motion fast this way, and working the strings builds hand-eye coordination. Afterward it hangs well as room decoration.
18. Make Your Own Block Prints
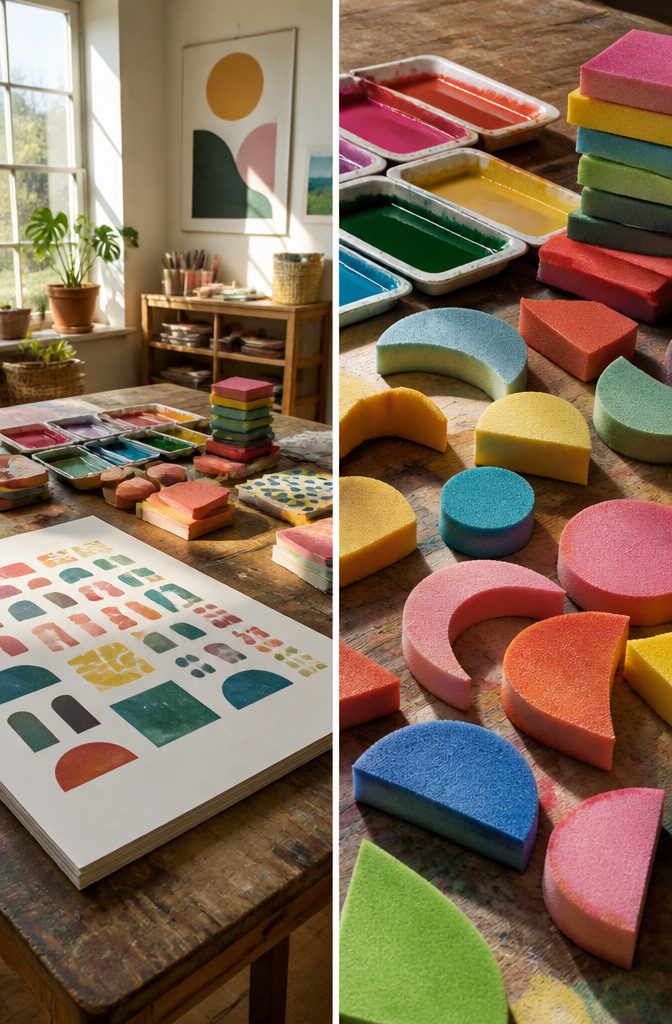
Foam sheets are the fastest way into block printing, because you can cut a shape with scissors and skip the carving tools entirely.
Cut your shape, press it into paint, and stamp it onto paper. A simple shape like a circle, triangle or leaf gives the cleanest print.
Repetition is what makes a block print look planned instead of random.
Stamp the same shape in a row, flip it every other time for symmetry, or alternate two colors. Reload the block with paint before each stamp, or the prints fade from one end of the row to the other.
I’d start kids on a single shape and a single color. Patterns get interesting fast, and the same method works later on fabric.
19. Colorful Butterflies
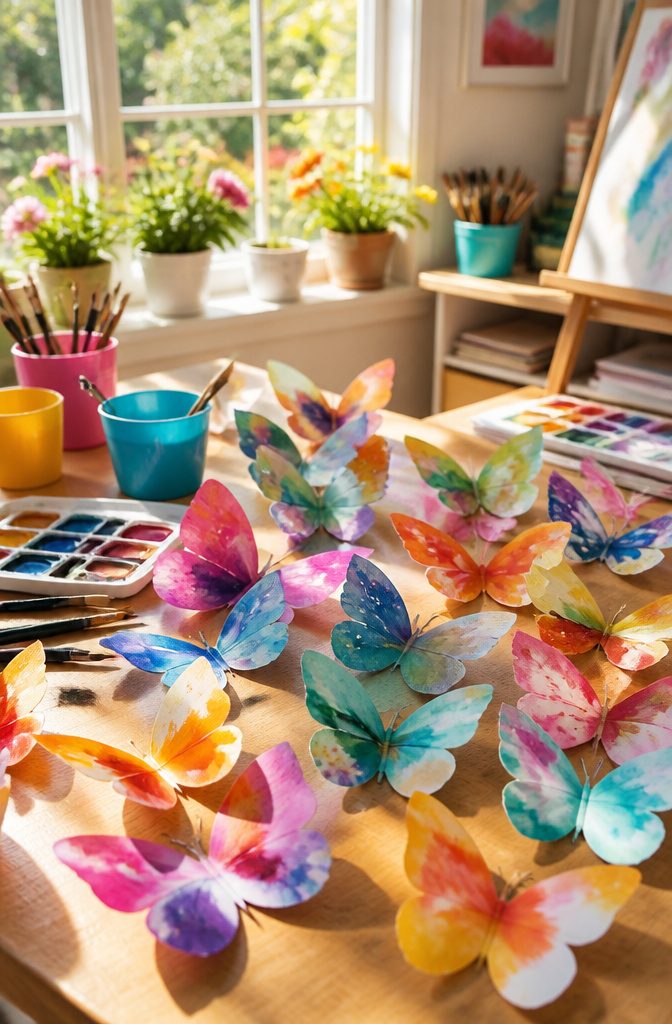
Folded paper does the hard part of a butterfly for you. Paint one side of a sheet, fold it shut, press, and the wings come out as mirror images, so even a four-year-old gets matching wings on the first try.
Watercolors work best here because they bleed into each other along the fold.
Use two or three bright colors side by side and let them touch; they blend into new shades instead of turning muddy. Dabbing on different patterns, like dots, stripes and swirls, gives every butterfly its own look.
Cut out the wing shape with scissors once the paint dries.
Ribbon makes a good body or pair of antennae, and I’d choose it over markers for the texture. Hold a finished butterfly beside a photo of a real one and compare the patterns.
20. Homemade Clay
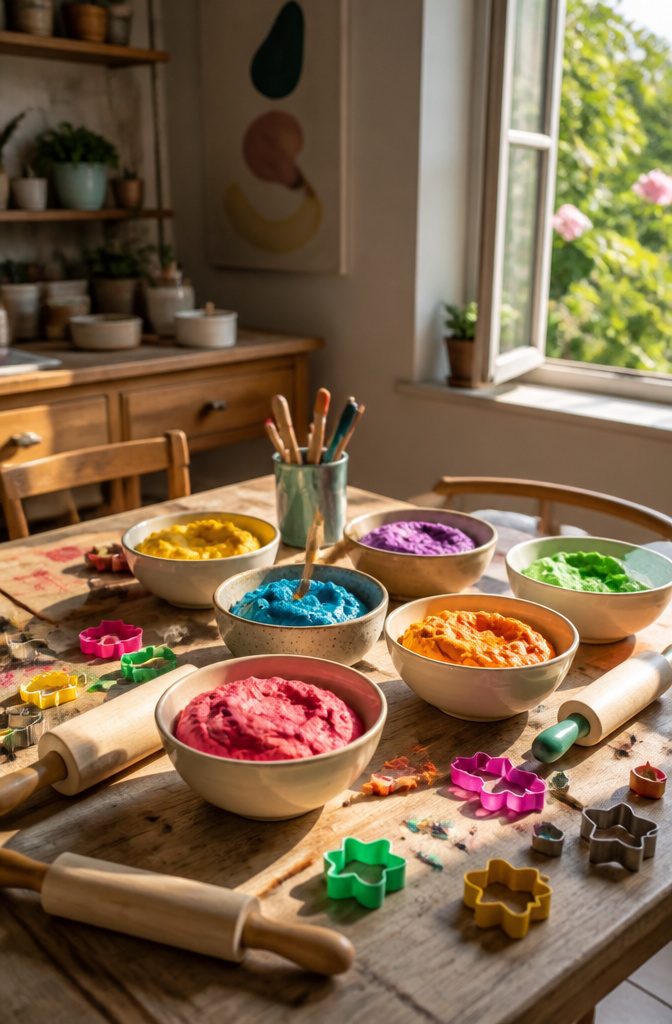
Baking soda, cornstarch, and water make a clay you can mix at the stove or on a stovetop-safe pan, and food coloring stirs in while it’s still wet.
The dough is chemical-free, so little hands can handle it safely. I’d skip the store-bought tubs for kids’ projects, since this costs next to nothing and uses pantry staples.
Once it cools, it molds like soft dough, which makes it good for ornaments, beads, and small figures. It sets in one of two ways: baking, which adds a bit of kitchen excitement, or sitting out to dry.
Let finished pieces dry completely before painting or gifting them, because damp clay smears color and dents easily. Colored dough keeps its shade, so you can skip paint altogether.
21. Paper Filter Flowers
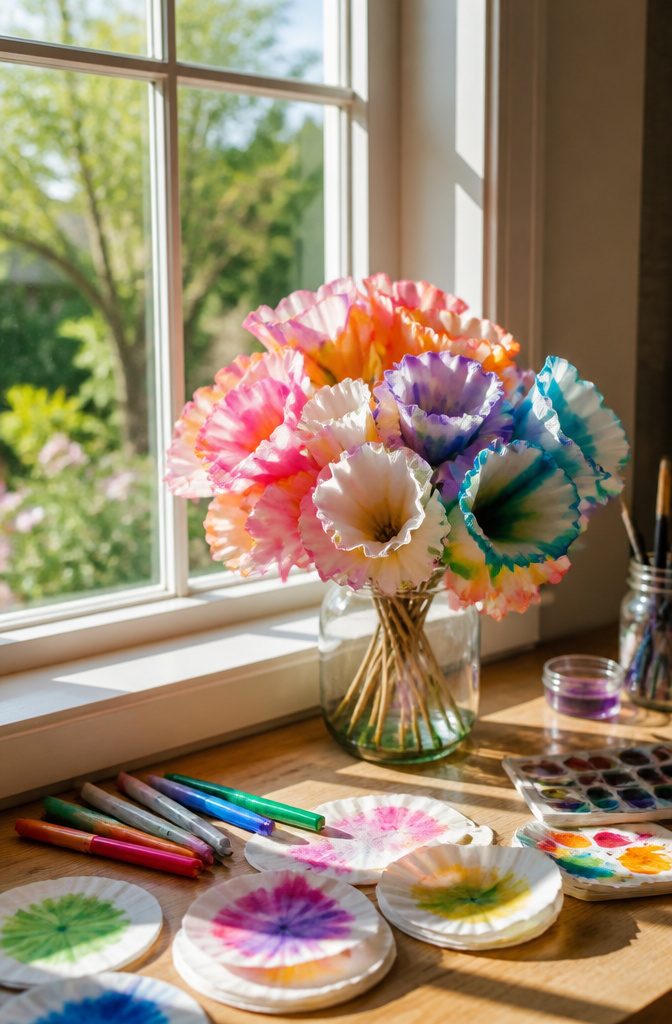
Coffee filters make the softest paper petals I know of, because the thin, absorbent paper pulls food coloring outward in feathery rings.
Drip the color on with water, then press the wet filter between sheets of waxed paper so the shades bleed into each other instead of sitting in separate dots. Skip the pressing and the colors stay harsh.
Let the filters dry completely. Pinch each one in the center, fan out the ruffled edge, and wrap the base with a chenille stick, which doubles as the stem.
Layering two or three filters gives a fuller bloom with a crinkled, ruffled look that reads almost like a carnation.
Kids get a bit of color mixing out of it too, and a handful of these in a jar looks better than most store-bought paper flowers.
22. DIY Sidewalk Chalk
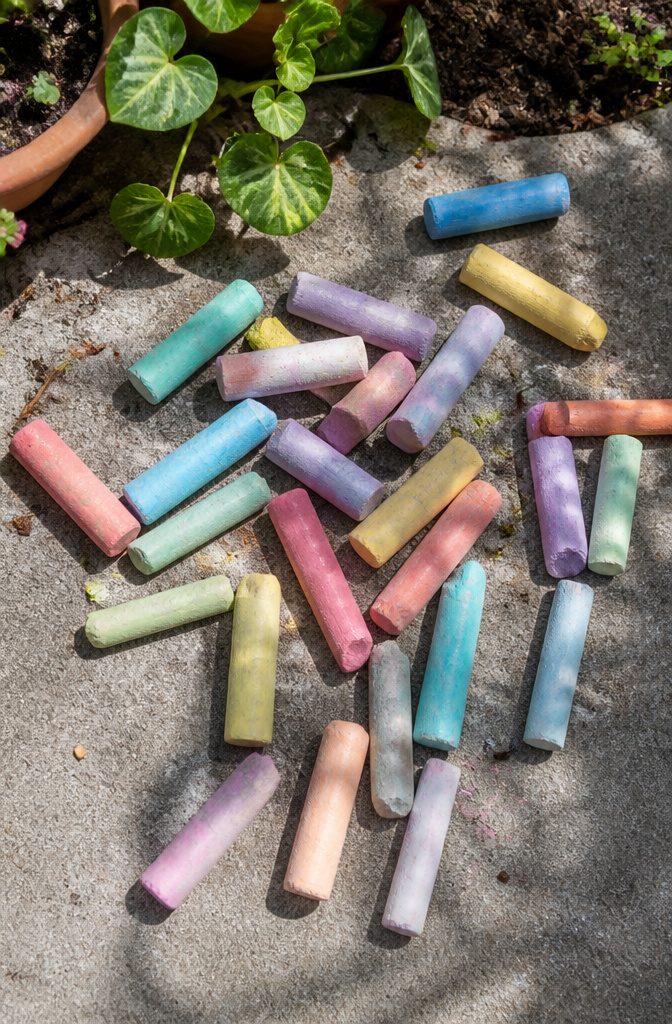
Powdered plaster mixed with water is what makes homemade chalk, and it sets hard enough to draw with once it dries.
Stir liquid tempera paint into the wet mix for color. Plaster hardens through a chemical reaction rather than by evaporating alone, so it makes a good small science lesson on the side.
Pour it into molds and wait. Let the chalk dry completely before it goes near the pavement, because a damp stick crumbles on the first stroke.
Compared with sidewalk paint, the texture is the real difference. Chalk is dry and slightly gritty, and it leaves a dusty, scratchy line.
Paint is wet and smooth, and it goes on in a solid, even coat. For big outdoor drawings I’d pick chalk when kids want crisp lines and paint when they want to fill in color.
23. Monster Puppets
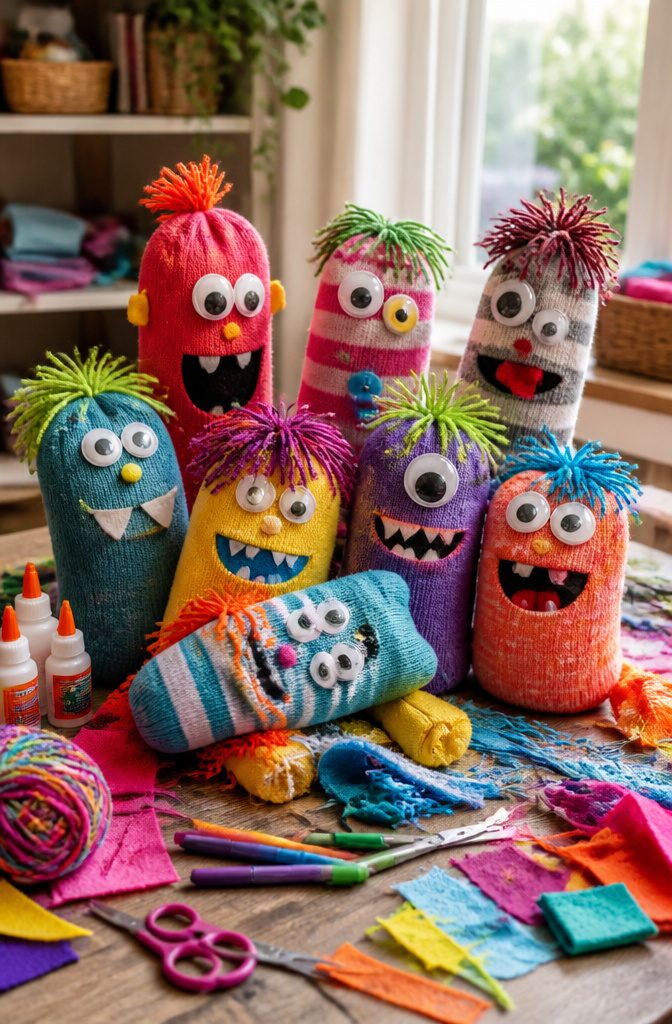
An old sock is the whole body of this puppet, and that’s why it works: your hand fills it, the heel becomes a mouth, and anything you glue on reads as a face.
Googly eyes, yarn for hair and fabric scraps for teeth, horns or tongues cover most of what a monster needs.
I’d let kids place the eyes unevenly. A lopsided face is the funniest face, and mismatched eyes give the puppet a personality before anyone says a word.
The real fun starts after the glue dries. Ask the maker for a name, a favorite food and a reason the monster is hiding under the bed, then let the puppet perform.
Kids invent backstories, stage short shows and say through the monster what they might not say themselves. Siblings can trade puppets and keep the plot going.
24. Beachy Creature Feet
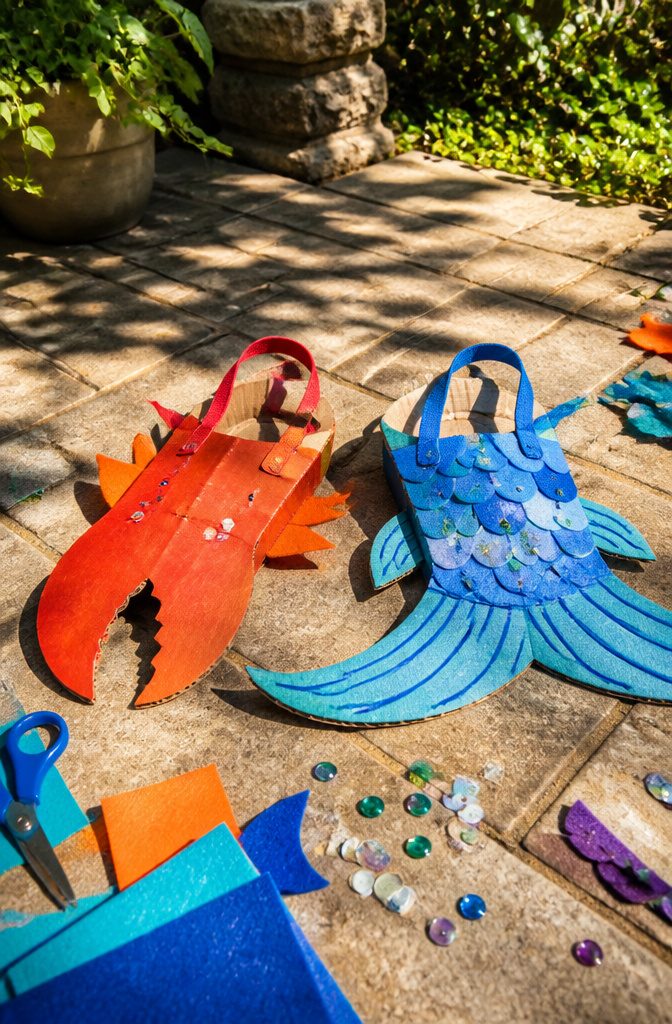
Beachy creature feet are wearable crafts: you decorate a pair of feet shapes, or your own bare feet, to look like a crab claw, a flipper, or a fish tail.
They fit a summer afternoon because the whole thing happens outside, on a towel or a patio, and nothing needs to stay dry or pristine.
Cardboard or craft foam cut to a foot outline makes the sturdiest base, and foam wins for wet play because it does not go soft in a splash.
Add fins, claws, or scales from felt scraps, then loop a strip of elastic across the top so the feet stay on.
I would skip glue sticks here and use tacky glue or hot glue, since anything weaker lets go the first time a kid stomps.
25. Green Gobbler
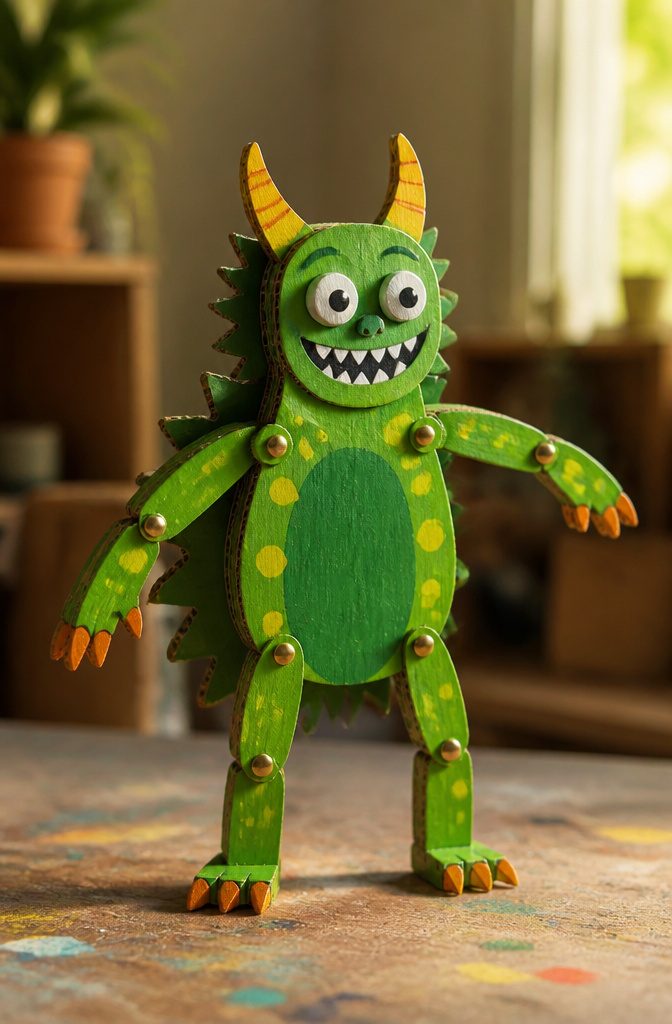
The Green Gobbler is a jointed creature built from cardboard, paper fasteners and paint, and the fasteners are what make it worth an afternoon.
Pin the arms, legs or a mouth on loosely and they swing, so the gobbler becomes a toy rather than a flat cutout.
Paint it green, then add the moving parts last. I’d pin each limb through a hole punched a little oversized, since a tight fastener locks the joint and the arm just hangs.
Kids pick up how joints and hinges work without being told, and they have to work out the assembly themselves.
The name and the googly, goblin-ish look give it a playful, seasonal feel that suits a gobbler-themed table in the fall.
Frequently Asked Questions
What are some unique craft ideas for kids?
Goofy robots built from cardboard boxes, toy cameras, and dinosaur feet cut from craft foam are all good starting points.
Homemade finger paint, sock monster puppets, and bubble prints work well too. Most of them use supplies a household already has.
How can I use recycled materials for crafts?
Cardboard tubes, boxes, and socks cover a lot of projects.
A paper towel roll becomes a telescope, a shoebox with rubber bands becomes a guitar that plays, and toilet paper rolls make castle towers or robot limbs. Coffee filters turn into paper flowers as well.
What are some easy crafts for adults?
Flower pens are an easy pick, and patterned duct tape makes them look good on a desk or as a gift.
Block prints cut from foam sheets, paper filter flowers in a jar, and a decorated time capsule also suit adults. None of them needs special tools.
What are some unique things I can make at home?
You can mix your own finger paint, sidewalk paint, or clay from pantry staples like cornstarch, baking soda, and food coloring.
Homemade sidewalk chalk from powdered plaster is another option. A water microscope built from a googly eye and a paper cup is one more unusual project.





