
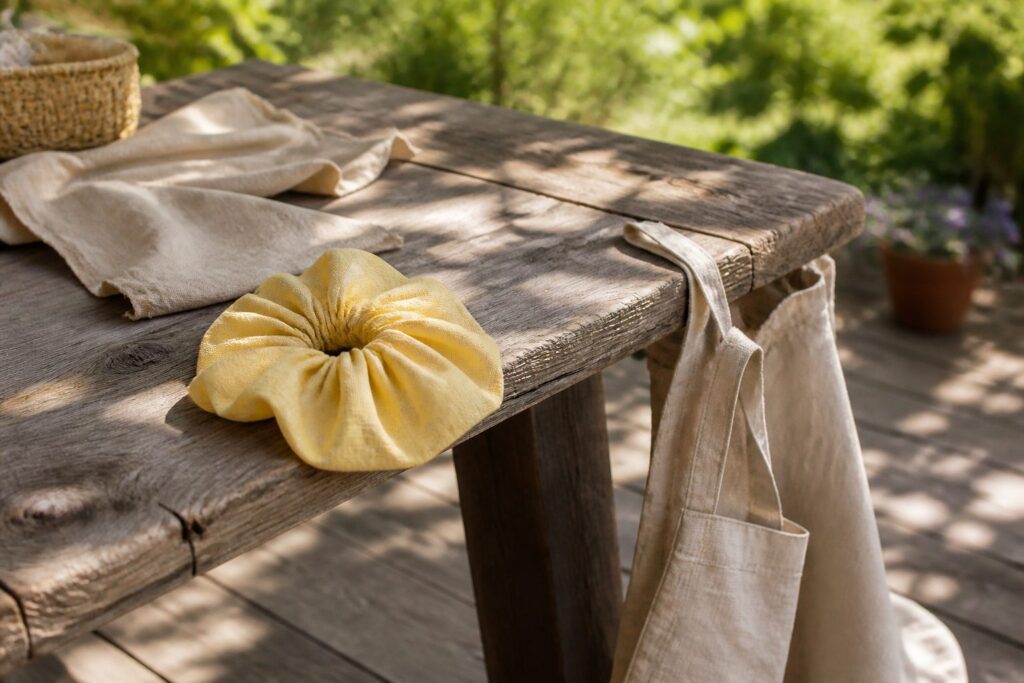
These projects run from a 40-minute scrunchie under $1 to a picnic blanket or apron that needs a full afternoon, and the deciding factor is how much fabric your scrap bin holds in one piece.
Aprons and the blanket want yardage; a 22 x 22 cm pot holder or a 7" x 9" pouch takes only offcuts.
1. Zipper Pencil Pouch
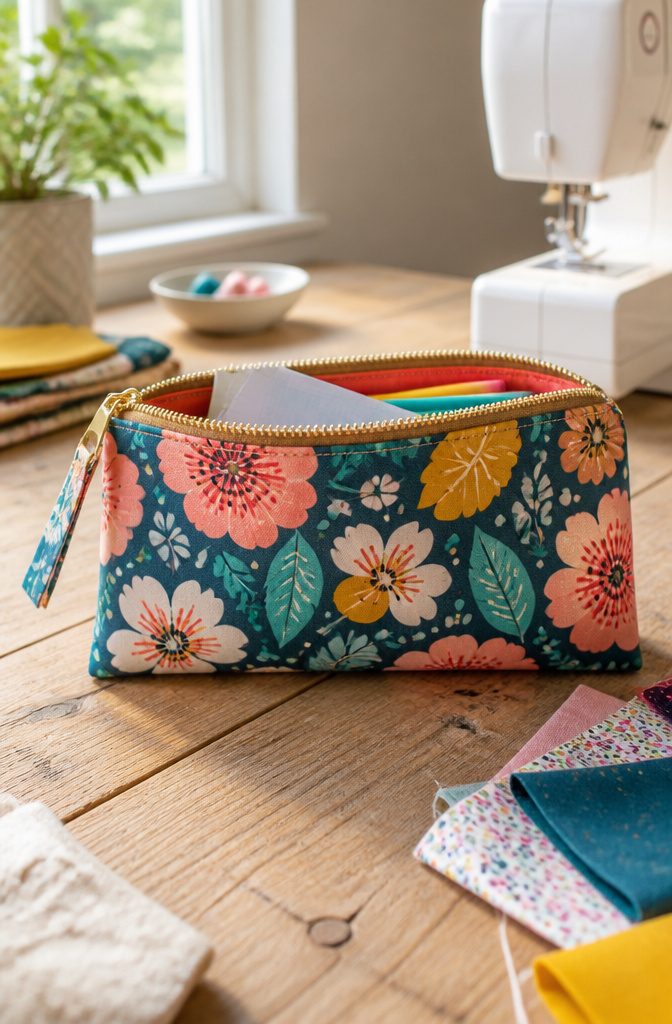
Cut one 7" x 9" rectangle for the body and a 3½" x 1½" scrap for the pull tab. That is the whole pattern, which is why this pouch is such a quick, beginner-friendly finish and a good fast gift.
Zippers make plenty of people nervous, but here the zipper goes on as two straight seams along the long edges, so a zipper foot does nearly all the work. Zigzag the raw edges first if your fabric frays.
Then unzip the pouch halfway before you sew the sides, because you turn it right-side-out through that opening. Point the zipper ends inward so the side seams don’t catch them.
Fold the tab like bias tape, topstitch both edges, and tuck it into a side seam. A chopstick pushes the corners out cleanly.
2. Fabric Basket
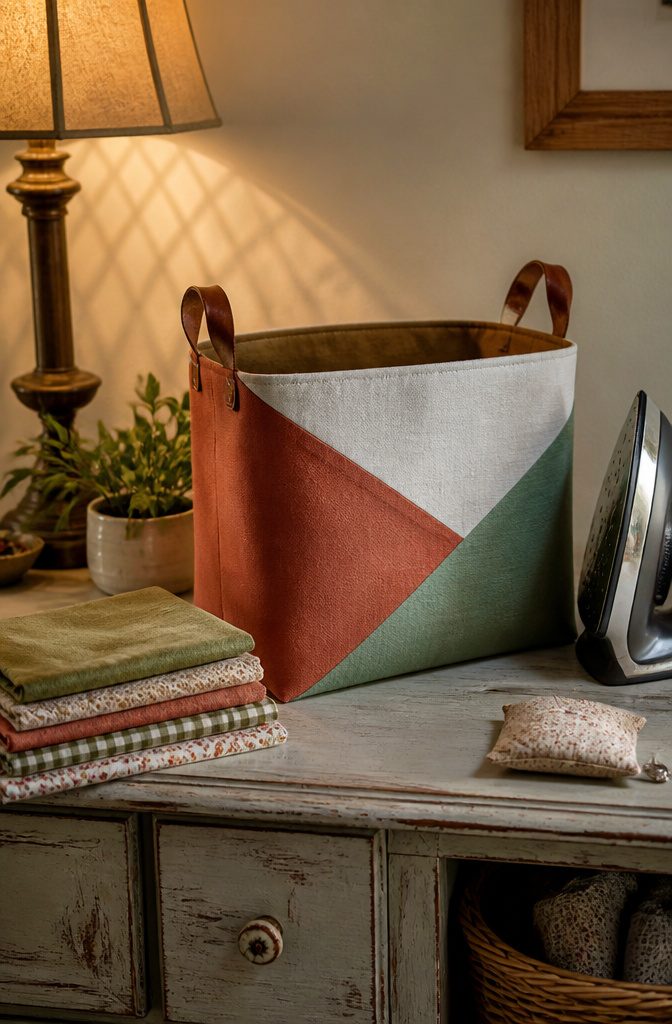
Cut two 20" x 13.5" rectangles each of outer fabric, lining and interfacing, six pieces in all. Interfacing is what gives a fabric basket its shape.
Without it, scraps slump into a sack; with it, the walls stand up on a shelf. Iron it to the wrong side of the outer fabric through a pressing cloth so the iron stays clean.
I’d go with a heavy-weight woven fusible, and fuse it to the outer pieces before you sew a single seam.
It makes pressing the seams open a bit stubborn, but that’s a fair price for a basket that holds its form.
Of all the creative sewing projects I looked at, this was the one that turned up most often, and it’s easy to see why: a few straight seams, boxed corners, and you’re done.
3. Lined Tote Bag
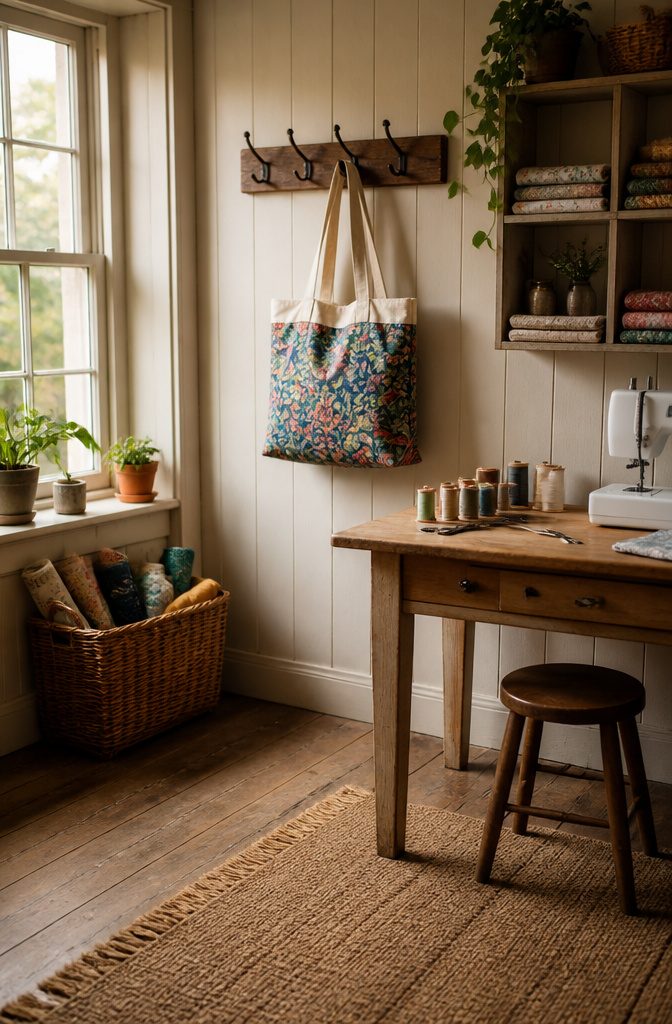
Cut 2 outer panels and 2 lining panels, all 16 x 17 inches. Quilting cotton works well for the outside, and a plain lining fabric like cream linen lets the print stand out and hides nothing inside.
Lining is what makes a tote feel finished.
Every raw seam gets tucked out of sight, so the inside looks as clean as the outside. A lined bag also carries heavier loads and lasts longer before the seams wear, because the second layer shares the strain.
The cost is time. Expect a lined tote to take longer than an unlined one, since you sew two bags and join them at the top.
A first one at a slightly smaller size took 75 minutes, which is still an afternoon. I’d pay that every time.
4. Fabric Scrunchie
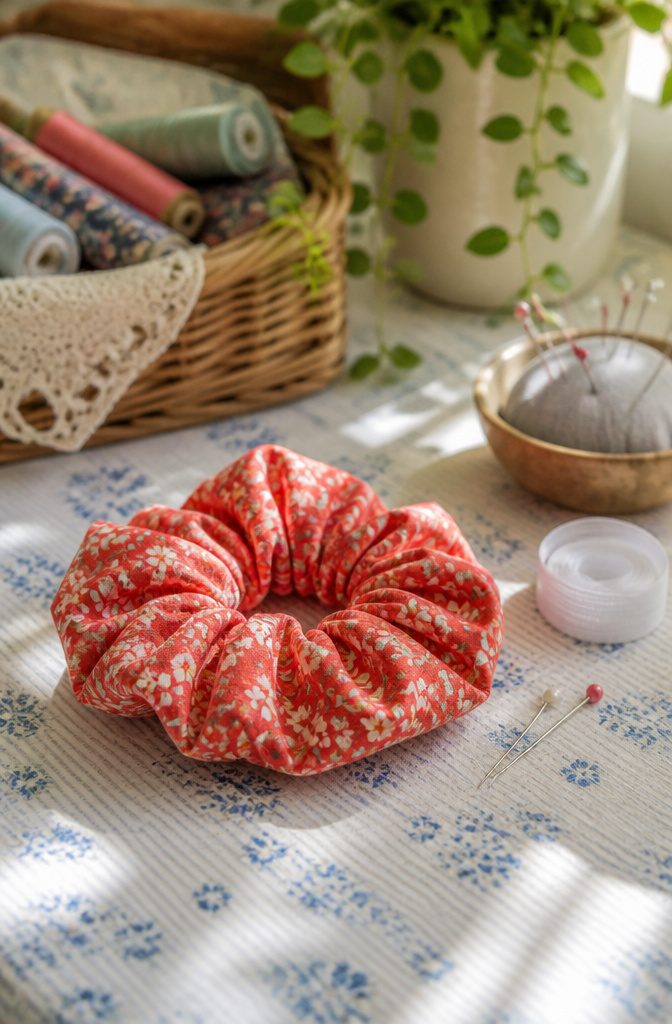
A scrunchie is one of the best uses for a leftover cotton strip, because it takes a single piece of fabric, a length of elastic, and one straight seam.
Cut the strip at 55 x 9 cm for a standard-size scrunchie. Fold it lengthwise with right sides together and sew 1 cm from the raw edge, leaving a 3 cm gap at one end.
Turn the tube right side out with a safety pin, then thread through 20 cm of elastic.
Overlap the elastic ends by 1 cm and stitch them firmly. Closing the gap is the last step.
Most people finish in well under an hour, and the materials cost under $1. I’d pick this over any other first scrap project, since a crooked seam disappears into the gathers.
5. Simple Half Apron
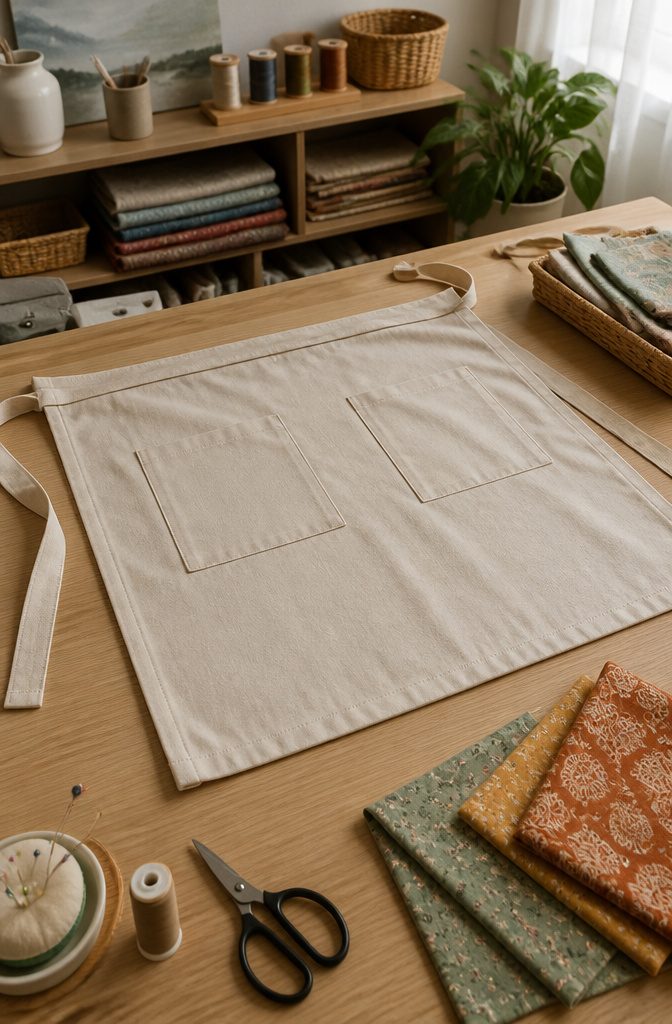
A half apron starts as one rectangle: cut the body 19" x 31" from lightweight cotton twill, and prewash it first so the finished apron doesn’t shrink on you. Trim off the selvedge before you measure.
Hem the two short sides and the bottom with a double fold: ½" over, then another ½", pressed and pinned before you stitch.
A seam gauge keeps the folds even. The waistband and ties come from strips cut 4" wide, two at 31" and one at 19".
A half apron beats a full bib apron for a scrap project.
There’s no neck strap to fit, no armholes or curves to shape, and nothing to adjust for different heights. It’s straight seams on a rectangle, so you can finish it in an afternoon.
6. Travel Sewing Kit
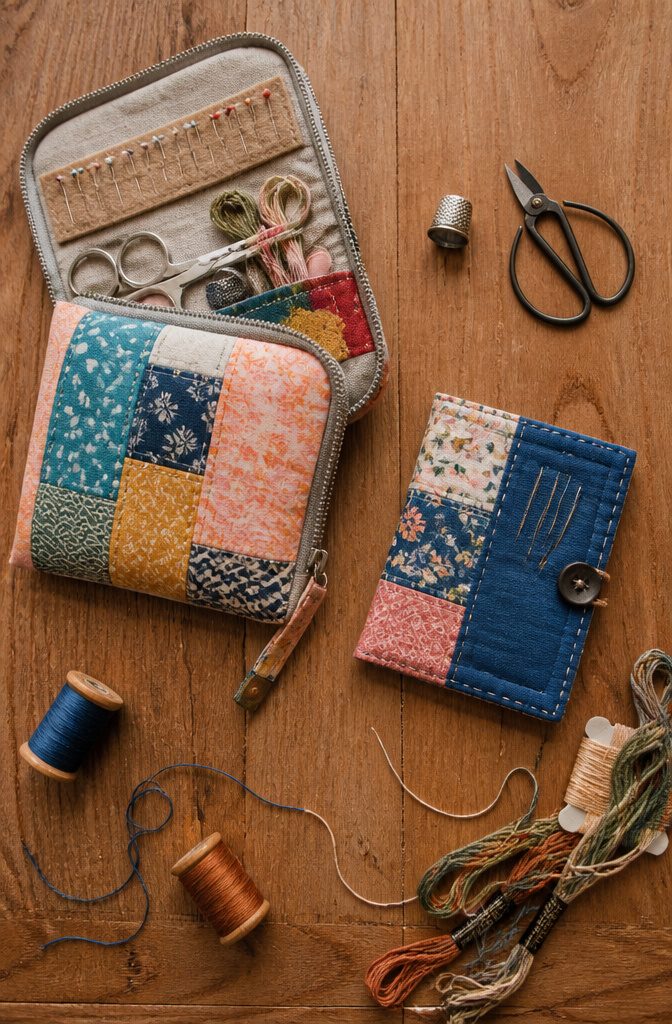
A travel sewing kit is really two small projects: a supply case for scissors, thread, and notions, and a needlebook for needles and pins.
Quilters have made the pair with a pin cushion tucked in, and one maker even fussy cut the tiny blades of a Dresden block for hers.
That detail is where scraps shine, since a few inches of a favorite print is plenty for a cover or a cushion top.
I like this one because it makes tools for the next project. Finish the kit first, and every later project starts with your supplies already in one place.
Because only one maker’s version is out there to learn from, I won’t promise exact dimensions. Size the case to your own scissors and spools, and build the needlebook to match.
7. Reusable Produce Bags
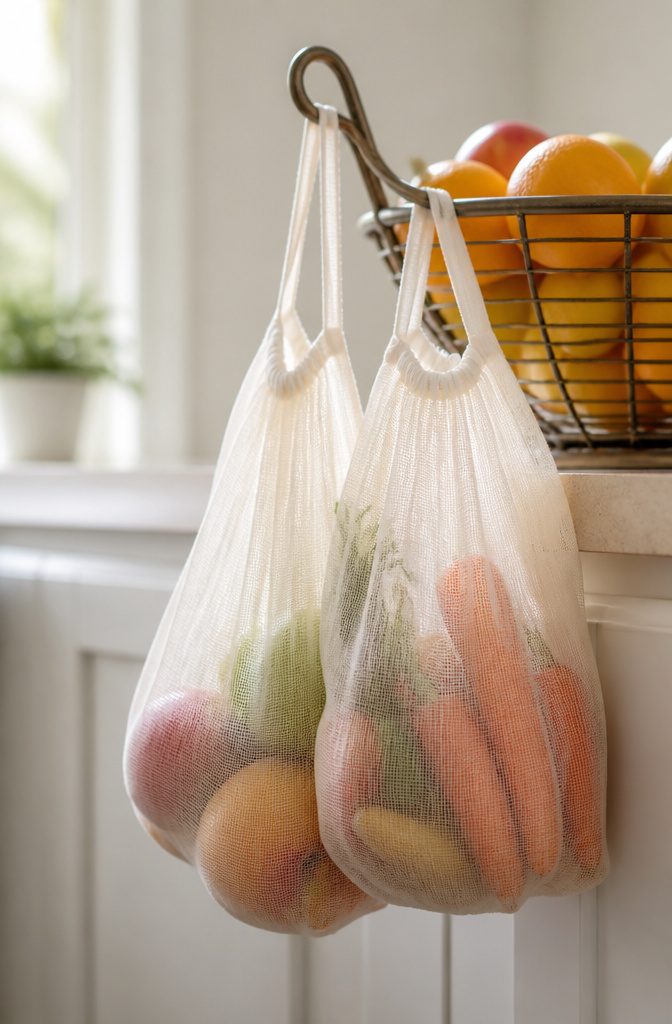
Cut 2 rectangles at 28 x 35 cm from cotton muslin, one for the front and one for the back.
Muslin at 120 gsm makes the lightest produce bag, which matters because the bag’s own weight gets added to the scale at checkout. A finished bag weighs under 20 grams.
Muslin breathes, so lettuce and herbs don’t sweat the way they do in plastic. The weave is loose enough that you can see a lemon from a tomato without opening the bag.
These bags are a good use of scraps because they go in the washing machine with the produce still inside, then dry quickly.
For potatoes, onions or citrus, I’d switch to linen, which holds heavier loads better. Muslin wins for everything else.
8. Fabric Headband
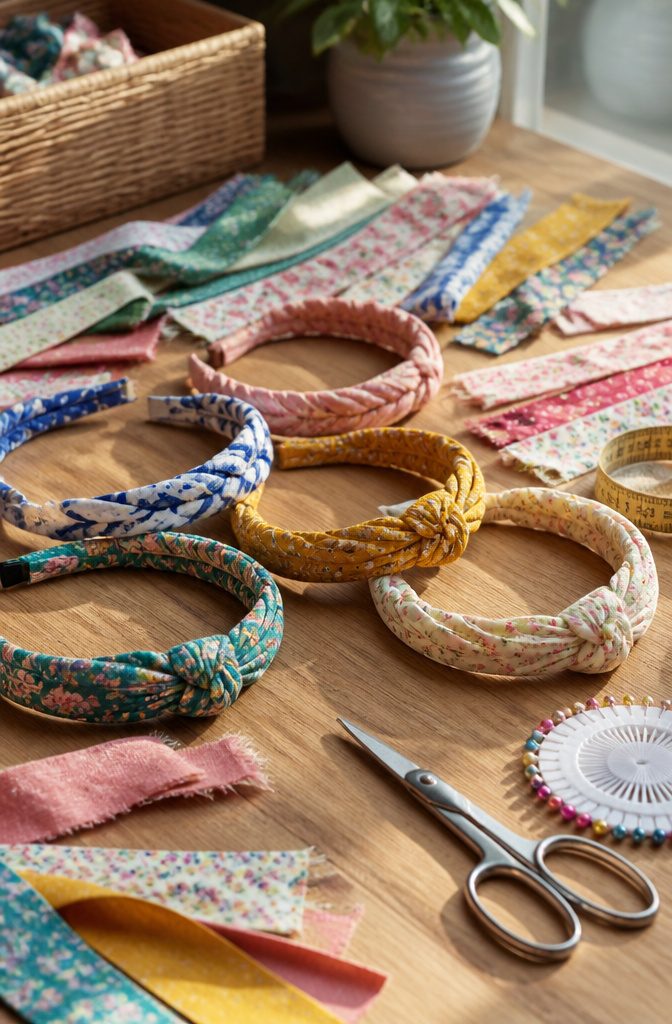
A fabric headband is a folded strip of fabric with a short piece of elastic at the back, and it fits adults and kids alike.
Leftover quilting cotton strips work well. A set of 5 can come together in 45 minutes, at under 50 cents in materials per headband.
The construction is two tubes.
Cut a 5″ x 18″ piece for the main band and a 2″ x 10″ piece for the elastic casing, then sew each along the long edge with right sides together. Turn them out and press flat.
Thread a 5″ length of ½” elastic through the small tube with a safety pin, and tuck the main band’s folded ends over it by 2 cm. Sew across each join twice so the stretch at the back doesn’t pull it apart.
9. Picnic Blanket
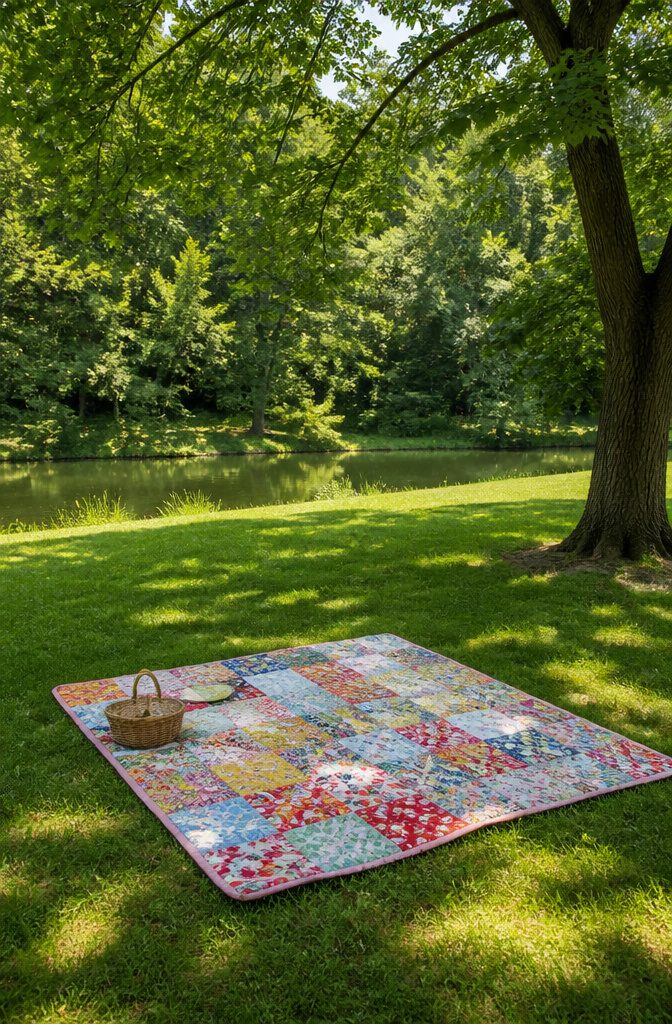
A picnic blanket is the biggest project in this batch and the easiest to sew, because nearly all of it is straight seams.
Scraps work best pieced into a top first, though a single large piece of fabric for the top also works well.
The build is three layers: a top, batting, and a bottom fabric.
Cut the bottom and batting to the finished size, then cut the top about 2¾" larger on every side. That extra width folds over the edges and becomes a self-made border, so there is no binding to buy.
Corners are the only fussy part.
Fold each one into a triangle and tuck it under to make a 90-degree angle, then pin before you stitch. Sew about ⅛" from the inside edge of the border all the way around.
For quilting, mark the center of each side and connect the marks with a ruler to draw a diamond.
Sew along it, then repeat 6" farther out. Grommets in the corners let you stake it down at the park or beach.
10. Drawstring Fabric Gift Bags
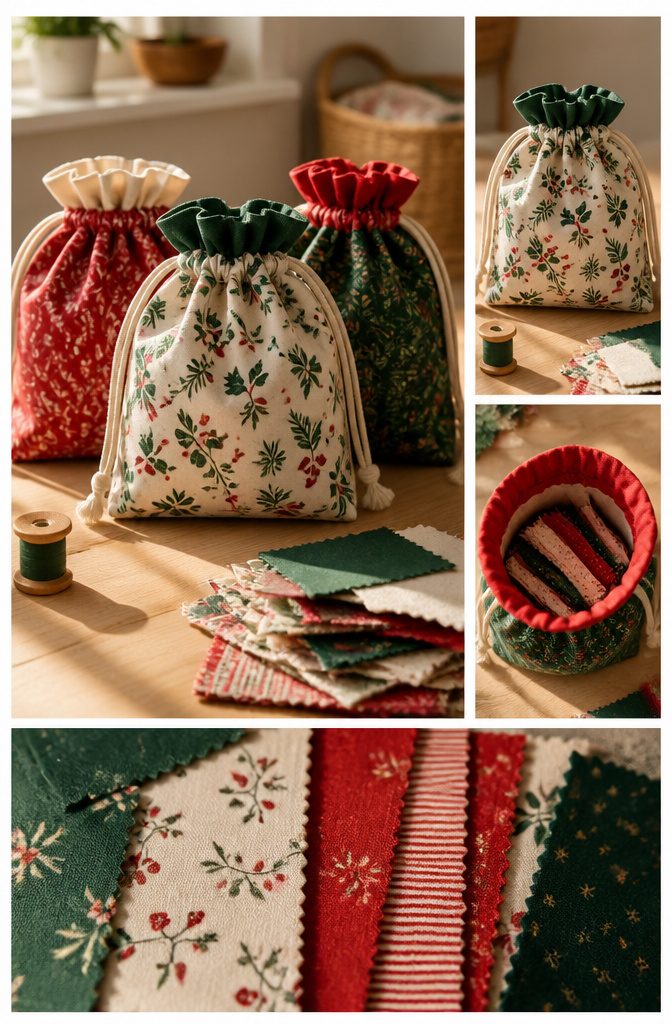
Drawstring bags are the easiest way I know to turn scraps into something people actually keep. Cut a rectangle, fold it in half, sew the sides, and run a cord through a channel at the top.
Once the first one is done, the rest go fast, so cut several rectangles at once and sew them in an assembly line, one step across the whole stack before moving to the next.
Fabric wrapping beats paper because the recipient can reuse it, and you can reclaim it next year.
Pick sturdy cotton that won’t fray badly at the seams, and finish the inside edges with a zigzag stitch so the bag survives repeated use.
For the holidays, red, green, and plaid scraps make a matching set for a whole gift pile, and one bag can hold a small gift without any tape.
11. Envelope Cushion Cover
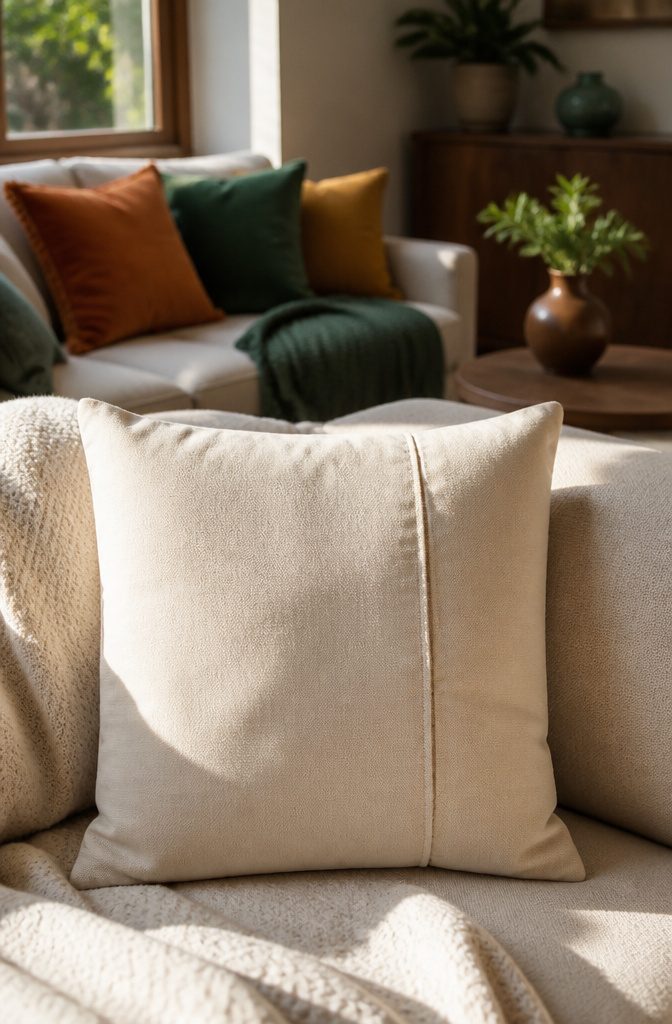
An envelope back uses 3 fabric pieces and 2 straight seams, with no zipper and no buttons.
The two back panels overlap at the center, and the stretched fabric holds the insert in by friction, so the cover comes off for washing in seconds.
Cut the front at 46 x 46 cm and the two back panels at 46 x 33 cm each. Hem one long edge of each back panel by folding 1 cm to the wrong side twice and stitching.
Lay the panels on the front with right sides together and the hemmed edges overlapping, pin all four sides, and sew a 1.5 cm seam.
Clip the corners at 45 degrees before turning it right side out, or they will bunch instead of sitting square.
Cotton canvas is the fabric I’d pick. One meter made 4 covers at $2.50 each in fabric, roughly 20 minutes apiece, which makes this a cheap way to refresh a living room.
12. Quilted Pot Holders
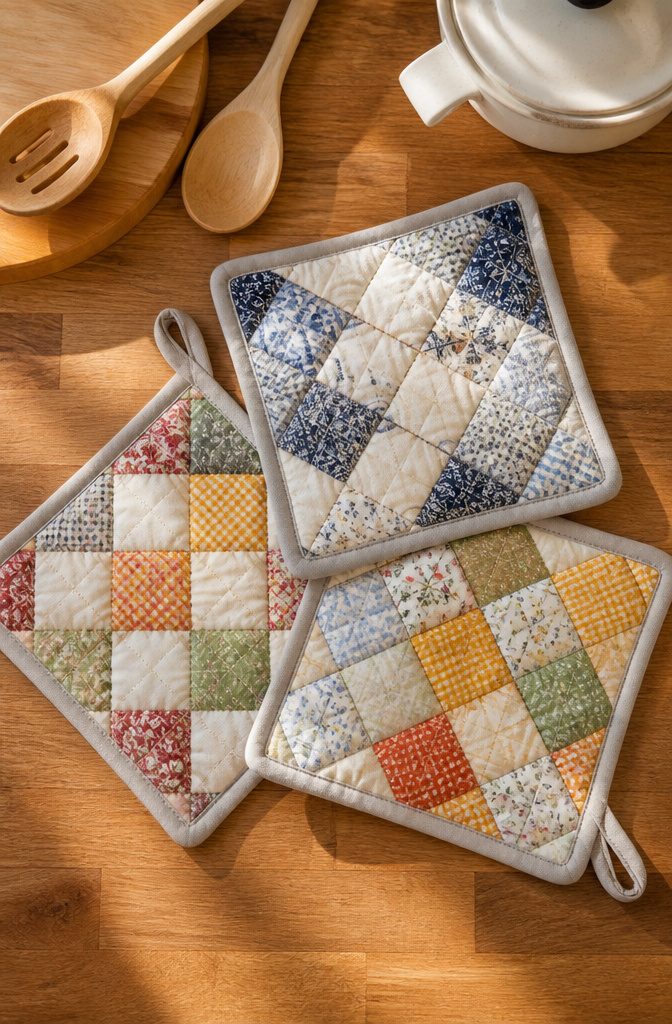
Cut 3 squares at 22 x 22 cm: a print for the top, cotton batting in the middle, and a plain backing fabric.
Stack them with the print face-up over the batting, and the backing face-down underneath, so both fabric faces end up outside. Pin through all 3 layers before you sew anything.
Then stitch diagonal lines across the square in both directions, 3 cm apart, to make a diamond grid.
Those lines hold the layers together for good and give the print a puffy, textured look. A set of 4 took about 90 minutes in cotton batting and quilting cotton, and finishing the edges with bias tape keeps the raw layers tidy.
Scraps work well here because a 22 cm square is small. I think it is the gentlest first taste of quilting you can get: you practice layering and straight-line stitching, and the result goes straight to the kitchen.
13. Wristlet Purse
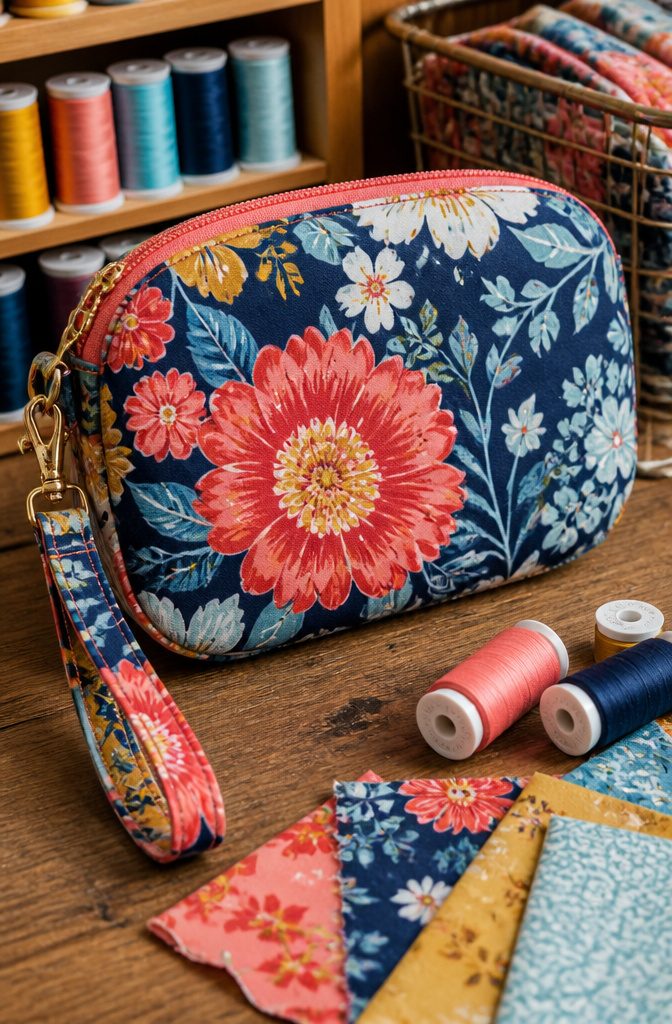
A wristlet asks more of you than the pouch does, mostly because the zipper goes in before anything else is closed and the lining has to be sewn in around it.
Cut two outer rectangles and two lining rectangles, each 6″ x 10″, and round the bottom corners.
A fat quarter or ¼ yard of cotton covers the outside. Fuse fleece interfacing cut to 5.75″ x 9.75″ onto the wrong side of each outer piece for body.
Sew a 9″ zipper to the top of each outer piece, stopping about ½” short of each end.
Open the zipper halfway before sewing the outer pieces together, or you can’t turn the bag right side out. Leave a 2–3″ gap in the lining’s bottom seam for turning.
The strap is a 12″ strip threaded through a nickel lobster claw. I’d add the 2″ zipper pull too; it makes the zipper far easier to grab.
14. Kids’ Tote Bag
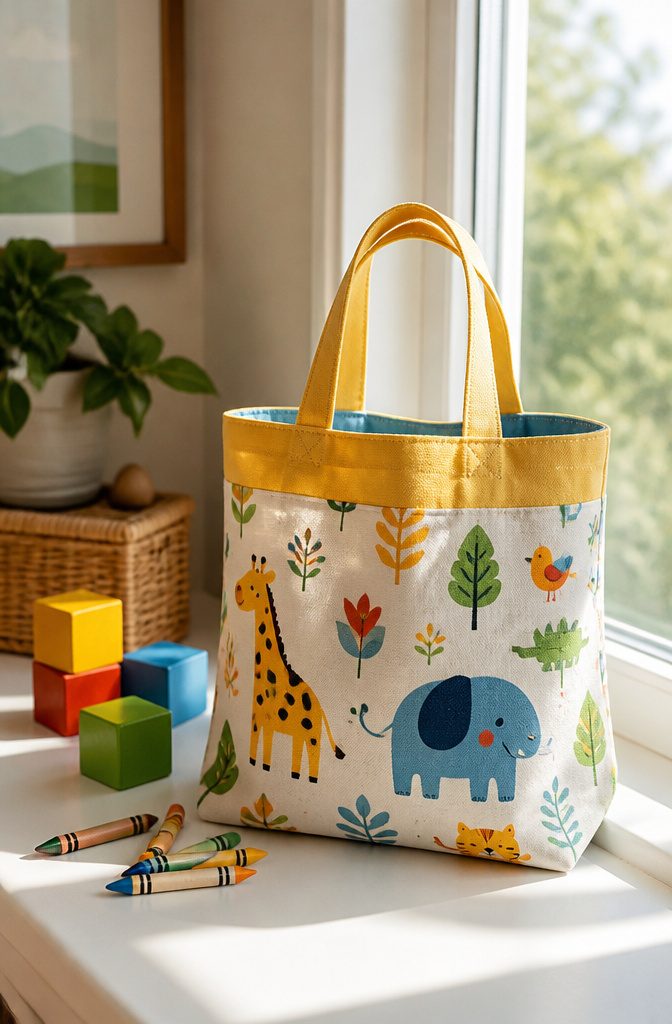
Two panels cut at 37 x 42 cm make a bag roughly the size of a child’s library book carrier, which is about all a small kid can lift without the strap dragging.
Unlike the lined tote, this one has no second pair of panels and no inner bag to fit, so you sew one pair of panels and finish.
Straight seams and a single turn are all a young sewer has to manage.
Cut the panels from a sturdy scrap, since a lightweight cotton will sag once a child loads it with books or rocks.
Pick prints a kid likes; they will carry it more. Raw seam edges will show inside the bag, so zigzag them or trim them with pinking shears to keep fraying down.
15. Easy Everyday Apron
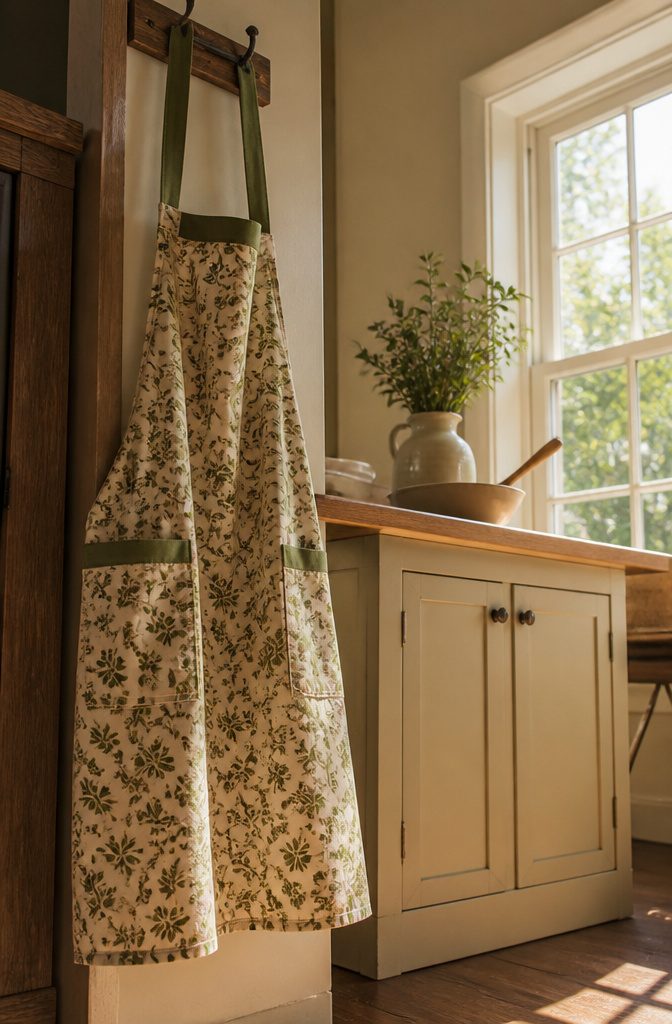
A full apron runs from chest to knee, and that coverage is the whole reason to choose it over a half apron.
It takes a large body panel, two waist ties and a neck loop, all from about 1 meter of cotton or linen.
That is more fabric than most scrap bins hold in one piece, so plan on pieced yardage or a single printed cotton you have been saving.
The body panel is 65 x 80 cm, with the ties at 6 x 80 cm each and the neck loop at 6 x 60 cm. Hem all 4 sides of the panel by folding 1 cm under twice.
For the straps, sew a 1 cm seam with right sides together, turn, press, and topstitch both long edges. Pressing the straps flat before topstitching is what keeps them from twisting.
A single pocket across the lower half of the panel is enough. The apron takes about 90 minutes and holds up to repeated washing.
Materials and Costs
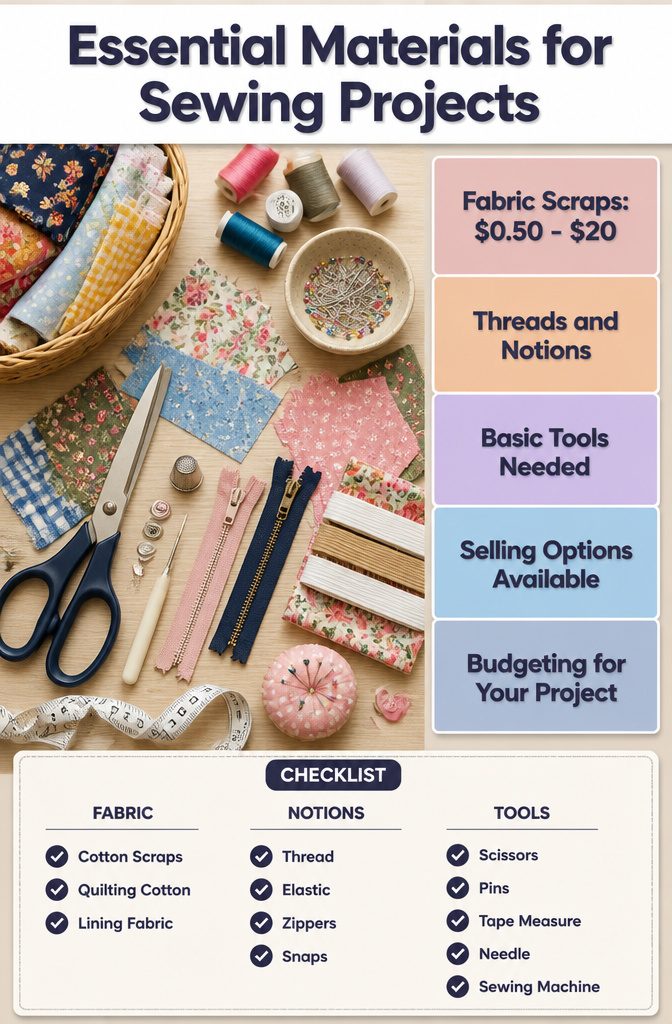
Most of these projects cost somewhere between $2 and $20, and fabric choice is what moves the number.
- Fabric: Scraps are the whole idea here. A headband strip made from leftover quilting cotton can come in under 50 cents, while a bigger piece like a tote or cushion cover pushes you toward the $20 end.
- Thread and notions: Plain all-purpose thread covers most of the list. Elastic, zippers, and snaps are where the budget creeps up.
- Basic tools: Scissors, pins, a tape measure, and a needle are enough. A sewing machine speeds things up, but hand sewing works if you add 30 to 60 minutes.
- Selling: Small items like headbands and scrunchies suit Etsy and craft markets, since they sew up fast in batches.
How Long Each Takes
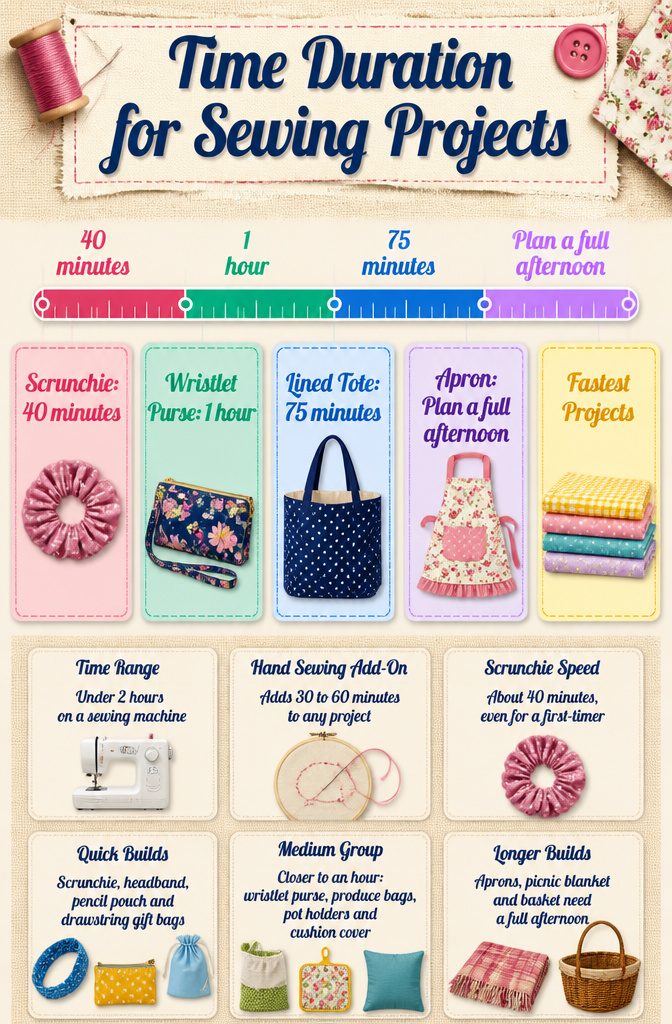
Most projects on this list finish in under 2 hours on a sewing machine, and hand sewing adds 30 to 60 minutes to any of them.
The scrunchie sits at the fast end at about 40 minutes, even for a first-timer working from a paused tutorial.
The quick builds are the scrunchie, headband, pencil pouch and drawstring gift bags. The medium group runs closer to an hour and covers the wristlet purse, produce bags, pot holders and cushion cover.
The lined tote is the longest at 75 minutes, because two full sets of panels have to be joined at the opening.
The aprons, picnic blanket and basket belong with the longer builds too, but I’d plan a full afternoon for those rather than trust a clock.
Best Projects for Beginners
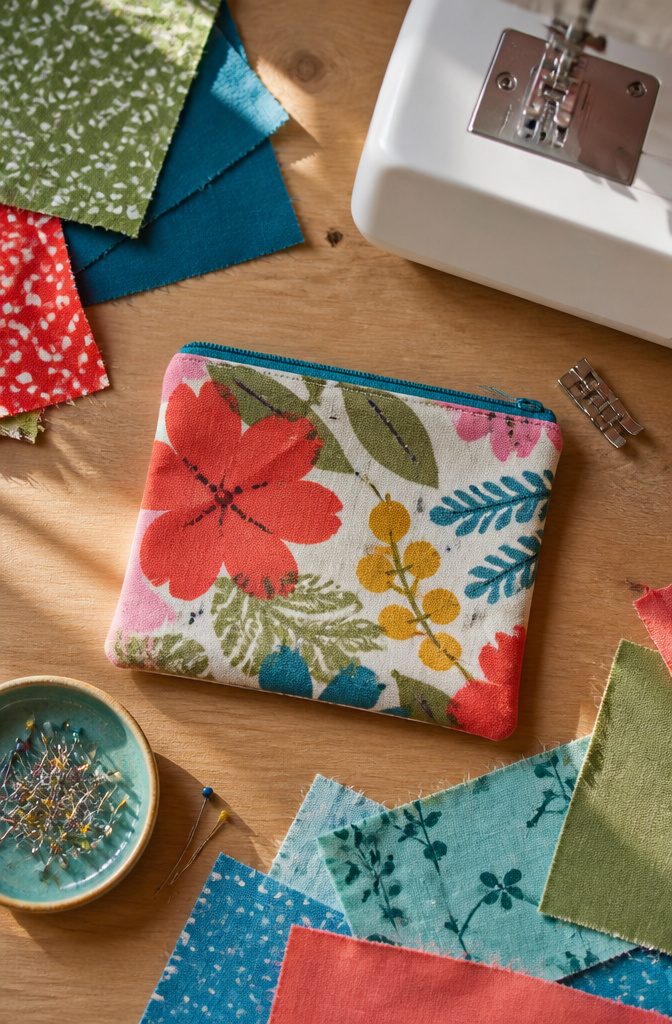
A zipper pouch is two fabric rectangles and one zip, and the zipper foot that comes with a standard sewing machine handles the install.
A 20 x 13 cm pouch with a 20 cm nylon zip in cotton canvas is a sound first size. It needs very little fabric, which suits scrap bins.
Aprons and fabric baskets earn their spot for the same reason: straight seams and hems are the only skills required.
Stay with straight stitching and you can finish most of these in under 2 hours, and the result looks intentional, not like practice.
Holiday gift bags make a good seasonal pick. Felt gift bags and Santa-pants treat bags are simple shapes, and scraps cover them.
Frequently Asked Questions
What are the best creative sewing projects for beginners?
Zipper pouches, fabric baskets, and aprons are good first picks, because straight seams and hems are the only skills they require.
A scrunchie is another strong starter, since a crooked seam disappears into the gathers. Stick with straight stitching and the result looks intentional, not like practice.
How long does a sewing project take?
A scrunchie takes about 40 minutes, while the lined tote runs about 75 minutes. Plan a full afternoon for the aprons, picnic blanket, and basket.
What materials do I need for creative sewing projects?
You need fabric, thread, and a few basic tools: scissors, pins, a tape measure, and a needle.
Elastic, zippers, and snaps are extras that some projects call for, and they are where the budget creeps up. Most projects cost between $2 and $20, depending mostly on the fabric.





