
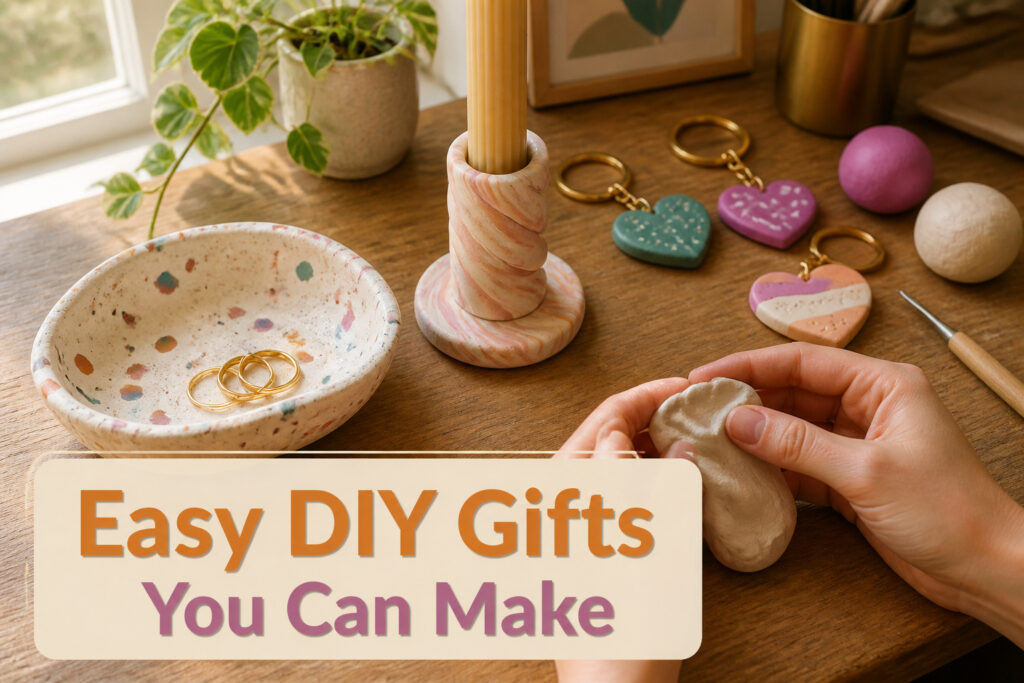
The best easy diy gifts share one trait: they look harder to make than they were.
The catch is material choice. Pick polymer clay or a plain wooden frame and the project forgives your hand; pick resin or cold-process soap and you are waiting weeks or watching mistakes set permanently.
Sculpey softens in minutes, bakes in an hour, and takes paint the same afternoon. That speed is what lets you finish a trinket dish or candlestick holder after dinner and still have it cool enough to wrap by morning.
1. Clay Candlestick Holders
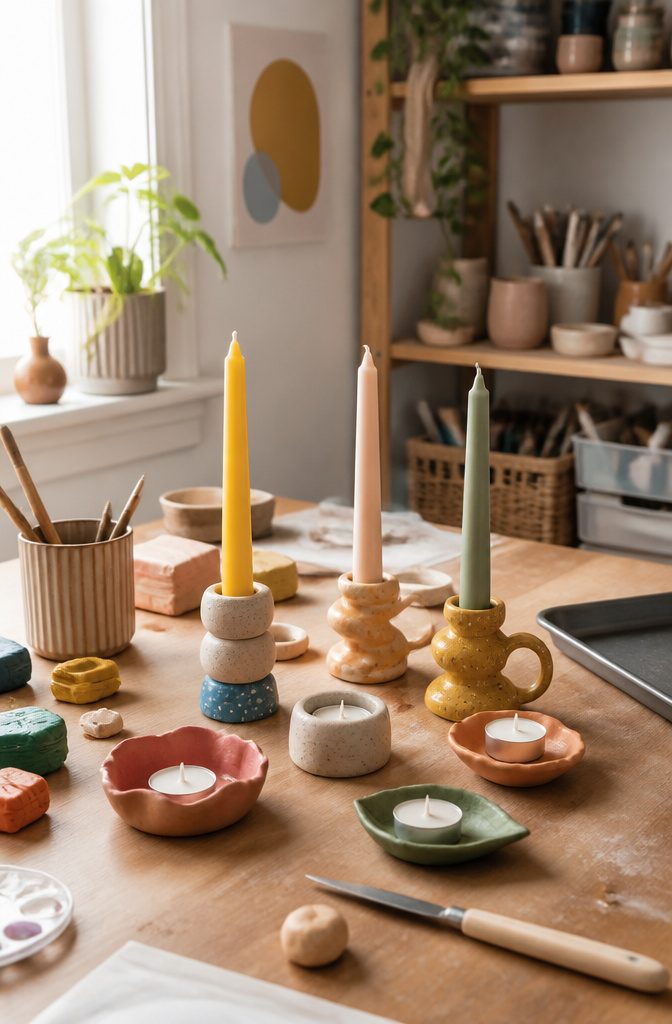
Sculpey softens fast in your hands, minutes of kneading before it rolls flat enough to cut.
Work a taper candle or tea light into the center as you build, pinching or taping pieces together like paper, so the finished holder actually fits what you already own.
An hour covers the making and the baking both; acrylic paint goes on after the clay cools, stripes or solids or whatever matches the person’s kitchen.
Some paint mixed with baking soda hides streaks and adds texture, or keep it smooth with a coat of clear glossy spray paint, even clear nail polish in a pinch.
Beginner territory, and the color choices do the personalizing for you.

【EFFORTLESS SHAPING & CUTTING】 Simplify your crafting process with our 2-in-1 design. This set includes a high-precision clay cutter and a matching shaping mold, allowing you to create professional-looking scalloped trinket dishes in minutes. Perfect for both beginners and experienced pottery artists.

Elegant Flower Shape with Embossed Detail: Features a beautifully rounded floral design with delicate inner embossing lines, perfect for adding intricate texture and elegance to your trinket dishes or clay art.

Kiln Glaze Colors: the kiln glaze transformation has a certain fluidity during the firing process, which produces a rich effect of color changes, elegant and creative
2. Trinket Dishes
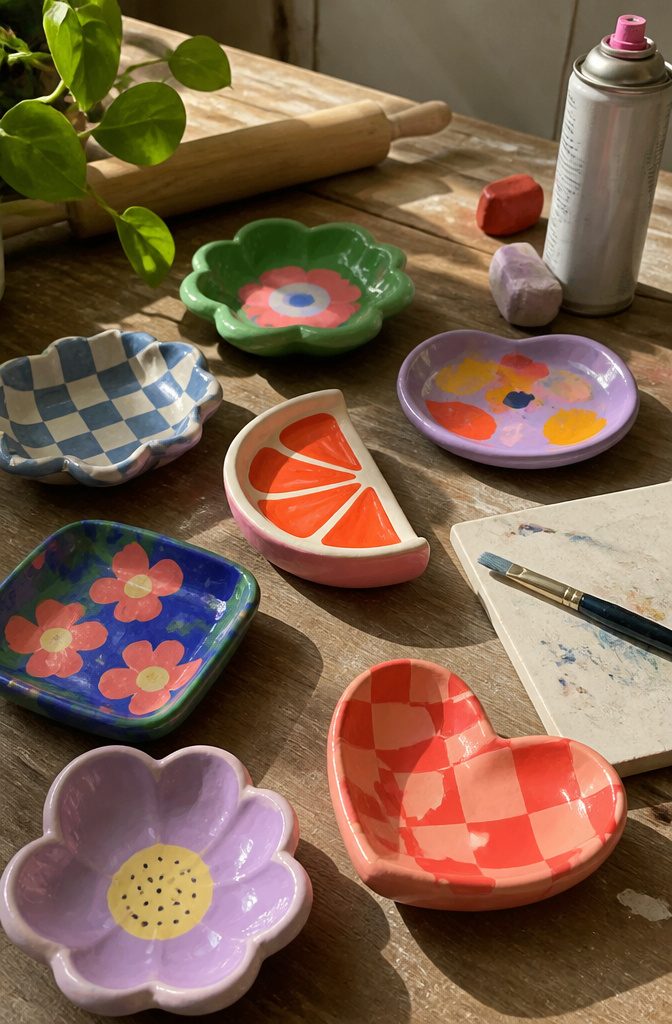
The same polymer clay that works for candlestick holders shapes into trinket dishes with almost no extra effort.
A single block runs about three to four dollars at most craft stores, and one afternoon covers both projects if you are already set up.
I roll the clay soft, press it into a shallow bowl or free-form pinch shape, and use a taper candle or tea light to check the size.
A little water on a paintbrush smooths fingerprints before baking, which matters more on a dish that sits open on a dresser than on a holder you mostly see from above.
Baking follows the package temperature and time exactly. The clay is forgiving; the only real mistake is second-guessing the instructions and leaving it in too long.
Once cool, acrylic paint goes on with a soft brush.
Stripes and small patterns hide uneven edges better than large solid fields. A coat of clear glossy spray paint seals the surface, though clear nail polish works in a pinch if that is what the drawer holds.
For texture, a pinch of baking soda stirred into the paint gives a matte, stone-like finish that also hides thin or streaky coverage.
Stamps press into soft clay for initials, small flowers, or dates. Paint fills the impression after baking and wipes off the raised surface with a damp cloth, leaving color only in the recess.
The whole piece fits in a palm, costs under five dollars in materials, and ships flat in a padded envelope if you are mailing it.
Salt dough from flour, salt, and water is an option if polymer clay is not in the house, though it needs a longer, lower bake and will not take the same crisp detail.

To complement your home decor, you want the ideal combination of chic design & quality craftsmanship – but many tapered candlestick holders wind up looking cheap, with a sloppy finish that chips easily. Handcrafted by talented ceramicists and glazed for gORGEOUS SHINE, the Danilovo Lotus Black Candle Holder is made to a HIGHER STANDARD, for a quality modern candle holder that will become your GO-TO for PARTIES & EVENTS.

Elegant Design: This candle stick holder set comes in three different sizes, suitable for various occasions. It adopts a brushed metal design, emitting a retro and extremely exquisite feeling. They are slim, classic, heavy, and also have good weight.

Elevate Your Décor: Enhance any space with our versatile candle holders, perfect for candlesticks or taper candles. Crafted for both style and functionality, these holders seamlessly blend into any aesthetic, from farmhouse chic to modern elegance.Housewarming gift for women & men.
3. Fridge Magnets
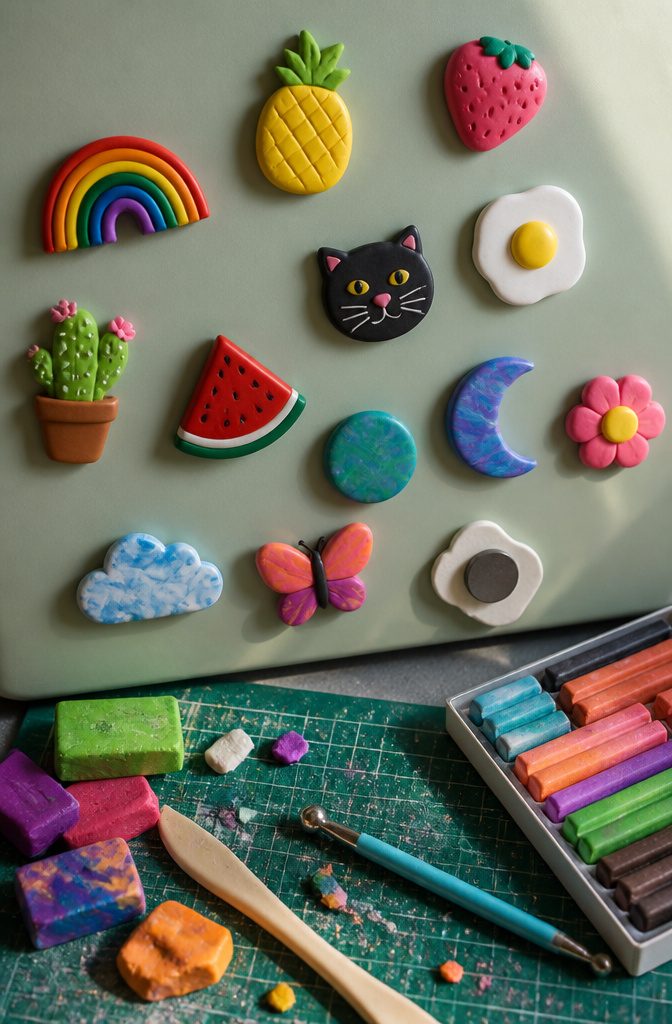
Clay fridge magnets land in that sweet spot where a lump of material and a magnet back become something someone actually wants on their door.
Polymer clay bakes in a home oven at low heat, so no kiln or special gear is needed. A block of the stuff costs a few dollars and yields a dozen shapes or more, depending how thick you cut them.
The real gift is the shape you pick. A tiny avocado for the friend who puts it on everything.
A simple house outline with their door number scratched in before baking. Color mixing happens right in your hands; marble two tones slightly and you get a soft swirl no two pieces duplicate.
Bake them flat on parchment so the backs stay smooth enough for a magnet to adhere; a dab of strong glue after cooling does the rest.
Sculpey and Fimo both work fine here, but supermarket-model air-dry clay works too if you do not want to turn the oven on.
It shrinks a hair as it dries, so cut your shapes a touch thicker than you want to end up with. Either way, the whole project runs under an hour of active time, plus drying or baking.
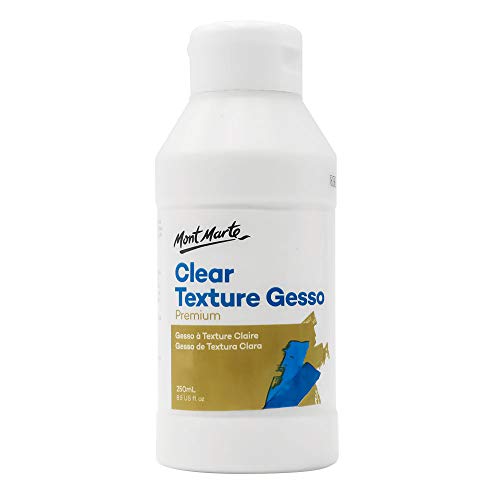
Prepare surfaces for a range of art projects

High-Quality Ingredients: Crafted from premium materials, our modeling paste ensures durability and smooth application for your artistic projects.

High-Quality Ingredients: Crafted from premium materials, our modeling paste ensures durability and smooth application for your artistic projects.
4. Hand-Carved Library Stamp
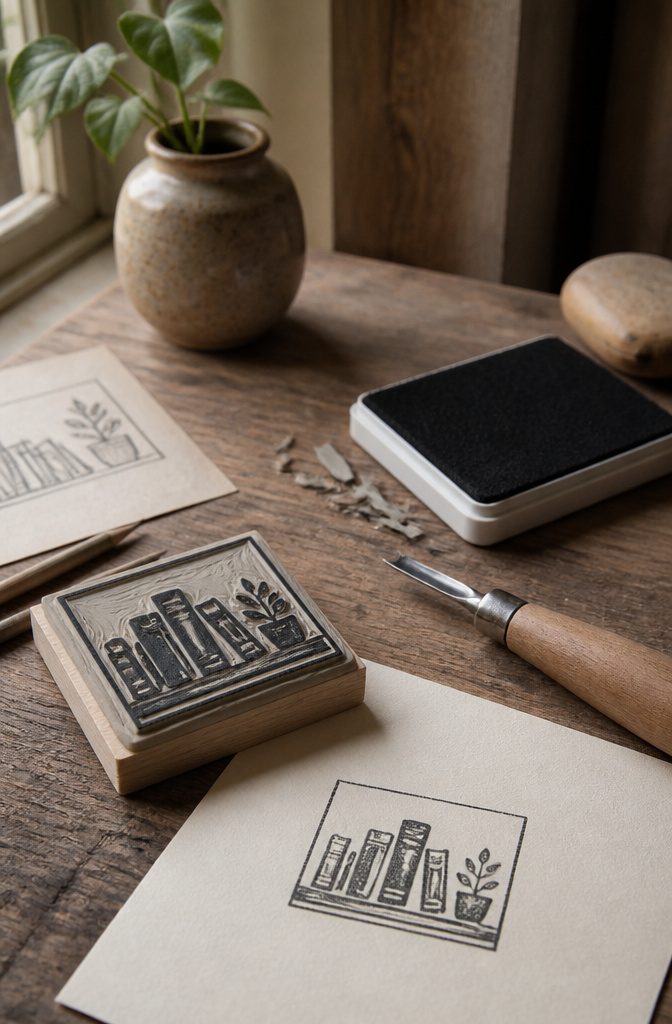
A hand-carved library stamp sits at the edge of what most people mean by "easy," but the payoff is a gift someone keeps for years.
The process is linocut in miniature: you draw on a rubber block, then carve away what should not print.
Words have to read backward on the block so they stamp forward, the one mistake that wastes an afternoon and a hunk of rubber.
The Speedball kit covers the basics, with a few nib sizes for tight lines and broader curves.
A pencil does the drawing, though a soft graphite line smudhes less when you start cutting. The carving itself takes steady pressure and more time than the other projects on this list.
Plan for that. Someone comfortable with an X-Acto or a paring knife already has the hand for it; a beginner can get there, but not in twenty minutes.
Personalization is the whole point.
A name, a small illustration, a return-address format for newlyweds who still mail things. The sources note pairing the finished stamp with a fresh ink pad and a favorite book, which turns the object into a small ceremony.
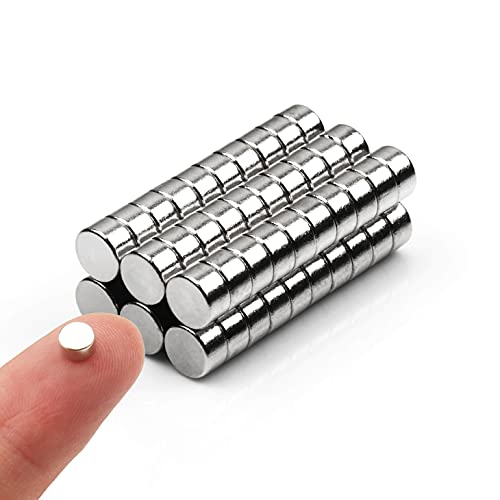
60 Pack Refrigerator magnet is equipped with magnet with nickel coating. SIZE:5 X 2.8mm,And package size at 2.5 in width and 4 in length capable of holding up to 8 sheets of A 4 paper.round

40 Pack Refrigerator magnet is equipped with magnet with nickel coating.SIZE:6 X 2.8mm, And package size at 2.5 in width and 4 in length capable of holding up to 16 sheets of A 4 paper.

MAKE YOUR OWN CLAY FRIDGE MAGNETS – Turn 18 colors of soft air dry clay into dinosaurs, animals, foods, characters and mini designs. Add the peel-and-stick magnet backing and display each creation on a refrigerator, locker or magnetic board.
5. Stamped Tea Towels
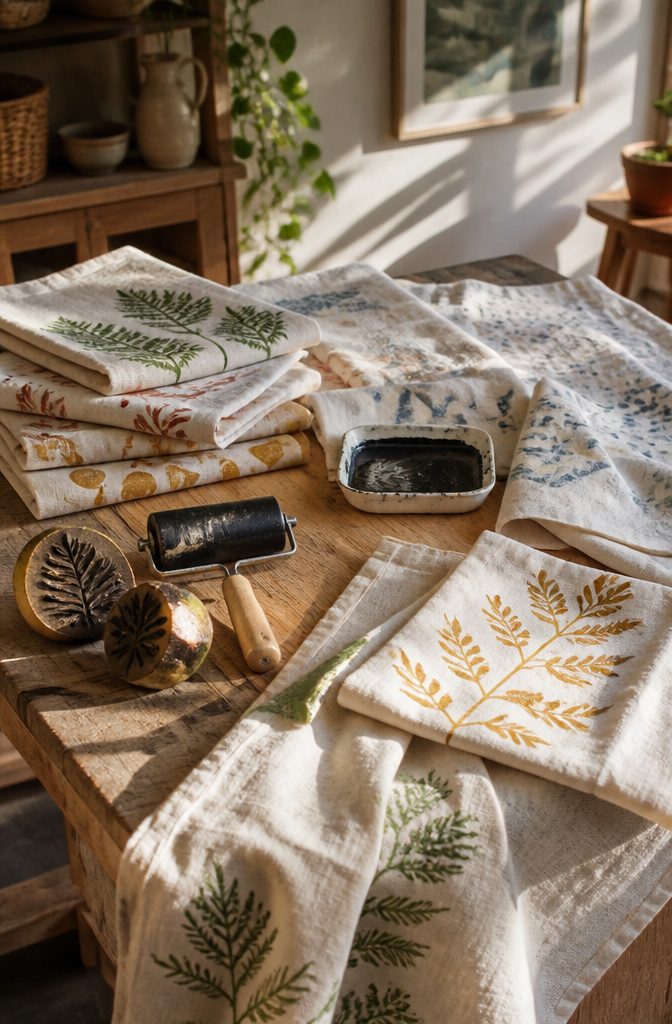
Fabric stamping on tea towels lands somewhere between craft and practical joke: the results look store-bought, but the process takes maybe twenty minutes once your supplies are out.
Plain cotton or linen tea towels work best, and multipacks online break down to a couple dollars per towel if you’re batching gifts.
For ink, fabric block printing ink is the standard move, though a roller helps lay it down evenly.
The stamps themselves are where this project earns its personality. A full carving kit opens up custom designs, but potato stamping works perfectly well and turns the whole thing into an afternoon activity you could actually do with kids.
Ferns, trees, simple geometric shapes: the sources show botanicals everywhere right now, and the motif is forgiving if your registration drifts a hair off center.
Thrifted linens cut the cost further.
A soak in OxiClean revives fabric that looks too far gone at first glance. I would skip anything synthetic; the ink sits on top instead of settling in, and the first wash fades it to a ghost.
Stick to cotton or linen, stamp dry, heat-set with an iron, and you’ve got a gift that looks like it came from a boutique print shop rather than your kitchen table.

Made of resin and paint/mica
Kurt Adler specializes in beautifully detailed Christmas Ornaments and holiday seasonal decor designed exclusively with your needs in mind!

Realism: Each of the 9 resin bread-shaped ornaments is expertly details of real bread, making them a captivating addition to any decor.
6. Custom Batch Cocktail Bottle
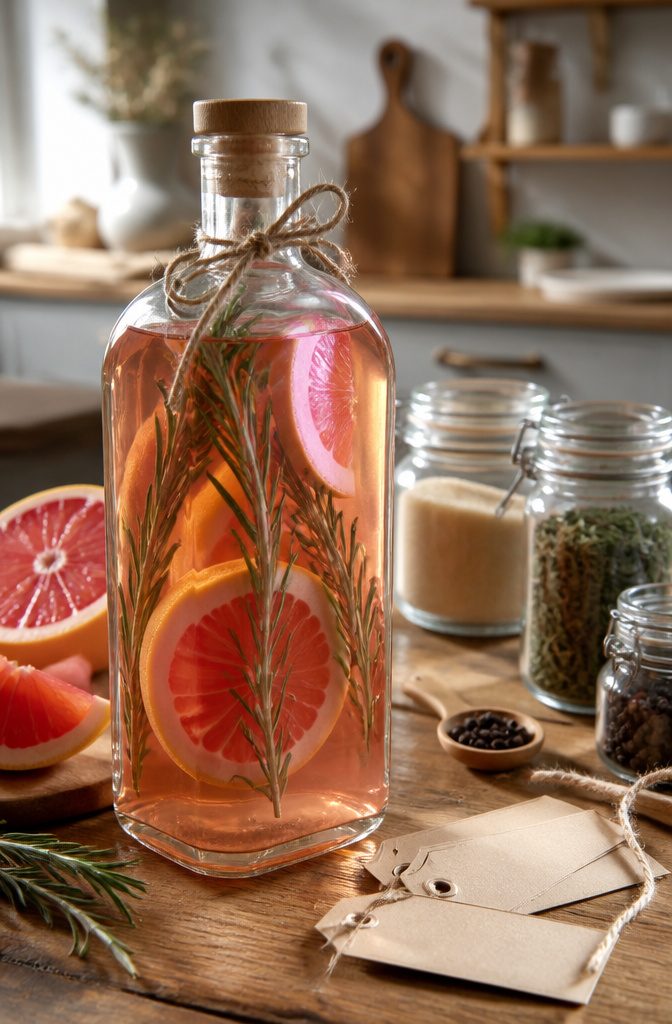
A batch cocktail bottle lands somewhere between a cooking project and a design exercise, which is why it stuck with me when I started looking for gifts that don’t require a workshop.
The base is just sugar, water, and a spirit, heated until the sugar dissolves and then cooled before the booze goes in so the alcohol doesn’t cook off.
A 750 ml bottle holds roughly three cups of finished mixer, enough for six to eight drinks depending how heavy the pour, which feels substantial in the hand without being awkward to wrap.
Flavor is where the recipient’s name gets written. I keep coming back to a grapefruit–rosemary combination for a friend who gardens, and a chai-spiced rum version for winter birthdays, but the structure stays the same.
The sugar syrup carries whatever you steep in it while it cools, strained out before bottling.
The label matters more than the ribbon.
A strip of kraft paper with the drink name, the suggested ratio, and a born-on date takes ten minutes with a printer and glue stick, and it answers the questions people actually have when they open the bottle.
Water-resistant label paper helps if the bottle lives near ice, but standard paper works fine for a gift that disappears in a week.
Start to finish runs about an hour plus cooling time. No special tools beyond a pot, a funnel, and a strainer.

【EFFORTLESS SHAPING & CUTTING】 Simplify your crafting process with our 2-in-1 design. This set includes a high-precision clay cutter, Sponge and a matching shaping mold, allowing you to create professional-looking scalloped trinket dishes in minutes. Perfect for both beginners and experienced pottery artists.


Trinket Dish
7. Handpainted Frames
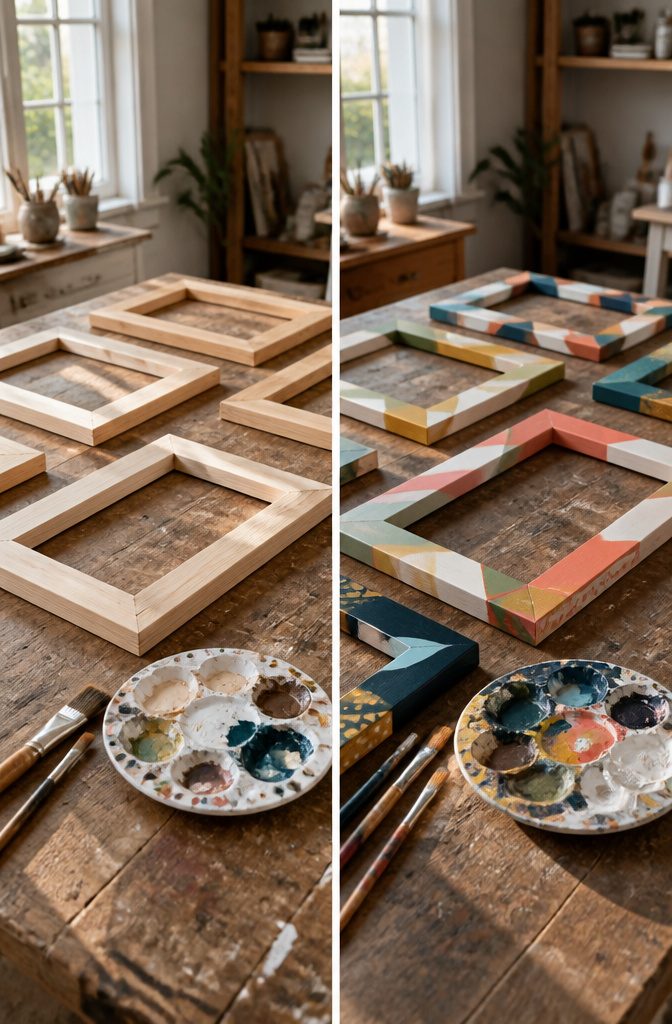
A plain wooden frame from the craft store takes acrylic paint better than the glossy ones, and the matte finish hides the brush marks if your hand is unsteady.
I learned that the hard way after painting a high-gloss frame for my sister’s birthday, watching every stroke stay visible like a neon sign.
Two thin coats of acrylic beat one thick coat every time; the thick one pooled in the corners and took nearly a full day to dry hard instead of tacky.
Plan about two hours of actual painting, then let the piece sit overnight before wrapping it.
Solid colors are forgiving for beginners, but masking off stripes or a simple geometric corner adds ten minutes of prep and makes the gift look like it came from a small shop.
The back edge still shows raw wood on most store frames, so run the color around to the sides and that back rim too; it reads as finished when someone picks it up.
My go-to lately is a deep terracotta against cream mats, or slate blue for the friend who replants her apartment every spring.
The paint itself costs a few dollars, and one bottle covers three or four standard frames with enough left for touch-ups.

Ceramic Candle Holder --- EXCELLENT MATERIAL: These candlestick holder is made of quality ceramic material, beautiful and elegant, sturdy and safe, not easy to burst and age
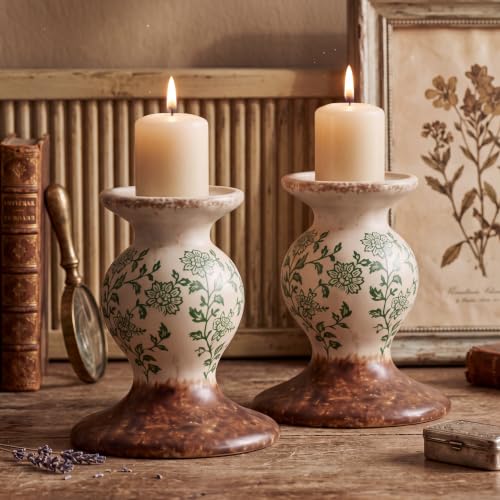
Rustic Sculptural Terracotta Candle Holders: you will received 2 pcs farmhouse pillar candle holders featuring a vintage floral pattern and distressed rustic finish, designed to elevate farmhouse and vintage style home decor
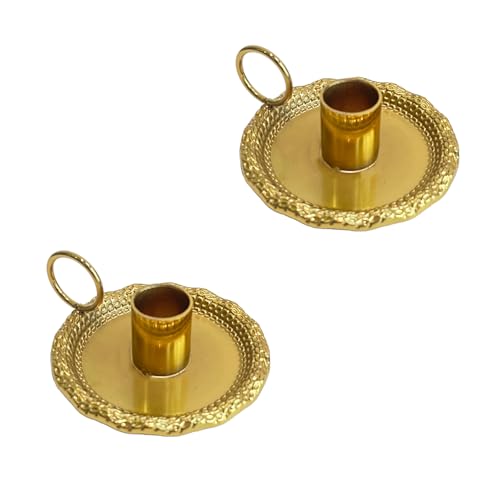
Vintage chamberstick: inspired by single candle holders, the antique color appearance highlights its luxury, and the surface is finely hand-polished and treated, resulting in a unique texture and elegant look for each one
8. DIY Bath Bombs
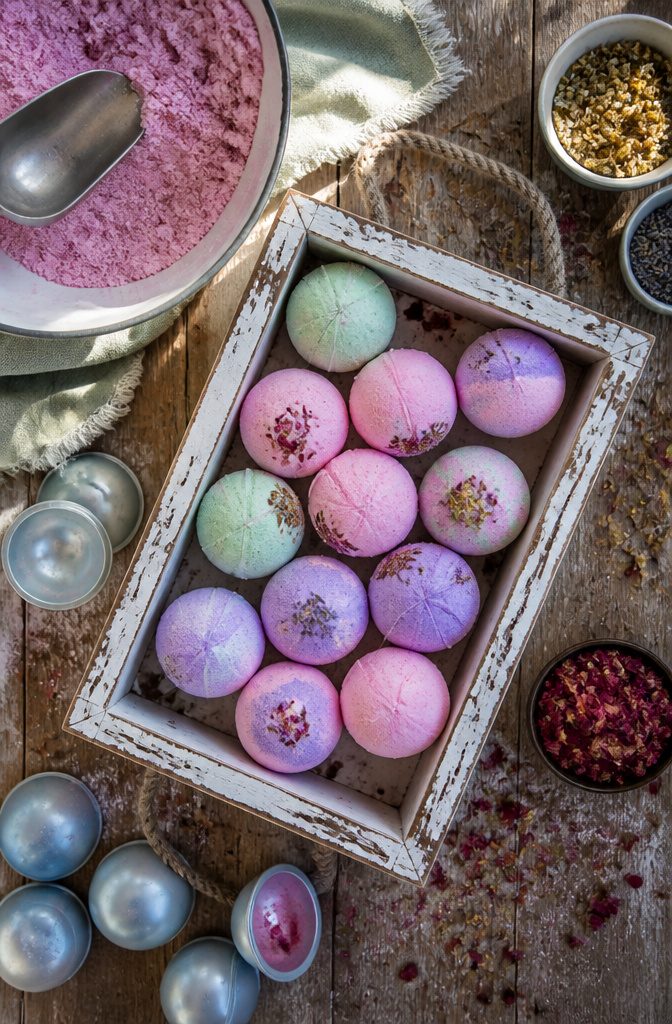
Baking soda and citric acid are the two things that make a bath bomb fizz, and both sit in the baking aisle or clean the house already.
The rest is oil, water, and whatever scent or color turns the gift personal.
Lavender and eucalyptus show up most often, but vanilla, rose, or a citrus blend work the same way; a few drops of food coloring or mica powder shifts the look without changing the recipe.
The mix takes about ten minutes if the oil goes in slowly enough to not trigger the fizz early.
Press the damp sand texture into silicone molds, let them dry on a wire rack for at least four hours, and they harden into something that looks store-bought.
A first batch of mine cracked because I packed the mix too wet; drier holds its shape better and finishes smoother.
A dozen bombs cost less than one from a boutique shop, and the scent is chosen for the person opening it, not picked from a shelf.
That is the part that turns a quick afternoon project into a gift someone actually uses.

High-Quality Ingredients: Crafted from premium materials, our modeling paste ensures durability and smooth application for your artistic projects.

PERFECT SIZE - This line of textured acrylic paint comes in a convenient 2 oz size and has a vibrant, highly pigmented formula - perfect for all your decor projects!

The information below is per-pack only
9. Homemade Candles
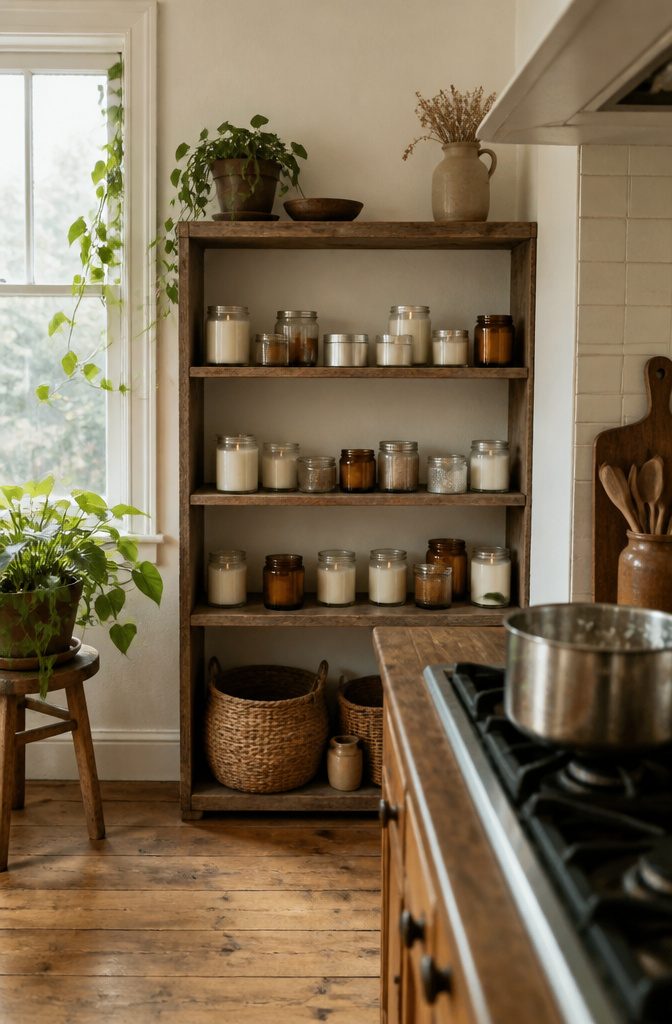
Soy wax candles land somewhere between beginner and intermediate, mostly because the wick needs to stay centered while the wax cools.
The actual process melts down to: melt, scent, pour, wait. Golden Brands 464 soy wax handles fragrance well and gives a smooth top without much fuss, which matters if you are gifting these and not just burning the mistakes yourself.
Containers make the gift.
A jelly jar works. So does a thrifted tin or a vintage glass candy dish, which sits on a dresser looking deliberate long after the wax is gone.
Match the wax color to the dish, or leave it creamy white and let the container do the talking.
Scent is where you personalize without spending much. Vanilla, cedar, something citrus.
One note carries further than three mixed together, in my experience reading through tutorials. The people who get these as gifts rarely guess they took under an afternoon.

【HIGH-QUALITY Food Magnets】: 100% Hand made resin magnets uses non toxic, non smell and environment-friendly material, It is absolutely safe for kids. These are 7pcs fun fridge Magnets in a package. They make your home more beautiful, especially it will be great way to decorate your kitchen

4 different sizes:100 pieces of each size(6mmx2mm,5mmx2mm,4mmx2mm,3mmx2mm).We offer customizable magnets that can be personalized with your own photos or messages, making for a perfect gift or a cherished keepsake

Small But Strong Magnets: Caturledas magnets have strong enough magnetic force for the small size. You can choose tiny or large magnets for light or heavy duty projects as you like
10. Sugar Scrubs
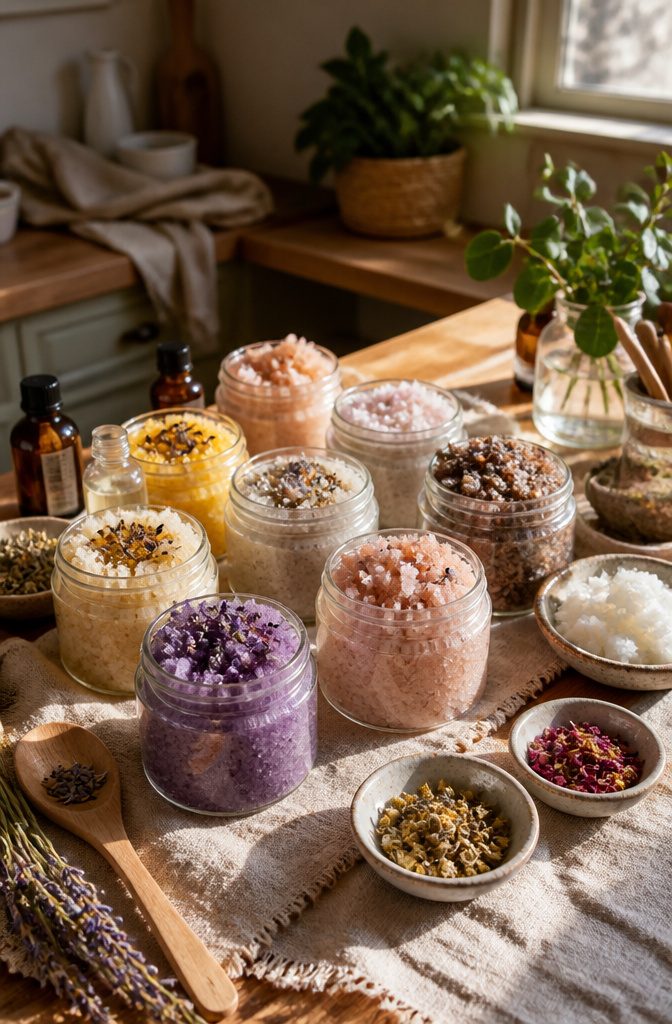
Coconut oil and granulated sugar are the backbone here, and the ratio is forgiving. I usually start with two parts sugar to one part melted coconut oil, stirred until it looks like wet sand.
The whole batch comes together in under 30 minutes, start to finish, which makes it one of the few handmade gifts you can actually whip up after the kids are in bed.
The real fun is the scent. Essential oils let you turn the same base into something completely different: a grapefruit version for your sister who takes long baths, coconut lime mint for the friend who loves anything tropical.
I keep a few small jars on hand so I can split one batch into several personalities.
Packaging matters more than you’d think. A simple label with the scent name and a "use within three months" note keeps it looking intentional rather than last-minute, even when it is.
Beginners rarely mess this up; the worst that usually happens is too much oil, and you just add more sugar.

Mini Christmas Ornaments: You will get 42PCS Christmas miniature resin tree ornaments and 60pcs golden string, all in one box.quantity is sufficient and the styles are diverse rich in color, which can meet your Christmas party or Christmas tree decor add to the Christmas atmosphere

Made of glass and paint/mica

PACKAGE: You will get 36PCS Christmas mini resin ornaments and 32 ft golden string the quantity is sufficient, and the styles are diverse rich in color, which can meet your Christmas party or Christmas tree decor add to the Christmas atmosphere. Most of the resin ornaments in the Christmas ornaments set are flat , and some are 3D resin ornaments(no duplicates).
11. Personalized Stationery
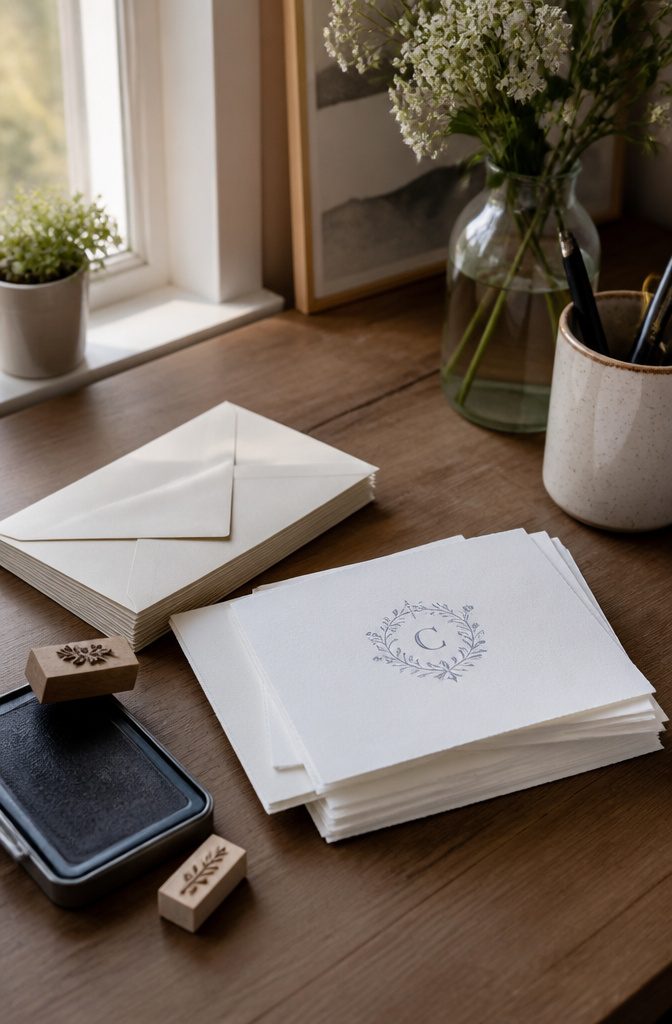
Personalized stationery sits right in that sweet spot between looking like you planned ahead and actually being something you can finish in an afternoon.
Thick cotton paper, a simple alphabet stamp set, and a pigment ink pad are the core of it.
The stamps run maybe ten to fifteen dollars online, and the paper you can pick up at any craft store or cut down from a larger sheet.
Monograms read the most polished for people you do not know well. I tried freehand lettering once and the inconsistency drove me nuts; stamps keep every envelope looking like the same hand made them.
Names work better for close friends, and a small motif, something like a sprig or a geometric shape, fills the corner when you want it to feel designed rather than just labeled.
The whole setup takes about two hours if you are making a set of ten cards with matching envelopes.
Beginner level, honestly. The only mistake that matters is rocking the stamp instead of pressing straight down, which leaves a halo edge you cannot fix.
Press and lift in one clean motion. Let the ink dry ten minutes before you stack them or the impression ghosts onto the next sheet.
12. DIY Notebooks
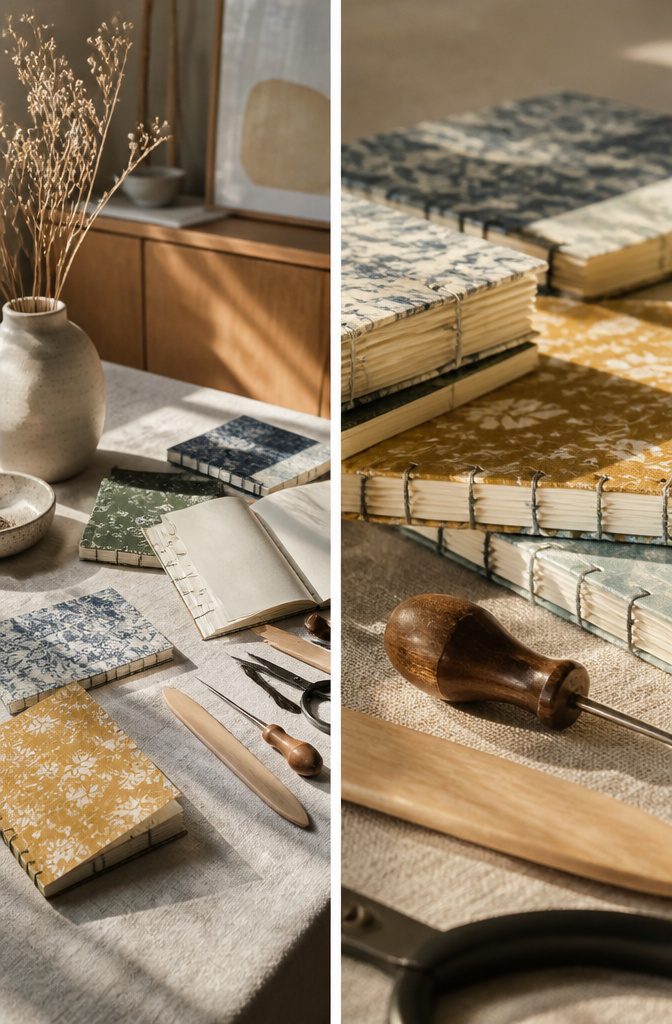
Cardstock and decorative paper turn into a notebook in about an afternoon, which puts this squarely in the easy diy gifts sweet spot for anyone between beginner and intermediate.
The Japanese Watoji binding method gives the spine a hand-stitched look that reads as intentional craft rather than corner-cutting, though a simple pamphlet stitch works fine if you do not want to learn new knots.
The cover is where the personalization happens. Scrapbook paper, old maps, or even a photocopied photograph laminated to cardstock all become the face of the gift.
I have seen solid covers with a single bold shape cut out to show the endpaper beneath, and I have seen collages that look busy until you realize each scrap references something the recipient actually mentioned once.
Materials stay minimal: cardstock for the cover, decorative paper for the outside and endpapers, printer paper or sketch paper for the guts, an awl or heavy needle, and waxed linen thread or dental floss in a pinch.
Time runs roughly two to three hours once the paper is cut, including pressing the folded signatures under a heavy book while you work on something else.
The mistake most people make is cutting the cover to fit the paper exactly. Leave the cover a quarter inch taller than the block so the edges stay protected when the book gets tossed into a bag.
A notebook that falls apart in a week is a gift that backfires; one that develops a soft curve to its cover after a month of use is a gift that gets kept.
13. Homemade Vanilla Extract
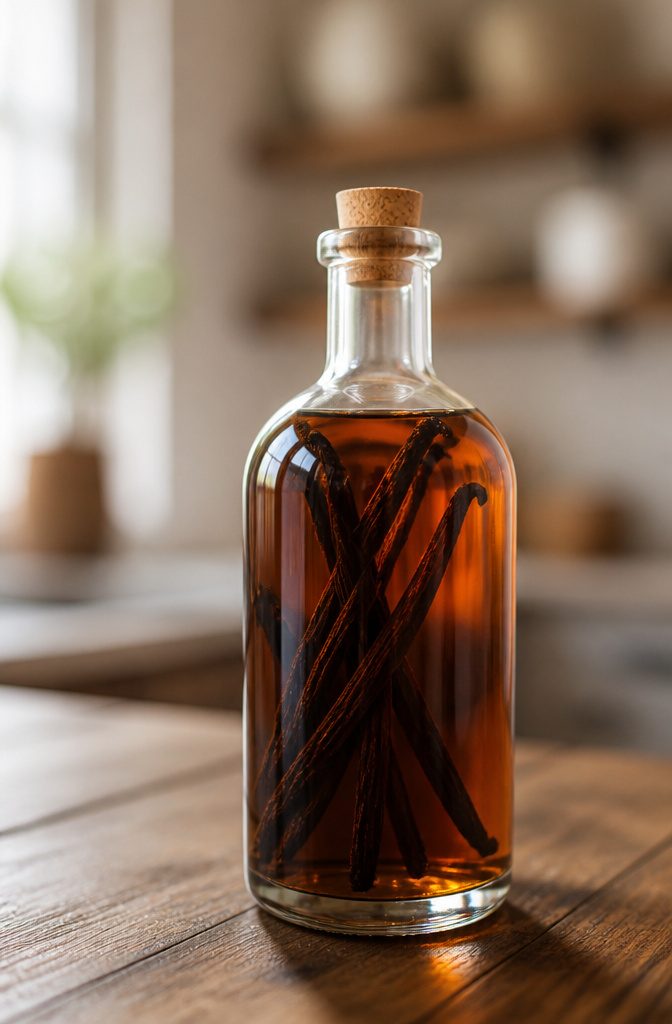
Vanilla extract made from whole beans and plain vodka looks like a no-brainer on paper, and the prep really is that simple.
Split a couple of beans lengthwise, drop them into a bottle of the cheapest vodka you can stand to buy, and wait.
The catch is the timeline: the alcohol needs about eight weeks to draw out the vanilla’s flavor, and pushing it earlier leaves you with something that smells right but tastes thin.
Active hands-on time sits under ten minutes; patience handles the rest.
Two whole beans per cup of vodka is the ratio that keeps coming up, though some makers go heavier for a stronger brew.
Bean variety is where this gift gets personal. Madagascar beans read as classic, creamy, and familiar.
Tahitian beans lean floral and fruity, more perfume than bakery. Mexican beans carry a darker, spicier edge that works in chocolate desserts.
The bottle itself matters for gifting, a swing-top or small apothecary jar turns the waiting into anticipation rather than an explanation you have to make. Label the start date so the recipient knows when to crack it open.
14. DIY Coasters
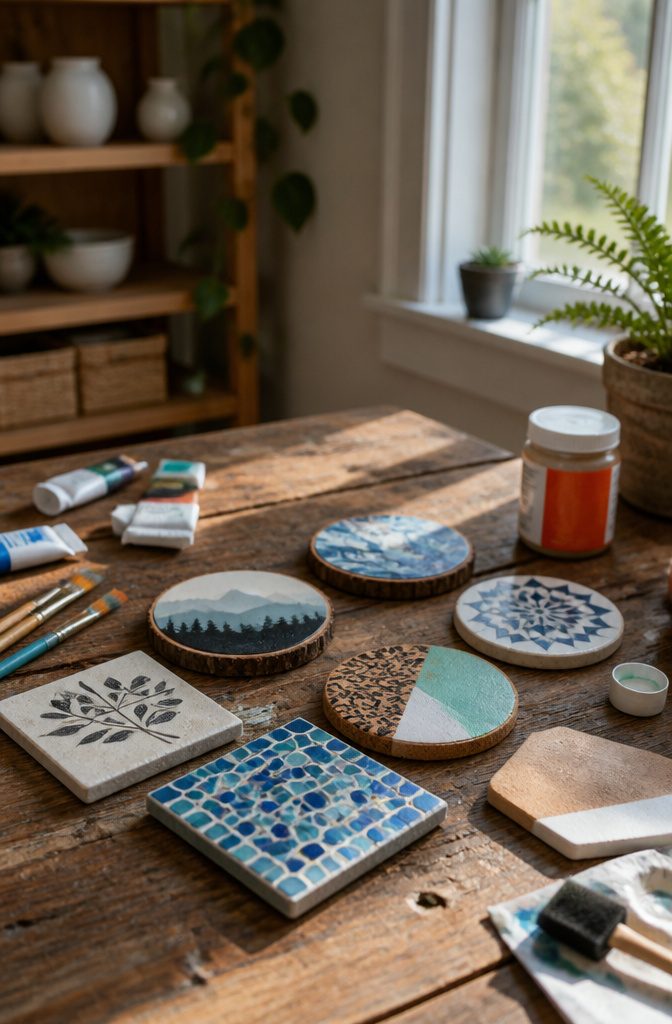
Coasters sit in that sweet spot where the material does half the decorative work for you.
Tile gives you a clean, glossy surface that takes Mod Podge and paper without complaint. Wood slices from the craft store take paint or stain in stripes, dots, whatever pattern matches the person you’re making them for.
Cork keeps things lightweight and absorbs condensation. Resin opens up confetti, pressed flowers, or layers of color sealed under a hard, drink-proof finish.
The build itself stays under 30 minutes plus drying time.
Paint on wood dries fast; resin needs overnight to cure hard enough for actual use. That gap matters when you’re picking a project Thursday evening for a Saturday party.
Personalization runs through both the design and the base material. A set of four in someone’s kitchen colors, or wood left raw with just a monogram burned in, reads as more intentional than anything store-bought at the same price point.
The confetti route throws that intention out entirely in favor of pure, silly cheer, which lands better with some recipients than careful craftsmanship ever would.
The mistake to avoid is choosing a material that fights the drink.
Glossy tile and resin both let a glass slide around if the bottom is wet. Cork and unfinished wood grip better but stain if someone sets down a sweating cocktail and forgets it.
Resin coasters need a full cure, not just surface hardness, before they go into rotation. Rush that and the first hot coffee mug leaves a ring you cannot sand out.
15. DIY Tote Bags
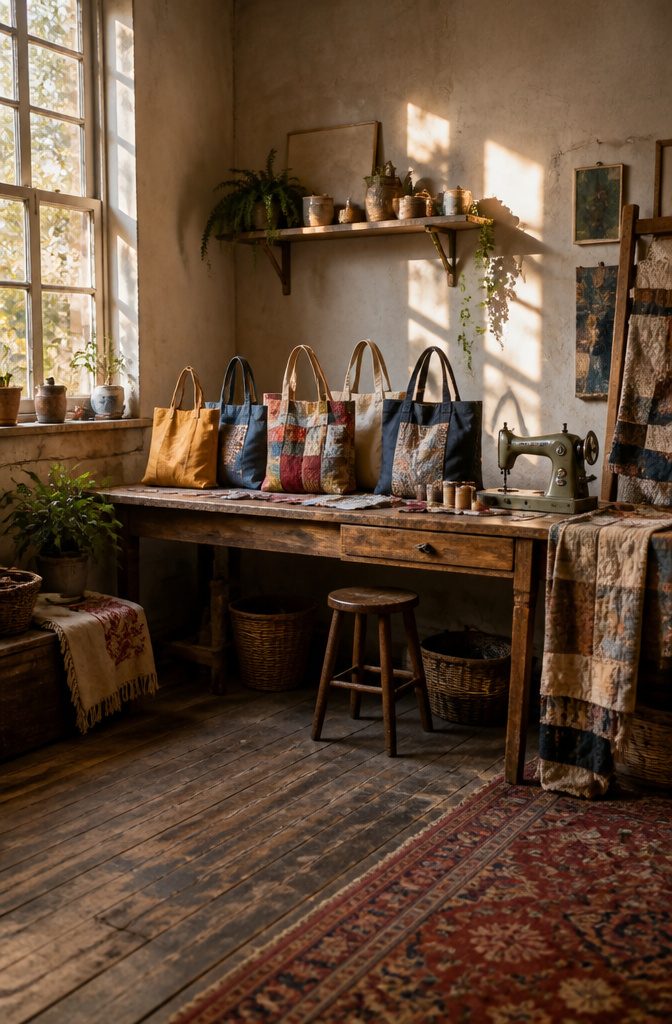
Scrap fabric becomes a tote bag in about two hours, start to finish. The first one I pieced together came from a worn-out curtain and a thrifted pillowcase that shared the same green-gray thread.
The handles ripped the first time I loaded it with library books because I had skipped boxing the corners, a mistake that cost me the whole afternoon and taught me why that fold matters.
You need roughly a half-yard of fabric total, or the equivalent in patches. A walking foot helps if you are quilting layers together, but a standard presser foot handles single layers fine.
Beginners should start with two rectangles and straight seams; the jump to intermediate is adding a pocket or lining, which is just making the same bag twice and nesting them.
The personalization is where this gift earns its keep. A friend who sews for her book club embroiders a tiny spine and page count in the corner of each bag so it matches the recipient’s favorite novel.
Someone else I watched cut up a band t-shirt for the front panel and used the tour dates for the lining.
The embellishments that hold up are sewn on, not glued: fabric paint cracks, and hot glue turns brittle in a car trunk in July.
16. DIY Soap
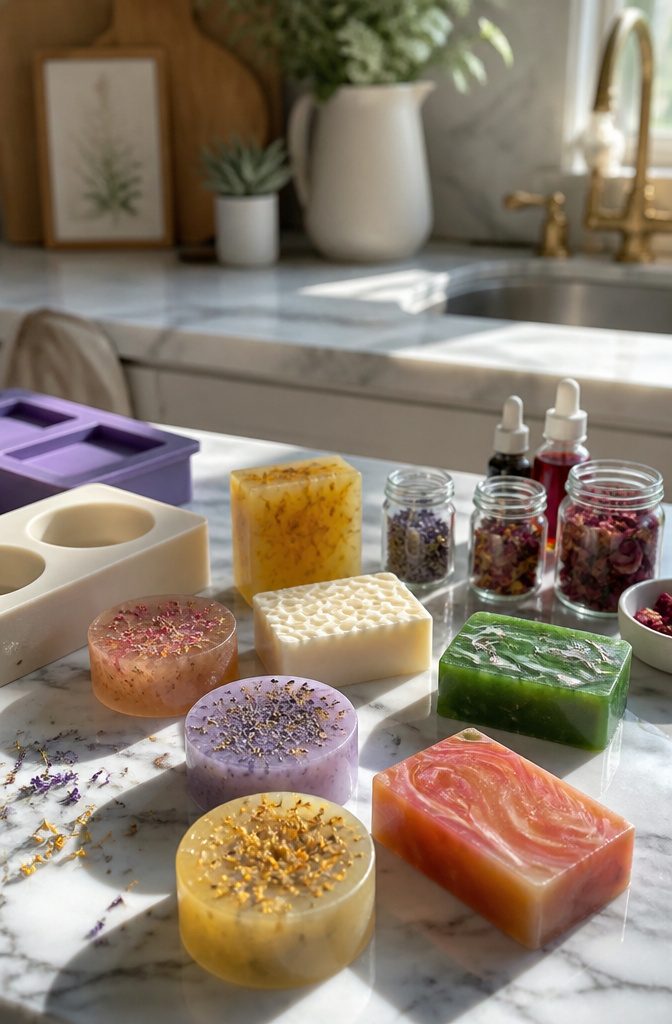
Soap splits into two paths, and the gap between them is real.
Melt-and-pour starts with a premade base, usually goat’s milk or shea butter, that you melt, scent, color, and pour into a mold. The bars harden in hours, not days, and you can wrap them that evening.
Cold process builds soap from scratch with lye, which demands exact measurements, safety gear, and four to six weeks of cure time before the soap is safe to use. That timeline rules it out for a last-minute gift.
For melt-and-pour, the materials stay simple: a soap base, essential oils for scent, maybe dried herbs or colorants, and a mold shape that fits the person. Silicone baking molds work fine and cost less than soap-specific ones.
A rectangular bar feels practical; a flower shape reads more gift. Goats milk and honey bases lean gentle, which suits someone with sensitive skin better than a heavy floral scent.
Personalization lives in those small choices.
Lavender essential oil with a purple swirl for one person, plain unscented with oatmeal stirred in for another. The base does the heavy lifting; you decide what it carries.
17. DIY Body Butter
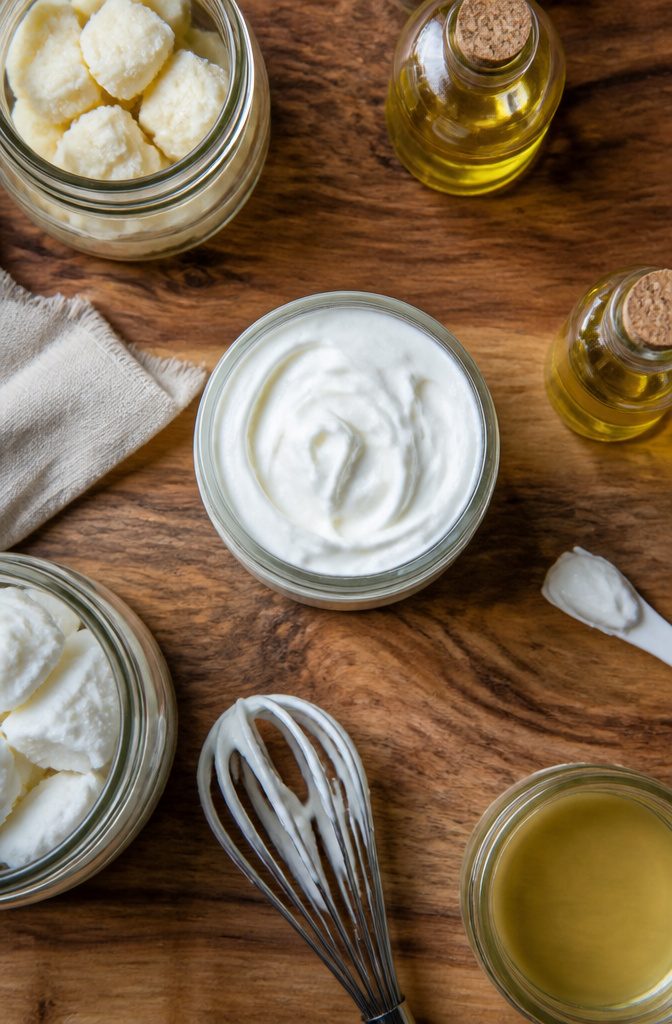
Whipped body butter looks fancy in the jar but takes under an hour from start to finish, and the ingredients are just oils, butters, and whatever scent you want.
Shea butter or cocoa butter forms the base, then you add a liquid oil like sweet almond or fractionated coconut to keep it soft enough to scoop.
A few drops of essential oil at the end makes it personal; lavender if they like calm, peppermint if they run cold, grapefruit if they want something bright. The whipping happens after everything melts together and cools partially.
You beat it like frosting until it doubles in volume and holds soft peaks. Stop too early and it stays greasy; wait too long and it seizes into grainy lumps you can’t save.
Beginners usually nail it on the second try. The first batch teaches you exactly what the halfway-cool texture looks like, and after that you can make six jars in an afternoon for about the price of one store-bought tub.
18. DIY Room Spray
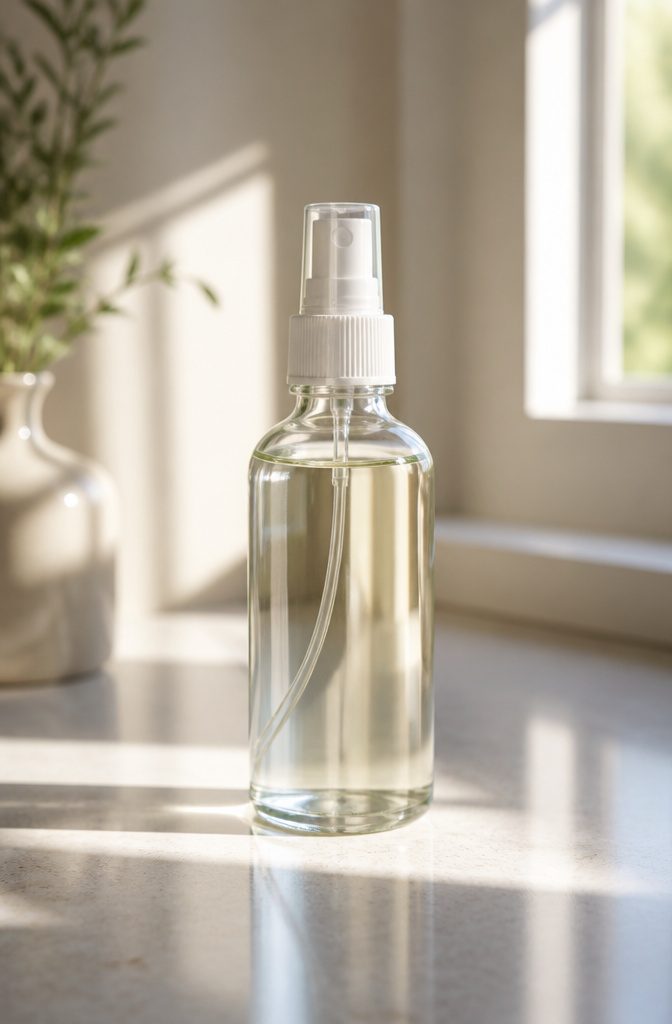
Room spray takes about ten minutes to make and costs next to nothing, which is why it became my go-to last December when I needed something fast for a neighbor who was unexpectedly in town.
The bottle sits on a shelf looking like a small boutique purchase; nobody believes it came from a kitchen counter.
The base is simple: distilled water, a little rubbing alcohol to help it disperse, and essential oils.
The alcohol also keeps the spray from going musty if it sits for a while. I use a small funnel and a 4 oz glass bottle with a mist sprayer, the kind sold for travel toiletries.
Start with 20 drops of oil total and adjust from there. My first batch was all lavender and it smelled like a retirement home candle, too flat and too sweet.
Blending is where this turns personal. A bright citrus with something woodier underneath, like bergamot and cedarwood, reads more expensive than either one alone.
Peppermint lifts anything heavy, but more than five or six drops and it dominates the room in a way that clears sinuses rather than soothes them.
The oils need a good shake before each use; they separate from the water, which is normal.
Label the bottle with the blend and the date. Homemade room spray keeps for a couple of months, though the scent softens over time.
19. DIY Jewelry
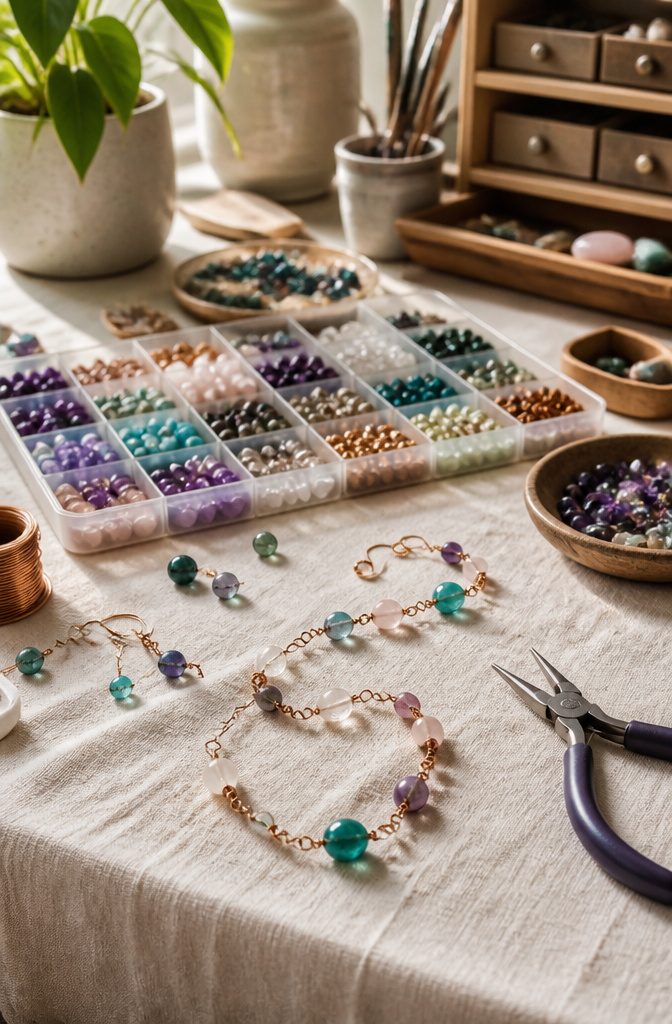
Wire, beads, and a handful of findings turn into something that reads as store-bought with about ten dollars in materials and an hour of work.
I keep a small tackle box sorted by metal finish, and the projects that pull from it fastest are the ones that skip complex soldering.
A simple loop with round-nose pliers, closed with flat-nose pliers, is enough for most earrings and pendant bails.
The wire itself does the work if you pick the right temper: half-hard holds a shape, dead-soft wraps neatly but needs a mandrel or form to stay put.
Bead choice is where the gift becomes specific. Someone’s kitchen is sage green and cream; someone else wears only black and silver.
Match three beads to that palette and the piece stops looking like a craft project and starts looking like them. Beginners should stick to larger hole beads on thicker wire, 20-22 gauge, since threading and securing both come easier.
Intermediate work introduces wrapped loops and cold connections, small jumps in skill that make a bracelet feel substantial without requiring a torch.
Time splits cleanly: thirty minutes to choose and lay out, thirty to assemble and finish.
The limit is patience, not equipment. A pair of flush cutters and two plier sets are enough to work through a dozen designs, and findings, the clasps, jump rings, ear wires, cost pennies each in bulk packs.
The mistake I watch for is over-tightening loops, which weakens the wire and leaves a gnarl instead of a clean circle. Gentle pressure, checked against the light, gets a better result than force.
20. DIY Plant Holders
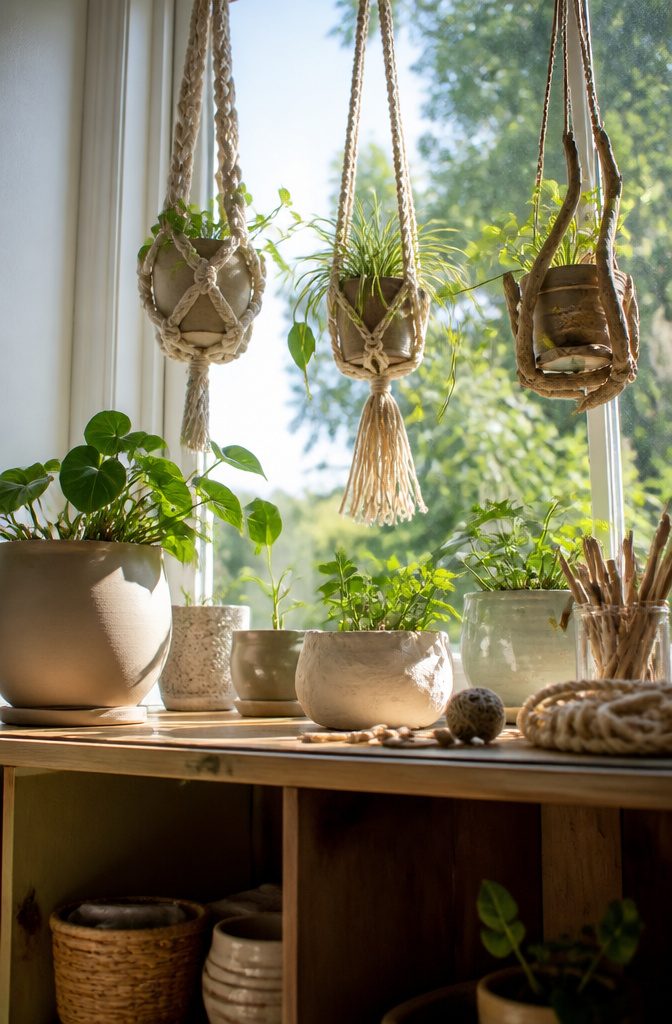
Macrame cord, air-dry clay, scrap wood, and a thrifted bowl can each become a plant holder in an afternoon.
The cord version needs only three basic knots; Sarah Maker’s tutorial walks through a simple hanging style that looks far more complex than it is.
Clay holders get shaped around a jar or free-formed into a pinch pot, then sized to whatever cutting the recipient already owns.
Wood scraps become tabletop stands with a hole saw and a drill bit slightly wider than the pot rim.
A bowl from Goodwill already has the weight for a cutting to root in; no drainage means it suits a pothos or snake plant that tolerates damp soil longer.
The personalization lands in the dimensions. A cramped apartment kitchen wants a holder that hangs high and tucks the pot into vertical space.
A sunny windowsill calls for a low stand that keeps leaves clear of glass. The cord color, the clay surface texture, the wood stain or bare grain: each choice matches the room rather than the maker’s taste.
I have watched the macrame version fail when the knot spacing is even and rigid; uneven spacing, tightened after the first draft hangs, gives the drape that makes the plant look suspended rather than trapped.
Plan for that second pass. A simple version runs two to three hours, including the learning curve on the first knot.
Frequently Asked Questions
What are some easy DIY gift ideas?
Clay candlestick holders, trinket dishes, fridge magnets, hand-carved stamps, stamped tea towels, batch cocktail bottles, handpainted frames, bath bombs, candles, sugar scrubs, personalized stationery, notebooks, vanilla extract, coasters, tote bags, soap, body butter, and room spray all make solid handmade gifts.
Most use common household or craft-store materials and fit a range of skill levels.
How long does it take to make DIY gifts?
Many projects finish in under an hour of active time, including bath bombs, sugar scrubs, room spray, and fridge magnets.
Others like handpainted frames need about two hours of painting plus overnight drying, while homemade vanilla extract requires only ten minutes of hands-on work but eight weeks of waiting for the flavor to develop.
What materials do I need for DIY gifts?
Common materials include polymer clay, acrylic paint, fabric and fabric ink, paper and cardstock, soy wax and wicks, baking soda and citric acid, coconut oil and sugar, wood slices or tile, and basic sewing supplies like fabric and thread.
Most projects need only a few items from this list, not all of them.
Can I personalize my DIY gifts?
Yes, almost every project allows for customization.
Paint colors match a person’s kitchen or decor, stamps carry initials or favorite motifs, cocktail syrups steep with flavors chosen for the recipient, and scent blends in candles or body butter reflect individual preferences rather than generic store shelves.





