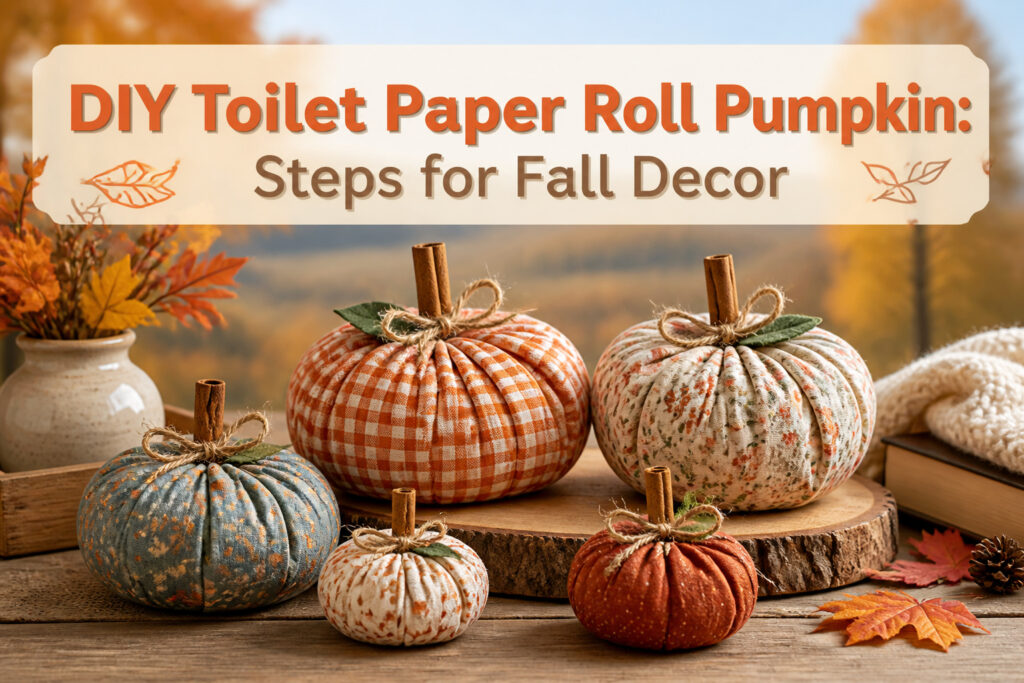
A DIY toilet paper roll pumpkin is a fabric-wrapped craft built around a single cardboard tube, shaped and tucked until it reads as a small gourd.
The trick is in the looseness: unroll about ten wraps and roll them back gently so the middle bulges, hiding the cylinder beneath.
An 18–22 inch square of cotton or flannel, a cinnamon stick stem wedged deep into the core, and roughly $3 in materials if you buy fresh fabric.
1. Materials for a Toilet Paper Roll Pumpkin

A single toilet paper roll forms the body, and an 18–22 inch square of fabric wraps it tight. Cotton or thin flannel tucks easiest into the hollow core; a bandana works for slimmer rolls.
Cinnamon sticks or a 4-inch twig makes the stem, and basic scissors handle the cutting. Glue is optional, though a hot glue gun helps if you want to secure leaves or ribbon later.
The whole project runs about $3–5 if you buy fabric fresh. Most makers already have a worn flannel shirt, a spare bandana, or scrap cotton in a drawer.
The toilet paper roll was heading for the trash anyway.
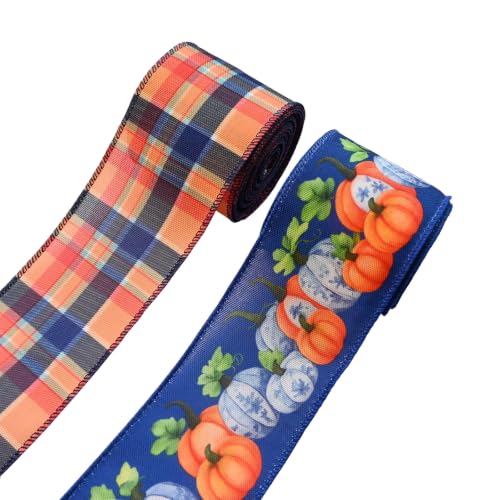
Fall Harvest Design with Pumpkin & Plaid: Bring the warmth of the harvest season to your crafts with this fall ribbon set featuring charming pumpkins, autumn leaves, and classic blue and orange plaid. This beautiful fall plaid ribbon combines rustic farmhouse style with seasonal colors, making it perfect as pumpkin ribbon wired, thanksgiving ribbon, and fall pumpkin ribbons for wreaths, bows, and holiday decorations.

Package Contents: you will receive a total of 40 pieces of fall fabrics of different colors and styles, with the size of about 2.6 x 39.4 inches/ 6.5 x 100 cm, which are enough to meet your different needs in daily life

Embossed Halloween Ribbon: our polyester pumpkin shape ribbons are themed around halloween , and you will get a total of 3 rolls of ribbons(orange pumpkin ribbon, black bat ribbon, white ghost ribbon); each ribbon has a width of 0.98 inch and a length of 5 yards; a total of 15 yards of ribbon can be applied for home and party making halloween supplies.
2. Shaping the Roll Into a Pumpkin Form

A single full roll of toilet paper gives the rounder shape this craft needs. Unroll about 10 wraps from the outside, then roll it back loosely so the middle bulges slightly.
That extra bulk along the center hides the cardboard tube underneath and reads as pumpkin, not cylinder, once the fabric goes on.
Some versions build height by stacking four empty rolls and wrapping them together. The single-roll method wins for speed.
Ten minutes of rolling versus collecting rolls, taping them straight, and still needing filler to smooth the gaps. For an afternoon project, one roll already in the bathroom beats a multi-trip supply run.
The looseness matters more than precision. Too tight and the shape stays tube-like; too loose and the fabric sinks into valleys.
A gentle hand, the kind used for wrapping a bandage, gives the right spring. The roll should feel slightly padded when squeezed, with the cardboard still hidden somewhere in the middle.

Package Include: 24 Kits DIY pumpkin craft decorations, accessories include 24 blank orange pumpkins(4 kind of pumpkin), 24 self adhesive expression stickers and 25 silk ribbons, enough quantity for your holiday needs

Perfect for Fall Celebrations: This DIY pumpkin craft kit is ideal for Halloween, Thanksgiving, and other autumn holiday celebrations. It provides a great way for kids to express their creativity and make personalized pumpkin decorations.

ENDURING DELIGHT: This set includes 48 sets of pumpkin crafts, plenty to meet your needs. Crafted meticulously from high-quality materials, the exquisite workmanship and vibrant colors ensure these creations remain durable and cherished year after year.
3. Wrapping the Roll in Fabric

Lay the fabric flat and set the shaped roll dead center. An 18 by 24 inch piece gives enough to work with, though a square bandana does the job too.
Grab one corner and pull it up over the roll, tucking the end down into the hollow core. Turn the roll clockwise and keep going corner by corner, pulling the fabric snug but not stretched tight.
The top will bunch and fold naturally as the corners meet, which is exactly what you want; those gathers hide under the stem later. Leave the center opening clear so the stem can seat properly.
If a fold sits wrong, pull it out and retuck before the next layer locks it in place.

Size Specifications: The wood sticks have a diameter of about 0.39-0.59 inches (1-1.5cm) and a length of about 1.97 inch (5cm) with 40 pieces per pack, suitable for loose parts play materials

Packing quantity: you will receive 24 pieces plastic pumpkin stems, including 6 different colors and sizes, 4 of each style, in sufficient quantity to meet your various Halloween and Thanksgiving decoration needs
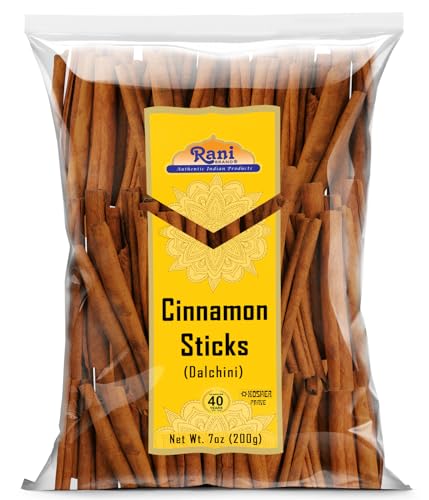
You'll LOVE our Cinnamon Sticks by Rani Brand--Here's Why:
4. Adding the Stem

Cinnamon sticks change everything. The fabric is still just tucked orange cloth until you press two or three of them into that center opening where everything gathers, and suddenly the shape becomes a pumpkin.
The sticks do more than look right; they add a warm scent that fills whatever corner of the house you set it in. A four-inch twig works too, though it stays strictly visual.
The cinnamon sticks need to go in deep enough to pin the fabric against the inner cardboard, not just rest on top. That pressure is what keeps the whole wrap from loosening over the next few weeks.
I have seen these sit on a mantel from late September straight through Thanksgiving, and the ones that hold are the ones where the stem was wedged in with purpose, not poked in casually.
If you are using a full roll rather than a partial one, the opening is tighter and the sticks grip faster.
With a roll that has been partly used, the center hole is larger, so you may need to angle the sticks slightly and let them cross each other for friction.
Either way, this is the thirty-second move that makes the previous steps feel intentional.

ALL-PURPOSE HOT GLUE STICKS - Includes 100 mini-size glue sticks for bonding delicate-to-hardy materials, including metal, wood, paper, fabric, magnets, ceramics, floral arrangements, glass, and plastic.

MADE IN THE USA USING GLOBALLY SOURCED MATERIALS: Surebonder glue sticks are proudly engineered and manufactured with globally sourced materials in Wauconda, Illinois

Dual temp: Use the right hot glue temperature for the job; Low Heat for delicate materials like floral, fabric, foam, jewelry, and more; High Heat for strong bonding on wood, plastic, metal, glass, and more
5. Leaves, Ribbons, and Other Finishing Touches

A strip of plaid ribbon tied at the stem is the fastest way to dress these up, and it keeps the shape from springing apart while you work.
I usually thread it through the center before the green stem piece goes in, which holds everything in place without extra glue.
Fabric leaves or a single felt leaf glued to the side of the stem add dimension without looking cluttered.
One source tried multiple extra leaves and found it busy; one clean leaf wins for a mantel, but a cluster of three works on a table where people see it from above.
Jute twine wrapped around a pencil with a light layer of glue, then dried and removed, makes a curly tendril that sits naturally against the pumpkin wall.
Ribbon bows, small tags with names or dates, or a loop of baker’s twine for hanging turn the same base shape into a place card, an ornament, or a garland piece.
The pumpkin itself is uniform by design. These extras are where each one becomes distinct, and they cost almost nothing if you already keep scraps and twine in a drawer.
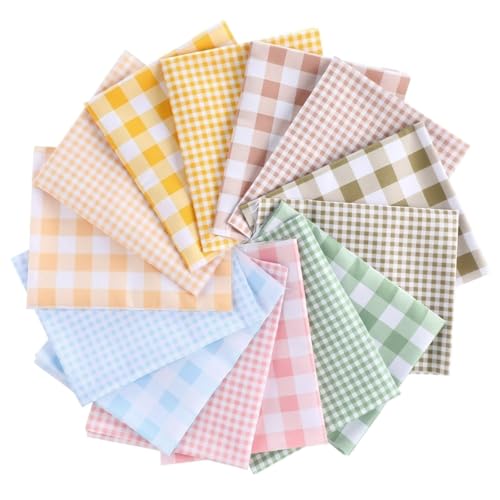
14 Pcs Fabric Bundle: this pack contains 14 soft cotton-blend fabric squares, each with a different pattern; The variety and quantity perfectly meet your holiday and daily DIY project needs with plenty of material for creative exploration
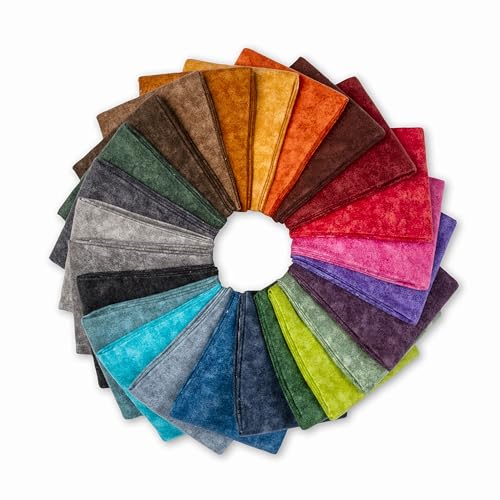
Fat Quarter Fabric Bundle Includes: 24 fat quarter pieces, precut to approximately 18" by 22" each.

Ultra-Soft & Cozy Texture:Made of premium cotton flannel, this fabric delivers a luxuriously soft and fuzzy handfeel, offering exceptional warmth and comfort. Perfect for crafting cozy home textiles and loungewear that feel gentle against skin.
Fabric and Stem Options Compared

Flannel wraps thick enough to hide the cardboard tube underneath, which gives the finished pumpkin a rounder, softer silhouette.
Cotton lies flatter and crisper, more like a fabric-covered box than a pumpkin, though it takes a print more cleanly if you want something patterned. For the stem, cinnamon sticks add scent that lasts a few weeks on a shelf.
Twigs cost nothing if you have a yard or a nearby park, and they hold up longer without splitting at the glue point.
| Attribute | Flannel | Cotton | Cinnamon Sticks | Twigs |
|---|---|---|---|---|
| Drape | Soft, rounded | Crisp, flatter | n/a | n/a |
| Texture | Cozier for fall | Cleaner lines | Smooth bark | Rough, natural |
| Scent | None | None | Yes | None |
| Durability | n/a | n/a | Can split at base | Free, holds well |
| Best for | Hiding the roll | Patterned prints | Short-term display | Long-term use |
I reach for flannel on the first try and twigs when I want the thing to survive a move to the mantel without shedding bark onto the bricks.

Set of 40 five inch precut quilt squares charm pack.

Soft Material: the Halloween craft kit is made of foam materials, which is non-toxic and odorless, soft and smooth materials very great for your crafts

YOU WILL GET: 12 pieces of cotton fabric bundles, each has a different design, suitable for daily and holiday decoration
Size Variations and Layering

The standard roll gives you a compact pumpkin, but a mega roll adds height and girth without any extra work.
The first time I tried this, I grabbed an extra-large roll and the finished shape sat almost twice as tall as the regular ones, which worked better on my mantel where smaller pieces got lost.
For more width without switching rolls, you can unroll about 9 feet of toilet paper, twist it loosely, and wind it back around the roll. This bulks up the middle so the finished pumpkin reads rounder, not cylindrical.
I focus the extra layers toward the center; too much at the ends and the shape turns barrel-like.
If you want a truly large pumpkin, stack two rolls vertically and wrap them as one unit.
The sources I read treat this as the only reliable way to scale up, and it makes sense: the fabric needs enough bulk to tuck into, and a single roll can only get so full before it won’t hold.
You will need a larger square of fabric for this, probably moving past the 22-inch size into fat-quarter territory at 18 by 22 inches or bigger.

Novelty Toilet Paper: This unconventional toilet paper roll features a pumpkin spice design and scent, adding a touch of festive fun to your bathroom decor.

Rich Styles and Quantity: imagine the diverse project opportunities provided by the fall crafts, which includes 24 sets of crafts (6 styles in total) including 24 pumpkin cutouts with hollowed out middle, 24 transparent stickers, 24 ribbons of about 25 cm, and 500 colored tissue paper (3 colors in total); Whether crafting alone or throwing an artists' party, this tissue paper kit empowers you to create personal projects for variety activities

Package Includes:This fall window tissue paper craft kit comes with 36 pieces of pumpkin shaped templates , 200 pieces of tissue papers in 4 colors, 40 transparent PVC stickers, and 1 rolls of ribbons in orange. With everything included, this DIY fall Art craft set offers the great blend of creativity and convenience, making it ideal for a fun and engaging crafting experience.
Why This Craft Works for Any Skill Level

The paper roll forgives almost anything. A lopsided wrap or a seam that lands off-center still rounds out into a pumpkin shape once the fabric pulls tight, and the cardboard tube underneath never complains about a few extra layers.
20 minutes of real work stretches to 40 if you let glue set or fuss with stem placement, but that total time includes the pauses.
Kids can manage the wrapping and still produce something that reads as a pumpkin from across the room. Adults get the same satisfaction without the precision that finer crafts demand.
The source that clocked this at 40 minutes total got there by adding drying time; the one that stopped at 20 was working with hot glue and moving fast.
Either way, the result survives uneven tension, visible glue spots, and stems that sit a little crooked.

Cinnamon Sticks Fresh is one of the most delicious and healthiest spices on the planet. Kosher Certified

NATURAL WOOD MATERIAL: Authentic wood log sticks with bark intact, featuring a rustic beige appearance that brings natural charm to your craft projects and home decor

sticks for crafting 50pcs per pack, pure natural wood, no other processing and really environmentally friendly materials.Free of Chemicals which make them safer for adults
Frequently Asked Questions
How do you make a toilet paper roll pumpkin?
You start by loosening the outside wraps of a full toilet paper roll so the center bulges slightly, then center an 18–22 inch square of fabric over the roll.
Tuck the corners one by one into the hollow core, turning the roll clockwise as you go, until the fabric covers the roll and the top gathers naturally.
Finish by pressing two or three cinnamon sticks or a twig into the center opening to act as a stem and hold the fabric in place.
What materials do you need to make a toilet paper roll pumpkin?
You need one toilet paper roll, an 18–22 inch square of cotton or thin flannel fabric, and a stem made from cinnamon sticks or a 4-inch twig.
Scissors handle all the cutting, and a hot glue gun is optional if you plan to add leaves or ribbon later. The whole project costs about $3–5 if you buy fabric new, though most people already have suitable scraps on hand.
Can you use different types of fabric?
Yes, cotton, thin flannel, and even bandanas all work for this craft. Flannel hides the cardboard tube better and gives a softer, rounder silhouette, while cotton lies flatter and shows patterned prints more cleanly.
Bandanas fit well on slimmer rolls, and thicker fabrics like flannel make the finished pumpkin look more natural.