
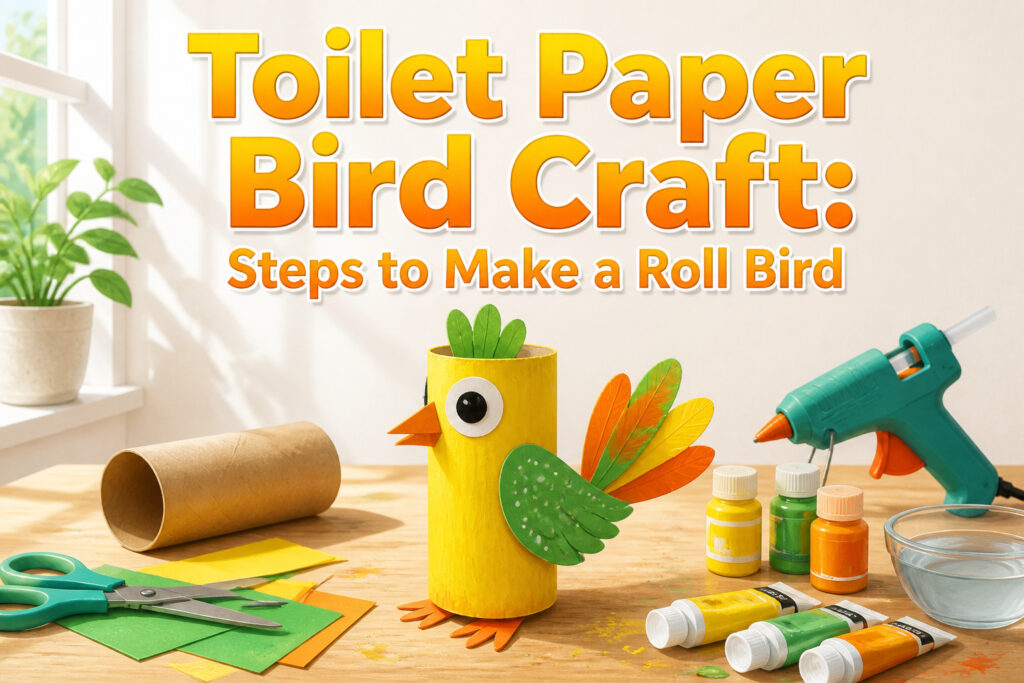
A finished toilet paper bird stands about four inches tall, light enough for a child to hold and finished in roughly two hours including dry time. The trick is holding the tube at the ends while you cut, not pinching the center, or the cardboard collapses inward before you even start shaping the head. I use acrylics in yellow, green, and orange, with a low-temperature glue gun and a bowl of cold water nearby for the inevitable knuckle bump.
What a Toilet Paper Bird Looks Like
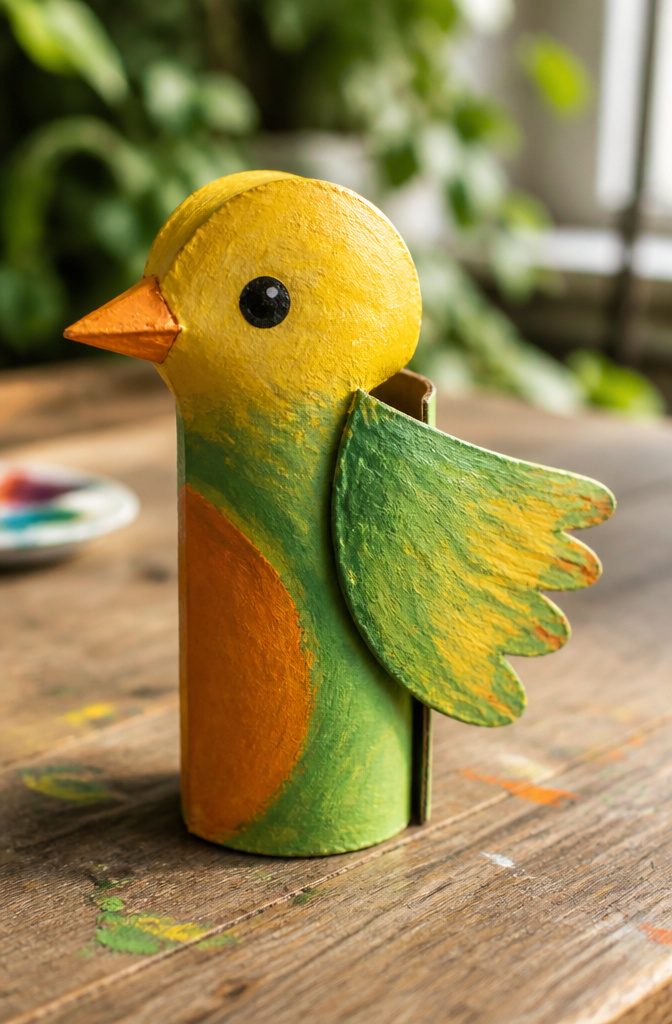
A finished toilet paper bird stands about four inches tall: a cardboard tube pinched at one end into a rounded head, with a small triangular beak glued to the front and the other end stapled flat to form the tail. The body stays hollow, so the whole thing feels light in a child’s hand. I painted mine in yellow, green, and orange acrylics, which dry fast enough that the whole project, dry time included, finishes in about two hours.
The wings and feet come from extra cardboard, usually another tube or a cereal box, cut to shape and painted before gluing on. Plastic craft eyes finish the face, though a marker works in a pinch. The look is deliberately simple, closer to a folk-art bird than a realistic one, which is part of why it suits an afternoon when you want something done before dinner.
Spring is the obvious season for these, though the craft works anytime you need a quick animal project. Some makers paint specific species, robins or chickadees, as part of a nature study. Others go bright and imaginary. Either way, the finished bird is sturdy enough to perch on a shelf but light enough that a paper nest underneath looks perfectly believable.

Empty toilet paper rolls size - Diameter: 1.57 inch, Length: 3.9 inch; Suitable size and lightweight for your convenience; sturdy thick cardboard tube instead of the flimsy tube found in toilet paper rolls.
100 pcs cardboard tubes with box: You will got 100 pcs cardboard tubes for crafts with box , convenient for long-term storage, suitable for schools, families, and handicraft enthusiasts to use in bulk

100 pcs cardboard tubes with box: You will got 100 pcs cardboard tubes for crafts with box , convenient for long-term storage, suitable for schools, families, and handicraft enthusiasts to use in bulk
What You Need
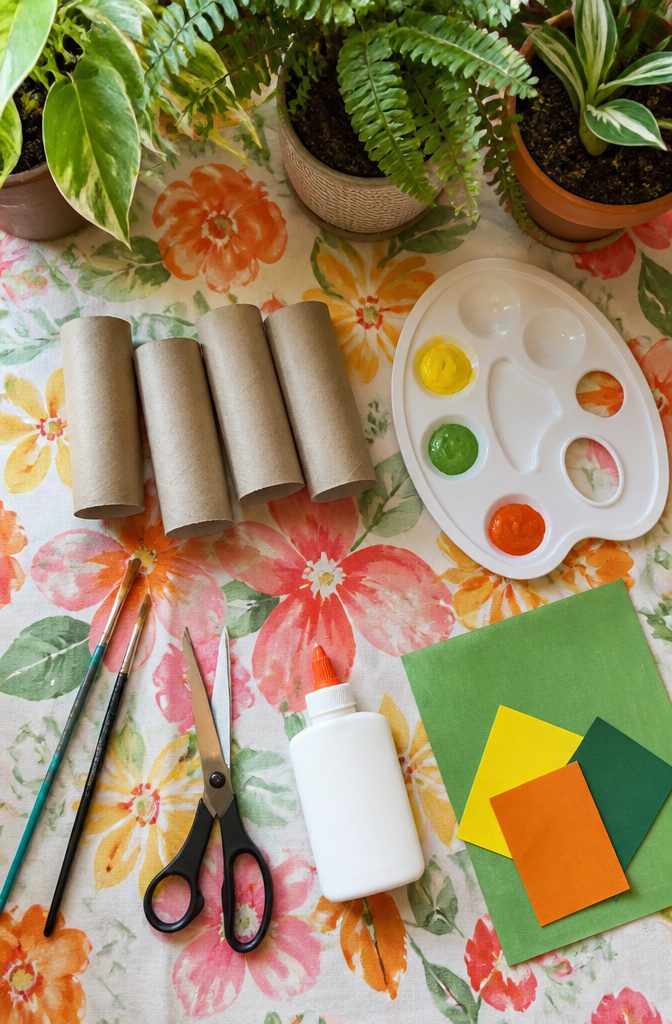
Toilet paper rolls form the body of each bird, though paper towel rolls or any cardboard tube cut to size work just as well. A few pre-cut craft tubes are sold online if you want something sturdier, though the heavier cardboard can be harder to squish and shape.
The paint setup is simple: acrylic in yellow, green, and orange for the body and wings, plus grey or black and green paint markers for finer details. Tempera paint is the washable swap if kids are joining in, and non-toxic labels matter more than brand names when small hands are involved.
For tools, gather scissors, a pencil, a glue gun, glue tape, and a couple of basic paintbrushes. Googly eyes finish the face. Cardboard from a cereal box or spare tube scraps cut into wings and feet complete the parts list.

Versatile Crafting Tubes: Includes 12 sturdy cardboard tubes in 2 sizes (6pcs 1.37x15.7In and 6pcs 1.77x15.7In), perfect for a variety of DIY crafts and art projects.

Value Pack of 30 Tubes: Generous bulk of toilet paper rolls for crafts keeps classrooms, craft groups, and busy families stocked for group projects, with uniform sizing for even, consistent results

Brown Craft Rolls: Encourage everyone to express their creativity as they glue, paint, and decorate these brown craft paper rolls to create fun binoculars for outdoor exploration
Close the Roll and Shape the Body
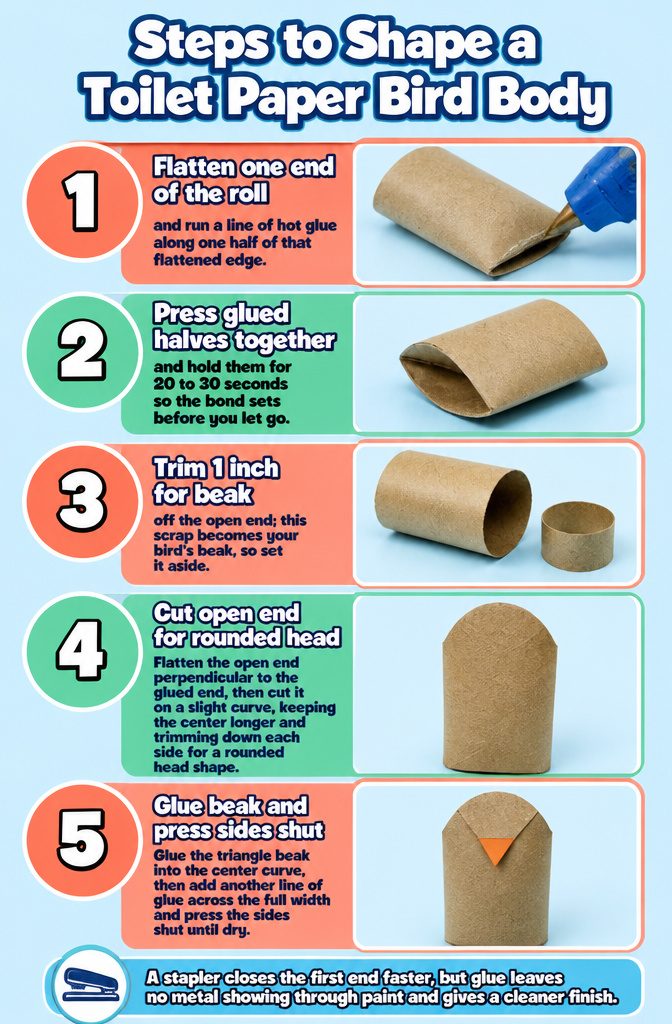
- Flatten one end of the toilet paper roll and run a line of hot glue along one half of that flattened edge.
- Press the glued halves together and hold them for 20 to 30 seconds so the bond sets before you let go.
- Trim about 1 inch off the open end; this scrap becomes your bird’s beak, so set it aside.
- Flatten the open end perpendicular to the glued end, then cut it on a slight curve, keeping the center longer and trimming down each side for a rounded head shape.
- Glue the triangle beak into the center curve, then add another line of glue across the full width and press the sides shut until dry.
A stapler closes the first end faster, but glue leaves no metal showing through paint and gives a cleaner finish.

Protective Coating: Our premium acrylic varnish provides a durable and protective layer over your artwork, safeguarding it from dust, moisture, and UV damage.

MAKE 3 OF YOUR OWN RACE CARS: Build your own functioning wooden race cars with action wheels and create unique designs to set your cars apart. The solid pine wood pieces make these cars durable for the fastest, fiercest racetracks around your house!

Vibrant 14 Colors: Acrylic paint tubes available in a versatile range of bold, highly pigmented colors in large 200ml tubes, perfect for all your creative needs
Paint the Body and Wings
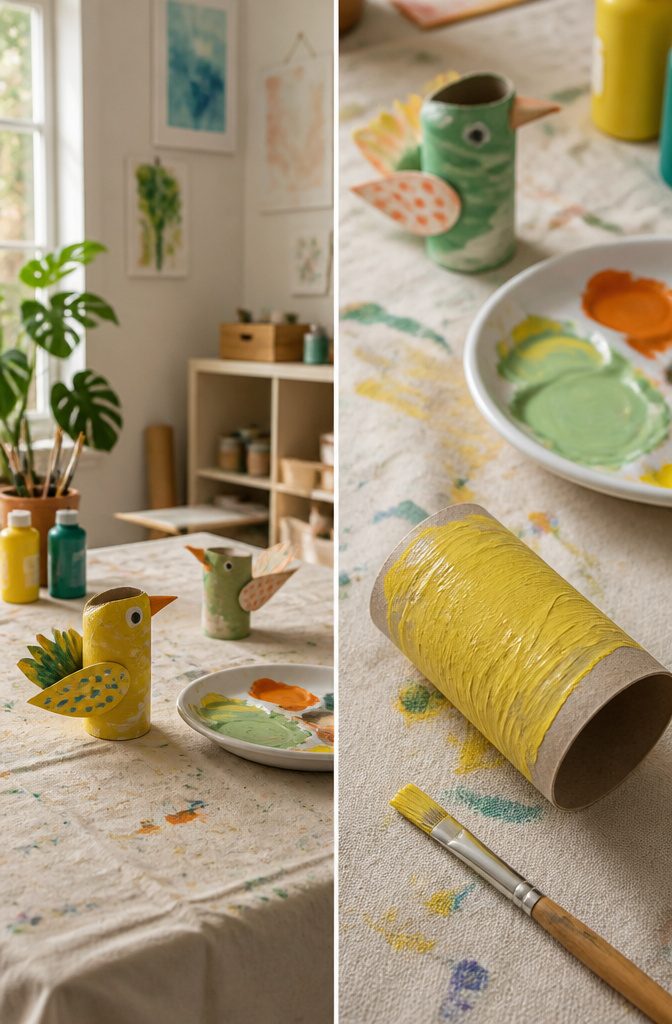
- Draw the wing shapes first with pencil on both sides of the roll. Angled lines toward the front divide where the main color ends and the breast color begins.
- Acrylic paint is the better choice here. Tempera works if washability matters, but acrylic gives the saturated color that makes these birds look like something rather than a brown tube.
- Paint the top half and wings your main color. Let it dry, then add a second coat if the cardboard still shows through.
- Paint the chest and bottom half in a second, lighter color. Two coats here too, if needed.
- Once everything is fully dry, outline the wings in a grey or black paint marker and add short lines for feather texture. A darker green marker adds the same feather detail to the chest.
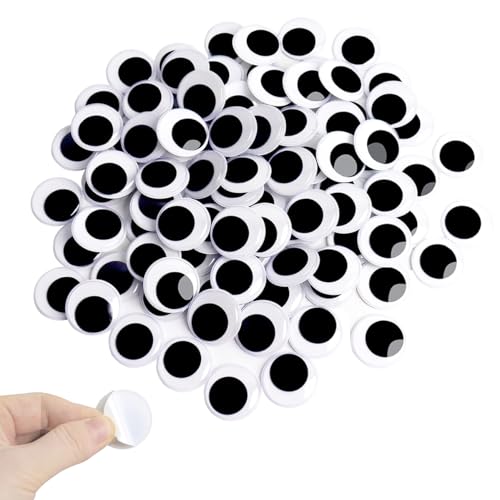
Package Including: The set contains 100 pieces of white and black wiggle eyes, measure 1.2 inch / 3cm in diameter. Wiggly eyes can add personality, fun, and creativity.

【Variety Choices】1700pcs googly eyes self adhesive in a box, suitable size for using include: 4mm, 5mm, 6mm, 7mm, 8mm, 10mm, 12mm, 15mm, multiple colors for your choice.

Packaging and Material: 100PCS Googly 1-inch (25mm) eyes are made of high-quality plastic and are well packaged for easy use and placement
Add Eyes and Final Details
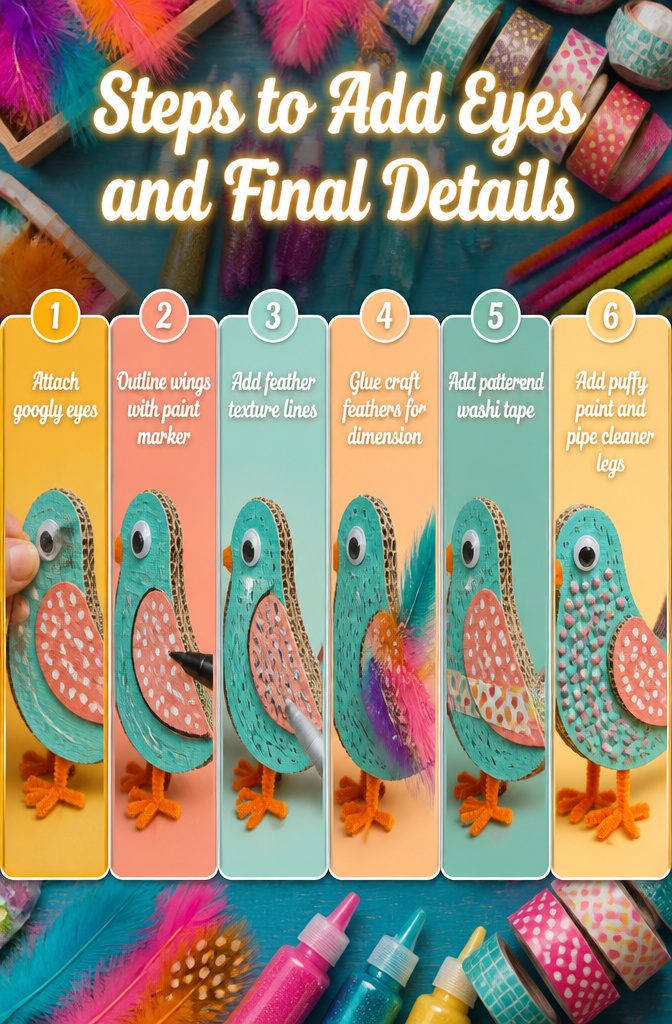
- Attach the googly eyes with glue tape or a small dot of hot glue, pressing each one to either side of the face so they sit level. The bird stops looking like painted cardboard right here, and the size matters: standard eyes read cute, but colorful ones or mismatched sizes give the bird more personality than the body alone can carry.
- Outline the wings in black or grey paint marker, then add short lines for feather texture. The same marker can detail the back and tail; a darker shade of whatever you painted the body adds feather lines to the chest and underside.
- For extra dimension, glue craft feathers onto the wings or tail so they extend past the cardboard edge, or run glitter glue along the wing outlines for a little shine. Washi tape wraps cleanly around the body if you want pattern instead of paint, and puffy paint builds up real texture on the chest. Pipe cleaner legs twisted into feet and glued to the bottom turn the bird into something that can stand on its own.

LOW TEMPERATURE - Ideal for bonding delicate materials such as paper, fabric, foam, or flowers that could be damaged by higher temps. Glue melted by this glue gun can only reach a maximum temperature of 170°F.

Kid-Friendly Design: Specifically engineered for young crafters, this Cool Tool Kit features a glue gun that's sized and styled with students, campers, and kids in mind, making it perfect for fun projects at home or camp.

Dual temp: Use the right hot glue temperature for the job; Low Heat for delicate materials like floral, fabric, foam, jewelry, and more; High Heat for strong bonding on wood, plastic, metal, glass, and more
Make a Nest If You Want
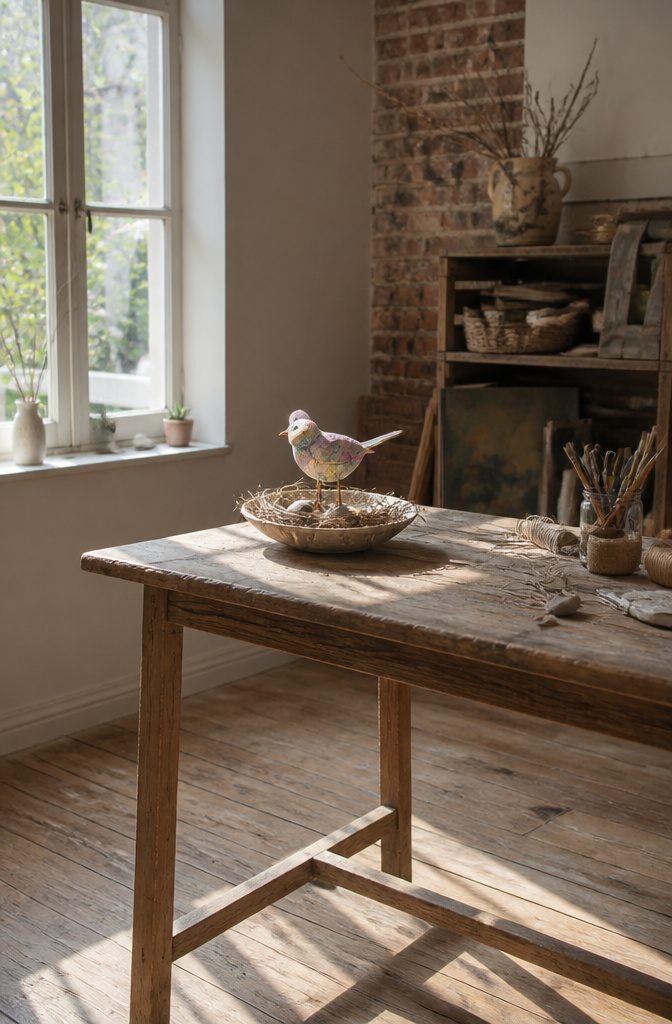
The bird itself is only half the project. Some guides treat the nest as an afterthought, but adding one turns a static craft into something a kid actually plays with.
A nest costs nothing extra. Twigs, dry grass, and small stones from the yard are enough. The Keeper of the Memories calls these "nature items," which sounds formal until you realize it just means whatever fell off a tree yesterday. Arrange them in a shallow bowl or a spare jar lid. The bird perches inside, and suddenly the afternoon stretches into a story about feeding and sheltering a baby chick.
A birdhouse works too if you want walls. A small cardboard box with a hole cut in front, painted to match the bird, takes maybe twenty minutes. The play pattern is the same: the child imagines what the bird needs, then gathers more nature items to provide it.
Not every kid engages with this part. Some are finished once the glue on the feathers dries. Others will spend an hour deciding whether the nest needs moss or a pebble path. The extra twenty minutes is worth it only if the child drives it; forcing the play extension turns the craft into homework.
If you do build the nest, the dramatic play that follows works fine motor skills differently than the decorating did. Moving sticks into place, balancing the bird so it stays upright, deciding what "food" to offer, all of it extends the project without extending your to-do list.

Easy to Pack and Carry – Two coreless rolls fit neatly in any bag, leaving more room for your camping or travel essentials.

Products include: 24 white craft rolls, long lasting value bundle, suitable quantity, perfect quality, small quantity packaging, ideal for handwork.

Package: 30 Sturdy Craft Rolls (3 Sizes) – 10 Packs of 1.38x3.98", 10 Packs of 1.57x3.98", 10 Packs of 1.69x3.98". Long-Lasting Value Bundle with THICK, Heavy Pressure-Resistant Cardboard Tubes – A Durable Upgrade From Flimsy Standard Toilet Paper Roll Tubes.
What Goes Wrong and How to Fix It
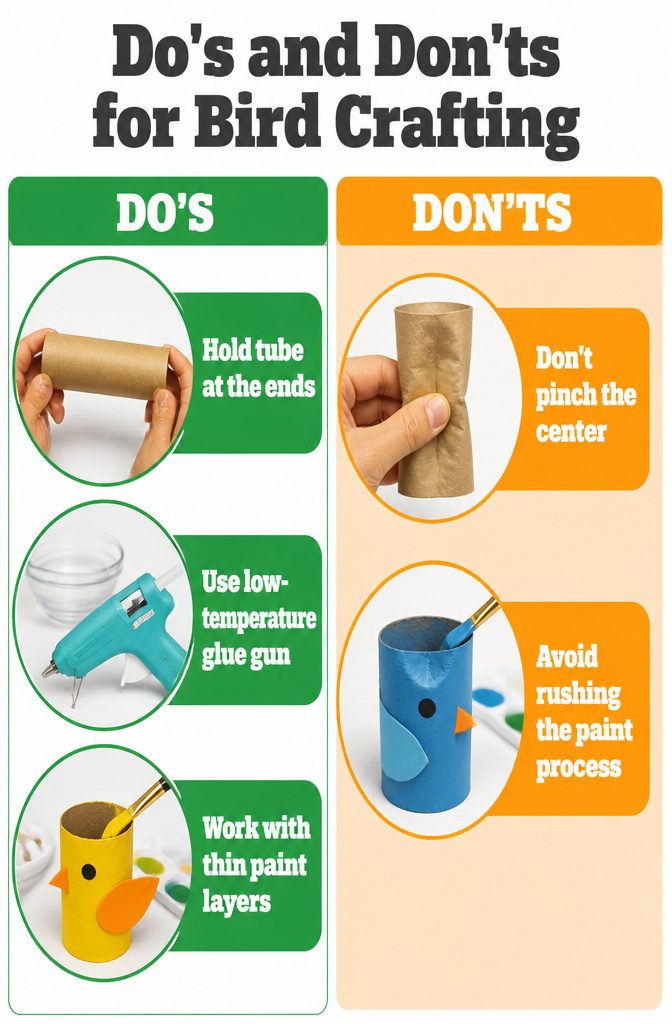
The first tube crumpled clean in half before I even got the scissors near it. My thumb had been pressing the middle to steady it, and cardboard tubes collapse inward when you pinch the center like that. Now I hold them at the ends, the way you would a roll of wrapping paper, and let the scissors do the work from there.
Low-temperature glue guns exist, and they are what I reach for on a project this small. I keep a bowl of cold water on the table out of habit from years of bumping the nozzle against my knuckles. The water is not any official protocol, just a thing that has saved me from a raised white burn more than once.
If the tube starts to dent while you are painting, that dent will stay under the paint and read as a shadow you did not plan for. The fix is the same: support from the ends, work in thin coats, and let each layer dry before the next. Rushing the paint is where most of these birds go lopsided.

Creative Crafting Tool: These paper tubes are suitable for various DIY projects, allowing children and adults to unleash their creativity through painting, drawing, and crafting

You Will Receive: You will receive 12 empty tissue rolls, in abundance, to easily meet your and your child's various craft needs

【 60-PACK BULK VALUE – Endless Crafting Possibilities!】 Get 60 premium kraft tubes perfect for parties, or rainy days. Never run out while making holiday ornaments, or DIY gifts – ideal for group activities!
Working With Kids on This
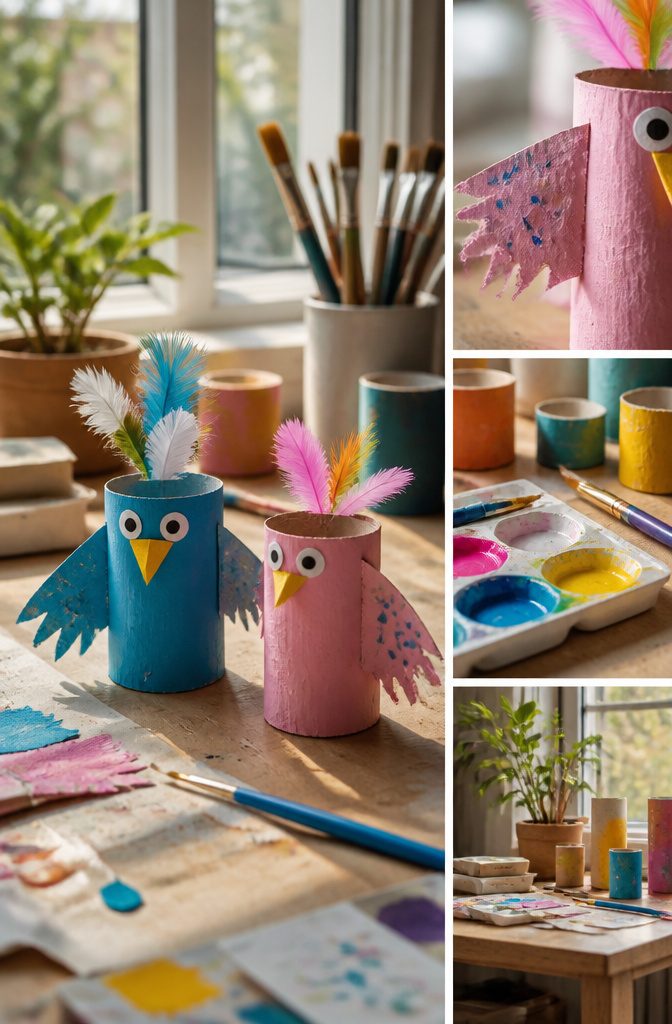
Toilet paper birds hit the sweet spot for young makers because the body is already a cylinder, so the hard geometry is done before a child every picks up a brush. For toddlers who are still learning how paint moves, pre-make the roll into the bird shape so they start at decorating, not cutting. That shift keeps frustration low and leaves room for the part that actually matters: deciding whether this bird gets polka dots, stripes, or a beak painted neon pink. One source worked alongside a preschooler who was just beginning to handle paint and glue, while an older sibling managed the same build independently. The activity stretches across ages because the finish is never the point. A three-year-old’s lopsided wings and a seven-year-old’s careful feather pattern both end up as birds, and both kids get the fine-motor work and the pretend play that follows. Let the beak angle left instead of right. Let the wings mismatch. The craft holds up because the materials are free and the rules barely exist.

6 Vibrant Colors & Rich Pigment: The studio acrylic primary paint set comes in unique eye-catching vibrant primary colors and offers vivid colors and better selections to bring your artwork to life.


Vibrant 27 Colors: Acrylic paint tubes available in a versatile range of bold, highly pigmented colors in large 190ml tubes, perfect for all your creative needs
Frequently Asked Questions
What materials do I need to make toilet paper roll birds?
You need toilet paper rolls, acrylic paint in yellow, green, and orange, plus grey or black and green paint markers for details. Gather scissors, a pencil, a glue gun, glue tape, paintbrushes, googly eyes, and extra cardboard from cereal boxes or spare tube scraps for wings and feet. Tempera paint works as a washable swap if kids are joining in.
How do you make a toilet paper roll bird?
Flatten one end of the roll and glue it shut, then trim about an inch off the other end for the beak. Flatten the open end perpendicular to the glued end, cut it on a curve for a rounded head, and glue the triangle beak into place before closing that end too. Paint the body in two colors with feather details, then attach googly eyes and cardboard wings and feet.
Can I use something other than toilet paper rolls?
Paper towel rolls or any cardboard tube cut to size work just as well. Pre-cut craft tubes sold online are sturdier but harder to squish and shape. You can also roll up cardstock and secure it with tape if nothing else is available.





