
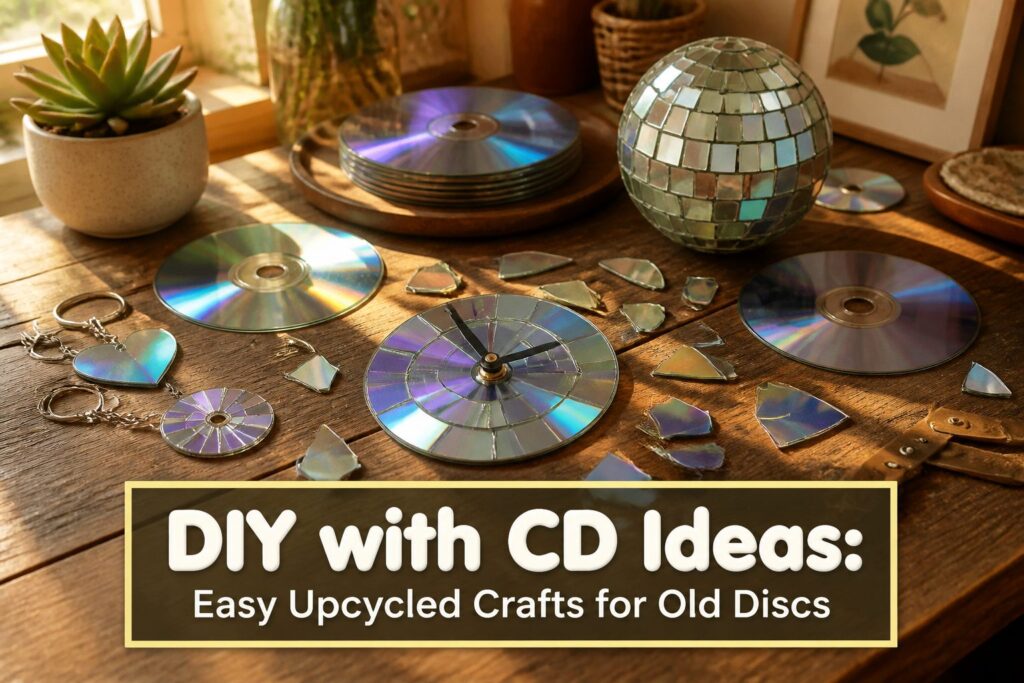
The projects run from a 5-minute keychain to a disco ball covered in dozens of hand-cut squares, and the deciding factor is how much cutting you’ll tolerate.
Every cut edge of polycarbonate is sharp, so tape both sides before snipping. Whole-disc projects like the clock, with its ready-made center hole, skip the cutting entirely.
1. CD Coasters
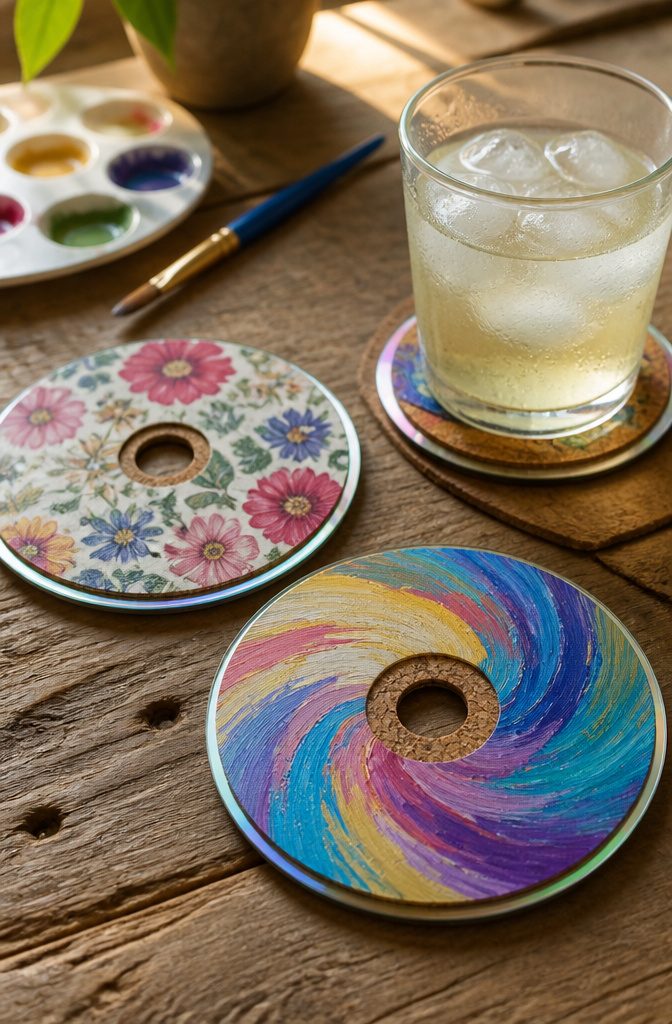
Felt or cork goes on the label side, cut to the size of the disc so the edge stays clean.
Either one lets the coaster sit flat and keeps the CD from scratching a tabletop, and a backing also takes the sting out of heat.
I lean toward cork: it looks tidier and stays put, while felt tends to fray if you cut it freehand.
Decorating happens on the shiny side.
Acrylic paint is the fastest route, and patterned paper decoupaged on top gives you a printed look with no drawing skill. Fabric works too.
Seal the top before anyone sets a glass down. A coat of waterproof sealant is what turns a pretty disc into a coaster that survives condensation, so don’t skip it.
2. Wall Art
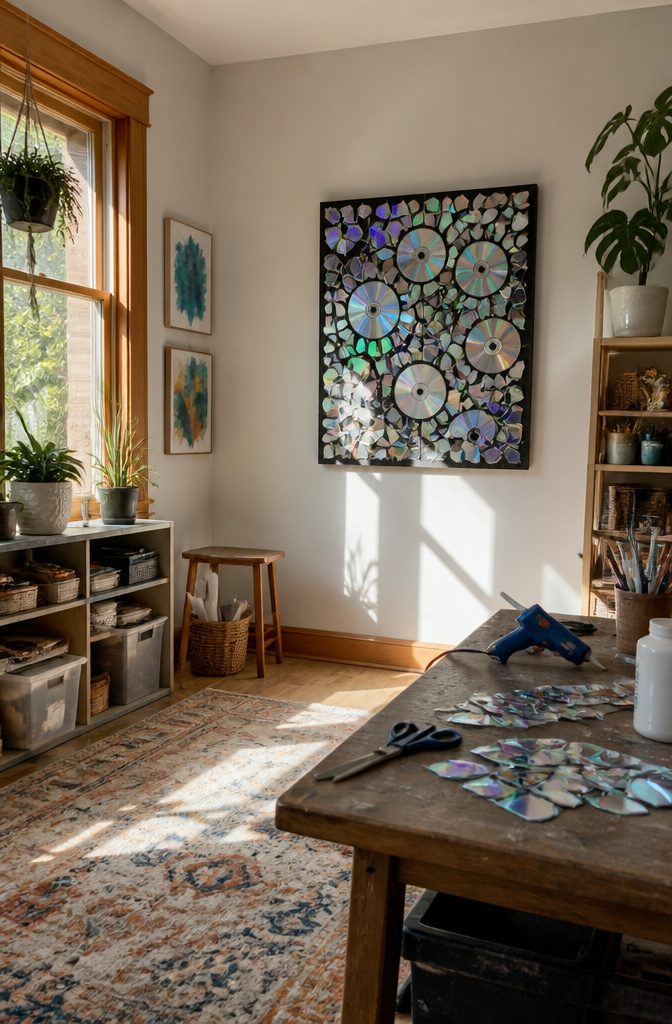
Cut shards give you a mosaic, whole discs give you a graphic circle pattern, and the choice decides how the wall looks from across the room.
Scissors or a craft knife will cut triangles, squares or random slivers. Whole discs read as bold dots; shards read as broken light.
Lay everything out on a canvas or board before any glue comes out, and plan the arrangement dry first.
For a renter, canvas wins, since nothing gets stuck to the wall itself. Hot glue or super glue holds the pieces firmly.
Acrylic paint on the backing gives the shards a colored ground, and a layer of decorative paper does the same with pattern. Beads or sequins between pieces add dimension, though I’d keep them sparse.
3. Suncatchers
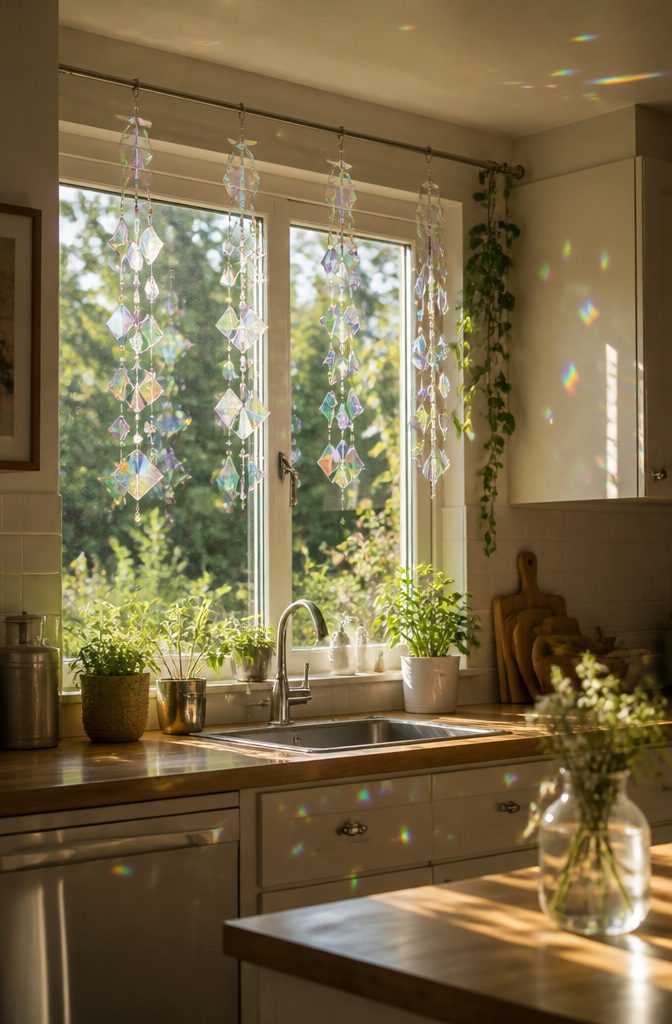
Cut the CDs into circles or random shards, then glue them to a clear plastic sheet or an old picture frame so the light has something to pass through and bounce off.
Clear glue is the right choice here, since a tinted or cloudy one dulls the gaps between pieces.
Arrange the shards loosely before you glue anything.
Leave small spaces of bare plastic between pieces, because the scatter comes from the mix of reflective and clear areas, and a solid mosaic just looks like a gray disc from across the room.
After the glue dries, punch a hole at the top and thread string or ribbon through it. A sunny window wins over a bright shelf: direct light is what sends rainbows across the walls.
4. Mosaic Mirror
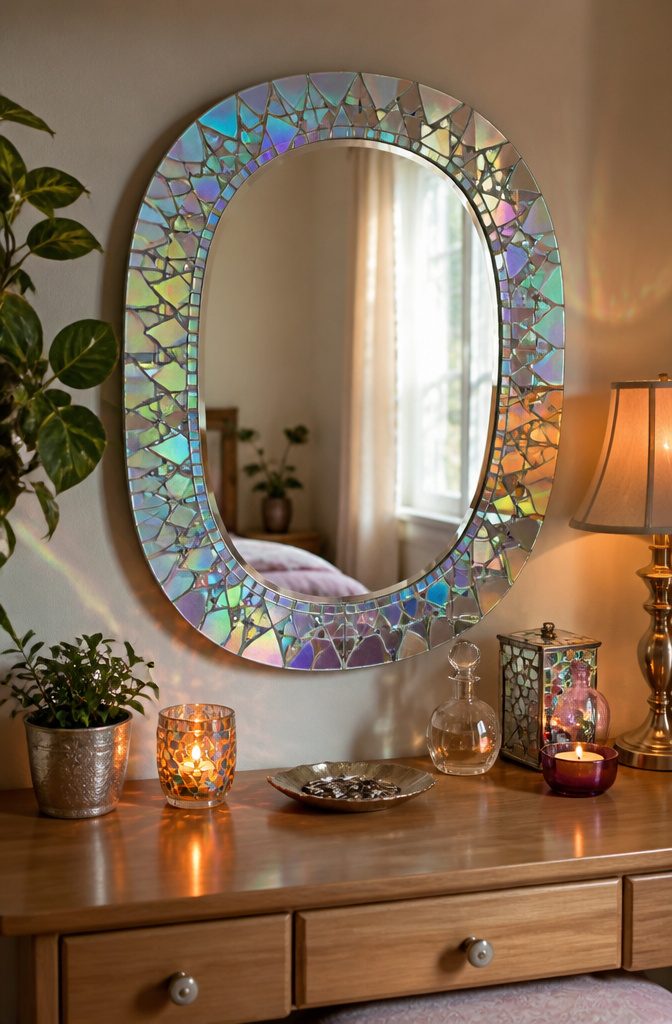
Cut CDs into small squares or triangles, then glue them around a plain mirror’s frame edge to edge so the pieces shimmer like rainbow tile.
Overlapping a few pieces covers any gaps, and cut edges are sharp, so wear gloves and eye protection while snipping. Run a fingertip along each piece before gluing and set aside any with a jagged point.
Lay the whole frame out dry first.
Moving pieces around on the table is far easier than prying one off a glued surface. Squares give a tidy grid, while random shapes look more like broken glass.
I would pick triangles for a rounder mirror because they follow the curve better. Use strong adhesive, and let it dry fully before you hang the mirror.
5. Ornaments
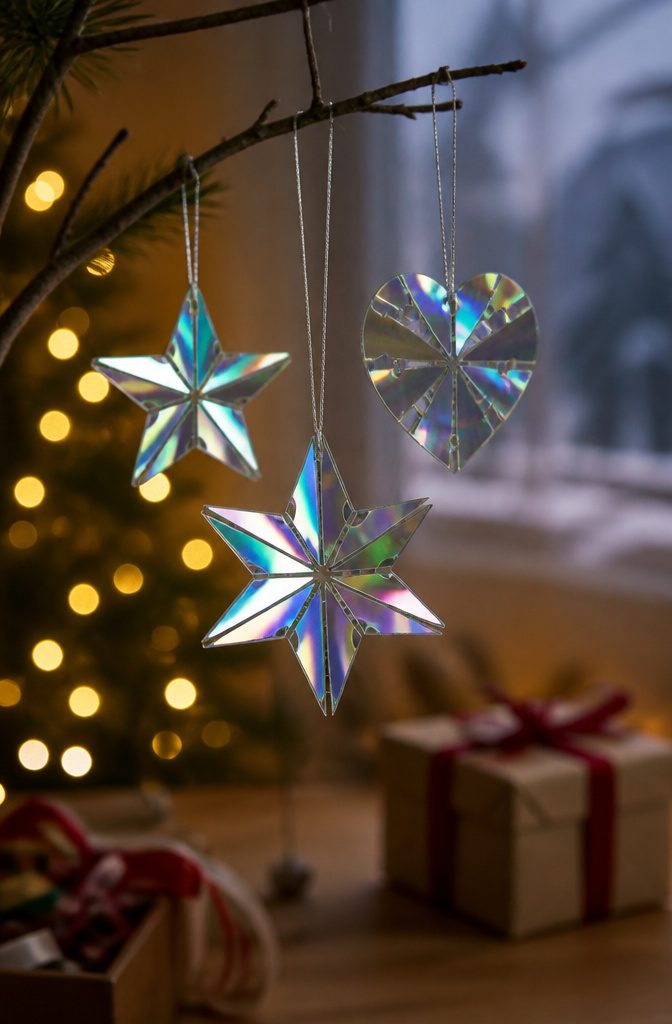
A CD’s mirrored side does most of the decorating for you, since it bounces light all over a tree.
Whole discs hang fine; they’re lightweight, so branches won’t droop. If you want a shape, cut stars, snowflakes or hearts first.
Punch a small hole at the top with a hole punch, or use the center hole and thread a ribbon or string through it.
Then add puffy paint, glitter or stickers. For extra sparkle, press on rhinestones, sequins or beads.
I’d pick puffy paint on the shiny side for a gift ornament, because it stays raised and reads as a design rather than a smear.
Glitter wins for a tree, and stickers win when kids are doing the decorating. A window works as well as a tree, since the disc catches daylight.
6. Jewelry
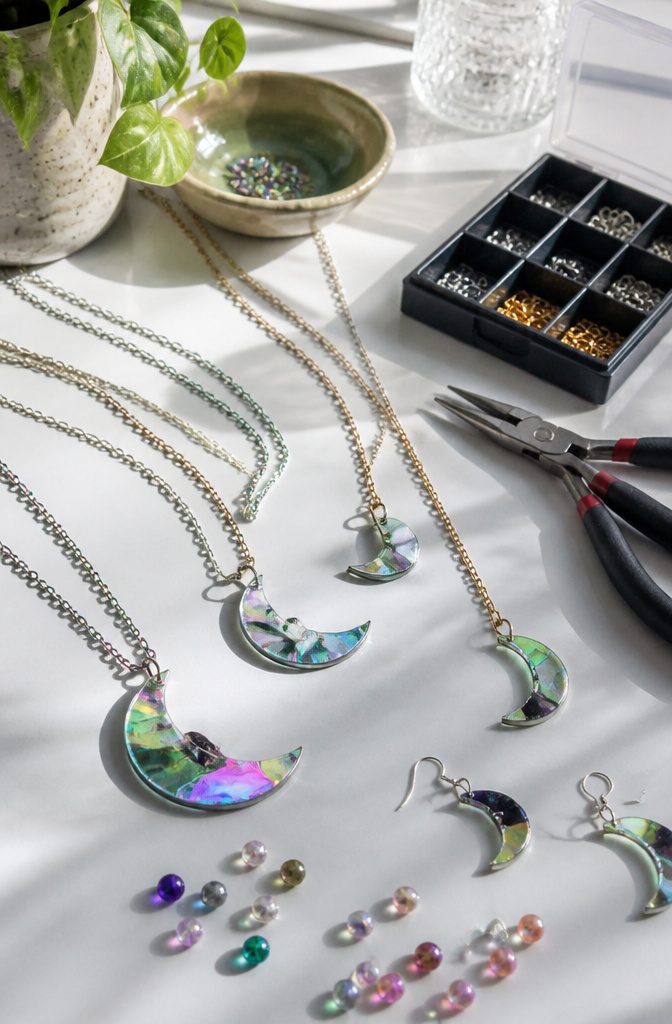
A CD’s mirrored, rainbow finish does most of the work in jewelry, so keep the shapes small and simple: triangles, circles, teardrops or loose abstract pieces.
Drill a small hole near the top of each piece for a jump ring, then hang it from a chain for a pendant or from an earring hook for a pair of drops.
For earrings, I like gluing two pieces back to back, since a double-sided piece flashes light from every angle and hides the printed or dull side.
Beads add color: thread one onto the jump ring above the disc, or hang a small one below it.
Run a nail file or fine sandpaper along every cut edge before wearing. Cut polycarbonate is sharp enough to scratch skin and snag hair.
7. Wind Chimes
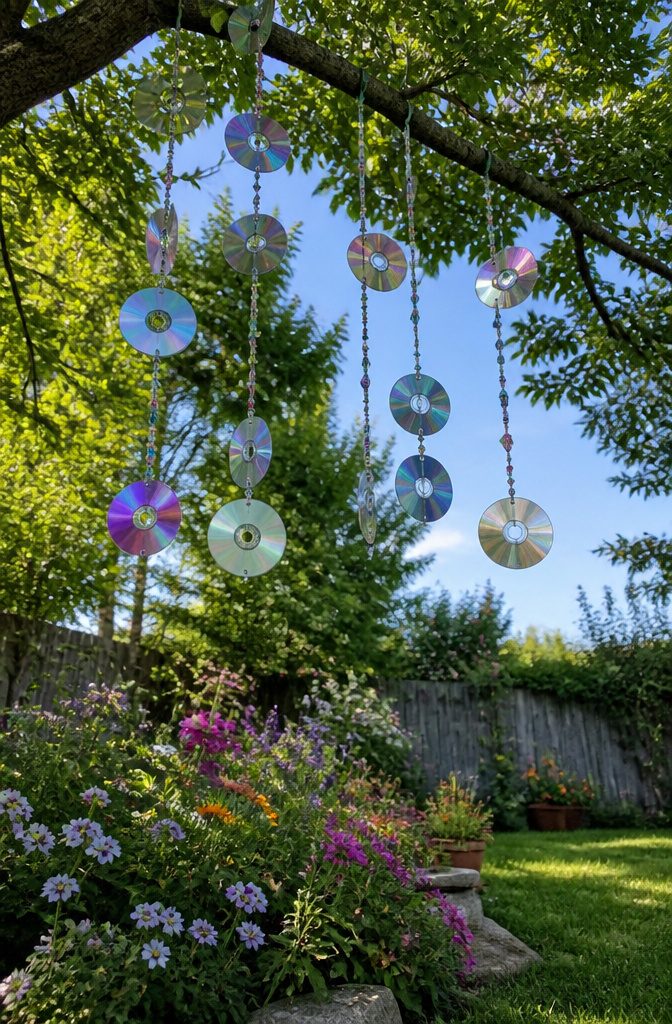
Fishing line is the string to buy: it disappears, so the discs seem to float and flash.
Colorful cord works if you want the strands to be part of the look. Drill a small hole near the edge of each CD, then thread the line through and knot it.
Stagger the discs at different heights along each strand and put beads between them. The beads act as spacers, so neighboring discs swing and clink instead of lying flat against each other.
Tie the strands to a sturdy base such as a metal ring or a wooden dowel, and keep the strands apart so they don’t tangle.
Space the strands so the discs can spin and touch in a breeze, then hang it where wind and sun both reach.
8. Clock
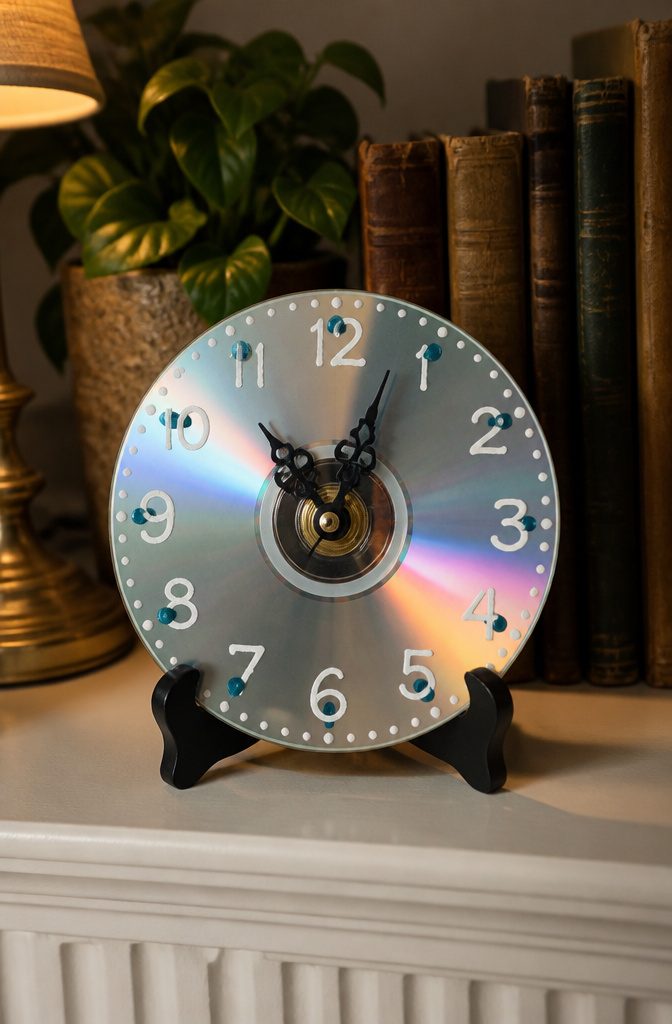
The center hole is the reason this project works: a CD already has an opening where a clock kit’s mechanism goes, so there is nothing to drill.
Clock kits are sold at most craft stores, and the CD becomes the face.
Decorate before you assemble. Paint the disc, or draw on numbers with markers, then mark the hours with paint dots, beads or stickers.
Beads or stickers at the 12, 3, 6 and 9 positions are enough if you want a minimalist look, and they keep the face readable from across a room.
Once the face looks right, push the mechanism through the hole, attach the hands and secure the back following the kit’s instructions. Hand-painted numbers look charming but uneven, so I’d go with stickers if you want clean results.
9. Disco Ball

Cut the CDs into squares of roughly the same size, because uneven pieces leave gaps that show the white foam underneath.
Glue each square to a Styrofoam ball and set them as close together as you can, working in tight rows until the whole surface is covered.
Tight spacing is what makes the ball scatter light in every direction, and I would rather trim a square than leave a wide seam.
For hanging, screw a small hook into the top once the ball is fully covered. Fishing line also works, and it nearly disappears, so the ball seems to float.
The size is up to you, though a bigger ball means a lot more squares to cut. Hang it where a window or lamp will hit it, and the room fills with moving specks of light.
10. Bird Deterrent
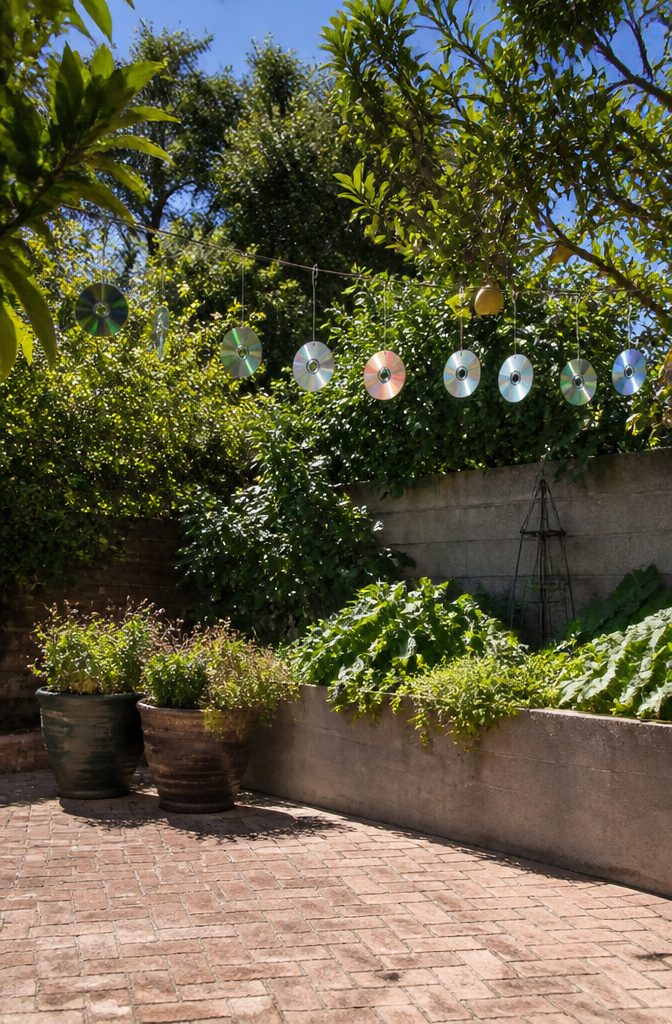
String a few CDs on a line with space between each disc, so they can spin and swing freely, then hang the strings around the garden or from fruit trees.
Wind turns the discs, and the flashes of light they throw are what spook birds and other animals. It costs nothing, and it keeps old discs out of the trash.
I would call it a mild nuisance for birds, not a fence.
Birds can get used to anything that never changes, so a disc hanging dead still in a windless corner does little. Hang them where breezes reach, and move the strings every so often.
For a small plot or a single fruit tree, this is worth an afternoon. For a large orchard or a berry patch you can’t afford to lose, I would add netting and treat the CDs as a bonus.
11. Keychain
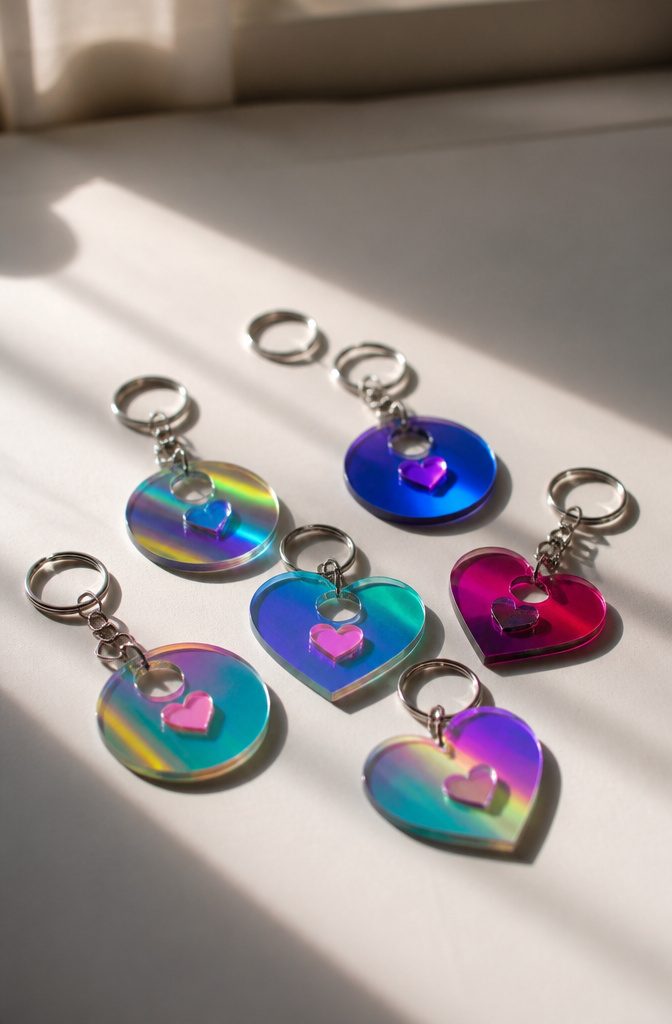
A small CD piece makes a better keychain than a whole disc, which is too big to carry and catches on everything in a pocket. Cut hearts, stars, circles or loose abstract shapes, and keep them compact.
Drill a small hole near the top edge for the ring.
Go slowly so the plastic doesn’t crack, and support the piece on a scrap of wood while you work. Then decorate with paint, markers or stickers.
Seal the design with a clear coat of varnish or resin, since a keychain gets rubbed against keys all day and bare marker will wear off first.
Seal before you attach the ring, so the coating doesn’t gum up at the hole. Thread the keyring through and the piece is done.
12. CD Lamp
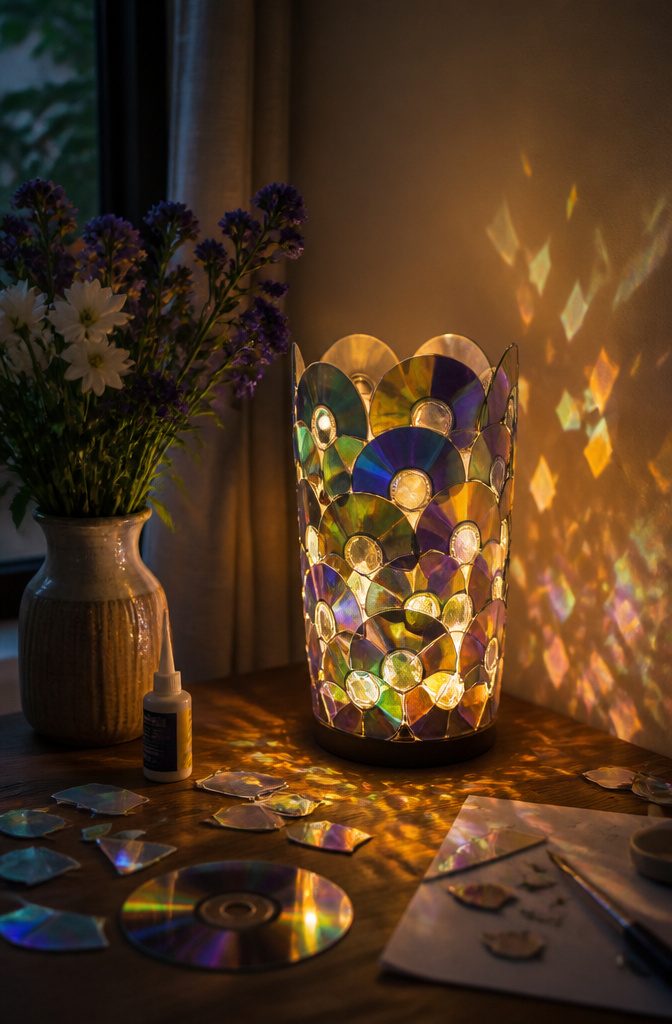
Use a cool LED and nothing else inside this lamp.
An incandescent bulb runs hot enough to warp polycarbonate discs and scorch the adhesive, so a battery-powered LED puck light or a string of small LEDs is the safe choice for anything made of CDs.
Start with a base shape that already holds a light: a clean tin can, a plastic cup, or a cardboard tube with the bottom closed.
Break old CDs into shards with scissors or glue whole discs on edge in overlapping rows, working from the bottom up like roof shingles. Hot glue grips the shiny side poorly, so rough up the contact spots lightly first.
Leave gaps between the rows so light escapes and throws small rainbow flecks across the wall. Seal the layers tight and the lamp just glows dull and flat.
13. Garden Decorations
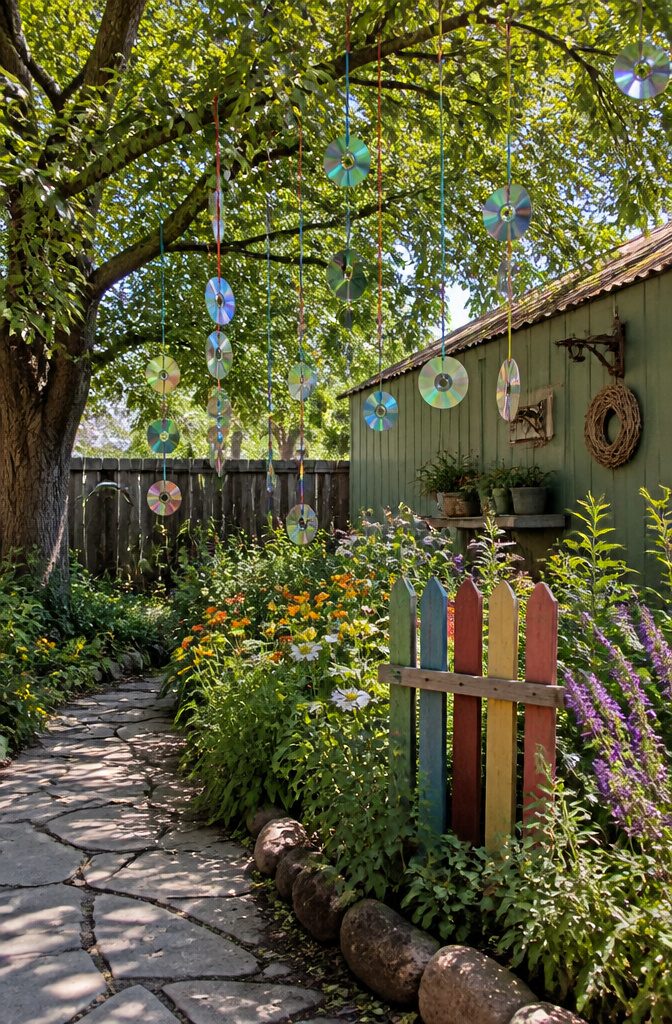
CDs throw light in every direction, which is why they work outdoors.
Thread colorful string through the center hole and hang a disc from a branch, or string several together with space between them so they can spin. Wind does the rest, and flashes of light move across the yard.
For painted garden markers, I’d skip anything that needs a fussy finish and use the flat label side as your canvas. Write the plant name, then tape or glue the disc to a stake.
Weather is the weak point.
Sun, rain and sprinkler spray will lift paint, so finish every painted disc with a clear outdoor sealer on both sides. Let each coat dry fully before you hang or stake it.
14. Photo Frame
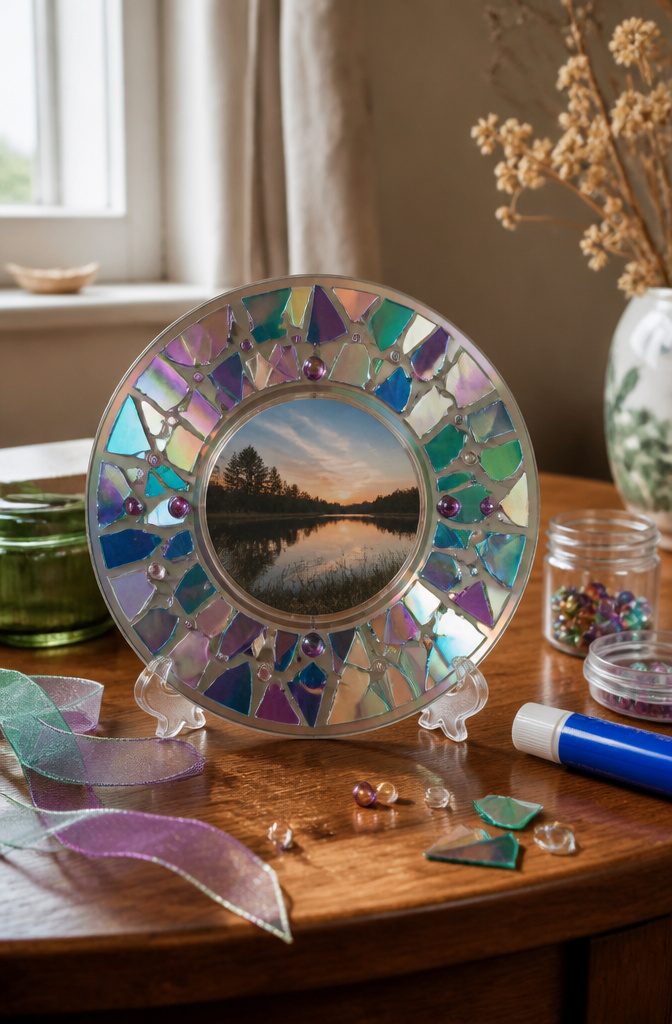
A CD makes a frame in two ways, and the first is faster: stick the photo right on the disc and decorate the edge with ribbon, beads, or whatever else you have in the craft drawer.
The shiny rim does half the decorating for you.
The second builds a frame around the disc. Cut old CDs into mosaic tile shapes, arrange them around a plain photo frame, and move the pieces until the pattern looks right before any glue goes down.
Then glue every piece down securely, because loose shards are the usual failure. Beads, paint, or small charms can fill the gaps.
For display, binder clips along the bottom turn a single disc into a standing frame. I’d pick that over a hanger when the disc carries a photo, since it needs no extra backing.
15. Floating Candle Holder
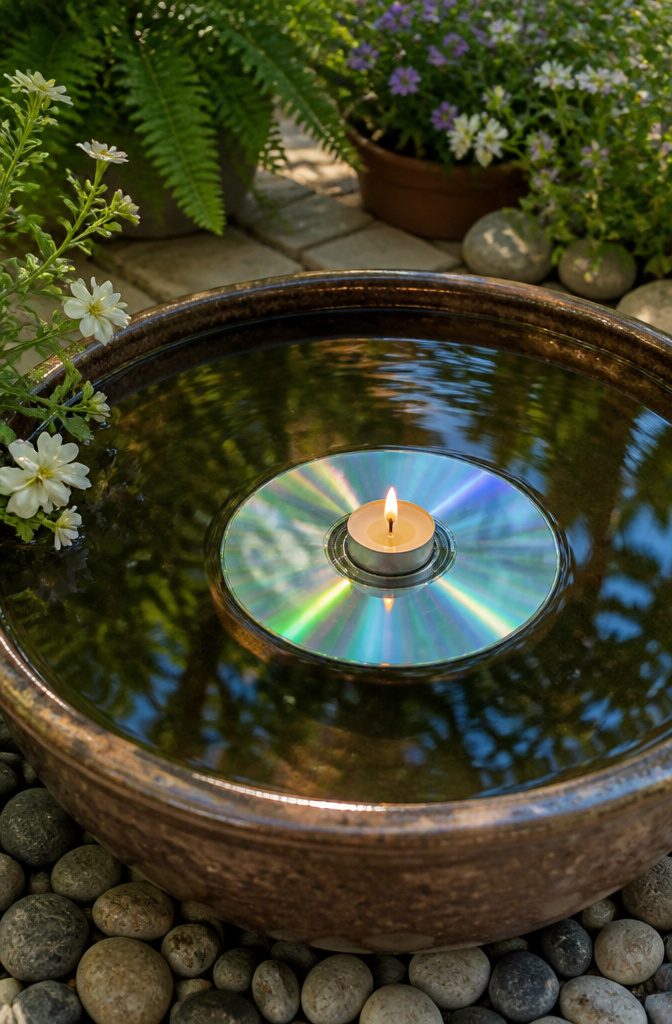
A CD works as a floating candle base because it is flat, light and reflective, so it carries a small candle across the water and throws the flame’s glow back up.
Decorate the label side first with paint pens, glass paint or mosaic bits, and let it dry fully before it touches water.
Set the disc shiny side up in a wide, shallow bowl, then rest a floating candle in the center.
Keep the flame well away from the plastic. A CD is polycarbonate with thin coatings, and it will warp, scorch or give off fumes if a flame sits close.
Choose a candle small enough to leave a clear gap around its edge, and never leave it burning unattended. If that feels risky, I’d swap in a battery tea light, which looks nearly the same.
16. CD String Curtain
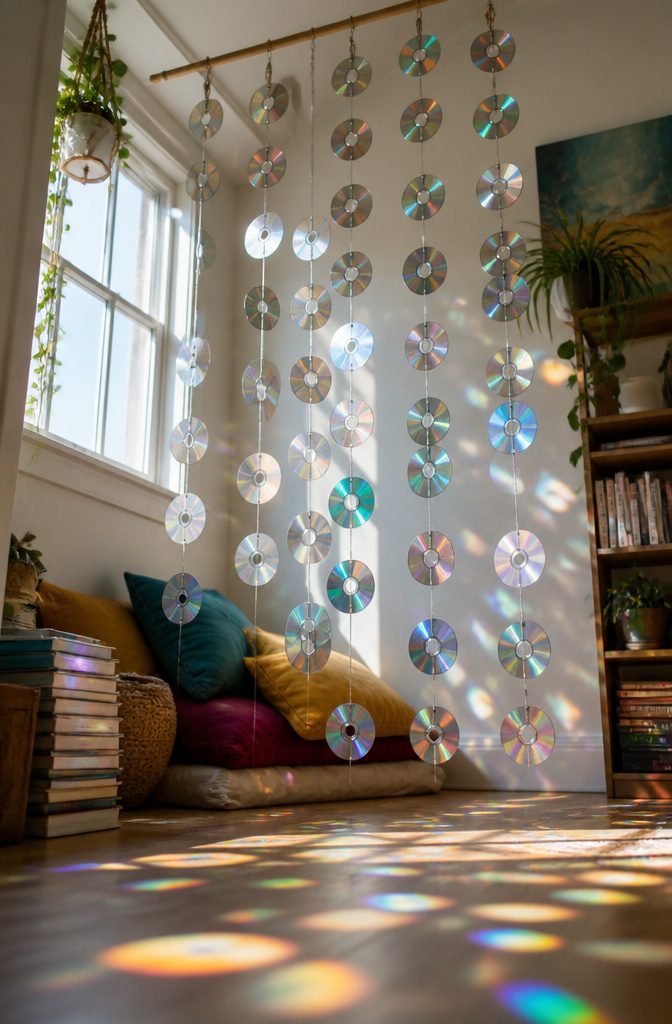
Drill a small hole near the edge of each disc, then thread the discs onto fishing line, thin thread, or yarn.
Fishing line wins for me: it nearly disappears, so the discs seem to float and throw light around the room. Yarn adds color but sags and competes with the shine.
Knot below each disc, or use a split ring at every hole, so the discs stay put instead of sliding into a pile at the bottom.
Stack them in straight rows for a tidy look, or stagger the holes for a looser, more playful curtain.
Hang the strands from a rod or dowel set close together. Leave a few inches between strands so the curtain still lets light and air through; packed tight, it becomes a wall of reflections instead of a shimmer.
Why Upcycle Old CDs
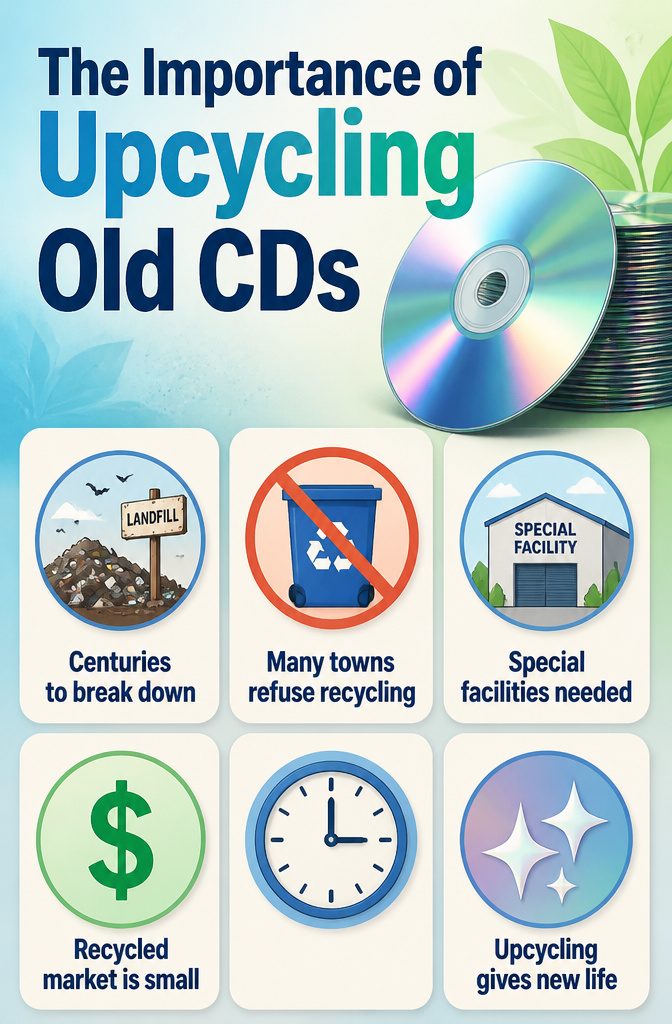
A CD is layers of polycarbonate plastic and aluminum, topped with lacquer or dye, and both main materials take centuries to break down in a landfill.
Those coatings have to be separated from the core before anything gets recycled, which is why many municipal programs refuse discs outright.
Specialized facilities can handle them, but the market for recycled polycarbonate is small, so finding one takes real effort.
That leaves upcycling, which I’d pick over a drop-off hunt every time.
It means giving something a second life and a new function, and a disc already has the shine and rigid shape most crafts want. Skip the trash can: a stack of scratched discs is free material for an afternoon project.
Cutting and Decorating CDs
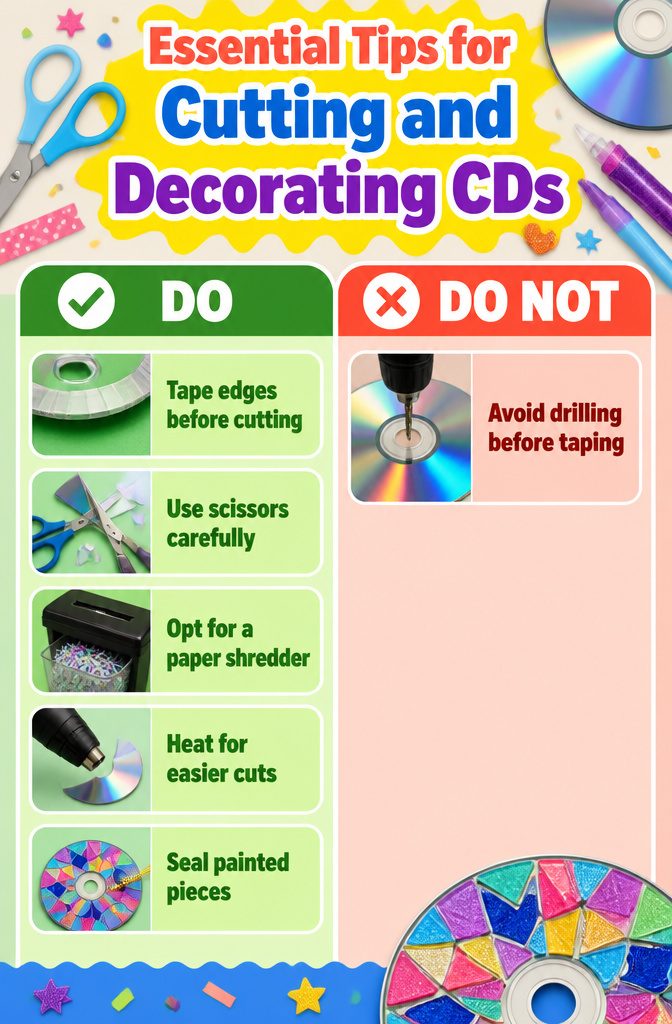
Cutting a CD is the step where most projects go wrong, so a few habits help before any paint comes out.
- Tape both edges of every cut with masking or clear tape before you touch the disc. Raw cut edges are sharp and the plastic can crack unpredictably.
- Scissors work for small triangles and abstract shapes, but go slowly and cut in short snips.
- A paper shredder handles discs fast and gives you ready-made confetti-sized bits for mosaics. I’d pick it over scissors for anything needing dozens of pieces.
- Heat softens the plastic so it cuts more easily; keep it gentle and ventilated.
- Paint, glitter, markers or puffy paint all stick to the label side. Paper cutouts glued on are the cheapest way to hide the printed label.
- Drill small holes only after taping, and seal painted pieces with clear varnish.
Materials to Gather
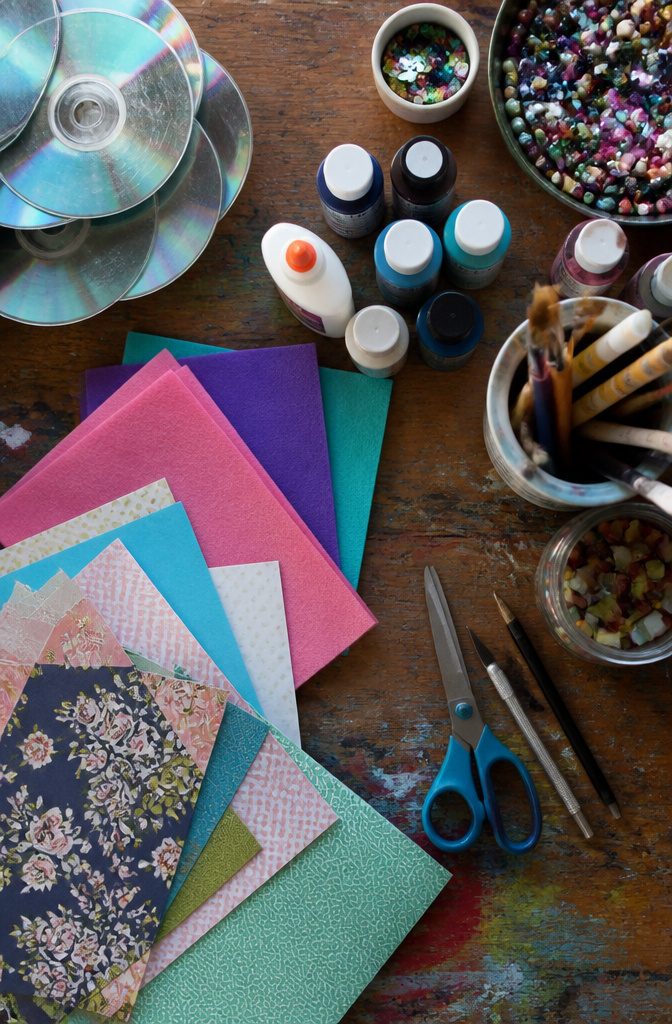
Everything here is probably already in a craft drawer, and none of it needs a special trip to the store:
- Old CDs: scratched or unreadable discs work fine, since you only need the plastic disc itself.
- Acrylic paint: it covers the shiny side well and dries fast, so you can layer colors in one afternoon.
- Glue: pick one that holds paper, felt, and cork to a smooth surface, and use it sparingly so it doesn’t ooze at the edges.
- Beads: these are for the decorative projects, glued on or strung through.
- Decorative paper: patterned paper can be decoupaged onto a disc, and it’s the cheapest way to get a pattern.
- Felt or cork: cut to the size of the disc and glued to the back, it protects surfaces from scratches and heat when you make coasters. I’d choose cork for hot mugs.
A waterproof sealant is optional, but it makes painted or papered coasters last longer.
Frequently Asked Questions
What can I make with old CDs?
Old CDs turn into coasters, wall art, suncatchers, mosaic mirrors, ornaments, jewelry, wind chimes, clocks, disco balls, keychains, lamps, and garden decorations.
The discs are shiny and rigid, which suits most of these projects. Scratched or unreadable discs work fine since you only need the plastic.
How do I cut CDs for crafting?
Scissors are the simplest tool: cut in short snips and tape both sides of the cut line first, since raw edges are sharp and the plastic can crack.
A paper shredder is faster when you need dozens of small pieces for a mosaic. A little gentle heat, such as from a hair dryer, softens the plastic so it cuts more easily; keep the room ventilated.
Can I recycle my old CDs?
Yes, but finding a place that takes them is hard.
Many municipal programs refuse discs because the coatings must be separated from the plastic core, and only specialized facilities handle them. Upcycling them into crafts is usually the easier route.
What can I do with unwanted CDs and DVDs?
Turn them into crafts such as coasters, ornaments, wind chimes, or a garden bird deterrent instead of tossing them.
Recycling is an option, but few programs accept discs. A stack of scratched ones is free material for an afternoon project.
Is it safe to work with cut CD pieces?
Cut edges are sharp, so wear gloves and eye protection while snipping.
Run a fingertip along each piece and set aside any with a jagged point. For jewelry, smooth every cut edge with a nail file or fine sandpaper before wearing it.





