
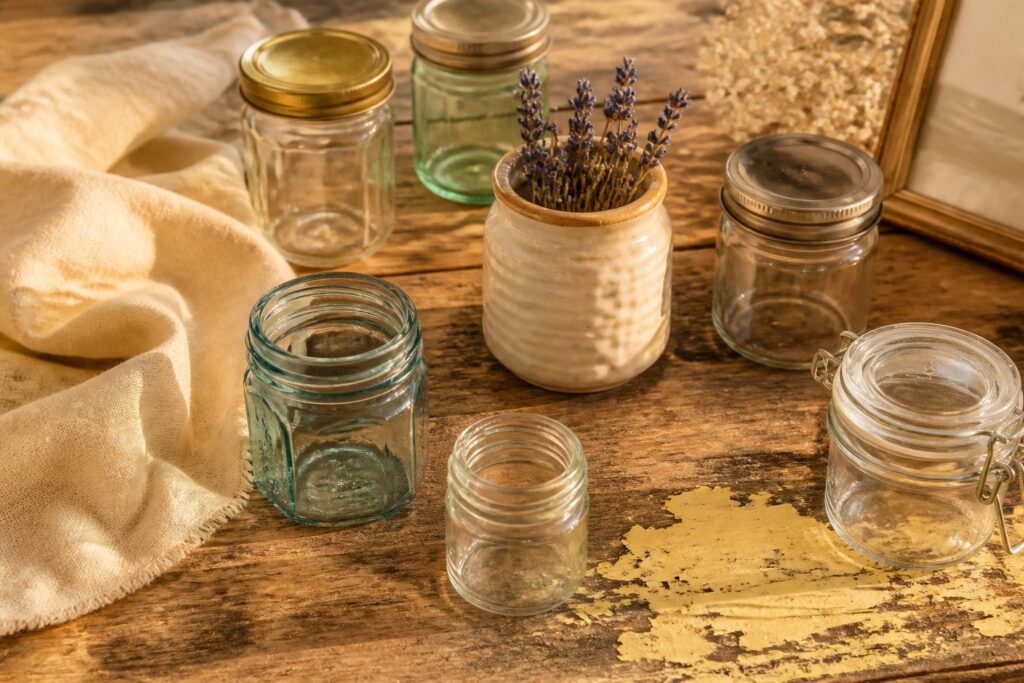
These projects run from a 2-minute label soak to a drilled metal lid, and the jar decides which one suits you: a rubber seal for snow globes, a wide mouth for cupcakes and business cards, a metal two-piece lid for the soap pump.
Candles are the exception. A true mini jar is too small to burn safely, so keep it for display.
1. Mini Salt and Pepper Shakers
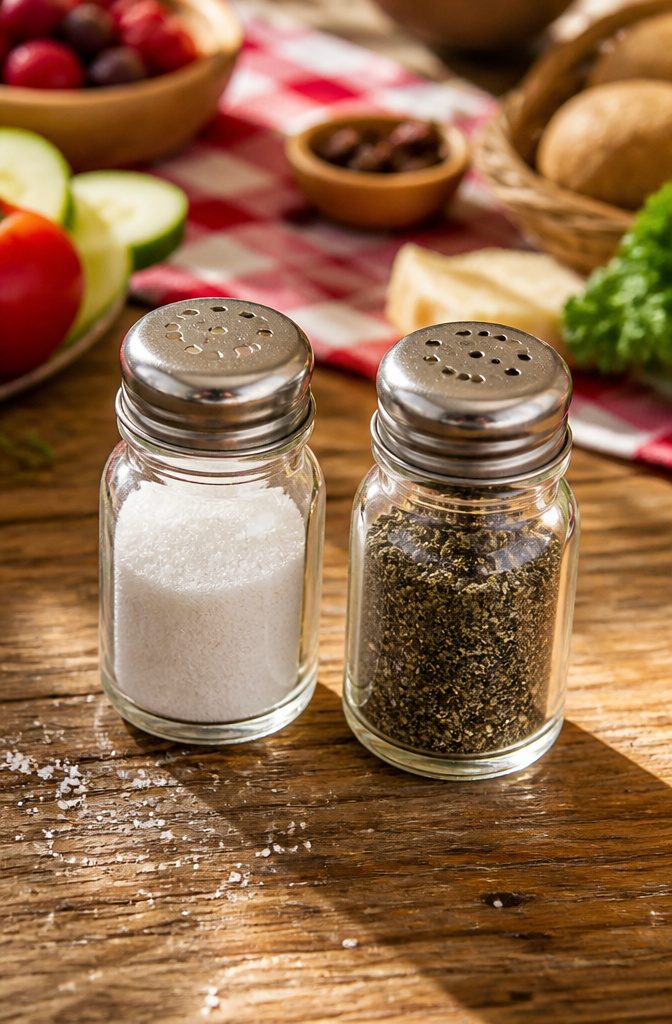
Pepper goes in the shaker with more holes, and salt goes in the one with fewer. Settle that before you touch a hammer, because a lid punched the wrong way round is hard to fix.
Pick your lids first, then decide on the count: I’d go with 3 holes for salt and 6 for pepper, a split that makes the two easy to tell apart by feel.
Set the lid on a scrap of wood, place a nail where each hole should go, and tap it through with a hammer.
A strip of tape on top lets you sketch a pattern first; peel it off when you’re done.
Mini jam jars suit a table well. They fit a picnic basket, a patio spread, or a party, where you can scatter a pair at each seat.
2. Plant Propagation Jars
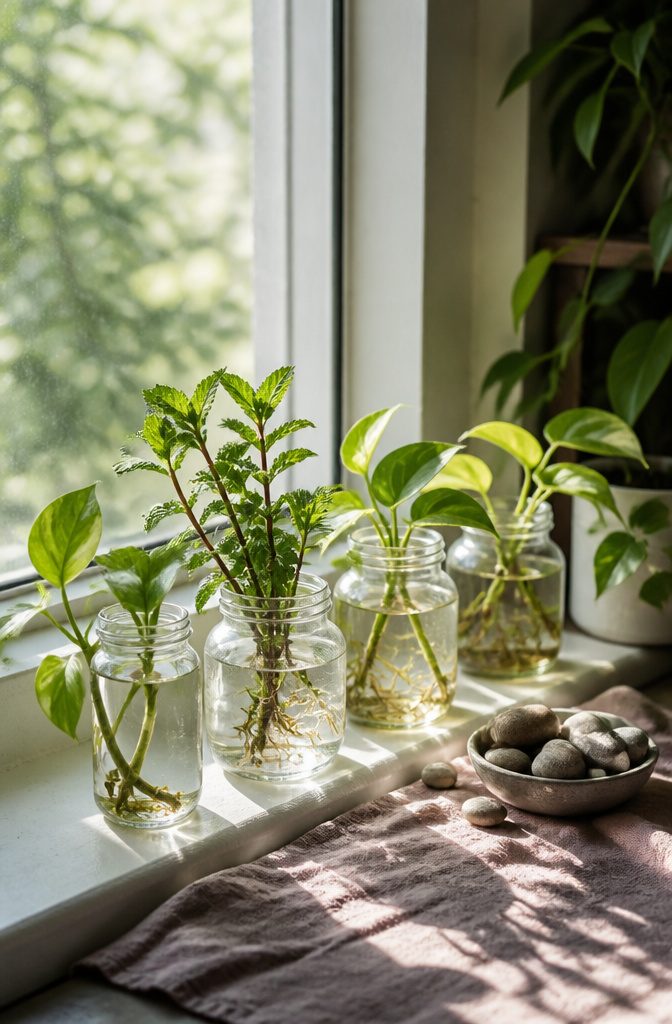
Pothos, philodendron, coleus, mint and wandering jew root in plain water without any fuss.
Snip just below a node, the small bump where a leaf meets the stem, and strip any leaves that would sit underwater, since they rot and cloud the jar.
A clear jar is the whole appeal here. You can watch white roots push out from the node over a couple of weeks, and you can spot trouble early: slimy stems or murky water mean it’s time to act.
Change the water about once a week, or sooner if it looks cloudy.
Use room-temperature water so the cutting isn’t shocked. Keep the jar in bright light, but out of harsh direct sun, which warms the water and encourages algae.
A small jar holds only one or two stems, which suits a windowsill. Pot the cutting in soil once the roots are a few inches long.
3. DIY Candles
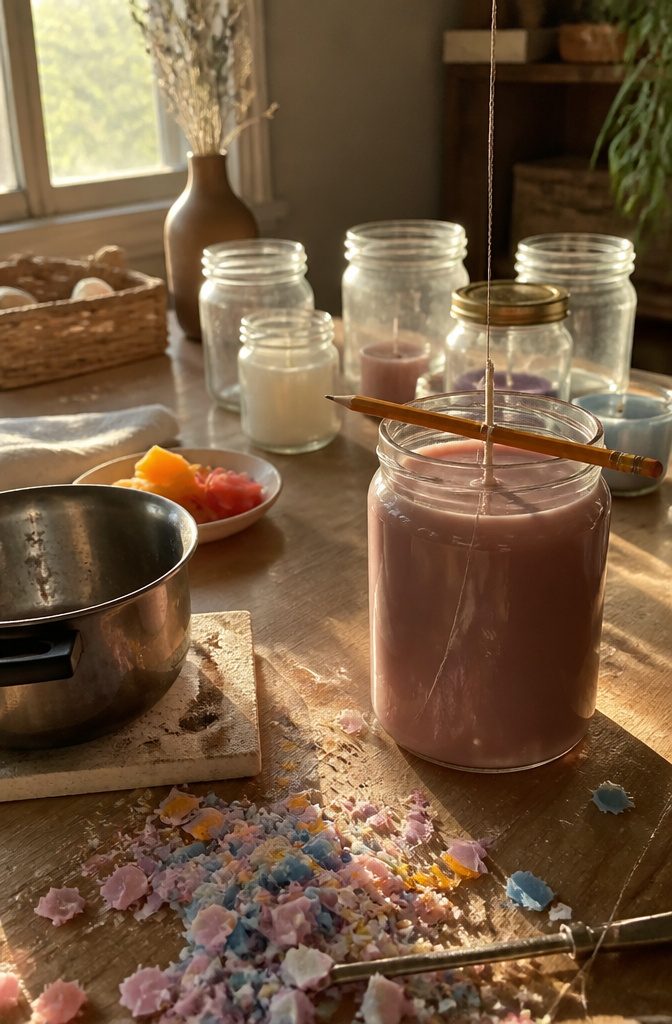
- Collect the stubs of old candles and melt them in a heatproof bowl set over a pan of simmering water. This bain-marie setup keeps the wax away from direct heat.
- Cut a wick longer than the jar is tall, so you have extra to tie off.
- Pour the melted wax into the jar, then tie the extra wick around a pen or pencil laid across the jar’s mouth. That holds the wick centered while the wax firms up.
- Leave the candle where no one will bump it until the wax has set completely.
Jar choice decides whether this works.
Use a large jar, because in a small one the flame sits too close to the glass. A true mini jar is better kept for the pencil-and-wick setup as a display piece, not one you burn.
4. Mini Terrariums
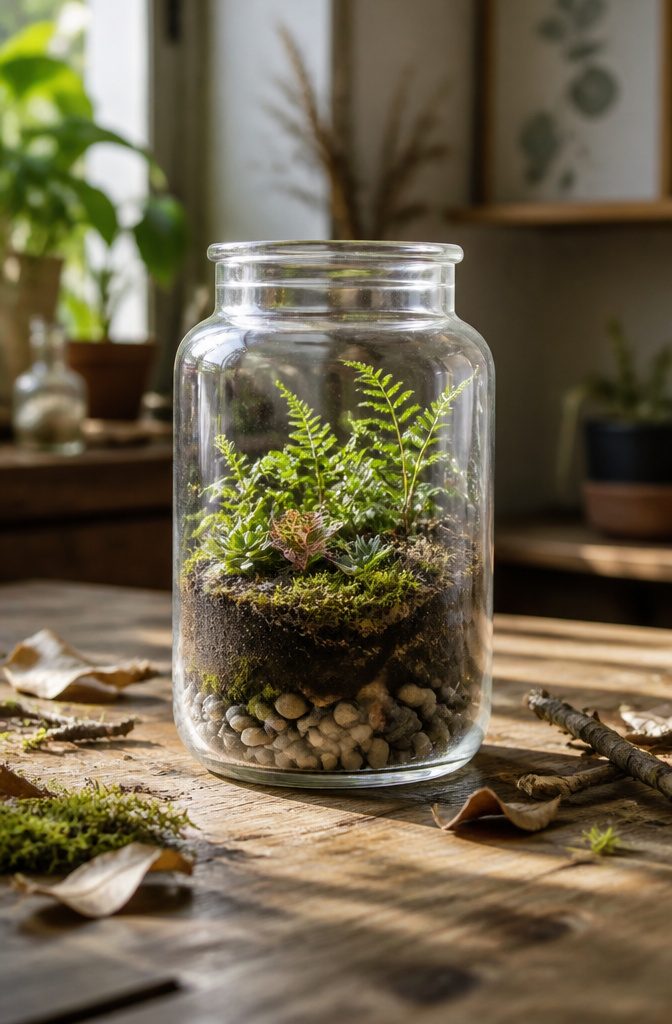
A terrarium is a small natural world sealed inside a portable jar, and it needs almost no upkeep once it’s built. Layer it from the bottom up: pebbles first, then soil, then plants, then a topping of moss or rocks.
The open mouth of a jar limits what fits, so choose small plants and set them in with a spoon handle or your fingers.
If the dirt bothers you, press a thin layer of pebbles or sand against the inside of the glass to hide the soil line. Pick plants that stay small, because a jar fills up faster than you’d expect.
Kids ages 3–11 can handle this one. Hunting for rocks and moss outside is half the fun.
5. Memory Jars
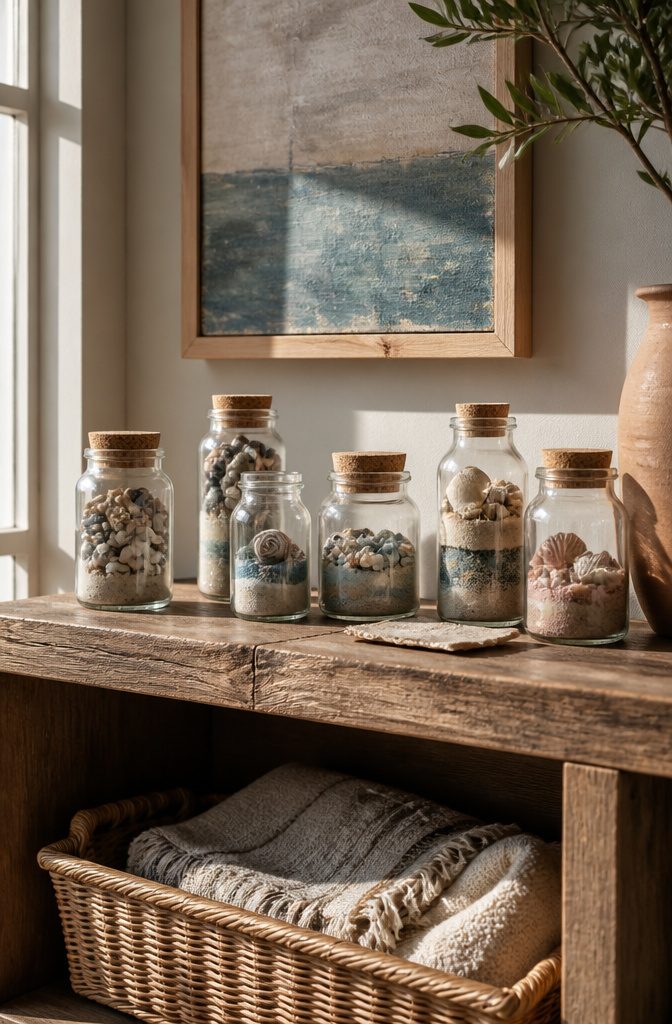
A memory jar works because the contents are small and personal, so a mini jar holds a whole trip without crowding a shelf.
Start with sand and shells from a beach, then layer in sea glass or pebbles. Layering different types of sand with pebbles gives you bands of color you can see through the glass.
Anything flat or small enough to slide through the neck counts: a lei from a honeymoon, a grandparent’s keychain, a fishing lure.
Pick one trip or one person per jar, because mixing too many places turns it into clutter. Trips, weddings and family gatherings all suit this.
Add a small paper label with the place and year on the lid or tied around the neck. Without it, you’ll forget which beach is which.
6. DIY Air Fresheners
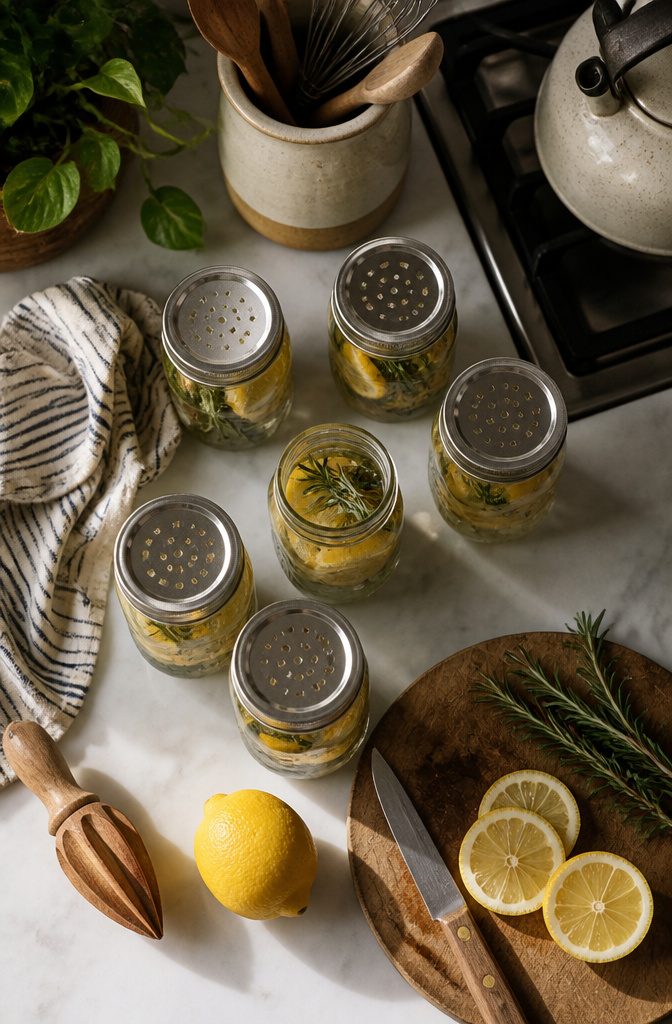
Simmering beats a sealed jar for scent strength, because heat throws the aroma across the whole room.
For a summer pot, combine 2 fresh lemons, 1 teaspoon of vanilla and 2 stalks of rosemary in 5 pints of water, bring it to a boil, then simmer for about 25 minutes.
For winter, swap in 4 oranges, 4 cinnamon sticks and a few pinches of whole allspice. Keep topping up the water so everything stays covered.
For the jar version, simmer rosemary, thyme or mint with water for a few minutes, add vanilla if you have it, and let it cool before pouring it in.
Poke a small hole in the lid so the scent escapes slowly. I’d plan on changing it after a few days.
7. Mini Jam Jar Valentines
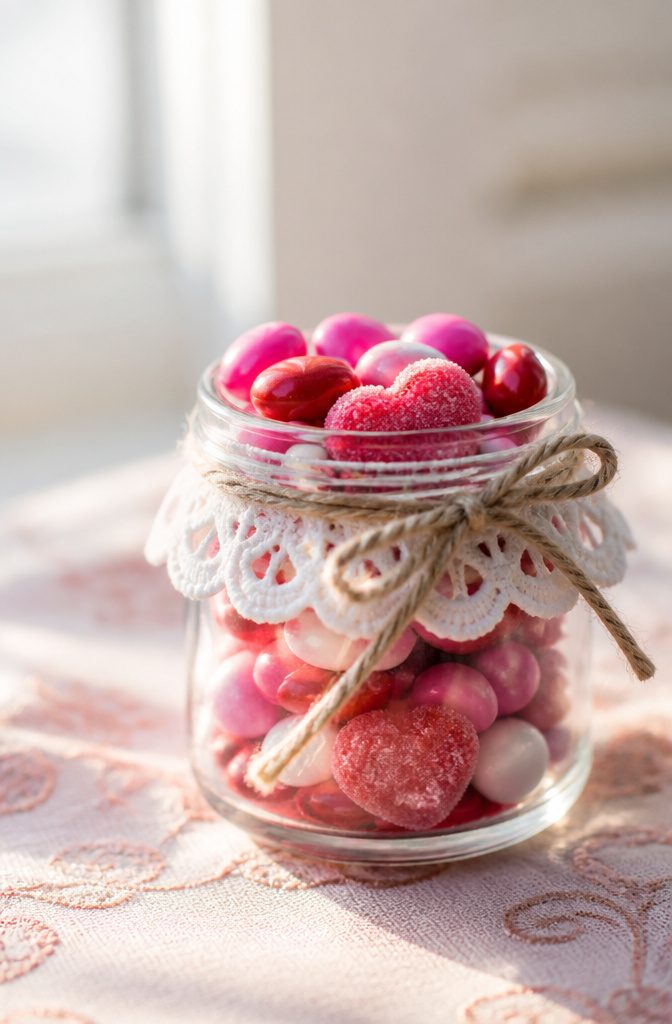
A small jar does what a card can’t: the person you give it to keeps it and reuses it long after February 14.
That alone is why I’d pick a jar over a folded piece of cardstock, and it costs about the same once you pick a filling.
Fill it with candy, small cookies or other treats. A doily glued to the lid with Mod Podge gives the jar a lacy top, and fabric, ribbon or lace around the neck works just as well.
For the tag, write a short note on a paper heart and tie it on with twine, so the jar carries the message a card would have. Use a jar you can spare, since it won’t come back.
8. Mini Aquarium
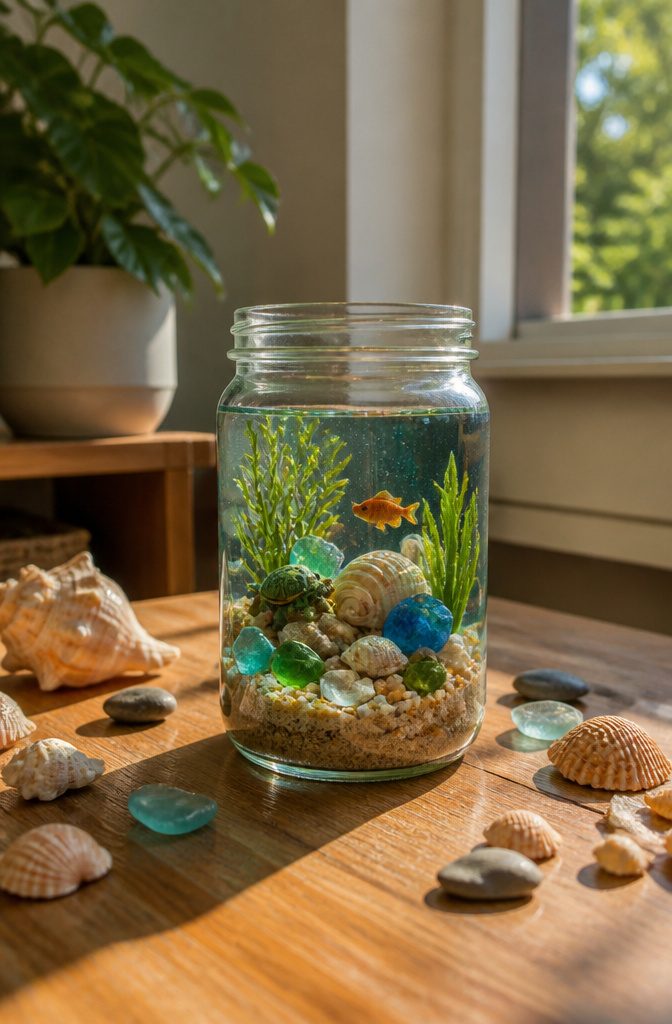
A mason jar aquarium suits any aqua-themed party or summer afternoon, and kids take to it fast. Start with a layer of sand on the bottom, since it anchors everything else and gives the scene its seabed.
Press shells into it at different angles so they look washed in rather than lined up, and stand the small figures on top.
Sea glass is a good addition for color. Keep the scene sparse, because a jar packed with figures looks like a toy bin, while three or four pieces read as a tiny underwater world.
Pick one focal figure and build around it. Hold off on water: dry sand and shells last indefinitely, and a lid keeps dust out.
9. DIY Soap Dispenser
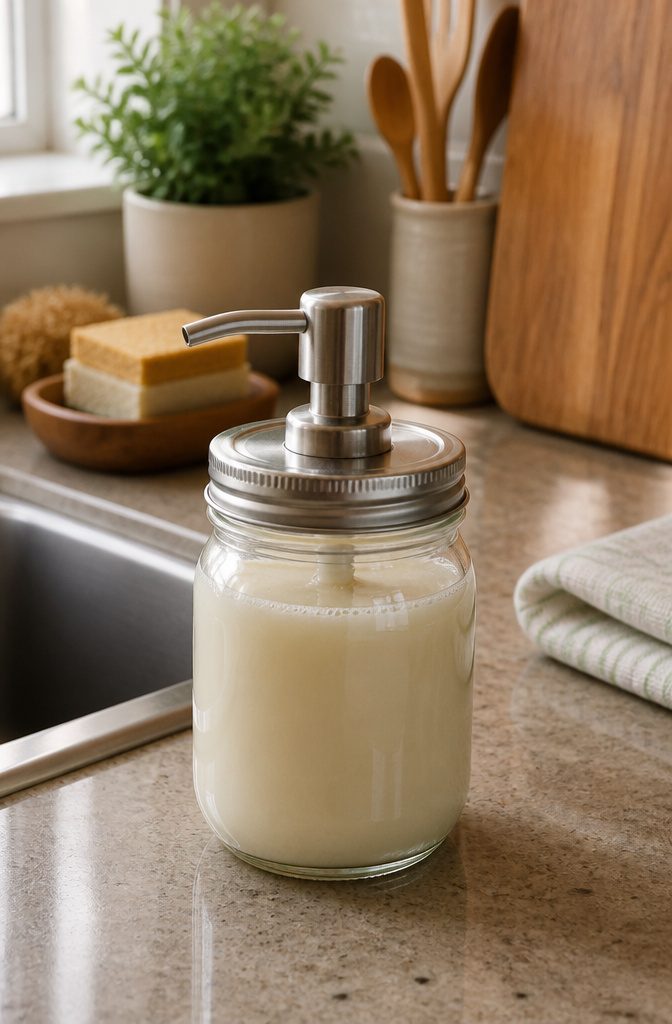
A metal lid is the one that decides whether this project works.
Pump dispensers for soap are made to fit a standard jar mouth, so the simplest route is a jar with a metal two-piece lid or a plain screw-on cap.
Drill straight through the center of the flat cap, then pass the pump’s tube through the hole from the underside.
Use a drill bit just wider than the pump’s collar. Start with a small pilot hole, then step up the bit size, because metal lids can slip and dent.
Tape over the spot first to keep the bit from skating. Glass is a poor choice for drilling, so leave the jar alone and work only on the lid.
Trim the tube so it nearly touches the bottom of the jar. Seal the joint with a dab of waterproof glue if the pump wobbles.
10. Mini Candy Jars
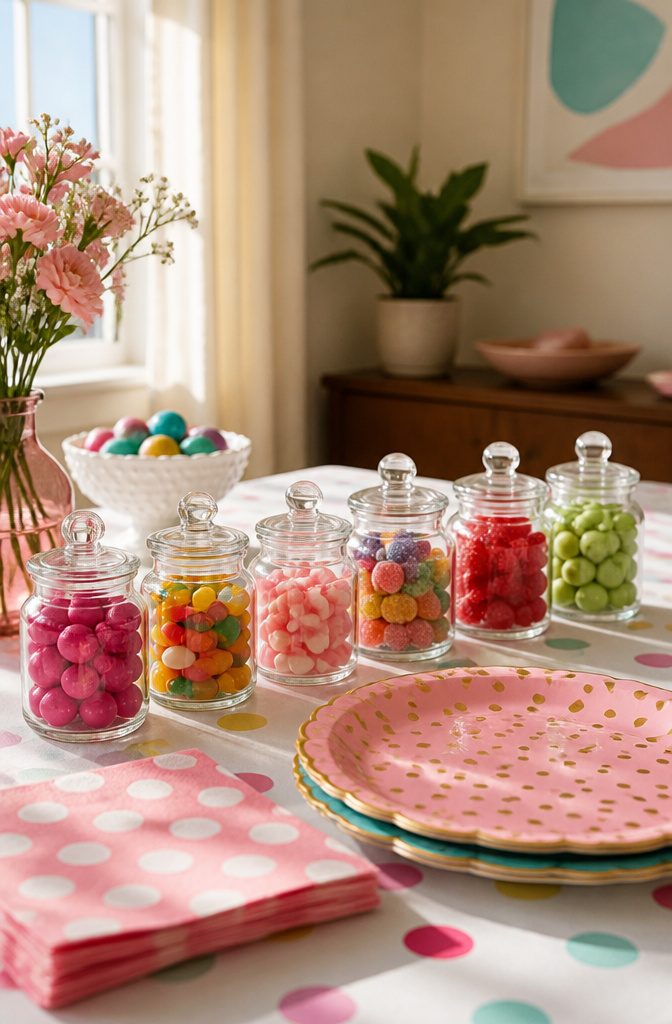
Mason jars are still the best container for candy and other sweets, and the mini size suits it: a clear glass wall keeps the color of the snacks on display, so the jar works as decor before anyone opens it.
On a party table, a row of them filled with different candies doubles as a self-serve bar and a centerpiece.
At a desk, one small jar of candy sits comfortably beside jars holding pens and clips. Mix in a terrarium or beachscape jar and the whole setup looks deliberate rather than cluttered.
For decoration, I’d go with chalk paint and a stencil, applied with a squeegee, because it leaves the lid and glass intact.
Hearts and a mini stencil in bright white or candy apple red read well against bright candy. Tuck a paper note inside and the jar becomes a gift.
11. Miniature Vases
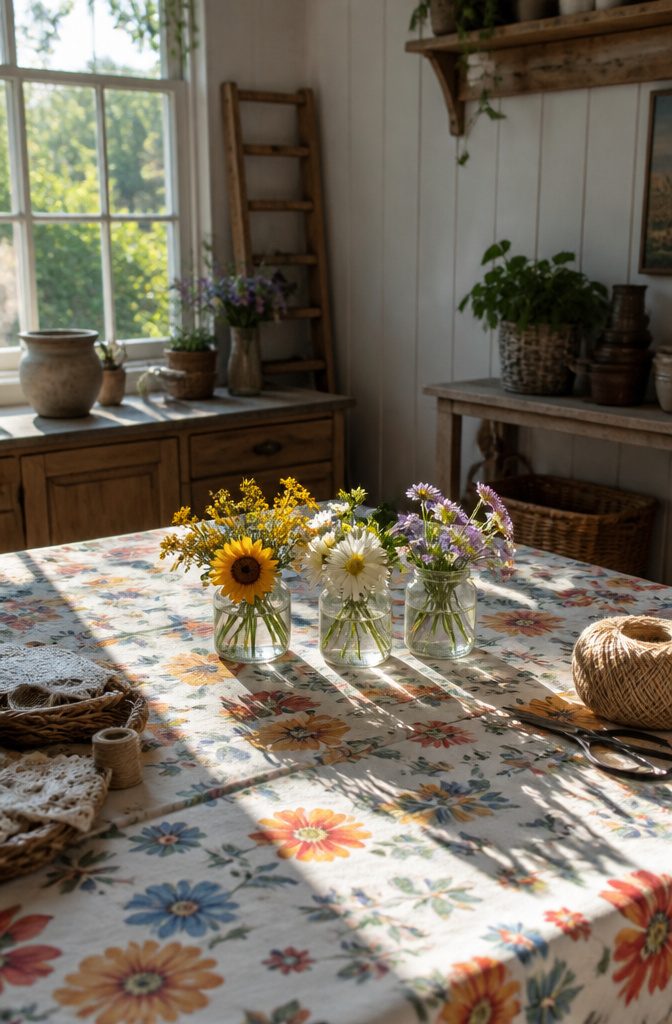
A small jar makes a better vase than most store-bought ones, mostly because it forces you to cut stems short.
Snip them so the blooms sit just above the rim, and a handful of garden flowers looks full instead of leggy. A jam jar with fresh-cut stems needs nothing else, and I’d leave it plain more often than not.
When you want it dressed up, wrap garden twine or ribbon around the neck of the jar and tie it off at the top. Lace works the same way.
For a stronger look, paint the outside to match a room, or add washi tape or stickers. Paint hides the water line, which is a real plus on a windowsill.
12. DIY Tiki Torches
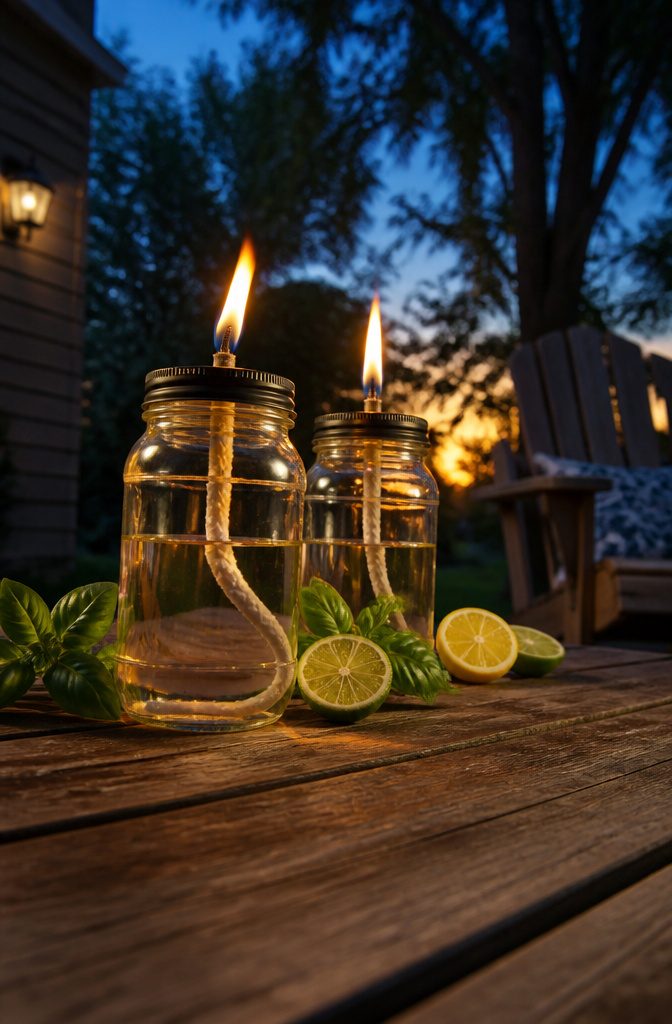
A mason jar tiki torch is a jar of tiki torch fluid with a wick running through a hole poked in the lid.
That’s the whole build, and it keeps pesky bugs off the patio while giving you light. Poke the hole before you fill the jar, and thread the wick so it sits snug with no gaps.
A gentler option skips the fuel.
Fill a jar with citrus slices, basil and water, then float a candle on top for a natural bug-repellent candle. It smells good, but I’d treat it as a table accent, not a replacement for the fluid version.
For placement, set the jars on a flat, stable surface, away from railings, cushions and overhanging branches. Keep any jar with fuel in it well clear of foot traffic, since a tipped jar spills flammable liquid.
13. Snow Globes
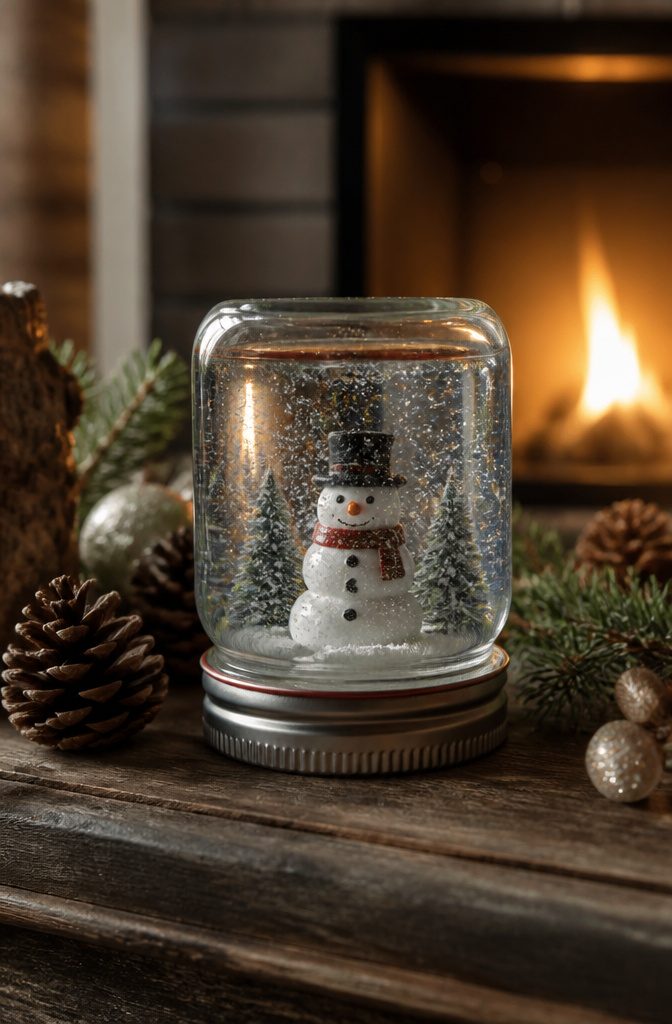
A jar with a rubber seal in the lid is the only kind worth using for a snow globe, because the figure gets glued to the underside of the lid and a plain metal lid will weep water at the threads.
The seal keeps the leak out once you flip the jar over.
Mix 1 part clear glue with 2–4 parts water.
More water makes the glitter fall faster; more glue slows it down. Pour the glue in first, then add the water and glitter a little at a time so it doesn’t clump.
Glue a small ornament, such as a tree or snowman, to the lid and let it set.
Lower it into the jar, screw it shut, and turn it over. I’d test the seal over a sink before gifting it.
14. Miniature Gift Jars
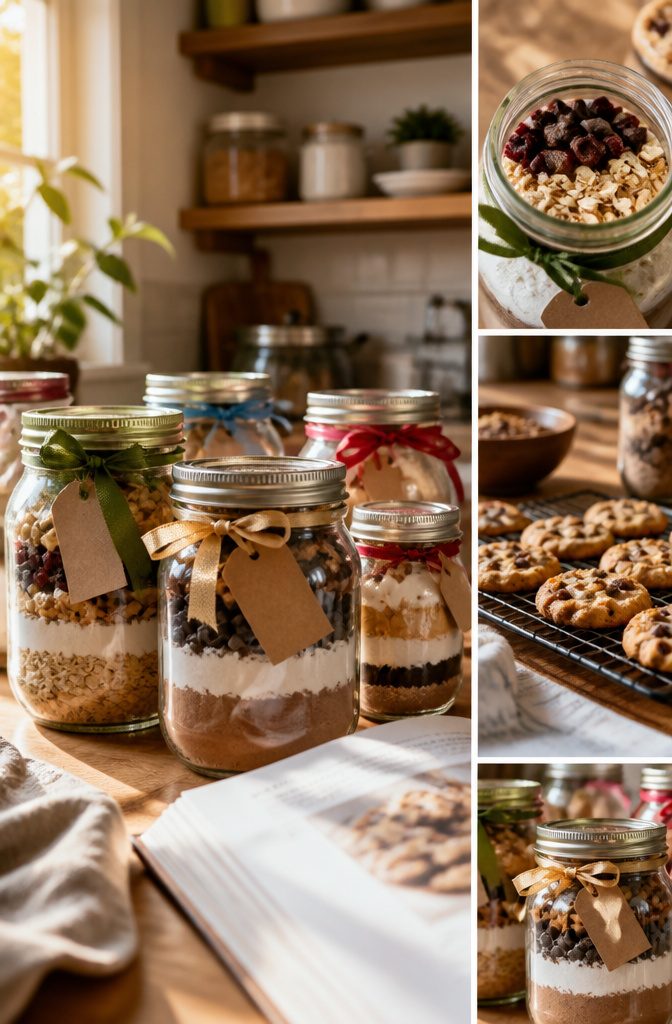
A small jar gives a gift a built-in container, so the filling matters less than how it looks through the glass. Cookies, cakes and soup mixes all work, and so do candy and small kits for crafters or first aid.
Layer dry ingredients so each one shows as its own band, and tap the jar on the counter as you go to settle the layers.
Dress the outside with fabric, ribbon or lace. A doily glued on with Mod Podge is cheap and looks finished, and Dollar Tree jars keep the cost down when you’re making several.
A gift tag finishes the job, especially on a soup mix, where the recipient needs to know what to add.
15. DIY Business Card Holders
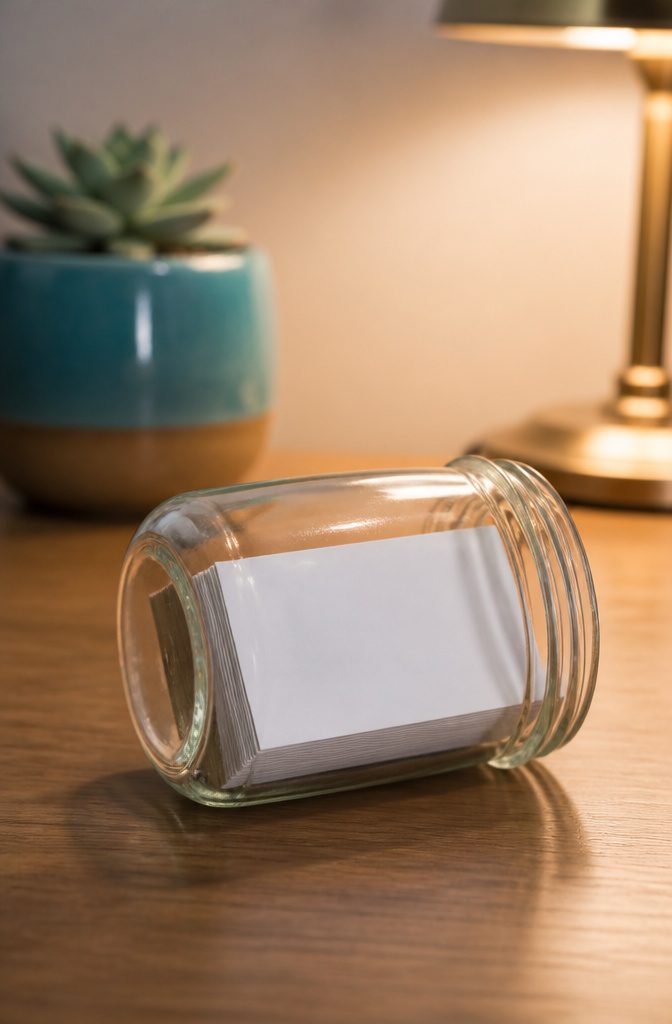
A small jar lying on its side makes a business card holder with almost no work.
Set it on the desk with the mouth facing you, then slide a short stack of cards inside so the top card shows through the glass.
A wide-mouth jar is the better pick, because the cards go in and come out without bending a corner.
The part that decides whether it works is the base. A rolling jar will tip your cards onto the floor, so press a ball of poster putty or a strip of felt under each side to hold it still.
A coat of paint on the lid, or a loop of ribbon around the neck, makes it look finished.
I’d stand the jar upright only for a very small card stack, since a flat lid is easier to grab.
16. DIY Hanging Candle Holders
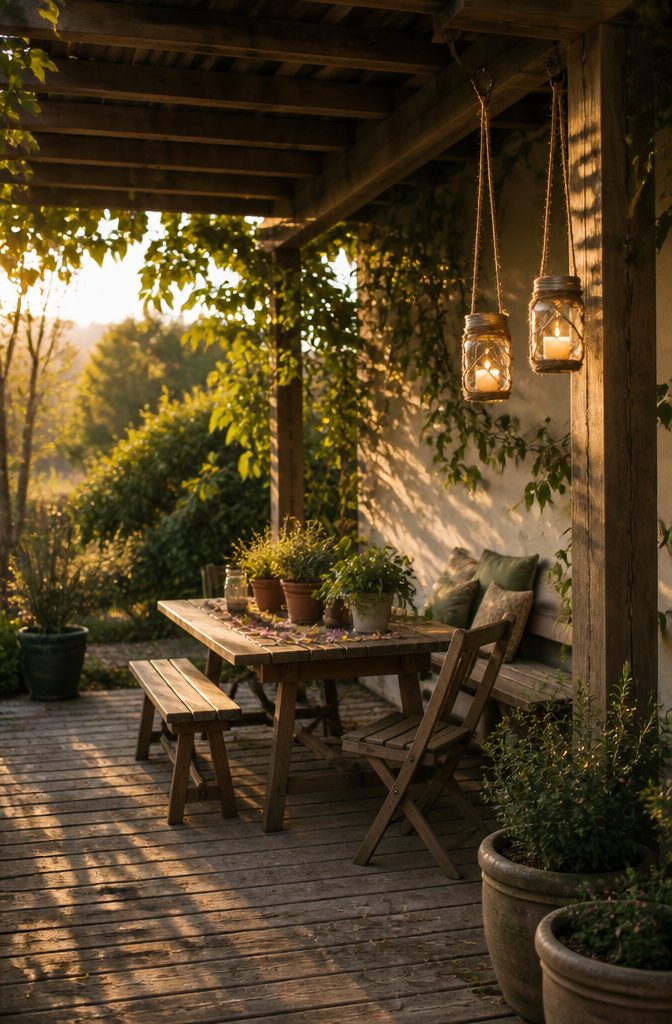
Wire wins over rope for most small jars, because a wrapped wire cradle grips the neck of the jar and holds its shape.
Wind it twice around the lip, twist the ends together, then form a loop on top. Rope looks softer and more casual, but it can sag or slip unless you knot it under the lip.
Use a sturdy hook or beam, and test the hold before you light anything.
Hang the jar well clear of leaves, umbrellas and fabric, and keep it out of the wind. A battery tea light gives the same glow with no risk, and I’d choose it for any spot you can’t reach easily.
17. Miniature Cupcake Holders
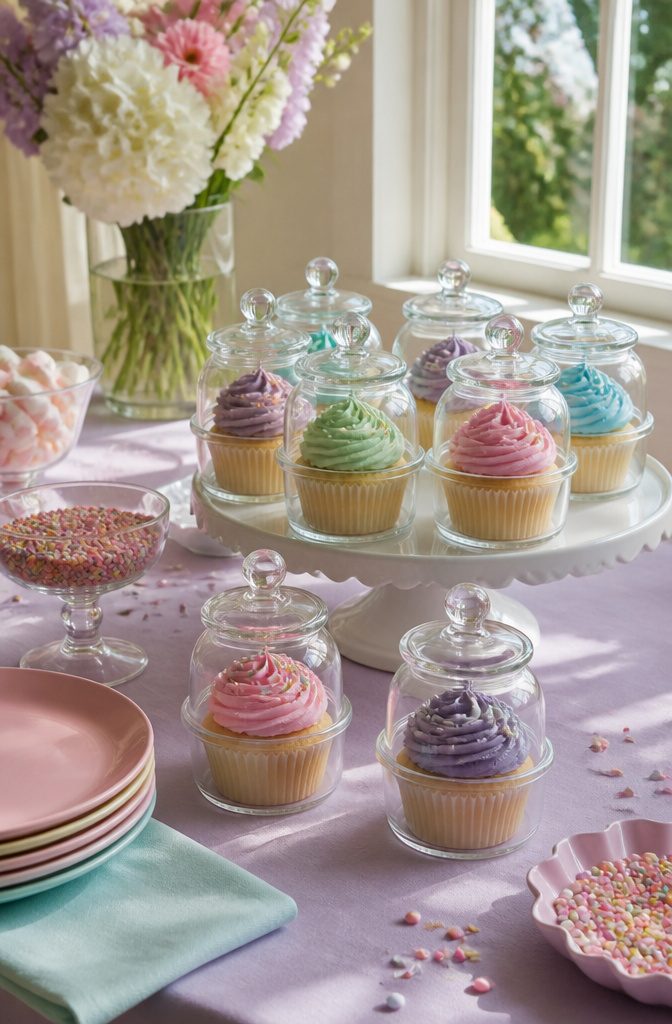
A single cupcake baked or set inside its own jar is a sturdy, giftable dessert, and it may be the most charming idea on this whole list.
Wide-mouth half-pint jars suit the job best, since a spoon fits easily and the batter has room to rise. Grease the inside well, or the cake will cling to the glass.
For a bake-in-the-jar version, fill each jar about halfway and set them on a baking sheet so they stay steady.
Leave the jars unsealed while they bake, and keep the lids off until the glass has cooled completely. Trapped steam makes the top gummy.
If you’d rather skip the oven time in glass, bake regular cupcakes and tuck one into each jar with a swirl of frosting.
I lean toward this route for gifts, because the cake stays soft and the lid keeps the frosting from smudging.
18. DIY Rustic Organizer
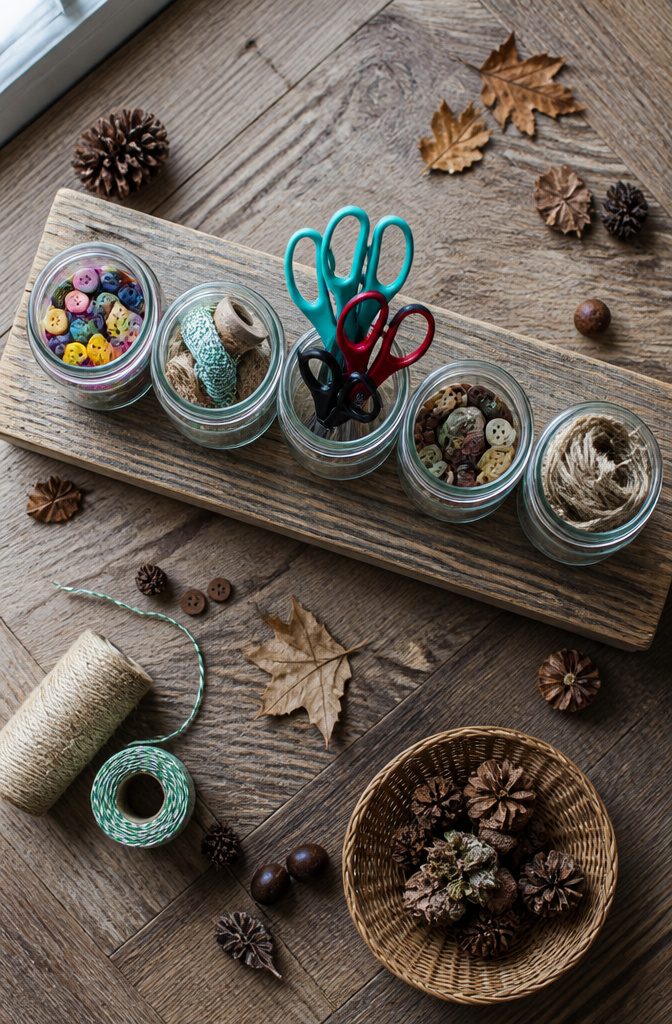
Mini mason jars work as an organizer because you can see everything at a glance, so you never open three lids to find the paper clips.
Mounting or grouping them is what makes the idea rustic: set the jars side by side on a wooden board or in a low crate, and the whole cluster reads as one piece instead of loose clutter.
For a desk, I’d give each jar one job: pens in one, pencils in another, scissors or clips in a third.
A crate suits craft supplies better because you can carry it to the table and back. Beads, buttons and brushes each get their own jar, so a quick look tells you what’s running low.
If the desk feels plain, swap one jar for a small terrarium or beachscape. It makes the workspace feel more welcoming without costing you any storage.
19. DIY Matchbox
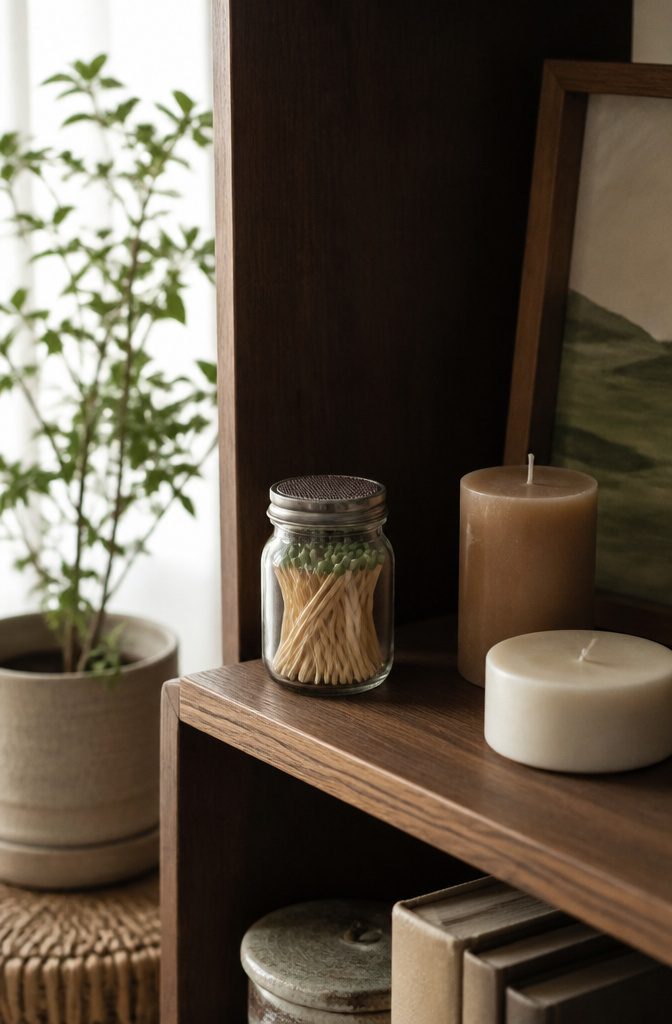
A jar of matches only works as a matchbox if it can also light them, and that means a strike surface.
Cut a piece of sandpaper to the same size as the lid and glue it on. It can go on the outside, where it’s easy to reach, or on the inside, where it stays tidy.
Pick a fine grit, close to the rough strip on a store-bought matchbox. Anything much coarser chews up the match heads before they catch.
Choose a jar and matches that fit each other, since long matches that poke past the rim keep the lid from sealing.
Then fill the jar with matches and put it on a shelf or mantel. I’d go with the outside strip, because you never have to unscrew anything to light one.
20. Seasonal Decorations
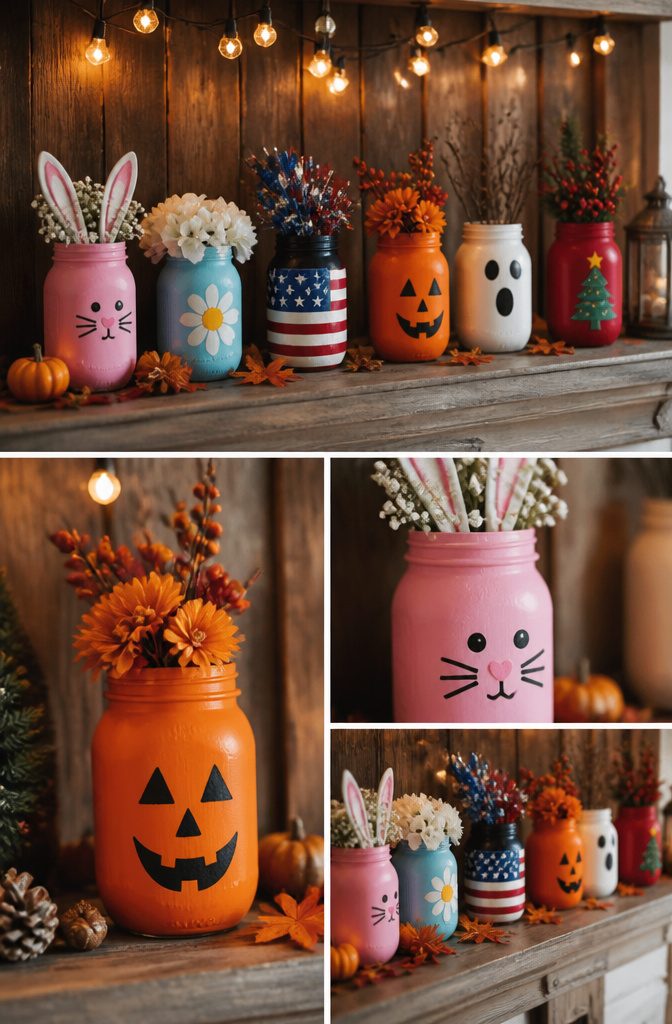
Mason jars take a seasonal look easily.
For spring, painted jars can become bunnies and chicks. For Halloween, wrap one in gauze and add google eyes, or fill a few with water, food coloring and plastic spiders for the mantel.
Fall and winter lean on gratitude and scent.
A slotted lid with stickers makes a thankful jar, where everyone drops in a slip of paper. For Christmas, apples, oranges and cinnamon sticks with water make a simmering pot gift.
KiwiCo’s kid-friendly list has the idea I’d start with for little hands:
Sparkly by day and glowing at night, your child will enjoy this easy-to-make DIY night light.
— KiwiCo
Glitter and glow-in-the-dark stars suit ages 3–11, and the jar works as a night light after the holiday ends.
Craft Storage Jars
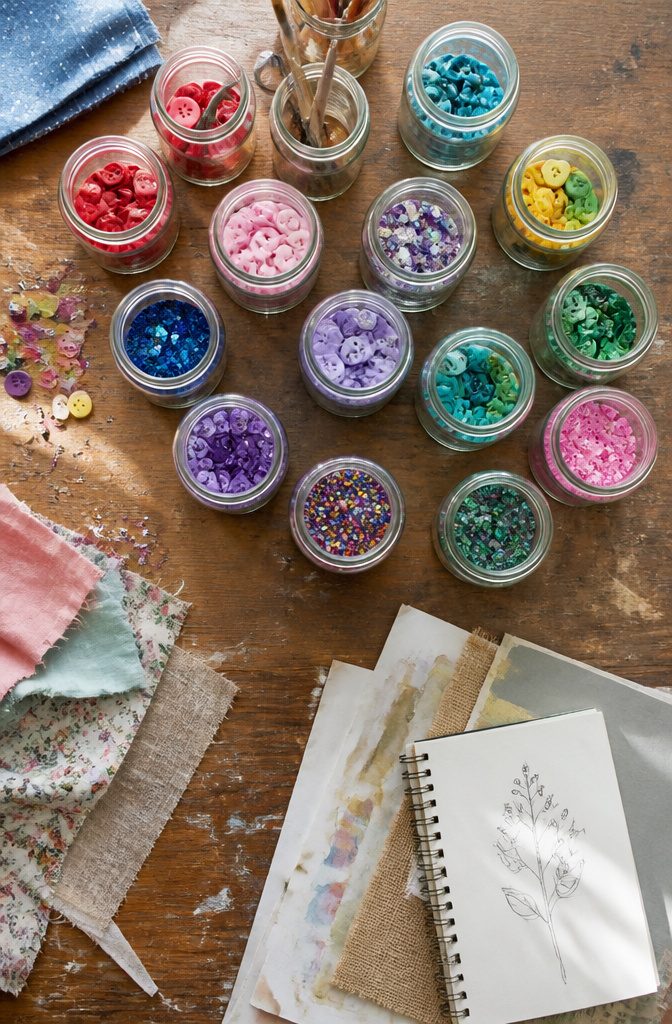
Mini jars suit the small stuff that disappears into a drawer. The glass keeps it visible, and the size keeps each jar to one kind of thing.
- Buttons: sort by color or size, one jar each, so you can spot the right one without tipping anything out.
- Embellishments: sequins, beads and charms stay put in a lidded jar instead of scattering across the table.
- Small tools: a jar holds pins, needles or little scissors upright and within reach.
- Ribbon: short scraps coil inside a jar and show their colors through the glass.
- Labels: chalkboard stickers or a swipe of paint on the lid keep a row of identical jars readable.
I’d skip anything larger than a mini jar for buttons. A big one gets heavy and buries what you need at the bottom.
Removing Labels First
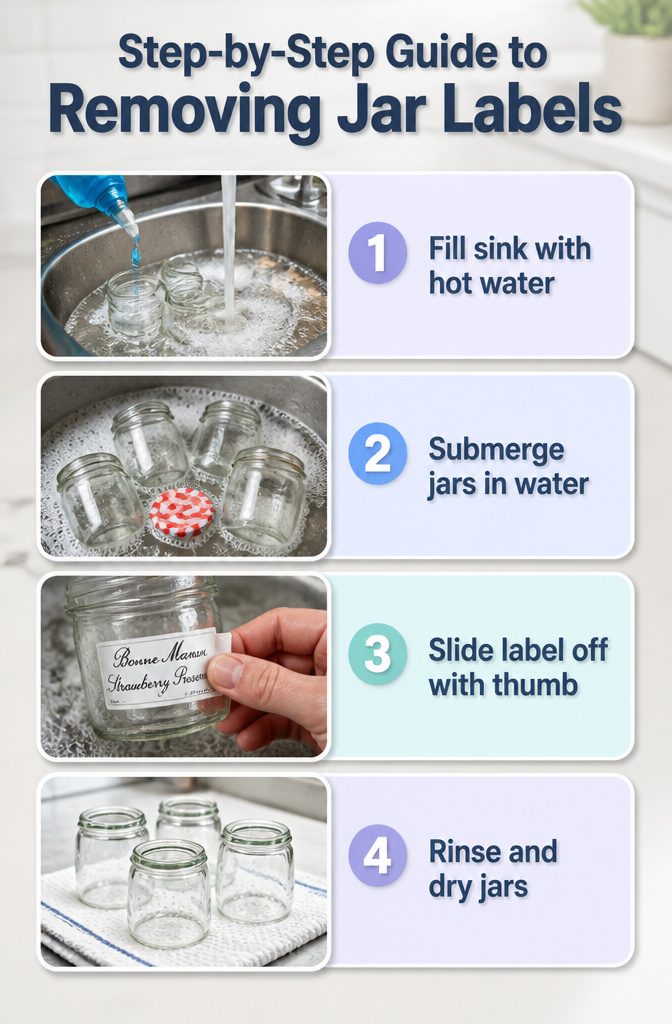
- Fill a sink or bucket with hot water and add a few drops of dish soap.
- Submerge the jars so the labels are fully covered, and let them sit.
- Slide the label off with your thumb. On mini Bonne Maman jars, the paper slides right off after a hot soapy soak, with no scraping.
- Rinse the jar and dry it before you start any project.
Do this before painting, gluing or filling anything, because a sticky label is much harder to deal with once a craft is half built.
I’d soak a whole batch at once so every jar is ready when you sit down to work.
Frequently Asked Questions
What can I do with mini jars?
Mini jars work for storage, gifts, and decor.
Use them for buttons and beads, propagation jars, terrariums, candy or cookie gifts, vases, and seasonal pieces. The clear glass keeps the contents visible, and the small size keeps each jar to one job.
How do I make a candle in a jar?
Melt old candle stubs in a heatproof bowl over simmering water, then pour the wax into the jar around a wick cut longer than the jar is tall.
Tie the extra wick around a pen or pencil laid across the mouth so it stays centered while the wax sets.
Use a large jar if you plan to burn it, since the flame sits too close to the glass in a small one.
How can I use jars for plant propagation?
Snip a cutting just below a node, strip any leaves that would sit underwater, and stand the stem in a jar of room-temperature water.
Pothos, philodendron, coleus, mint, and wandering jew root easily this way. Change the water about once a week and keep the jar in bright light, away from harsh direct sun.
What are some ideas for seasonal jar crafts?
Painted jars can become spring bunnies and chicks, and Halloween jars can be wrapped in gauze with google eyes or filled with water, food coloring, and plastic spiders.
For fall, a slotted lid makes a thankful jar for slips of paper. At Christmas, a jar of apples, oranges, and cinnamon sticks makes a simmering pot gift.
How do I remove labels from jars?
Soak the jars in hot water with a few drops of dish soap until the labels are fully covered and loose.
On mini Bonne Maman jars the paper slides off with your thumb, no scraping needed. Rinse and dry the jars before you paint, glue, or fill them.





