
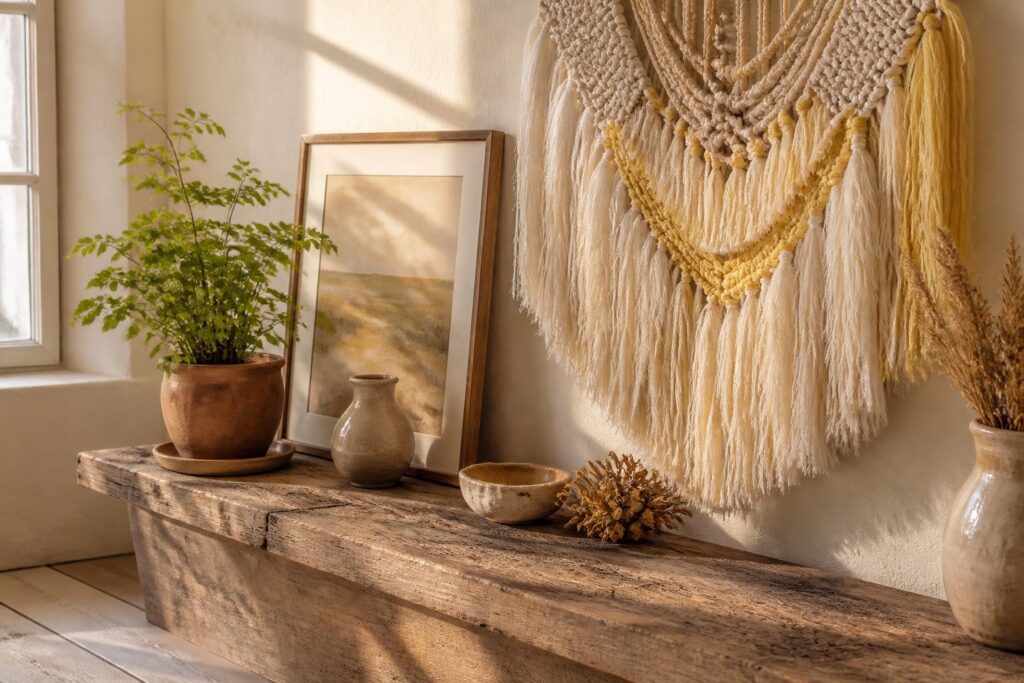
These projects run from about $5 for an oversized thrifted-frame print to a full flower wall behind a bed, and the deciding factor is how much time you’ll give them.
Paper and paint finish in an hour or an afternoon; latch hook rainbows take a few evenings. Skip prep on any painted piece and it peels.
1. Pressed Flower Art
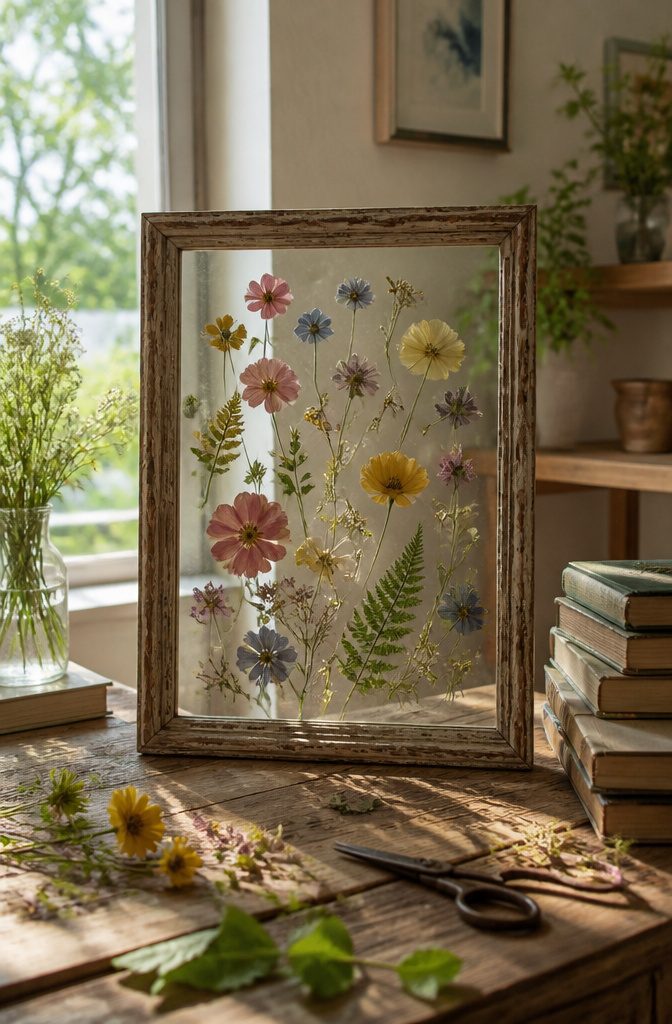
Flowers can be pressed in a microwave, which beats waiting weeks for a stack of heavy books to do the job.
I’d choose the microwave whenever you want to frame something the same afternoon. Books still work if you’re patient, and they cost nothing.
The flowers themselves are the free part. Garden clippings, yard weeds and roadside stems all count as materials, and small, flat blooms press best because thick centers hold moisture.
For the frame, a thrifted one is the cheapest base, and glass panels make the best choice.
Floating the flowers between two panes of glass lets light pass through, so you can see all the way through the piece and the frame won’t bury the wall.
Group several in a row and you have a small gallery wall.
2. Woven Basket Wall Hanging
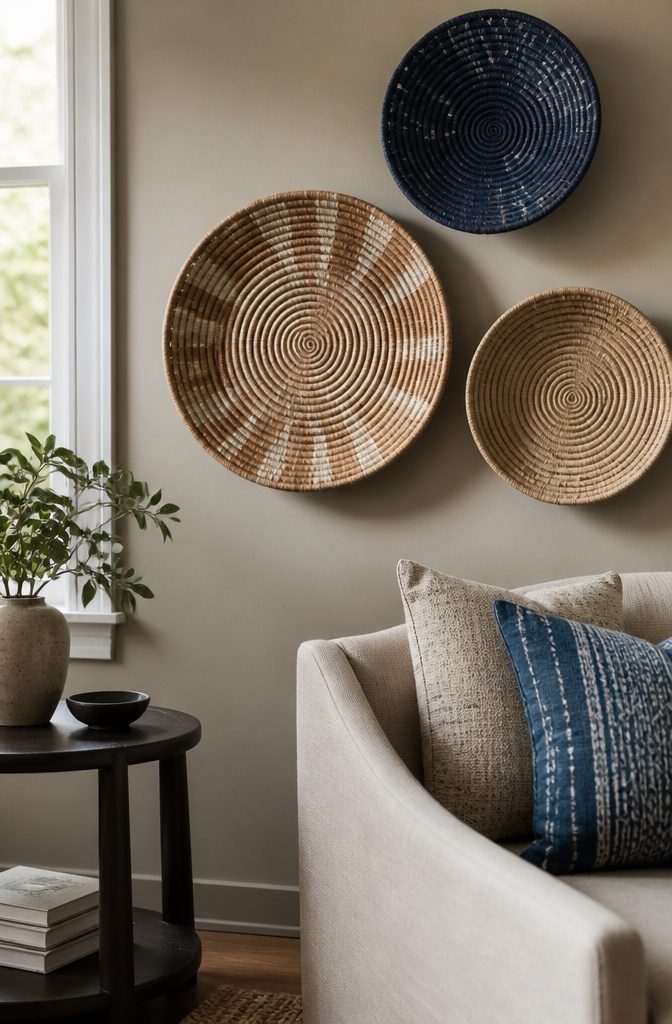
A flat basket with a visible weave is the whole canvas here, so buy for the weave and skip anything deep or lidded.
The texture does the decorating before you add a thing, and a cluster of three or more reads as a deliberate grouping rather than a lone plate on the wall.
For a neutral look, leave the natural fiber alone or stay in cream and tan. That suits Farmhouse Modern and fills a blank stretch of wall without competing with the furniture below it.
I would add the pop of color.
One basket in a single bold shade, hung among the natural ones, gives the grouping a focal point and a bit of Boho character. It also costs almost nothing, since you only need yarn or paint for one piece.
3. Rainbow Wall Hanging
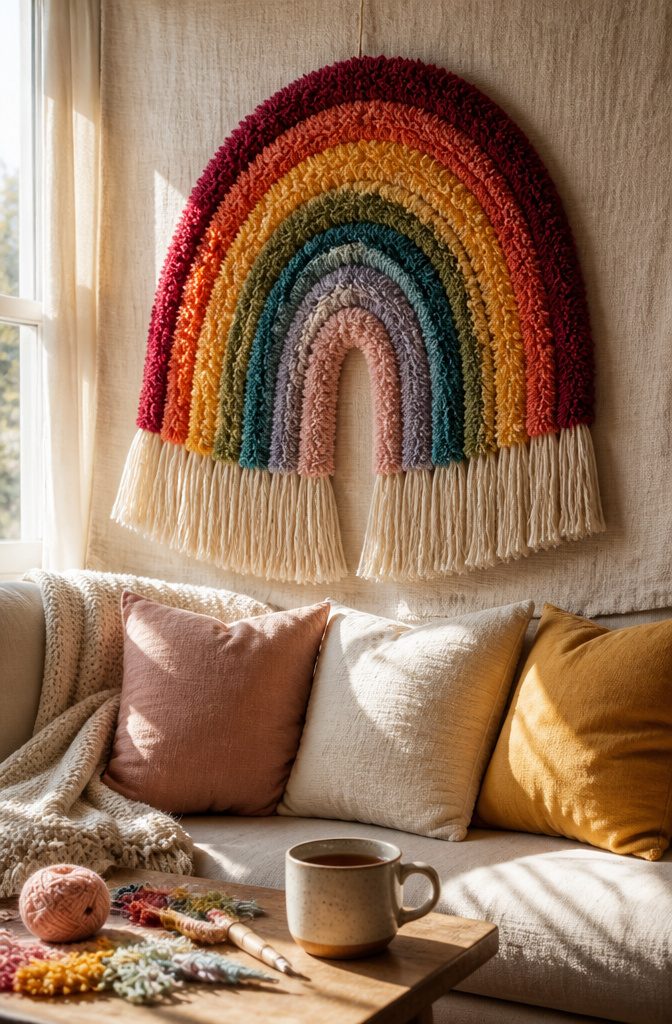
A rainbow hanging built from latch hook knots is about as repetitive as a craft gets, and that is exactly why it works.
Every strand is the same loop-and-pull motion, so your hands settle into a rhythm and your eyes stay free for a favorite series or movie.
Work one color band at a time and the project feels like a string of small finishes instead of one long slog.
The palette is yours to set. A traditional rainbow gives you the bold, bright look, but I’d pick colors that echo your room: soft blush, cream and sage for a bedroom, or deep jewel tones for a den.
Muted shades read more like decor and less like a nursery.
Expect this one to take more than a single sitting, so plan a few evenings.
4. Photo Wall Hanging
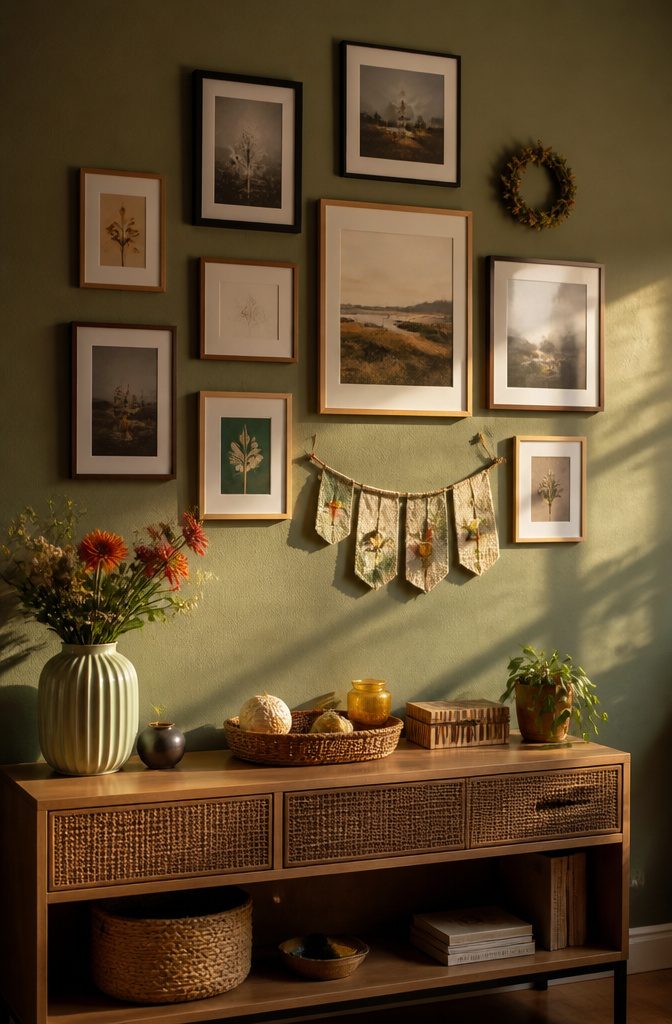
A photo wall hanging beats a row of frames because it breaks the grid.
Cluster prints in different sizes, then mix in a fabric banner, a tiny wreath or a painted canvas. Repeat one material at least three times so the wall feels planned instead of cluttered.
Lay everything on the floor first and check the spacing before you touch the wall. Stick the photos up first and add the lightweight handmade pieces after, so you can shift things as you go.
Pick a theme and the wall gets personal fast: family, travel, dogs, or black-and-white only. You can also sort prints by color into a rainbow or an ombre fade.
Swapping in new family pictures each season keeps the wall fresh without building a new piece. Peel-and-stick or magnet mounting makes those swaps painless.
5. Shower Curtain Canvas
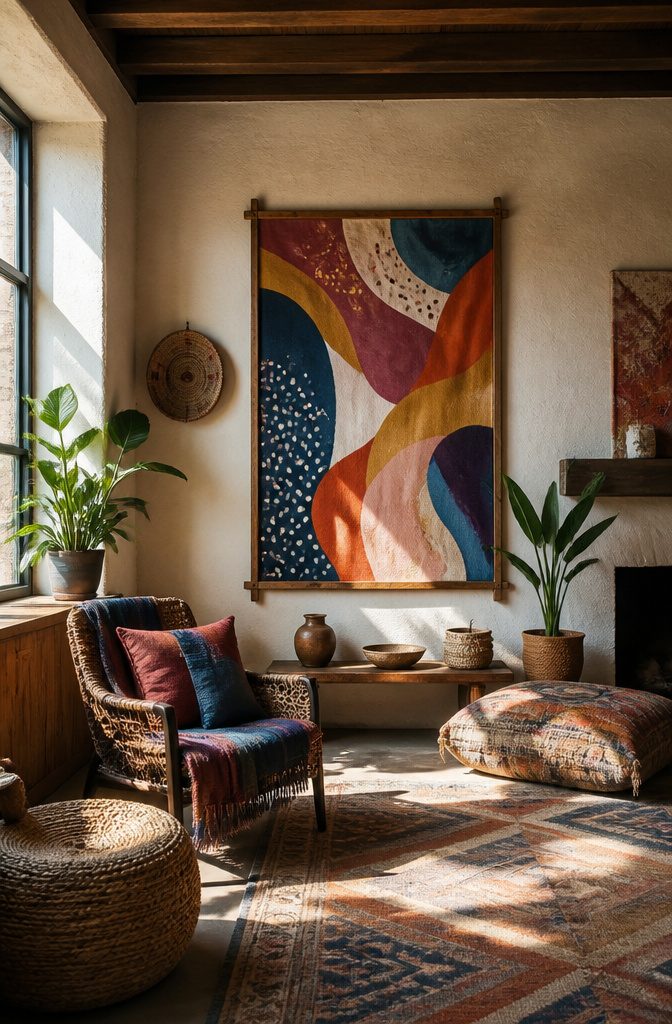
A shower curtain is already a big, hemmed, patterned sheet of fabric, which makes it one of the cheapest ways to fill a large wall.
The build is just a curtain and some wood: a simple frame, with the fabric pulled tight over it.
Wrap the curtain around the frame and fasten it on the back, using a staple gun or a nail gun.
Pull evenly from the middle of each side outward so the pattern doesn’t skew. If you want a finished edge, thin lattice-style trim around the sides makes the piece look framed.
Cut each trim piece longer than the canvas side, then trim to fit. Paint or stain the strips before you attach them.
I’d pick a bold pattern here, since a busy print hides small wrinkles.
6. Wooden Pegboard
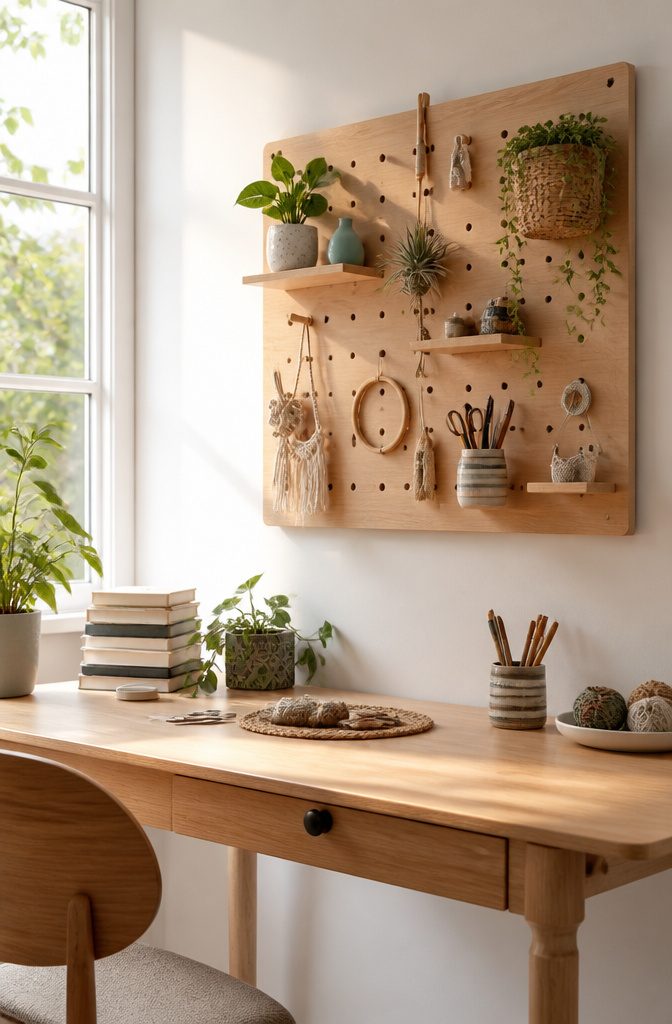
A wooden pegboard suits nearly any room because the board itself stays quiet while the things on it do the talking.
In an office or study, it also solves the small-space problem: organization depends on how you use the wall you have, not on how much floor you have.
The real strength is that nothing is fixed.
You can add as many sections as you like, and you can refill and rearrange the board whenever the collection changes. Knick-knacks, supplies and decor swap places without new holes in the drywall.
On a large wall with plenty of ideas and no plan, I’d start with a pegboard.
Grouping everything tightly on it looks chic, and plywood keeps the cost low. A half-empty board looks unfinished, so fill it before you hang it.
7. Macrame Wall Hangings
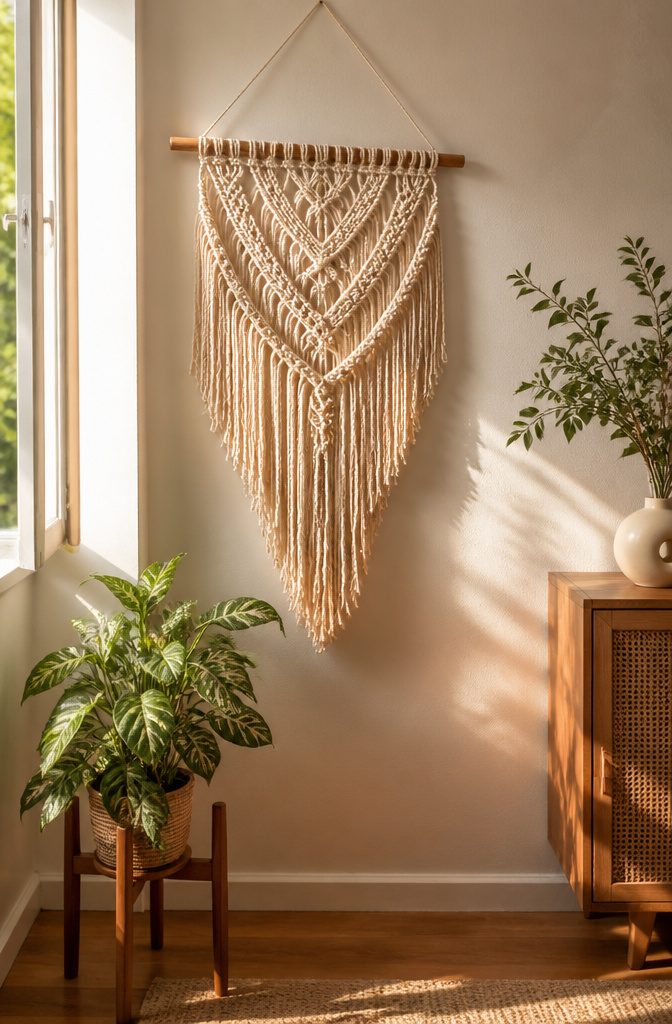
Macrame looks harder than it is, and that’s the main reason empty walls stay empty.
A hanging is mostly repeated knots in cord, so a few tutorials and some nerve will get you there. It’s the quickest way I know to add a boho-chic touch.
Cord is the budget win. Owners on Reddit describe making one about 5 feet wide for less than $20, and they called it super easy.
Natural, neutral cord suits earthy rooms. Colored or dyed cord works too, including strands of equal length dyed so the fringe reads like an arrow.
Macrame divides people, so judge your room first. In a clean, sleek space it can look messy; a simpler, minimalist design fits better there.
8. Corkboard Wall
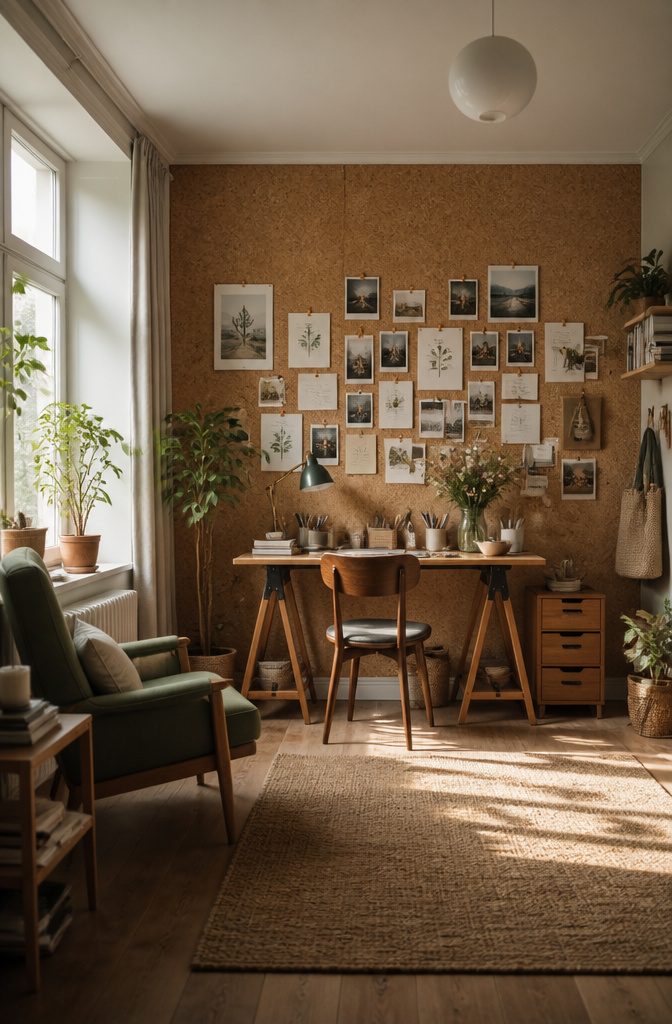
Cork turns a blank wall into a working surface, and it works best where you already drop papers: a tiny home office or study corner.
Cover the whole wall section instead of mounting one board, and the to-do lists, photos and reminders have room to spread.
Designers use it for looks too. Cork adds warmth and organic movement, and it reads as funkier than grasscloth.
Cork is a bit funkier and more unexpected.
That makes it a good pick if you want texture without a busy pattern.
Updating is the best part. Pull a pin and the wall changes, so swap photos or lists whenever you like.
9. Fabric Flag Word Art
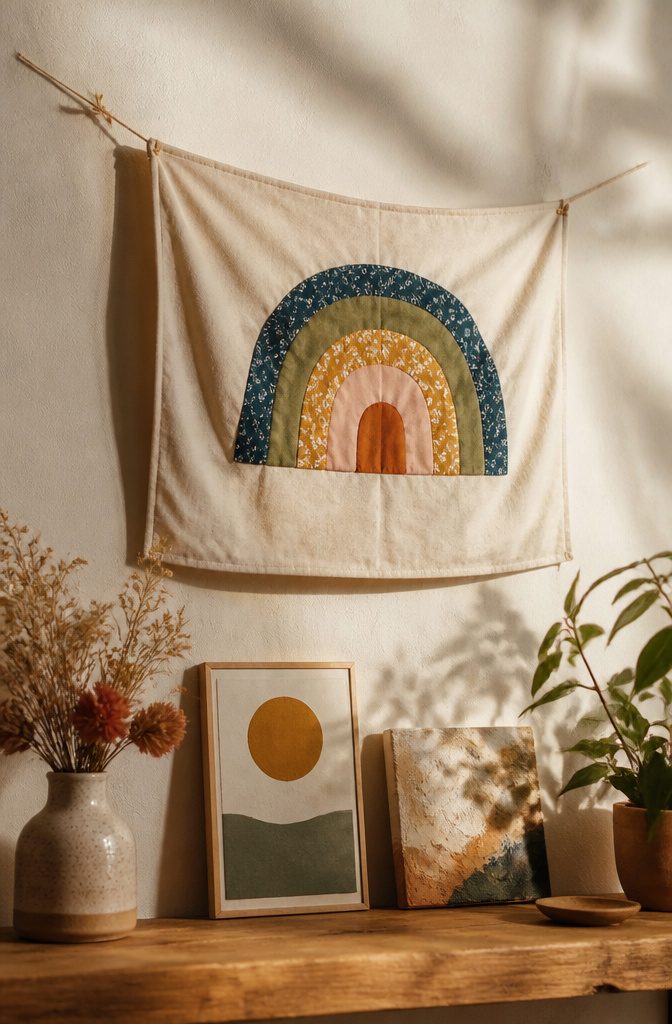
A fabric flag is a blank canvas, so the word does all the work, and the size is yours to set by the wall.
A narrow stretch over a bed or a big pennant above a sofa both read fine. I’d go bigger than feels natural, since a small flag with one word tends to look lost.
Cut a pennant from canvas or a fabric remnant, then fold the top over a dowel and secure it with fabric glue. No sewing needed.
Stencil the word or glue on paper letters, and hang the flag from twine. Scrap fabric works well for the letters too, which keeps the cost close to nothing.
Pick a word that means something in that room, like a family name or a place. The flag stays lightweight, so a single small nail holds it, and it sits nicely beside photo art.
10. Geometric Wood Wall Art
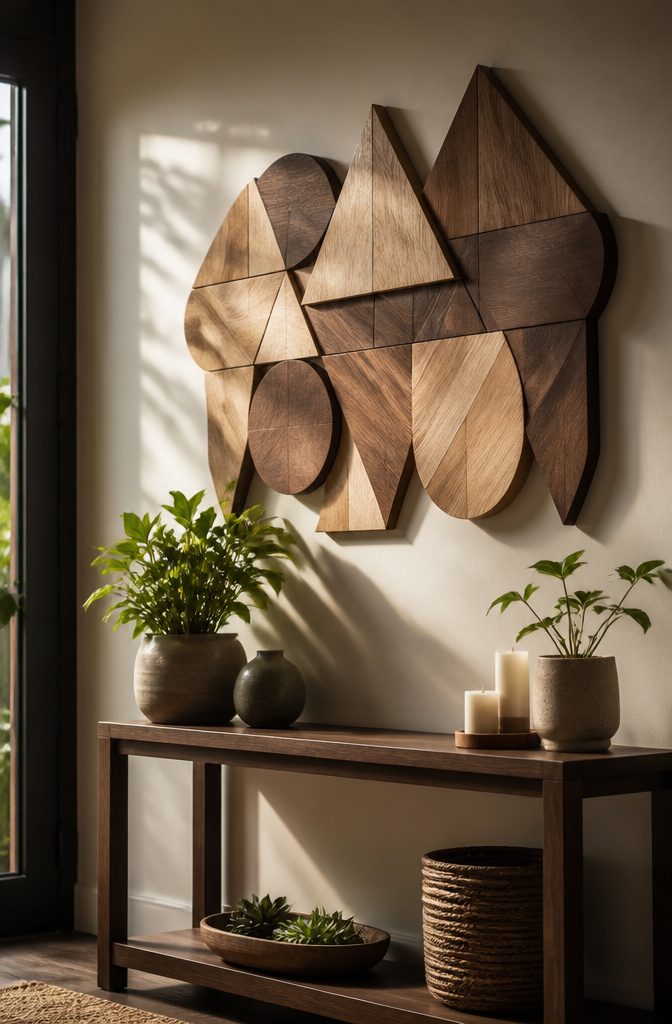
Skipping prep is what gives wood geometric art a rough, peeling finish.
Clean each piece, sand it if the surface needs it, and prime or seal porous wood before any color goes on. Raw wood drinks paint unevenly, and that shows up fast on a design built from many small shapes.
Stain, paint or a paint treatment all work, and I lean toward painting. Cut pieces in whatever shape you like, such as triangles or circles, and finish them before you assemble.
That way you never have to cut around a neighbor’s edge with a brush. Staining or leaving the grain natural suits a calmer look, but every flaw in the sanding will show.
Lay the whole pattern on the floor first and measure the spacing between pieces before anything gets glued or hung. Test your colors in daylight too, since they shift under lamps.
11. Large Scale Stenciled Art
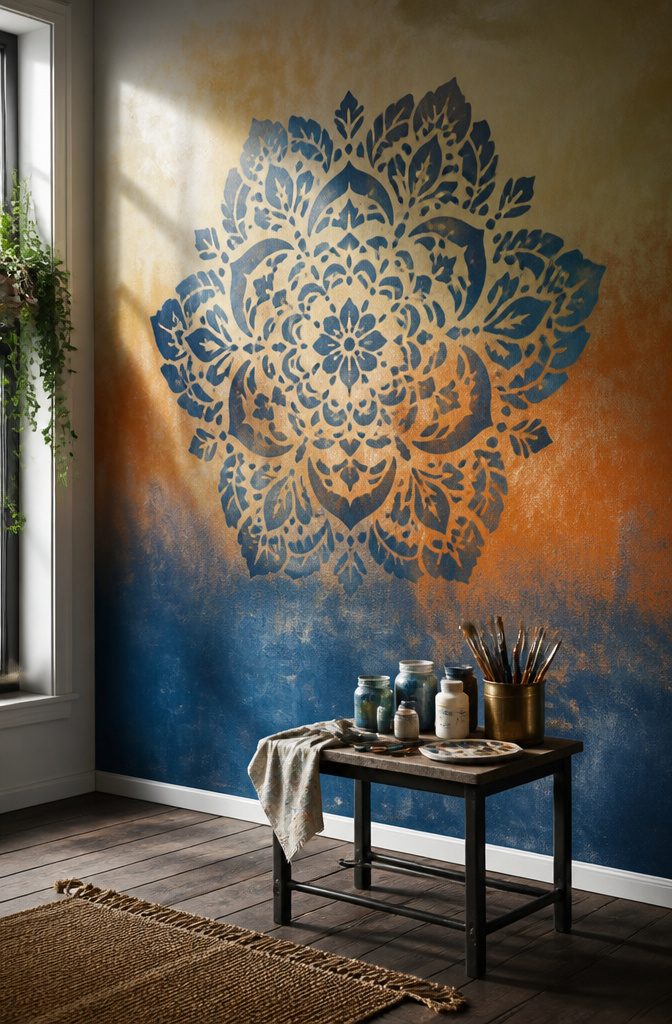
A stencil is the cheapest way I know to get a big, original piece on a wall, and the first layer matters more than the stencil itself.
Paint the background however you like: a Jackson Pollock-style splatter, an ombre fade, or a textured wash all work, and any color palette is fair game.
The stencil goes on top, so a loud background just means a bolder finished piece.
Prep decides whether the piece lasts.
Clean the surface, sand if it’s rough, and prime, because skipping those steps is what causes peeling and a rough finish. Seal porous surfaces too.
For colors, pull from something in the room that can’t change, like a rug. Test your paint in daylight before you commit to the whole piece.
12. Oversized Wall Art
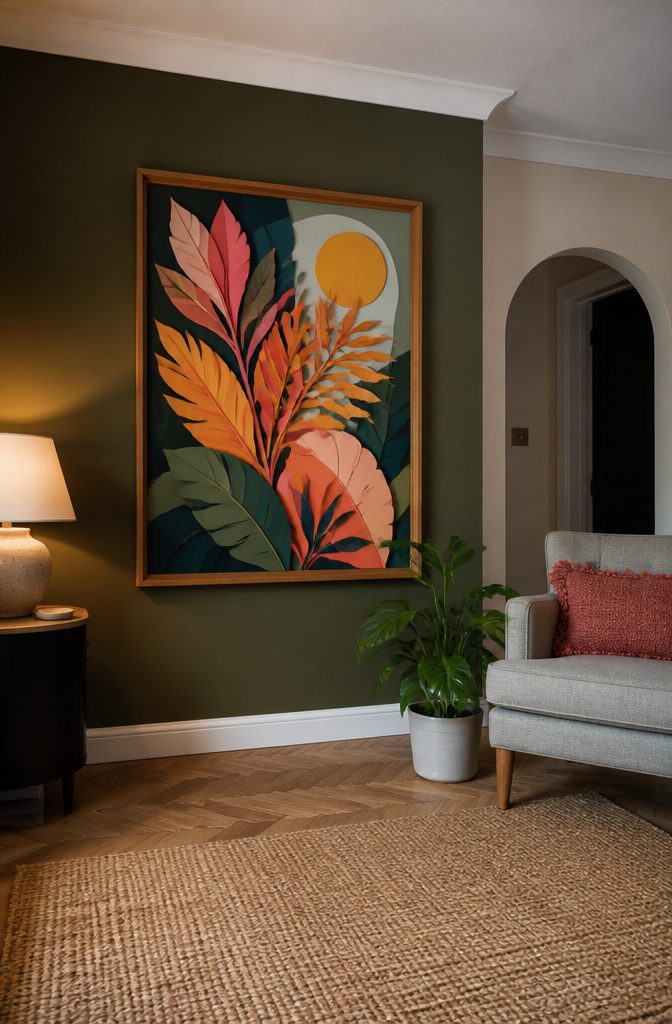
A giant piece of art can cost as little as $5 and take about an hour, if you start with a thrifted frame and a free printable, then add paper cut-outs on top for dimension.
Size does the heavy lifting here. A small paper print looks like paper, but a big one reads as a statement, and the eye forgives the cheap material.
Paint swatches work the same way. Lined up in a grid, they look like something from a $500 shop.
I’d stick to two coordinating colors and one metal finish, and add texture with layered cut-outs so the piece doesn’t look flat. I’d skip busy patterns, because they fight the scale.
13. Wall Mounted Easel
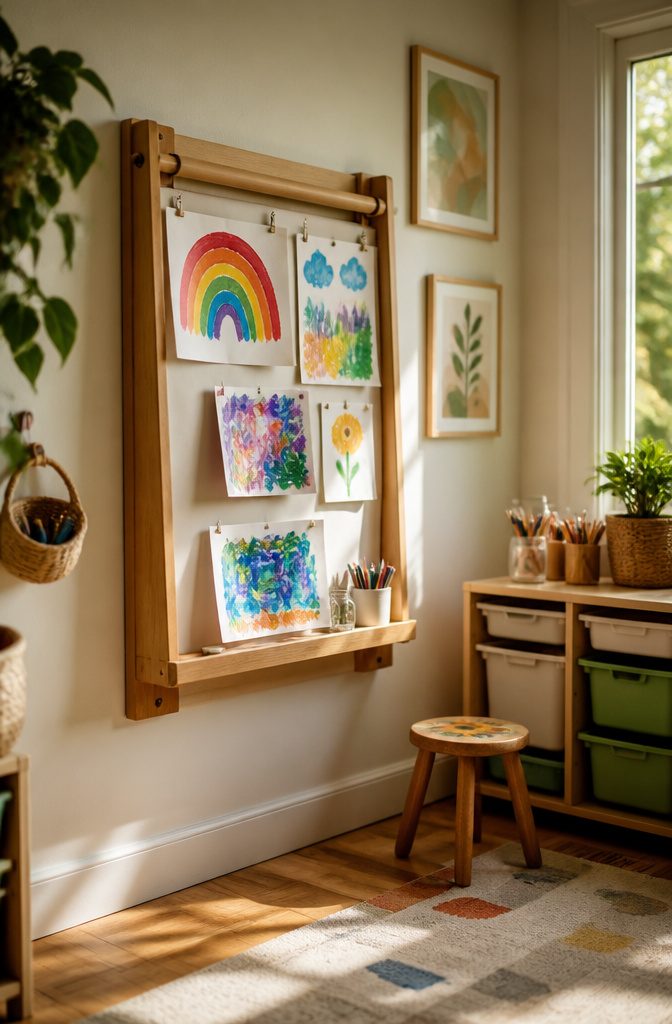
Kids will draw on walls whether you allow it or not, so a wall mounted easel gives that urge a place to land.
Fix it at the height of the smallest artist in the house and the drawing stays on the easel instead of the paint.
I like this idea best for rotating artwork. Clip a fresh sheet of paper over the last one and the easel does double duty as a gallery, with a new piece up every week and no new nail holes.
Mount it at the child’s own eye level, not yours, or it becomes a decoration they can’t reach.
It only suits a wall you’re willing to drill into, so renters should check their lease before committing. Skip it in a hallway where bumped elbows will knock it loose.
14. Vinyl Records Shelf Display
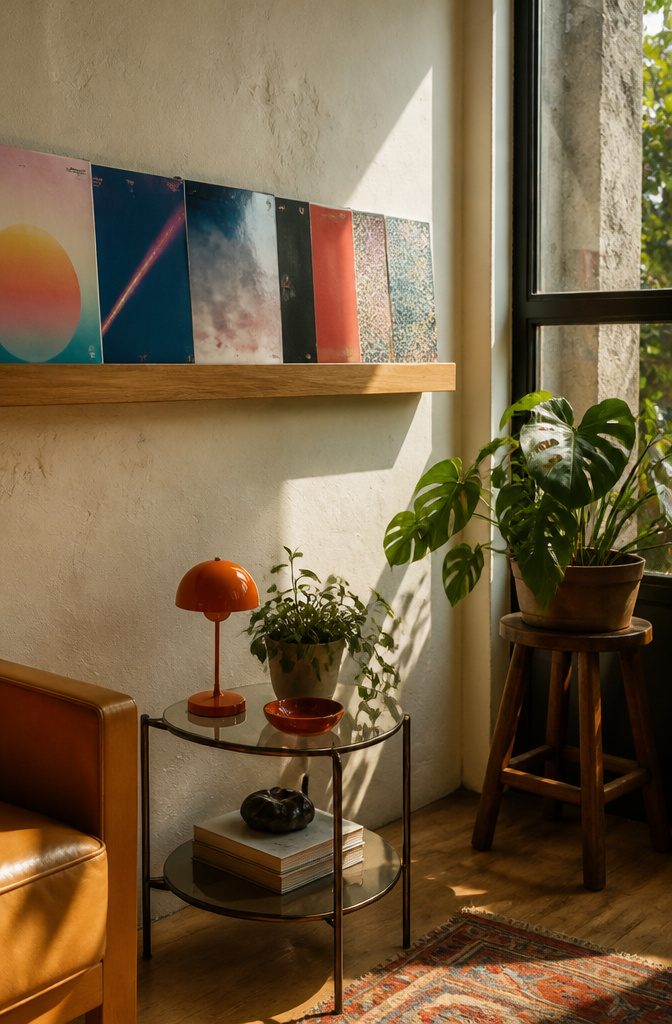
A floating shelf turns a record cover into wall art, and the cover is the part worth looking at. Most of the building is a few hours of work, which makes it a good Sunday morning project.
Records you already own do the heavy lifting here. An album with a cover you love costs nothing to display, and a thrift-store find with good artwork costs very little.
I’d pick covers for color and design first, since nobody will be reading the track list from across the room.
Build the ledge so a cover can be lifted out and swapped in seconds.
Swapping the cover turns the shelf into a piece of family art that changes with the season or your mood. Paint or stain the wood to suit the room, or leave it natural.
15. Heart Wall Hanging
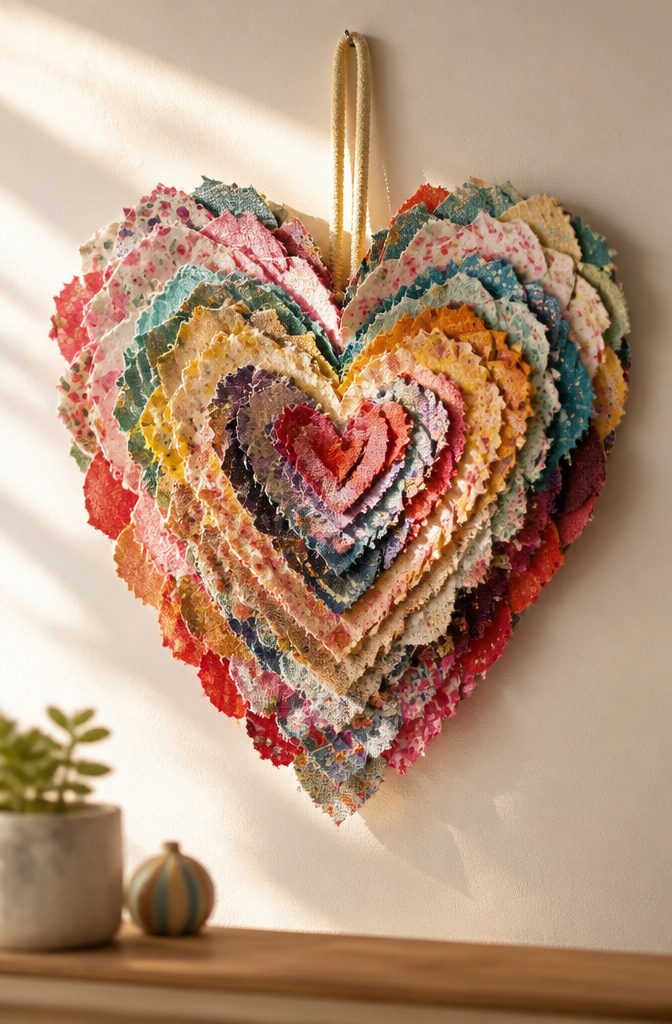
Fabric scraps and plain craft paper are the two materials that make a heart hanging cost almost nothing.
Scraps give you softness and pattern; paper gives you crisp edges and a faster finish, so I lean toward paper if you want it done before dinner.
Yarn works too, and neon colors look surprisingly chic on a wall. Pick shades you already like, since any colors that fit your style will work.
For Valentine’s Day, hang one heart in a doorway or a few small ones on a single wall.
Stick to two coordinating colors, because a limited palette makes a cheap project look polished. Add texture, such as a fabric layer over paper, and the heart reads as deliberate rather than quick.
16. Flower Wall
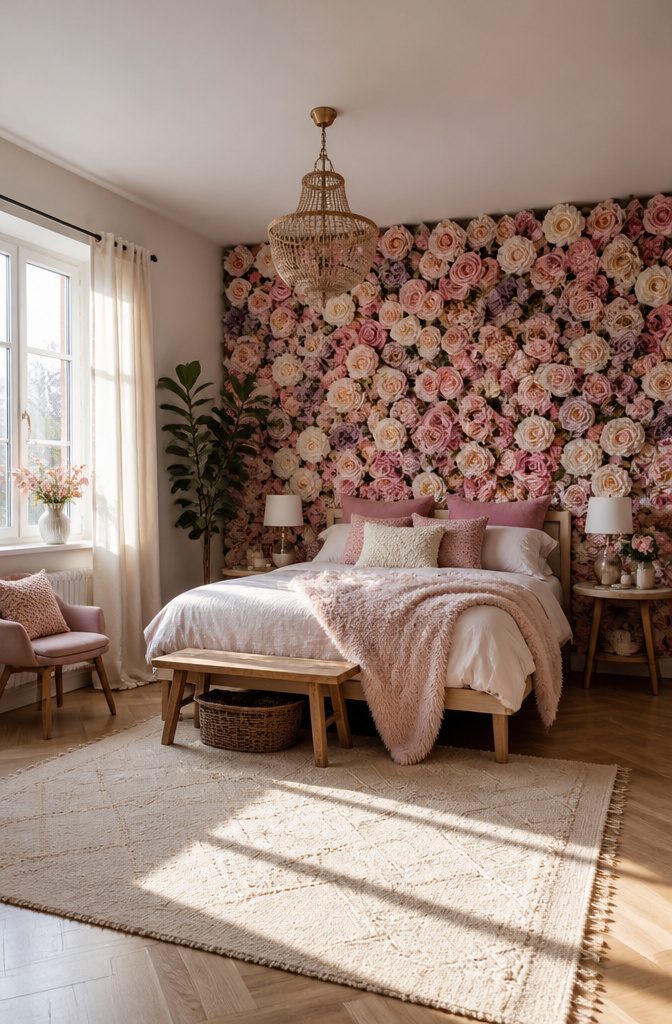
A flower wall works best behind a bed, where it takes the place of a headboard and covers a stretch of plain wall in one go.
Faux blooms, paper or fabric all work, so pick the one that suits the room’s light and your patience for cutting. Paper is the cheapest and the friendliest for kids; fabric holds its shape longer.
Scale is the real decision.
Cover the whole wall, or at least the full width of the bed, because a small patch of flowers reads as a mistake rather than a statement. Skip the headboard and let the blooms do that job.
Color is where it becomes yours.
Pull two or three shades from the bedding or curtains and repeat them across the wall. The same setup also makes a good photo backdrop, which is handy for parties.
17. Wall Propagation Tubes
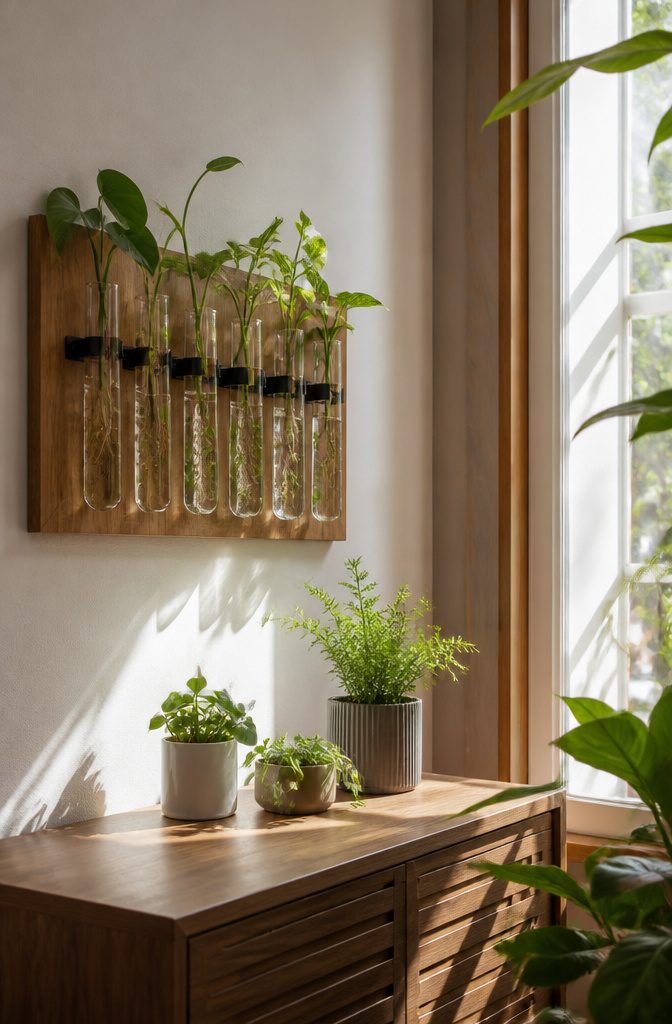
Wall propagation tubes work best beside a big window or in a kitchen nook, where a small footprint matters and light is easy to come by.
They suit anyone short on shelf space who still wants to root new plants. The tubes mount flat to the wall, so a cutting gets a place to grow without eating up a counter.
I’d keep the build simple: a row of glass tubes on a single mounted backer, each holding one cutting, so you can see the roots develop. Clear glass is the draw here, since the roots become part of the decor.
The limit is that this is a holding spot, not a permanent home. Once a cutting roots, it needs soil, so plan a pot for it and let the tube start the next one.
Budget Materials Under $100
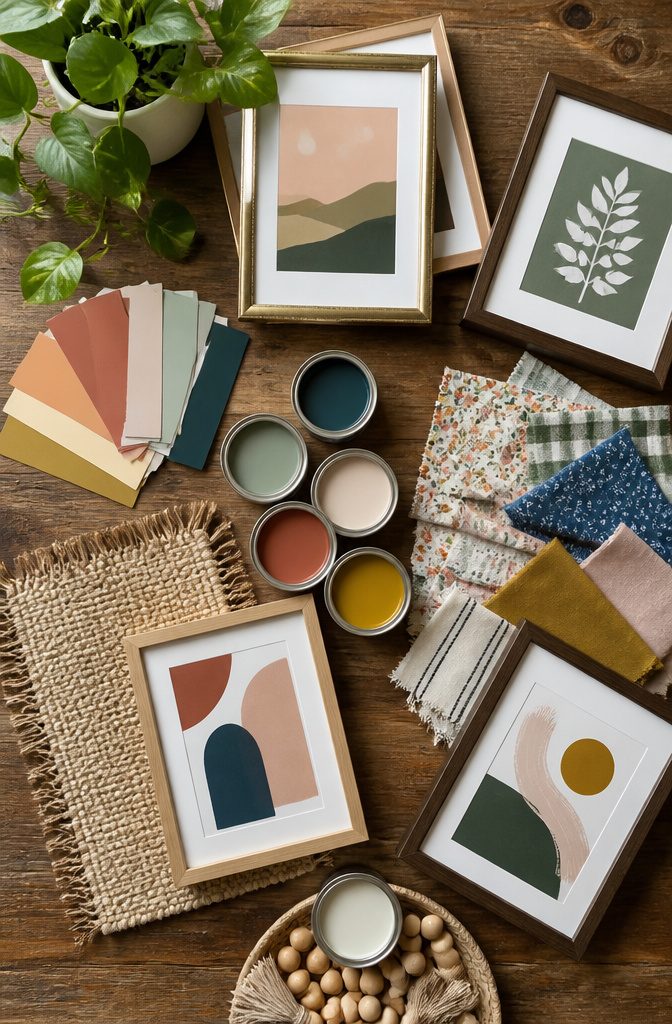
Most projects here stay under $100 because they lean on five cheap materials:
- Paper: printable art and washi tape borders cost little and fill a wall fast.
- Paint: painted terracotta pots make good wall planters, and a can of paint covers a lot of ground.
- Thrifted frames: I’d pick these over new ones every time, since a coat of paint evens out mismatched styles.
- Fabric scraps: scrap-fabric banners use what’s already in your sewing bin.
- Household items: a glue gun, a hammer and picture hangers are usually all the tools you need.
The cheap ideas that look high-end are the ones with a plan behind them.
Stick to two coordinating colors and one metal finish, then add texture. Texture is what makes an inexpensive piece read as polished.
Printable art in thrifted frames and a scrap-fabric banner are my picks for the best look per dollar.
Rotate Decor Seasonally
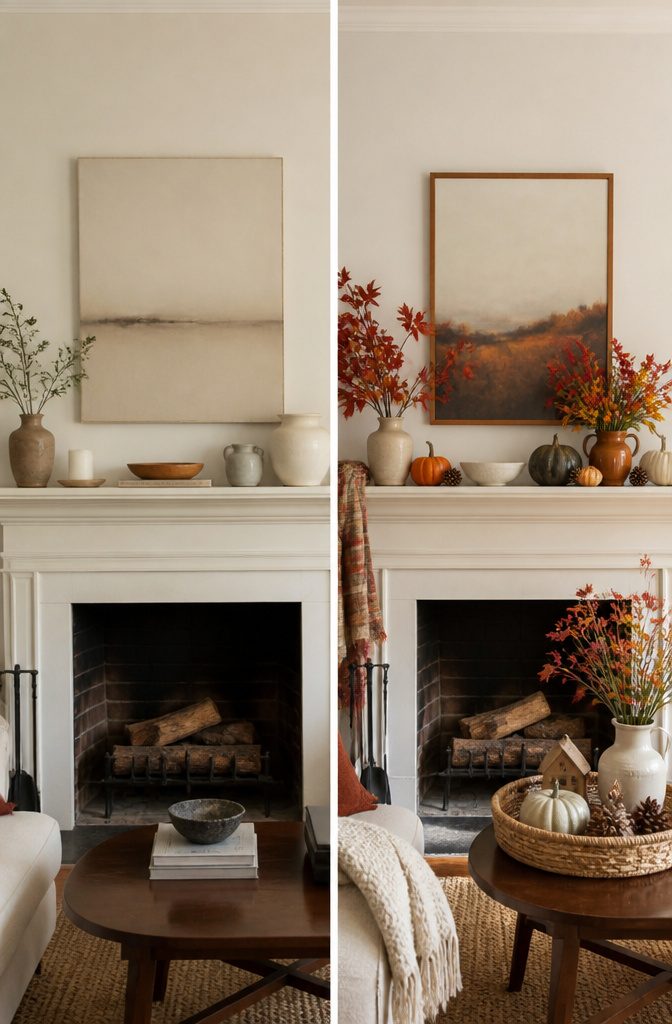
Pick the palette from something that never moves: a rug, the bedding or a piece of artwork already on the wall.
Pull two neutrals and one accent from it, then spread them across walls, decor and small accessories at roughly 60-30-10. Tape a mini sample board up before you commit, because paint and fabric shift under your room’s actual light.
Once the palette is set, rotating is cheap.
Swap the accent color in a handmade piece, trade a photo for a newer one, or replace the flowers with a different bunch. Change the small pieces and leave the large ones alone.
I like this better than repainting, since the room feels fresh without a single big purchase. Living with a piece for a few weeks tells you whether it belongs.
Personalize Every Piece
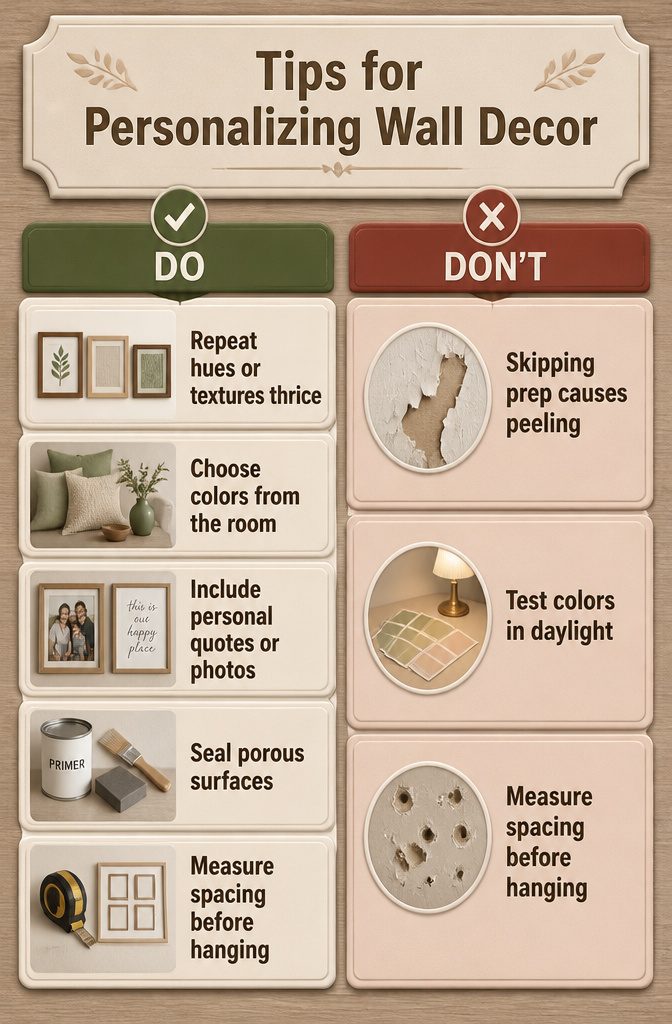
Repeat the same hue or texture at least 3 times across a wall and even a mismatched pile of thrifted frames starts to look planned.
Pick the colors from the room itself or from the photos you plan to hang, then let a quote, a name or a favorite snapshot carry the personal part.
Prep decides how any of it holds up. Skipping prep causes peeling and rough finishes, so clean the surface, sand if it feels rough, and prime before any paint or paper goes on.
Seal porous surfaces such as raw wood or cardboard if you want the piece to last.
Test your colors in daylight before committing, since lamplight shifts them. I’d also lay the whole arrangement on the floor first and measure the spacing there, because it costs nothing to rearrange and a lot to patch holes.
Frequently Asked Questions
What are the cheapest homemade wall decor ideas that still look high-end?
Build with paper, paint, thrifted frames and fabric scraps.
Printable art in thrifted frames, scrap-fabric banners, washi tape borders and painted terracotta pots all fit that list. Stick to 2 coordinating colors and 1 metal finish, then add texture so an inexpensive piece looks polished.
How do I pick a color palette that matches my existing decor?
Pull the palette from something that won’t change, like a rug, bedding or artwork already on the wall.
Choose 2 neutrals and 1 accent, then spread them across walls, decor and small accessories at roughly 60-30-10. Tape up a mini sample board first, since colors shift under your room’s real light.
What common mistakes should I avoid with homemade wall decor?
Skipping prep is the biggest one, and it causes peeling and rough finishes.
Clean the surface, sand it if it feels rough, and prime before paint or paper goes on. Seal porous surfaces like raw wood or cardboard, and test your colors in daylight before you commit.
How do I style my wall?
Repeat one hue, material or texture at least 3 times so the wall looks planned instead of cluttered.
Lay everything on the floor first and measure the spacing there, because rearranging on the floor is free and patching holes is not. Add something personal, such as a quote, a name or a favorite photo.
What can you hang on a wall?
Pressed flower frames, woven baskets, macrame, rainbow hangings, photo clusters and fabric flags all work.
Bigger options include a shower curtain canvas, a pegboard, a corkboard wall or a flower wall behind a bed. Lightweight pieces like a fabric flag need only a single small nail.





