
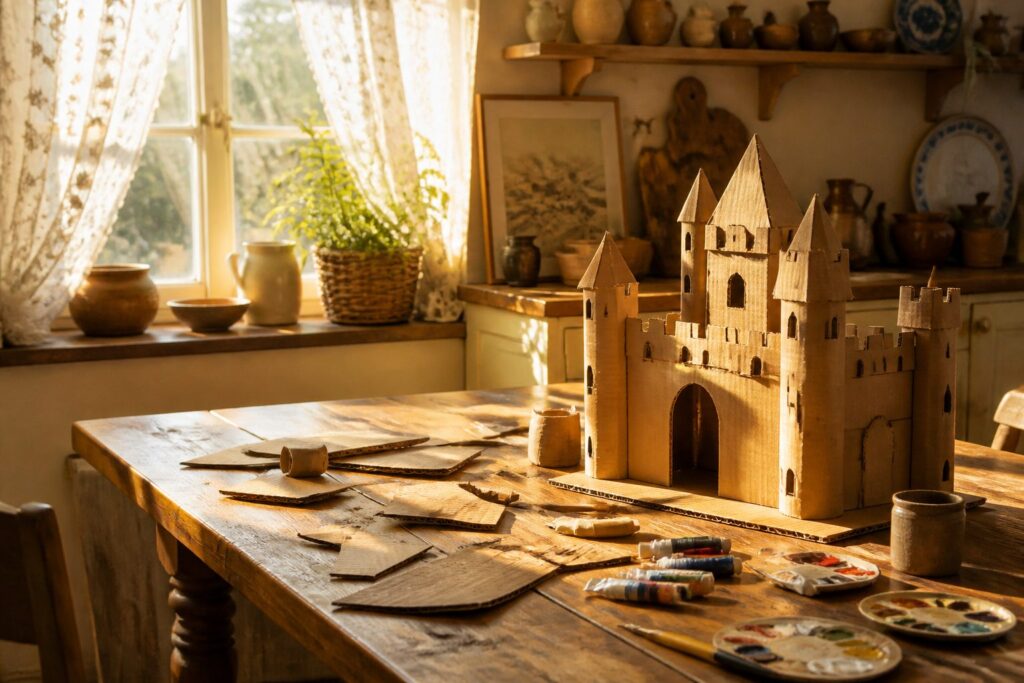
The list runs from a 6-inch puppet or a shoebox maze to a castle that eats a whole afternoon, and the deciding factor is the cutting.
Corrugated board needs a utility knife or sharp scissors, so match the project to how much an adult can cut, and let kids take over for painting, gluing and decorating.
1. DIY Robot Costume
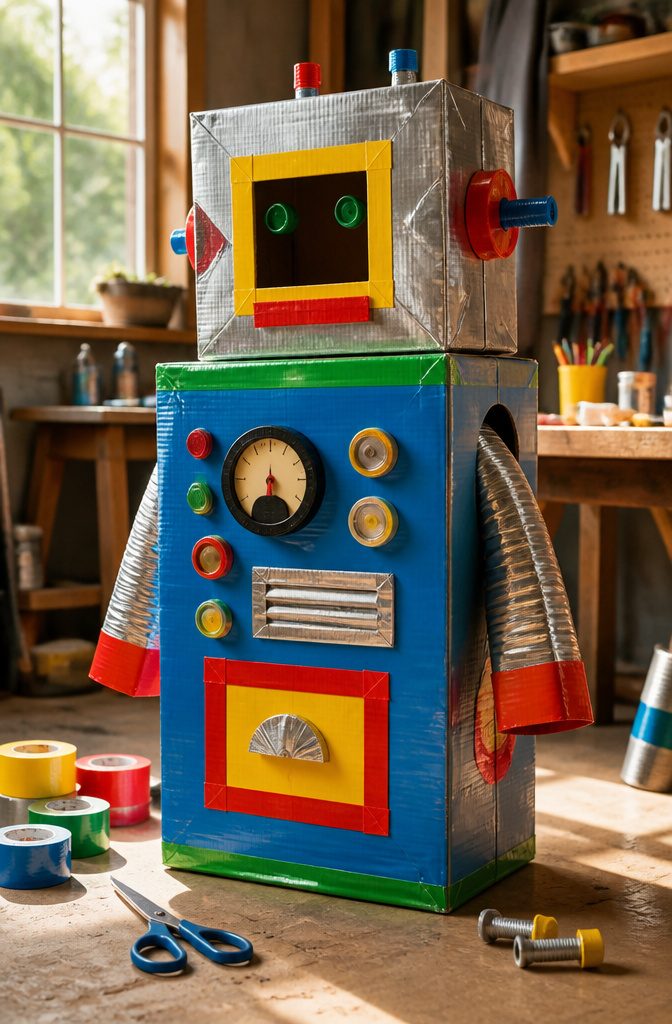
The robot costume is one of my favorites on this list, mostly because a plain empty box turns into something a kid will actually wear for hours.
Start with a cardboard box big enough to slip over the torso, then cut one hole in the top for the head and one on each side for the arms.
Younger kids need an adult for the cutting, since a box cutter or sharp scissors through corrugated board is no job for small hands. Let them take over once the holes are done.
Duct tape covers the box and hides rough edges.
Then pile on random objects from the garage for buttons, dials and antennas. Kids tend to spend longer on that part than on the building, and the pretend play that follows can run for hours.
2. Cardboard Box Car
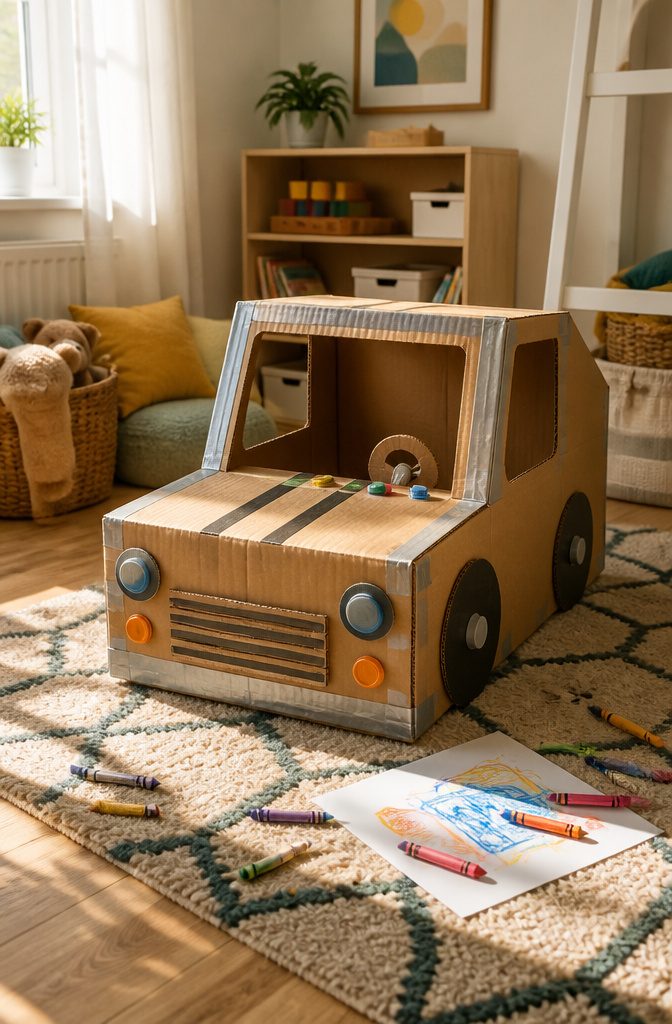
A box big enough to stand in becomes a car once you cut a hole for the head and two more for the arms.
Set the box over the child first and mark the spots with a pencil, then cut them yourself, since a kid’s idea of "arm-sized" tends to run small.
Empty boxes are the whole material list, and a second look at one before it hits the recycling bin is worth it.
Duct tape is my pick over paint for the body. It covers printed logos in one pass, there’s no drying time, and it makes the edges of the cut holes tougher.
Paint wins only if the kids want a full afternoon of decorating. Odds and ends from the garage make good headlights and dashboards.
Wheels are optional. Skip them if the car will be worn, because they only add bulk when the driver is walking.
3. Cardboard Dollhouse
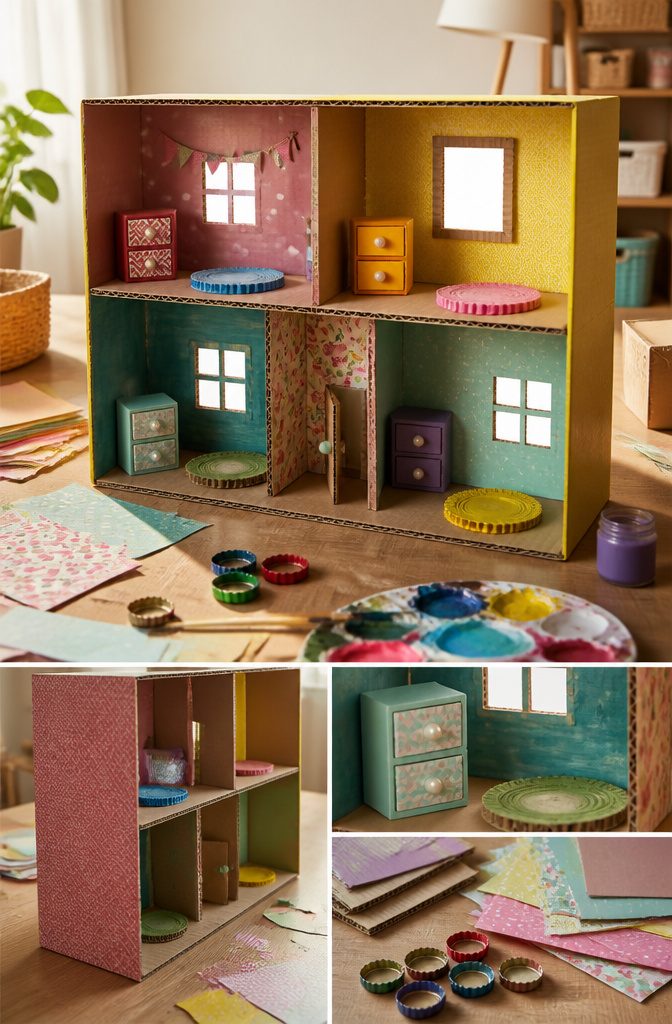
A shoebox-sized or larger cardboard box turns into a dollhouse with almost no planning.
Stand it on its open side, then cut cardboard strips or flat pieces to split it into rooms. Folding a tab on each divider and gluing it to the walls keeps the floors steady.
Adults should handle the cutting, since doorways and windows need a craft knife or sharp scissors. Let the child do everything after the cutting: painting walls, gluing on wallpaper scraps, and furnishing the rooms.
Bottle caps make good rugs, matchboxes become dressers, and paper scraps turn into curtains and art. Toddlers can paint and stick, while older kids can add a staircase, a pitched roof, or lights.
4. Cardboard Marble Run
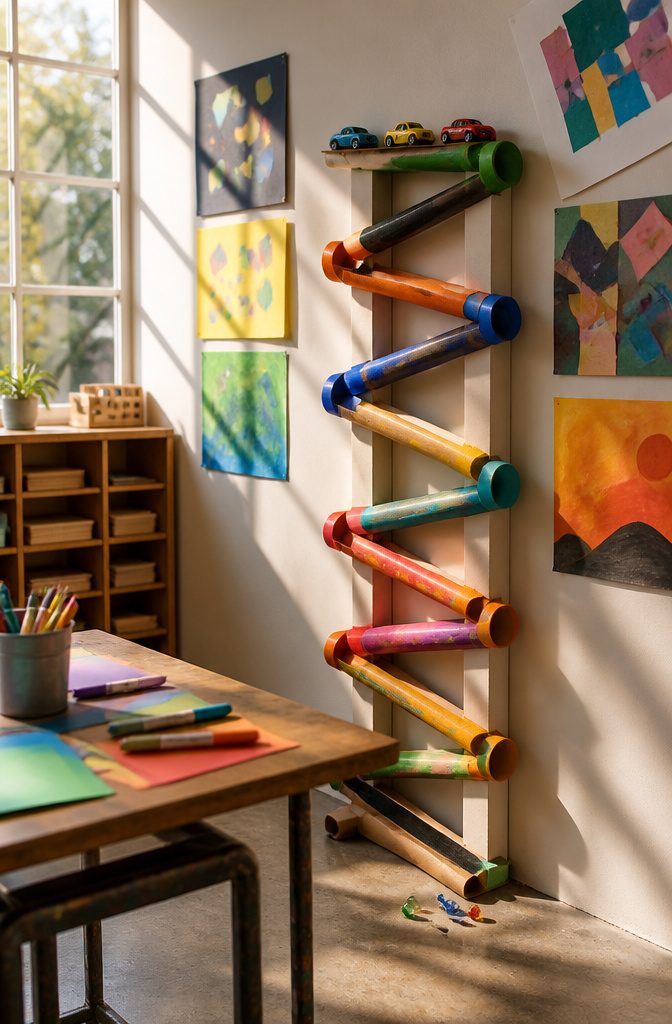
A cardboard marble run earns its spot because it teaches gravity and problem solving with nothing but recyclables.
Kids build a track, drop a marble, watch it stall, and fix the slope. Nobody has to explain the lesson.
Cardboard tubes of all sizes work well, and toilet paper rolls are the easiest place to start.
Paint the rolls first if you want color. Tape them to a wall with painter’s tape, or build a freestanding version from cardboard boxes.
If a marble gets stuck, adjust the angle and try again.
That loop is the activity. I’d also swap in small balls or toy cars once the marble works, since each one behaves differently on the same track.
5. Cardboard Puppet Theater
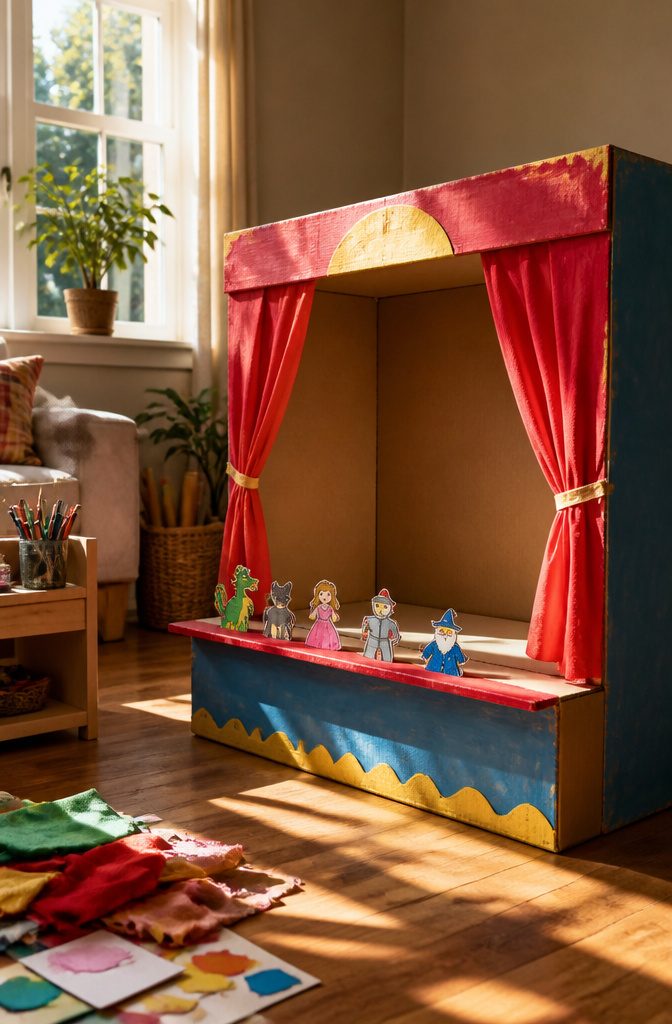
A large appliance box turned on its side makes the best stage, because the open face becomes the proscenium and the kids can crouch behind the back panel.
Cut a wide window in the front, and leave the bottom edge solid so it works as a ledge for the puppets to rest on.
Paint the box before anything else, and let it dry fully.
Poster board cut into curtains, taped inside the top edge, gives you a stage that opens and closes. Scraps work well for a backdrop.
For puppets, cut figures from cardboard and tape each to a craft stick or paint stirrer.
Keep the figures under about 6 inches tall so they fit the window without bumping the frame. Markers and yarn hair finish them quickly.
6. Cardboard Castle
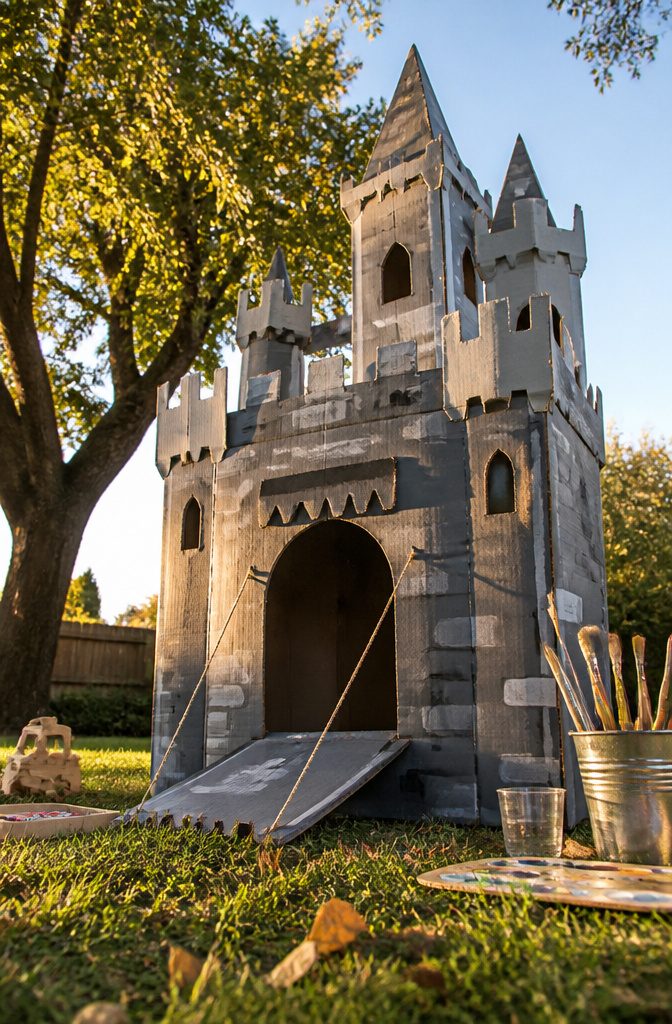
A large shipping box is the right starting point for the castle, because its flat sides give you walls with room for towers, windows and a gate.
This is the biggest project on the list, so plan on more cutting and more time than any other craft here.
An afternoon is realistic, and a utility knife does the work faster than scissors, so that part belongs to an adult.
The drawbridge is the detail that makes it.
Cut a door-shaped flap into the front wall, but leave the bottom edge attached. Poke a hole near each top corner of the flap, thread string through, and tie the other ends inside the wall.
Pulling the strings lifts the bridge, and letting go lowers it. Cut notches along the top edge for battlements, then paint it gray.
7. Cardboard Box Maze
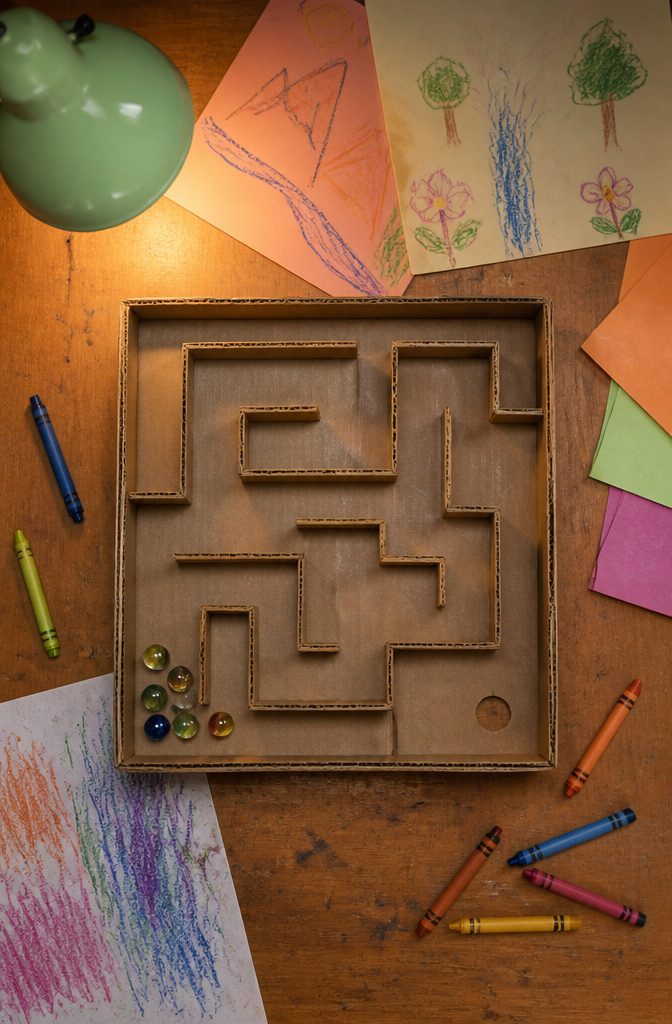
Start with a shallow box, like a shirt box or the lid of a shipping carton, so marbles can’t jump the walls and the whole thing sits flat on a table.
Draw the path on the floor of the box in pencil before cutting anything.
Make it wide enough for your biggest marble or toy to pass with a little room to spare, then add a few dead ends to make it a puzzle.
Walls are strips of cardboard folded along one edge into a narrow L. The folded foot gets the glue, and a hot glue gun holds far better than school glue because it sets in seconds and you can build as you go.
Cut every strip a bit taller than your marble. For toy cars or small figures, make the walls taller and the lanes wider.
Mark a start and finish with colored paper, and leave one opening at the end for the toy to exit.
8. Cardboard Instruments
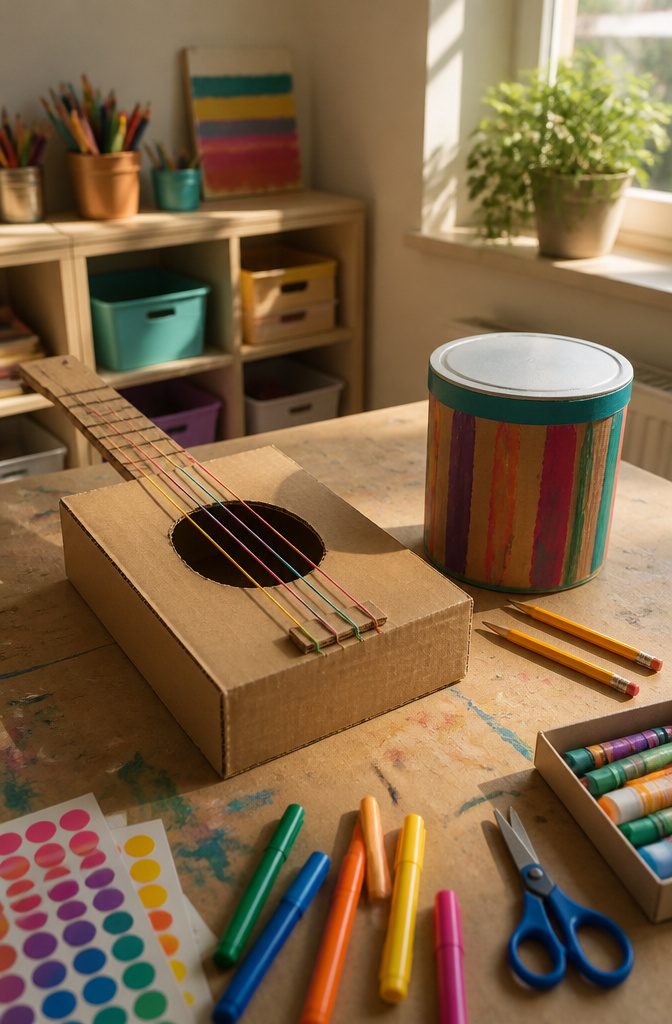
Cardboard guitars are the easiest instrument to start with, and a sturdy box gives you the body in one piece.
Cut a sound hole, tape a long cardboard strip on as the neck, and stretch rubber bands across the opening for strings. The rubber bands do make a sound, though it’s more twang than tune.
Drums are even simpler.
Round oatmeal canisters and shoe boxes both work, and a pair of pencils or wooden spoons makes the sticks. I’d pick the canister for a drum with a real thump.
Decorate before you assemble, since flat pieces take paint and markers far better than a finished guitar does.
Let kids choose colors and patterns, because that choice is where the creativity happens. Cutting, taping and stretching bands also builds fine motor skills.
9. Cardboard Animal Masks
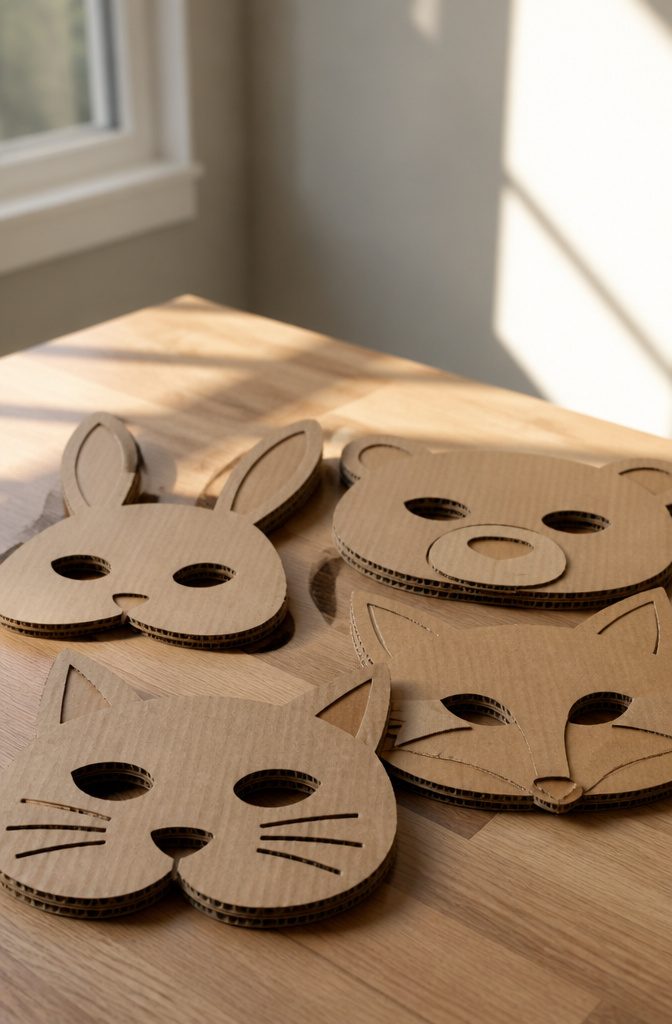
Corrugated cardboard takes an adult with scissors to cut, so do the eye holes yourself before the kids touch the mask.
Sketch the animal face in black marker first, then cut the outline and the holes together. Set the holes a little wider than looks right, because a mask that shifts on a small face blocks the view.
Decorating is where kids take over. Markers work fine on the plain brown surface, and white marker fills in the eyes nicely against the dark lines.
A peeled crayon rubbed across the whole face adds color with no mess. For whiskers, punch holes in the cheeks with a pencil and push in pipe cleaners.
Add yarn or elastic through side notches to hold the mask on. For Halloween, a cat, rabbit or dinosaur mask beats a store-bought one on cost.
10. Cardboard Planter

Cardboard is a poor choice for potting real plants, since soil moisture will soften it.
For faux plants it works well, and a plain gift box is all the planter needs. A coat of white paint is enough to make one look like something from a home decor boutique.
Paint it in a color that suits your room, then drop the faux plant in, pot and all. I’d skip glue-on extras until the paint is fully dry, because wet paint under a sticker or ribbon peels up with it.
A low-sided cardboard crate makes a thrifty table centerpiece, and seasonal decor is where it shines. Stars and stripes turned one into a July 4th piece, ready for flowers and small decorative items.
Kids can paint the box, but the finished planter looks grown-up enough for a shelf or entry table.
Materials You Need
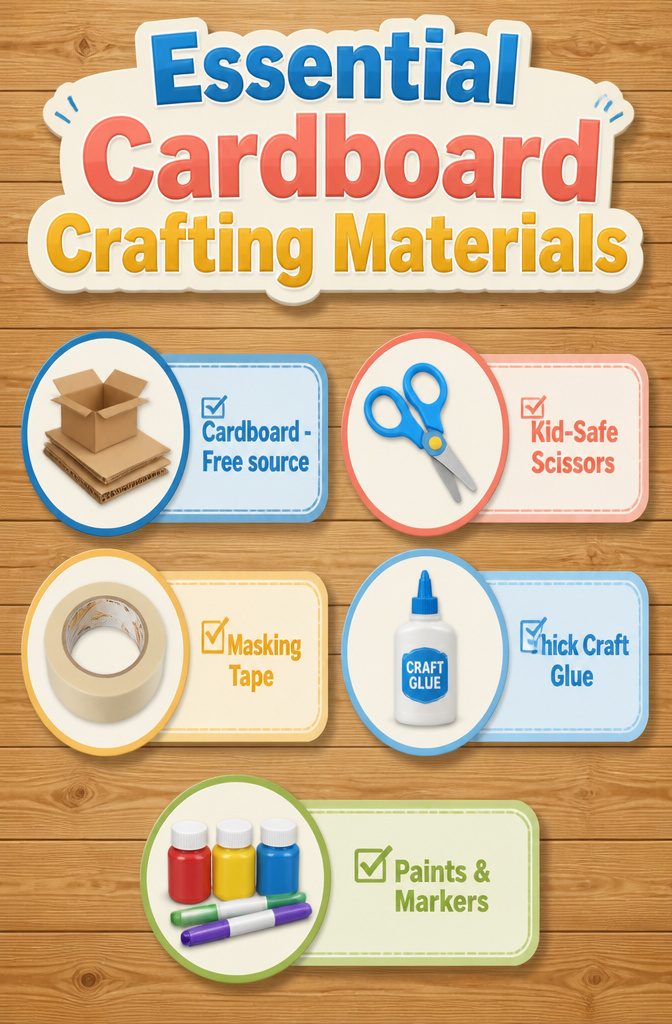
Most of these projects run on the same short shopping list, and the cardboard itself costs nothing.
- Cardboard: Old boxes and household recycling work fine, so the free pile by your bin is the best source. Corrugated cardboard (the kind with the ridged middle layer) is the sturdy choice for houses and anything that has to stand up.
- Scissors: Kid-safe pairs handle thin cardboard. Thick corrugated is tough on small hands, so an adult may need to precut the pieces.
- Tape: Masking tape holds the sides of a box build together while it takes shape.
- Glue: Thick craft glue grips cardboard better than thin school glue, and it sets in about 10 minutes.
- Paint, markers and decorations: These are only for projects that need color, so buy them last, once you’ve picked what to make.
Precutting shapes into little kits makes even kindergarteners able to build without frustration.
Age Guide and Difficulty
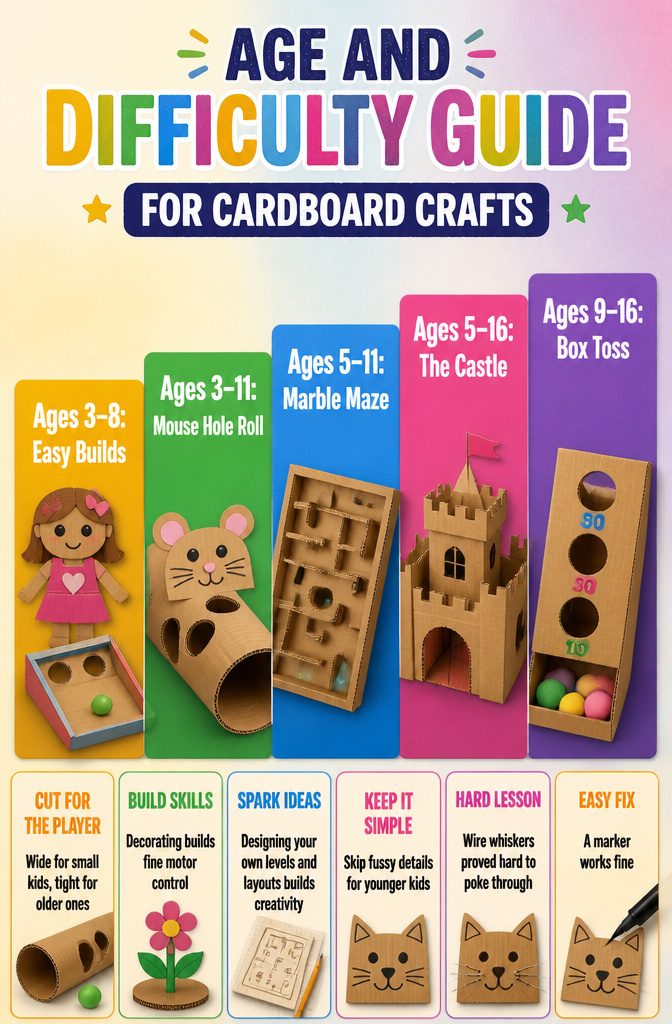
Ages 3–8 is the range for the easiest builds, such as a Feelings Friend doll or a Tilt-to-Win game, and a 3-year-old can decorate them while an adult handles the cutting.
Mouse Hole Roll (ages 3–11) sits next: you cut the holes yourself, so you can size them to the player’s age, wide for small kids and tight for older ones.
Mid-range projects like the Marble Maze and Cardboard Marble Run (ages 5–11) ask for planning and steady hands. The Castle (ages 5–16) and Box Toss (ages 9–16) are the most involved, and older kids can run the scissors alone.
Decorating builds fine motor control; designing your own levels and layouts builds creativity. Skip fussy details for younger kids, since wire whiskers proved hard to poke through, and a marker works fine.
Frequently Asked Questions
What can you make with cardboard?
Cardboard turns into costumes, a car, a dollhouse, a marble run, a puppet theater, a castle, a maze, instruments, animal masks and a planter.
Most of them need only boxes, tubes, tape and some paint or markers. They also work as STEM activities for kids of nearly any age.
How do you make a cardboard box car?
Pick a box big enough to stand in, set it over the child, and mark spots for one head hole and two arm holes. An adult should cut the holes, since kids tend to mark arm holes too small.
Cover the box with duct tape or paint it, then add headlights and a dashboard from household odds and ends. Skip wheels if the car will be worn, because they only add bulk.
What is the best toddler box activity?
Drive and Drop is a top pick: a box with a hole in it that toddlers can play with again and again. Toddlers can also paint and stick pieces onto a cardboard dollhouse while an adult does the cutting.





