
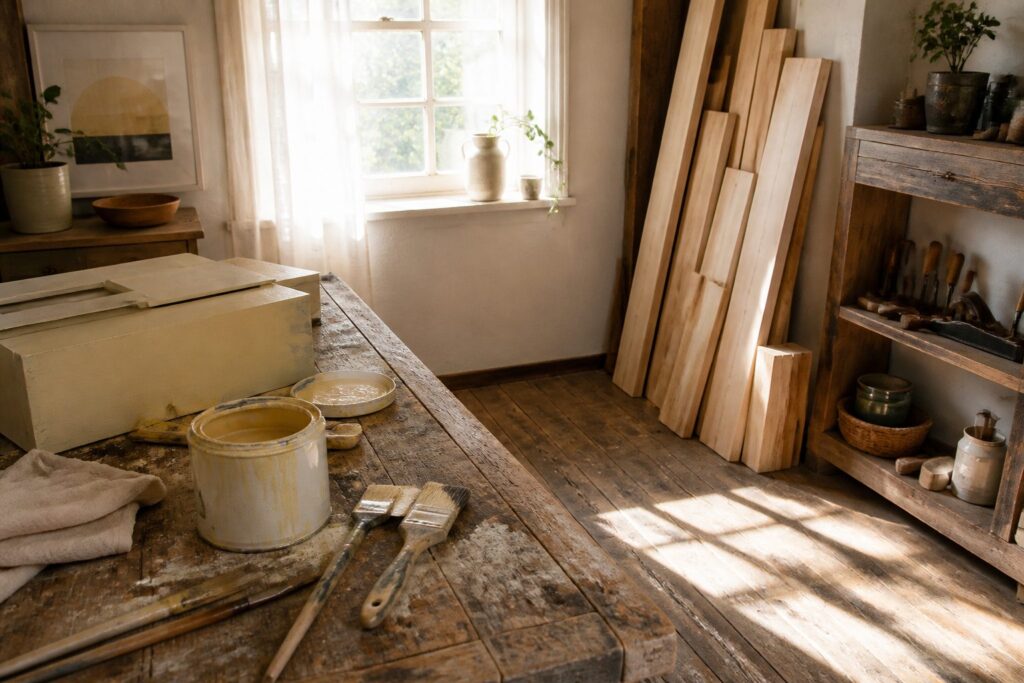
These projects run from repainting just the legs or drawer fronts of a piece you already own to building a bed frame from three 1x12x12′ boards.
Your skill with a saw decides which one is yours. If you don’t own one, pick a refresh, or have the store cut the boards, since the cuts are what trip beginners up.
1. Paint Only the Legs
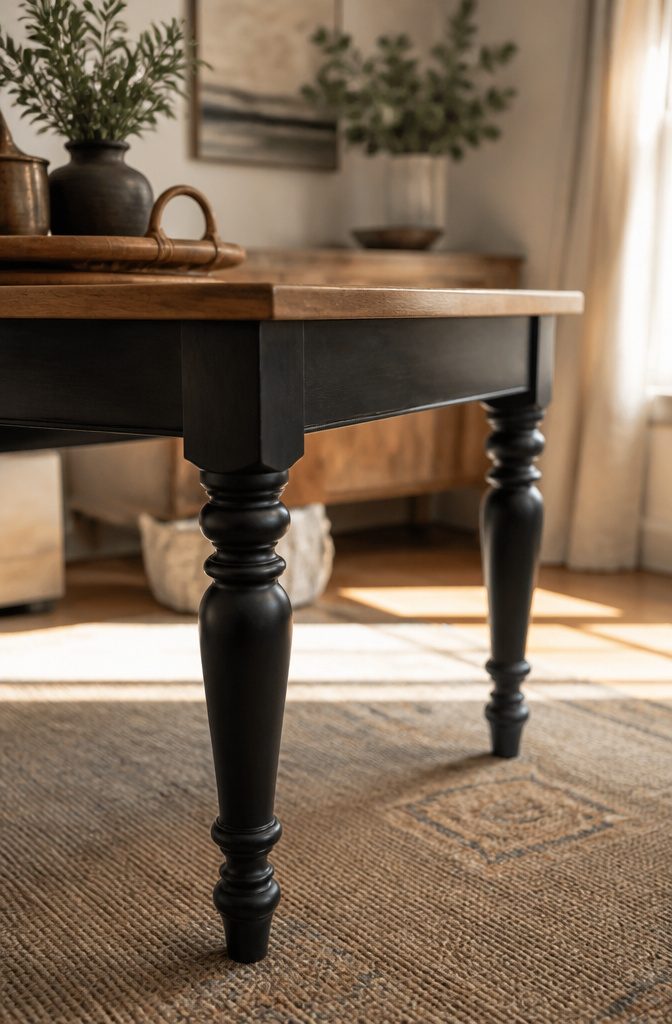
Legs are a small share of a table or dresser, but they frame everything above them.
Paint only that part and the top stops being the whole story, so an old oak bureau or a large kitchen table with extra leaves looks updated without a full makeover.
Sand the legs lightly, just enough to dull the old finish so the primer can grip.
Prime before you paint, one coat, because bare or glossy wood tends to peel and show through. Then paint, and leave the top and apron alone.
I’d pick a color that contrasts with the top; a tone that matches only looks like you ran out of time.
2. Paint Only the Top
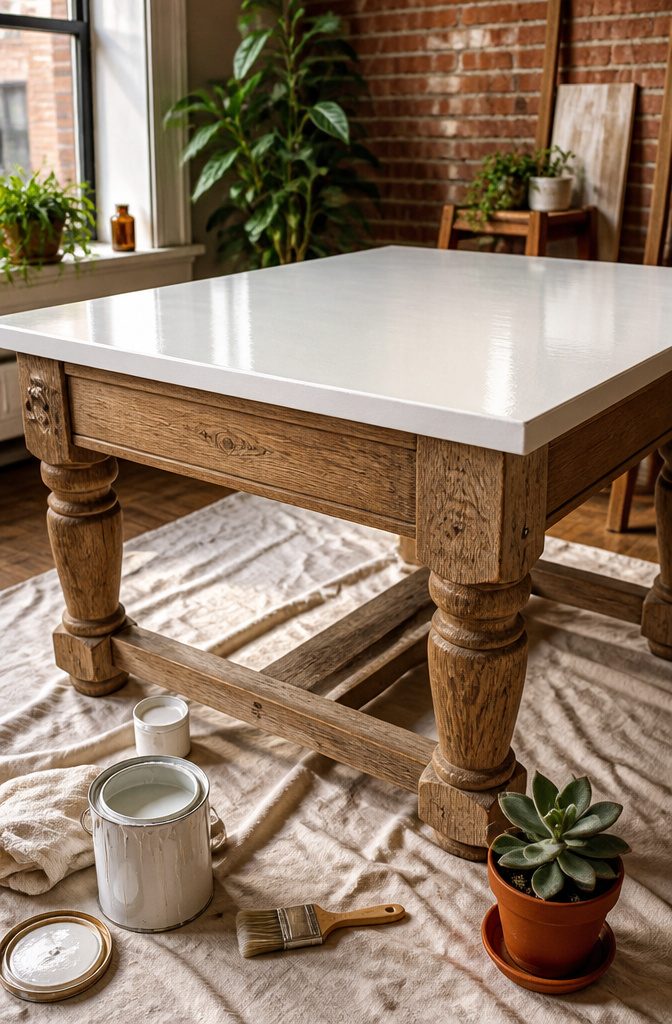
A tired dresser or table often fails in only one spot: the top, where the finish wears, rings and scratches collect.
Refinishing just that surface leaves the base alone and gets the whole piece looking new. Sand in steps, starting at 80 or 120 grit and finishing with 220, and wipe the dust off between grits.
Then apply thin coats of finish rather than one thick one, because thin coats dry faster and look better. Let each coat cure fully before anything sits on it.
I would paint the top a color that contrasts with the base, or stain it if the wood grain is worth showing. Either way, protect it with polyurethane, wax or hard-wax oil.
3. Paint the Drawers
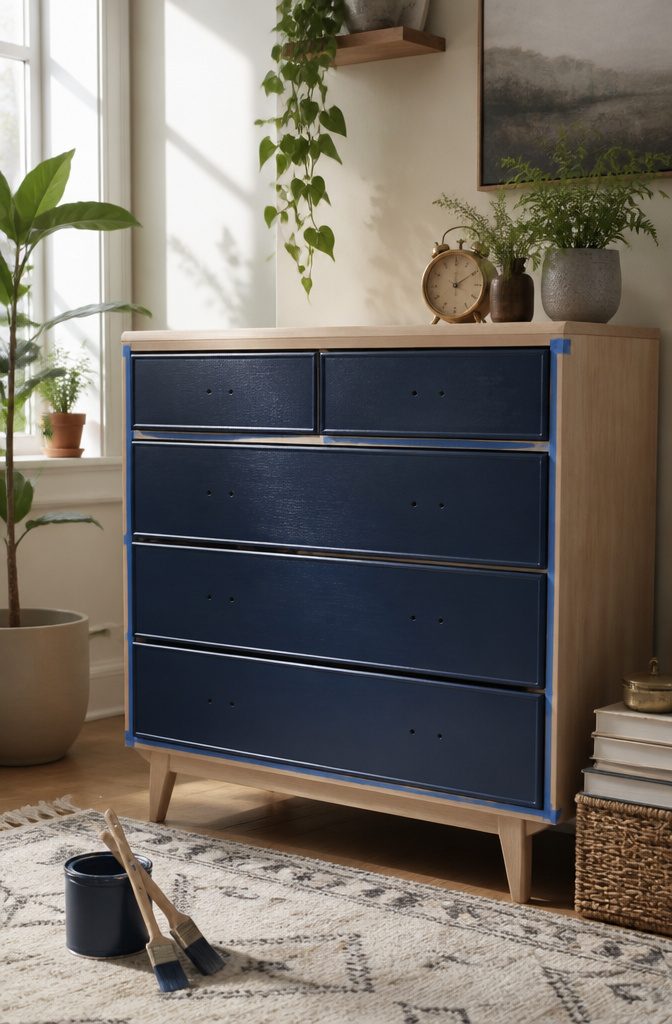
Painting only the drawer fronts gives a dresser or nightstand a contrast against the frame without the work of refinishing the whole piece. A dark front on a light frame reads as deliberate, and so does the reverse.
Pull each drawer out first and lay it flat, which keeps paint from running and lets you reach the edges.
Take off any knobs or pulls, then keep the hardware holes clear by pushing a toothpick or a twist of painter’s tape into each one before you paint. Otherwise the holes fill and you end up drilling them out later.
Sand the glossy finish lightly and wipe off the dust.
Thin coats beat one heavy coat every time, because drawer fronts show drips more than any other surface. Let the final coat dry fully before the drawers slide back in, or the sides can stick to the frame.
4. Paint the Details
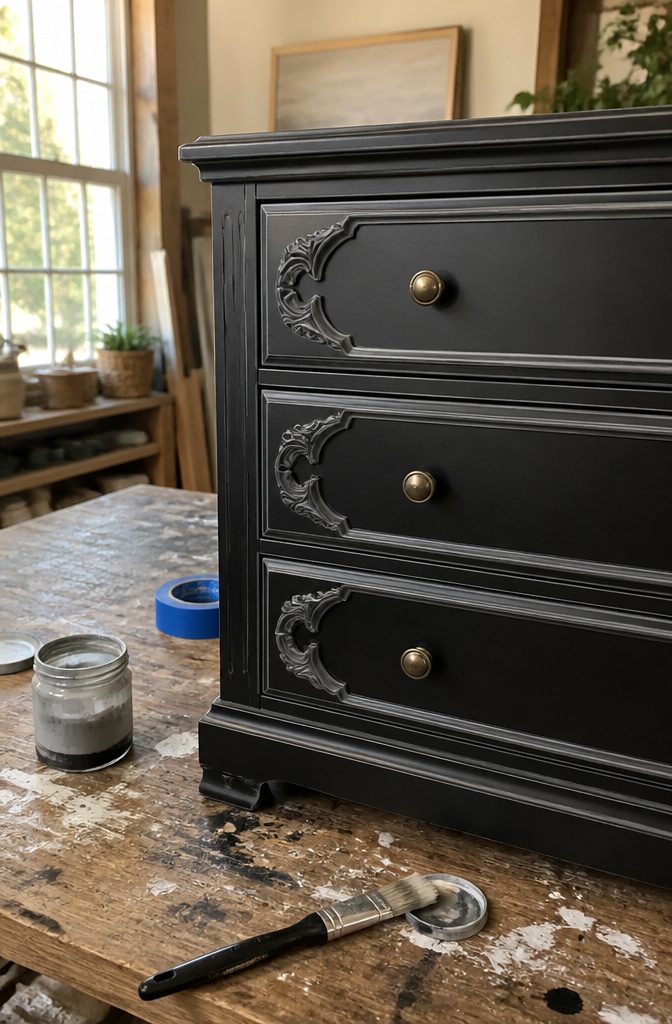
Trim, carved panels, routed edges and turned feet all hold a second color well, because the raised lines give the brush a natural stopping point.
Pick a shade one step darker or lighter than the body, or a high-contrast one if you want the detail to pop.
A small angled brush, about 1 inch wide, handles most of this; a fine artist’s brush reaches into carving grooves where a bigger one leaves blobs.
Painter’s tape works best on flat edges, such as the border of a drawer front or a tabletop lip.
Press the tape down firmly with a fingernail, then pull it off while the paint is still slightly tacky, so it doesn’t lift the dried film with it.
Skip tape on carvings; steady hands and a nearly dry brush do better.
5. Swap the Hardware
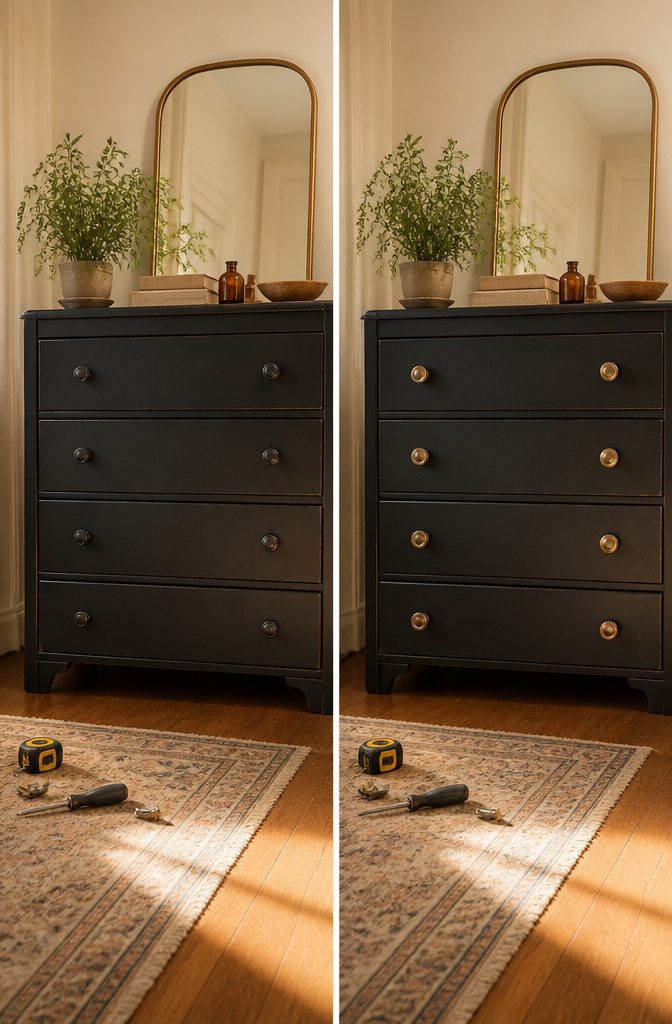
Hole spacing decides whether a new pull fits, so measure before you buy anything.
Take a ruler to the old pull and measure from the center of one screw hole to the center of the other, not from the outer edges of the hardware.
Match that center-to-center number exactly, because a pull that is even slightly off won’t line up with the existing holes.
Single-post knobs skip the problem, since they need only one hole.
If your drawers have two-hole pulls and you want knobs, a knob with a backplate can hide the second hole, or you can fill it with wood filler and paint over it.
Check the screw length too. Thick drawer fronts may need longer screws than the ones that come in the package, and a hardware store sells those loose for pennies.
6. Nightstand
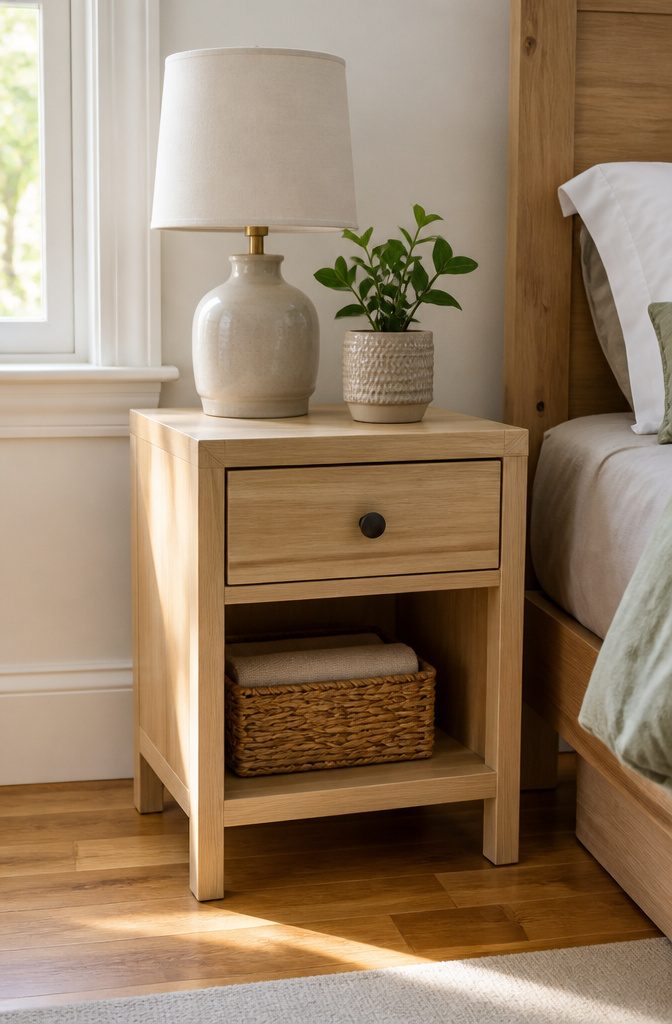
A simple nightstand comes together in an afternoon if you keep it to a box with four legs and one shelf or drawer.
I’d aim for about 24 inches tall, 16 inches wide and 14 inches deep, which puts the top roughly level with most mattresses and leaves room to walk past the bed.
Pine is the budget pick and cuts easily with a basic handsaw.
Poplar costs a little more, but it takes paint with fewer visible knots and a smoother finish. For a painted nightstand I’d choose poplar; for a stained one, pine’s grain looks warmer.
Pocket screws or wood glue plus brad nails hold the frame well.
Sand everything with 120-grit before assembly, since reaching inside a finished box is miserable. Paint or stain needs drying time, so finish the build in the afternoon and let the top coat set overnight.
7. Storage Bench
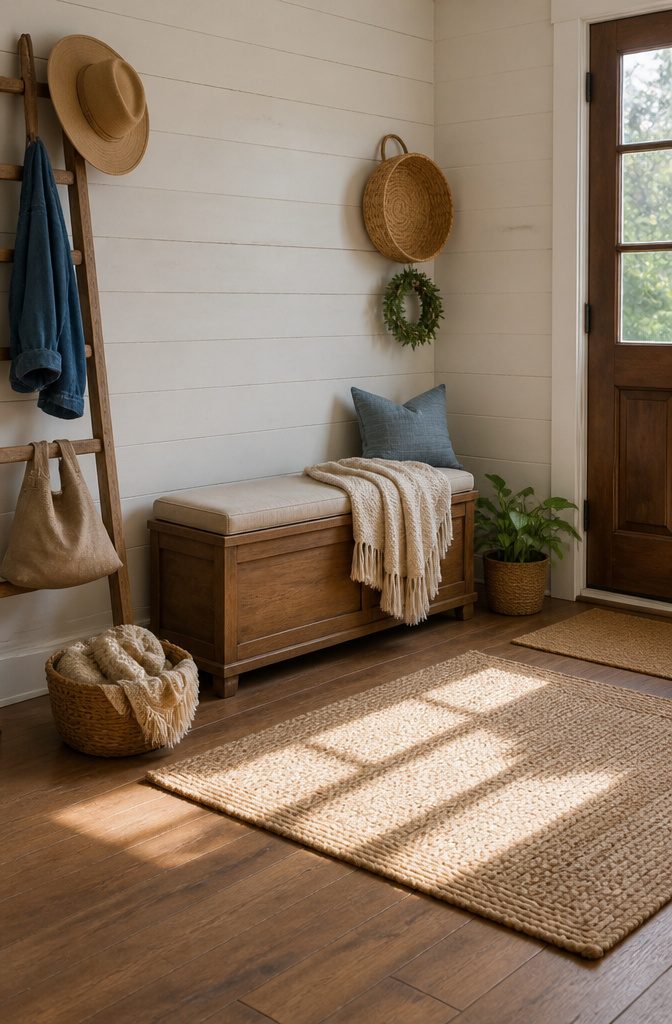
A storage bench is a plywood box with a hinged lid, and that simplicity is why it works at the foot of a bed or by the front door.
Build the box first: four sides and a bottom, glued and screwed at the corners, with the bottom panel set between the sides so it carries the load.
Add a simple frame or a few corner blocks inside to keep the walls square.
For the lid, cut a panel that overhangs the box slightly and attach it with a piano hinge along the back.
Fit a lid support or soft-close stay so it can’t slam on small fingers. I’d skip a heavy solid top; a lighter panel with a cushion on top is easier to lift and more comfortable to sit on.
8. Side Table
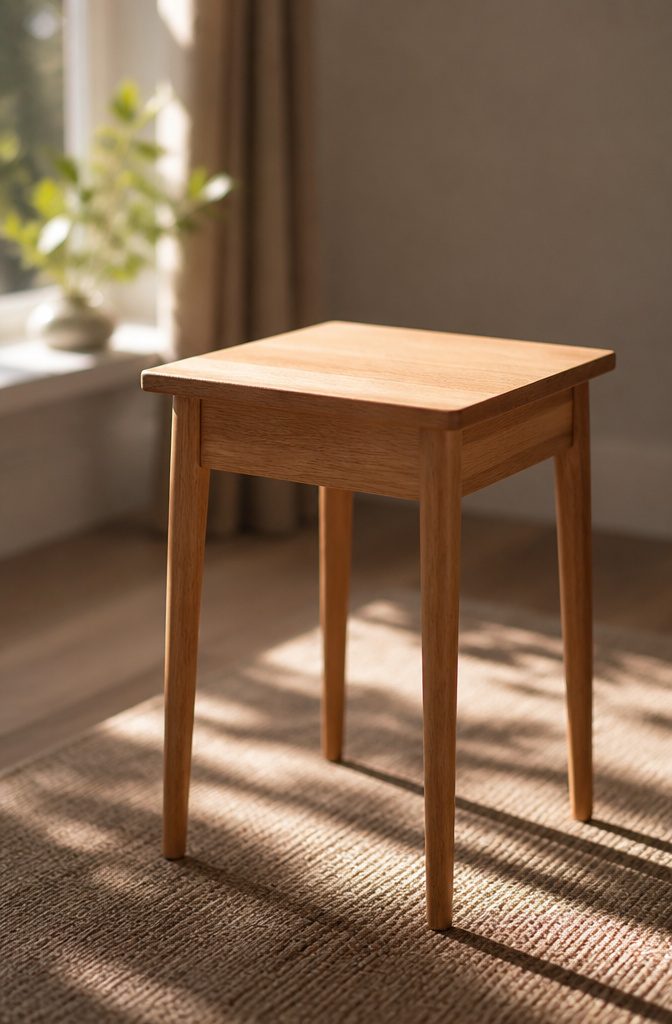
A small side table needs only a handful of boards: four legs, a top, and a few rails to tie the legs together.
Use a cordless drill with a countersink bit so the screw heads sit flush instead of snagging a sleeve or a lamp cord.
A pocket-hole jig is optional, but it hides the screws underneath, which I prefer on a table that people see from all sides.
Clamp each rail to its leg before drilling.
Clamps hold the joint square while the screw pulls it tight, and without them the board tends to creep as the screw bites. Check the corners with a square, then sand with an orbital sander before you finish.
If the store will cut the boards for you, skip the saw entirely.
9. Bookshelf
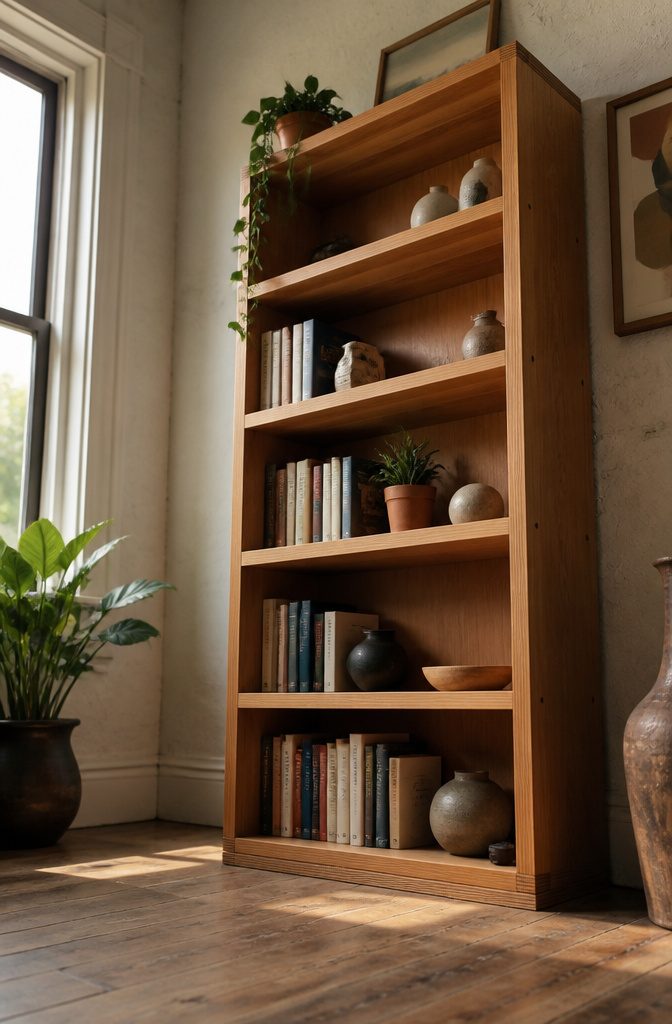
A basic bookshelf is two sides, a top, a bottom and a few shelves, and straight boards decide whether it comes out square.
Sight down each board’s edge before you buy or cut, and lay it on a flat floor to see if it rocks.
A cupped or twisted board will pull the whole frame out of line, so I’d leave those on the rack.
Plywood gives the most strength.
Add a thin back panel, because the back panel is what keeps the frame from racking side to side. Check each shelf with a level before the glue sets, and check the bottom shelf against the floor too.
Anchor a tall bookshelf to the wall.
10. Coffee Table
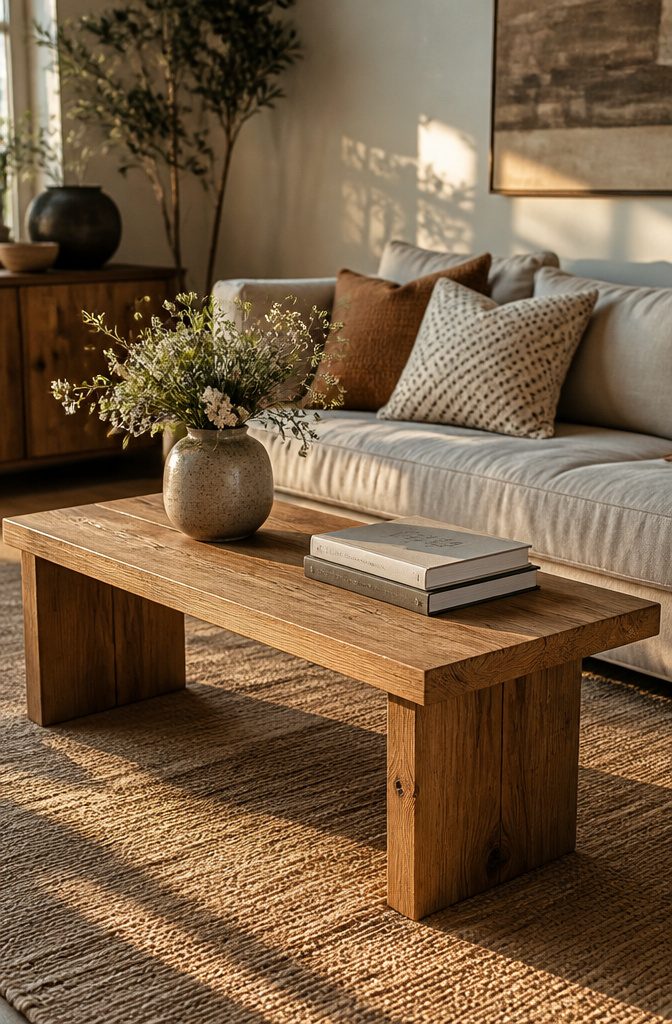
A simple wood coffee table is a flat top, four legs and a pair of aprons, and the top-to-leg joint decides whether it wobbles.
Pocket screws through the aprons into the underside of the top are the easiest way I know to join them with basic tools.
Legs can attach to the aprons with glued and screwed butt joints, which is plenty for a living room piece.
Sand in steps, starting at 80 or 120 grit and finishing at 220 grit, wiping off dust between grits. Skipping the wipe drags coarse grit across the wood.
Polyurethane protects a tabletop that will hold mugs and feet.
Brush on thin coats, since they dry faster and look better than thick ones. Let the last coat cure fully before you set anything on it.
11. Entryway Shoe Rack
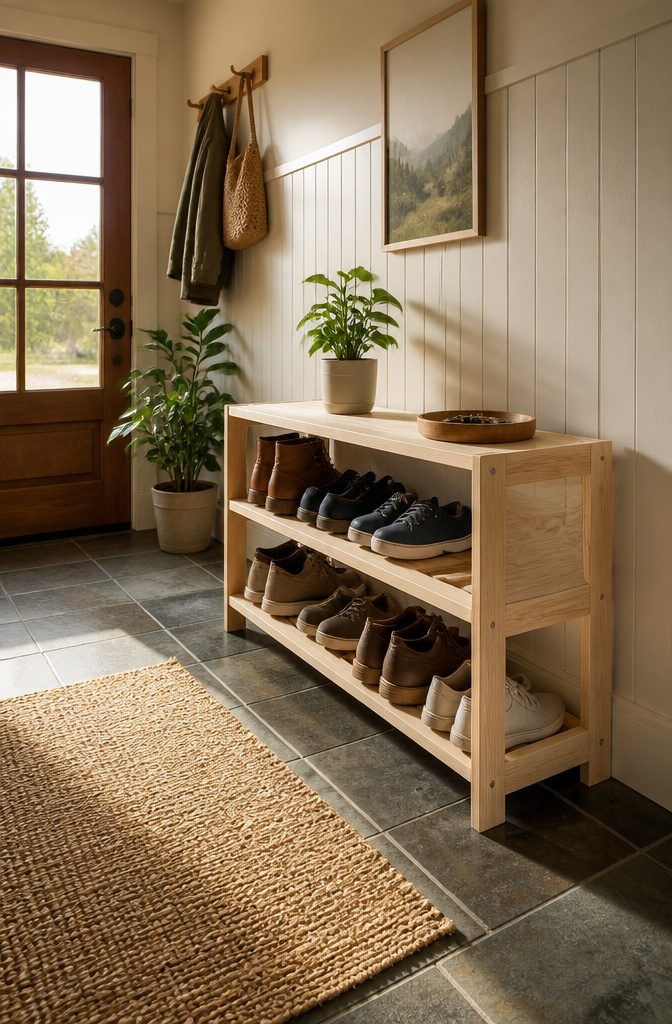
Slat spacing decides whether this rack works.
Leave a gap of about an inch between slats and a boot heel or a wet sandal can slip through, so keep the gaps narrow enough that the shoe sits on top and wide enough that dirt and water fall through to the floor or a tray below.
For sizing, count the pairs by the people who live in the house, then add a few for guests.
Adult sneakers run about a foot long, so a single shelf holds roughly 3 pairs for every 3 feet of width. Plan one shelf per 3 pairs, and stack two or three shelves rather than building one long rack that crowds the doorway.
I would use pine 1x2s for the slats, because they are cheap and cut cleanly with a basic saw. Seal the top shelf; it takes the wet shoes.
12. Wall-Mounted Desk
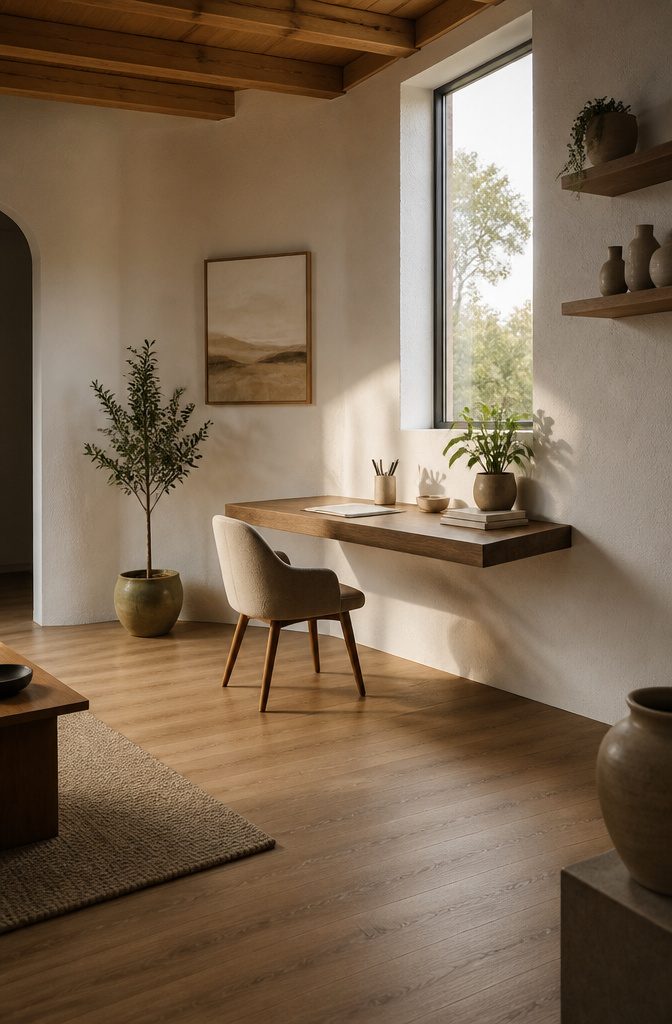
A wall-mounted desk only works if the screws land in studs.
Drywall alone will not hold a laptop, a lamp and a pair of leaning elbows, so find the studs with a stud finder or by knocking and listening for the solid note.
Studs are usually spaced 16 inches apart, center to center, so once you find one the next is easy to locate.
Mark the stud centers, then pre-drill and drive long screws through a mounting rail or ledger board. Every bracket or ledger screw should hit a stud, and a level on the rail keeps the surface from sloping.
A fixed desk is the sturdier choice. A fold-flat version saves floor space, but I’d pick it only if you truly need the wall clear, since hinges add a weak point and a little wobble.
13. Headboard
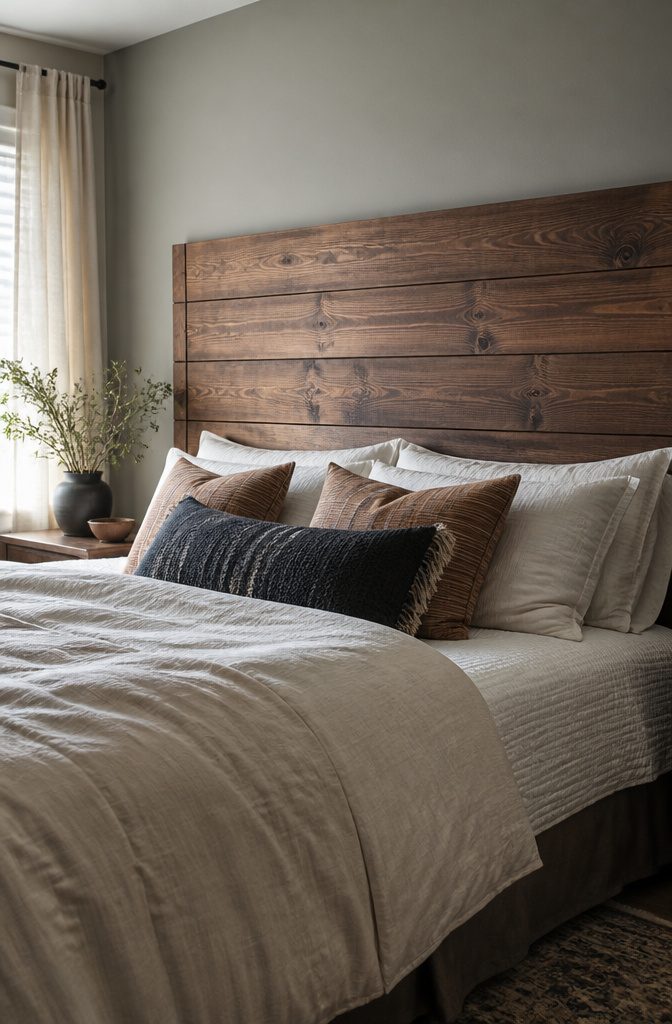
A basic wood headboard is the easiest way to get a finished-looking bed wall, because it is really just boards fastened to a frame or mounted to the wall.
Mounting to the wall wins for most people: it needs no legs, takes up no floor space, and you can hang it at whatever height suits your pillows.
Sand every board before assembly, since reaching a headboard once it is up is awkward.
Pre-drill each screw hole so the ends don’t split, especially on softer pine. Stain or paint the boards first, then assemble, and you won’t get color bleeding into the seams.
Plain boards in a single color can look flat. Alternating two stain shades, or setting the boards vertically instead of horizontally, adds character at no extra cost.
14. Simple Bed Frame
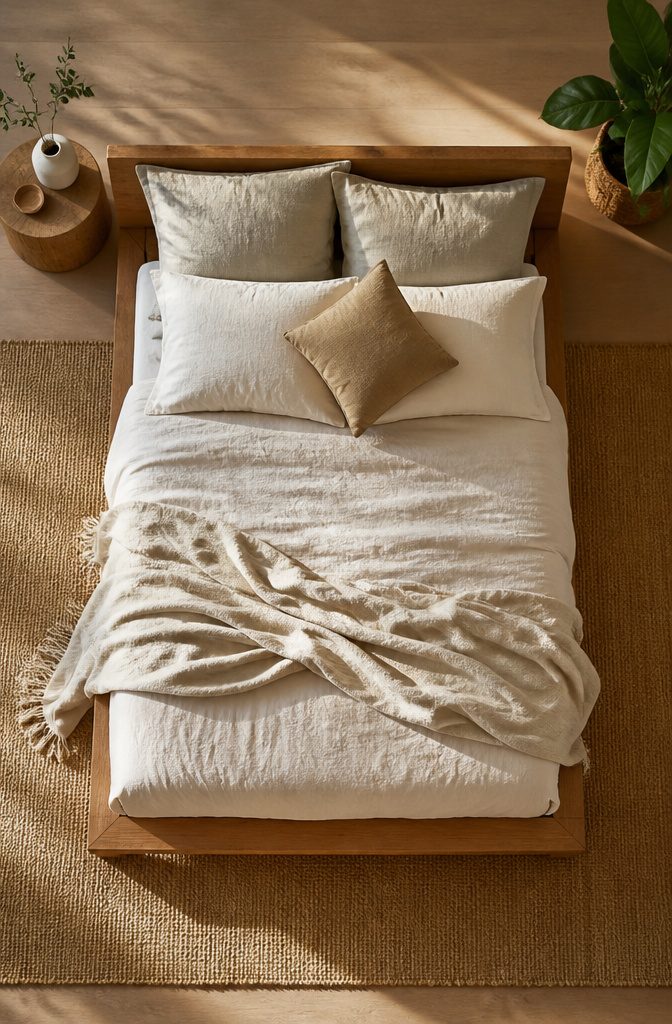
Three 1x12x12′ boards make this frame, and the cut list is short: 7′ pieces for the two long sides and two 5′ pieces for the head and foot.
The 12-foot lengths cut cleanly, since two 7′ pieces plus two 5′ pieces use up the boards with little left over.
Twelve 2-inch screws hold the whole thing together, so a drill and a tape measure cover most of the work.
Pre-drill every screw hole.
Pine and other softwood boards split near the ends, and a split edge on a 1×12 is hard to hide. Pre-drilling the ends takes five minutes and saves a board.
I’d sand the edges before assembly, because it’s far easier on a flat board than on a built frame.
This is a low, plain platform design, so add a coat of stain or paint if you want it to look finished.
15. Diamond Tufted Headboard
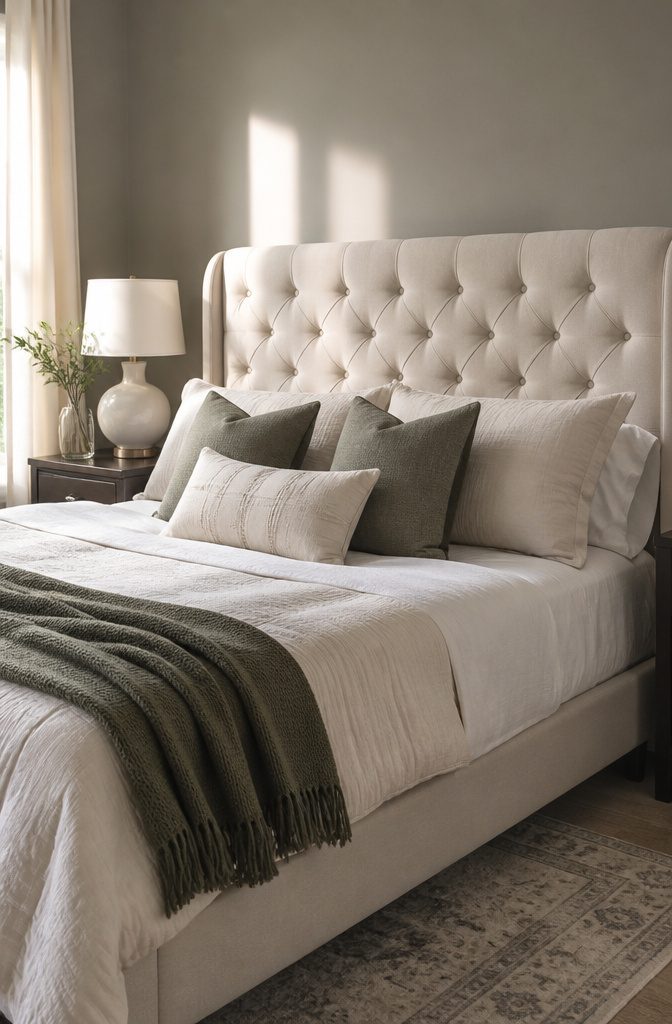
Diamond tufting is a grid of buttons pulled into the padding at staggered rows, so the creases between them run diagonally and form diamonds.
Mark the pattern on the back of the board first, with each row offset by half a space from the one above it. Even spacing is what makes the diamonds read as diamonds, so measure instead of eyeballing it.
Drill a hole at every mark, then push the button’s thread through the foam and fabric from the front.
Pull it tight at the back and staple it down. Pull each button snug but don’t crank it, because overtight buttons pucker the fabric into a dimple and strain the seams.
Cover buttons in matching fabric for a quiet look. Metal or pearl buttons give a glam finish, but they show every wobble in spacing.
16. Stickwood Headboard
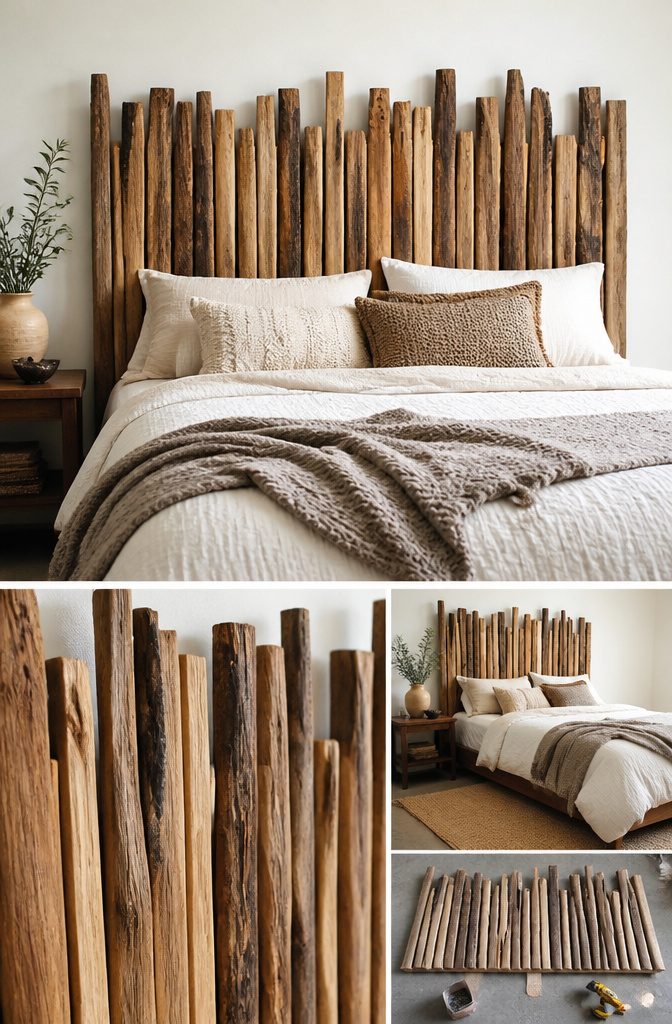
A stickwood headboard starts with one case of stick wood, and that case is the whole budget story: you buy the pieces already cut thin and skip the lumber yard.
Measure the width and height of your existing headboard, an IKEA Malm in the common version of this build, then mark how many rows of sticks will cover it.
Cut the sticks to length with a rotary saw. Rough ends are fine, since uneven edges are what make the pattern look intentional.
Fasten the rows with clear and matte polyurethane.
Lay the full pattern on the floor first, because moving a stuck piece later is harder than shuffling it now. I’d pick matte over gloss; it keeps the wood looking like wood.
17. Shelving Unit
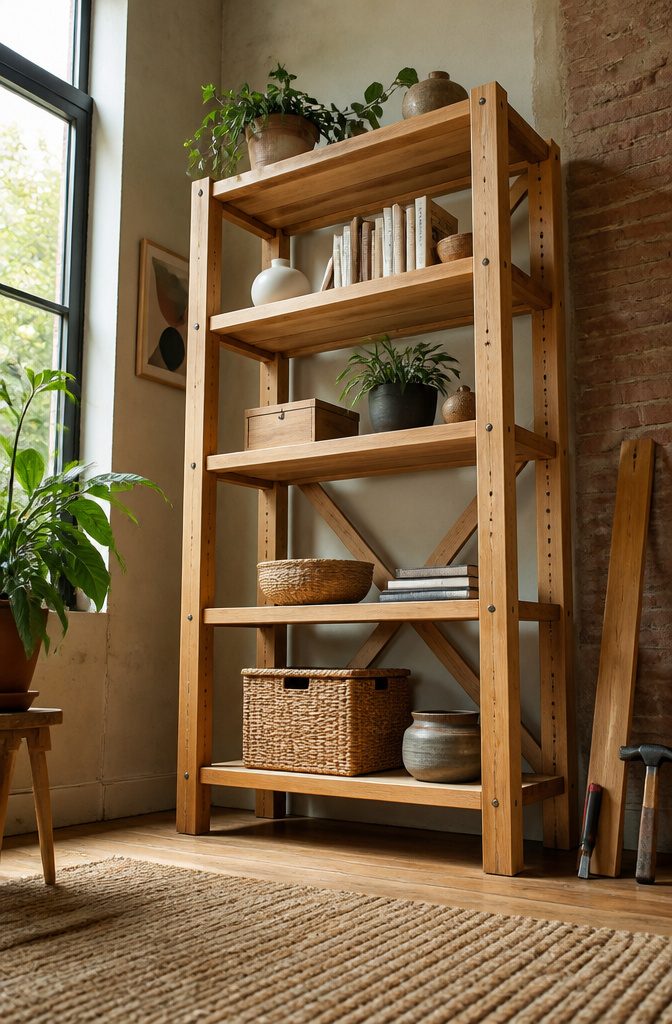
A freestanding shelving unit is two side frames joined by shelves, and the frames decide whether it stands square or leans.
Build each side as a matching ladder from two uprights and a few rungs, and clamp the pair together to check that they match before you fasten anything.
Add a back brace, a thin board or a diagonal slat across the rear, because shelves alone won’t stop it from racking sideways.
For spacing, set the tallest shelf gap first, based on the largest thing you plan to store, then work down.
Space the shelves to fit what you’ll put on them, not evenly, because uniform gaps waste room under paperbacks and crowd the baskets. I’d keep the heaviest items on the bottom shelf, where they steady the whole unit.
18. Corner Shelves
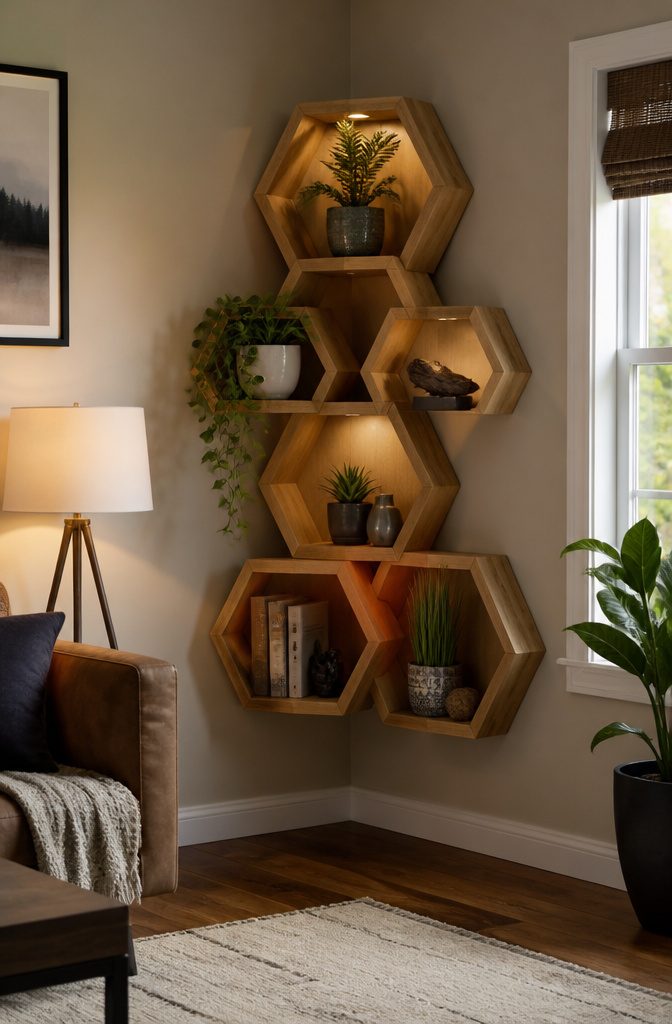
A hexagon shelf needs one board, a saw that cuts at a 30-degree angle, wood glue, and blue painter’s tape.
Six pieces cut with matching 30-degree ends close into a ring, and the tape is what holds that ring together while the glue sets.
Lay the pieces end to end, tape across the outside of every joint, then fold the strip into a hexagon and glue the seams.
Accurate cuts matter more than anything else here.
If one angle drifts, the last joint will not close and the gap shows. I would set the saw once and cut every piece without touching the adjustment.
Mounting these in a corner works best when you keep the shelf small. A single hexagon is light enough to hang on its own, and a few of them clustered fill a corner with very little lumber.
19. Metal Base Coffee Table
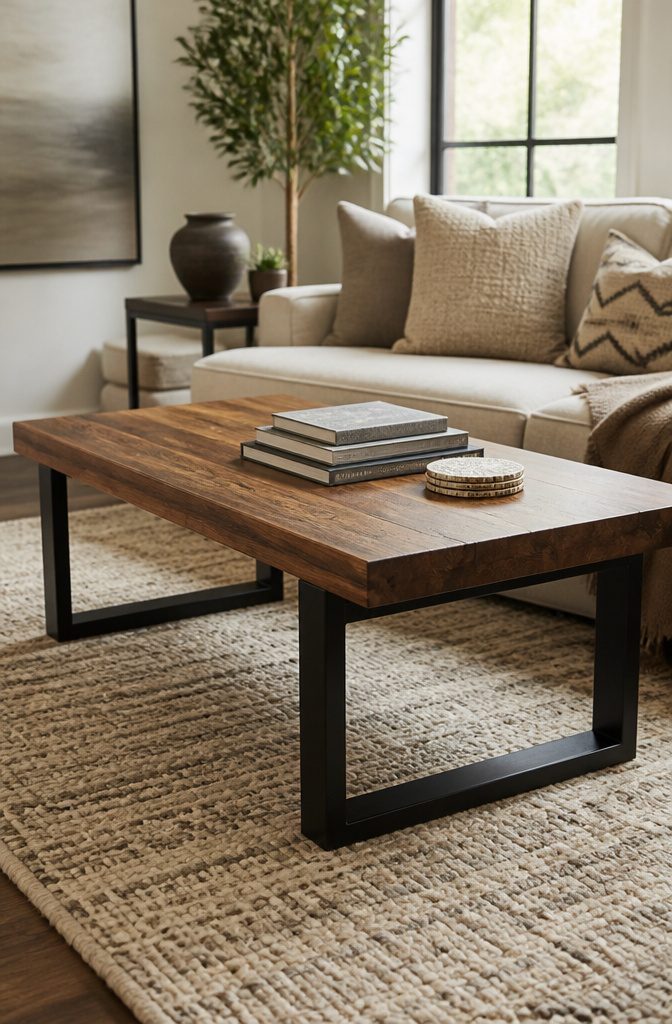
A wood top on a metal base is the easiest way to get a coffee table that looks store-bought, because the two parts never have to be joined by fancy joinery.
Buy or build the base first, then cut or pick the top to fit it. Hairpin legs and welded steel frames both work, and a solid wood top set on either one reads as modern without any extra trim.
I’d pick a pre-made metal base for a first build.
Welding takes tools most people don’t have, while a ready-made base only needs screws. Sand the top, stain or seal it, and attach it with short screws that stop well before the surface, so nothing pokes through the wood.
A metal base makes the table heavy, and I kept seeing that complaint in the build write-ups I read.
A thick slab on thin legs can wobble if the screws are loose, so check the fit before you finish the top.
20. Vintage Suitcase Side Table
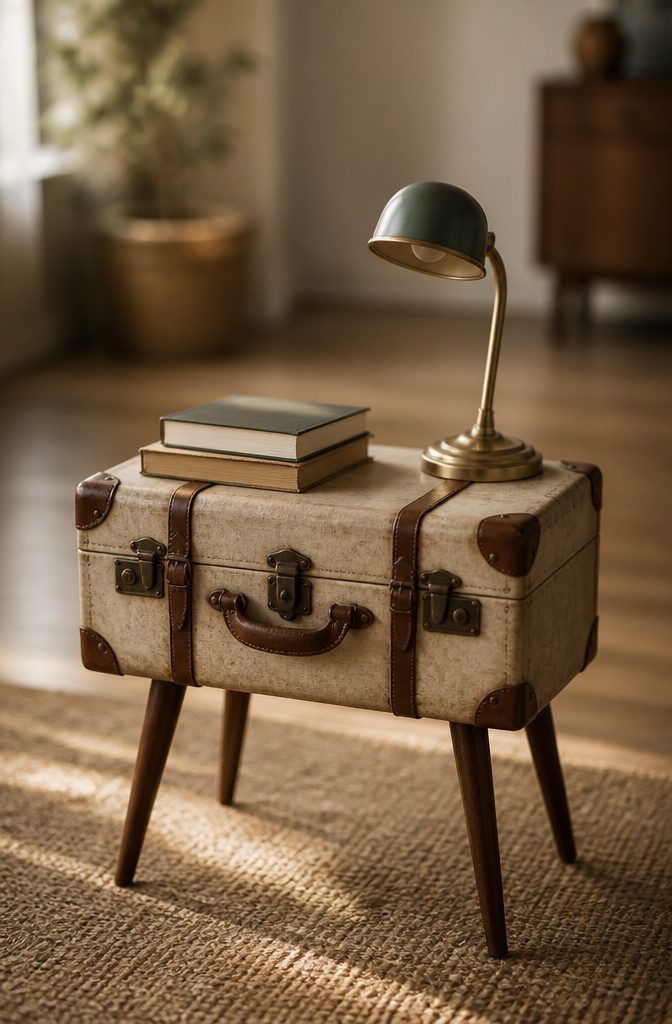
Sixteen screws hold this table together: 4 legs, 4 screws each, driven up through the bottom of the suitcase. Set the case closed on its back, lay the legs where you want them, and mark the screw holes before anything gets drilled.
Drill through the base at each mark, then run the screws in with a screwdriver. Pilot-drill every hole so the screws pull the leg flat against the shell instead of splitting it.
Mid-century legs suit this project because their tapered shape lifts a boxy case and gives it a lighter, more furniture-like stance.
Keep the legs near the corners for stability, and keep the suitcase latched so the lid stays shut under a lamp or a mug.
21. Fur Bench
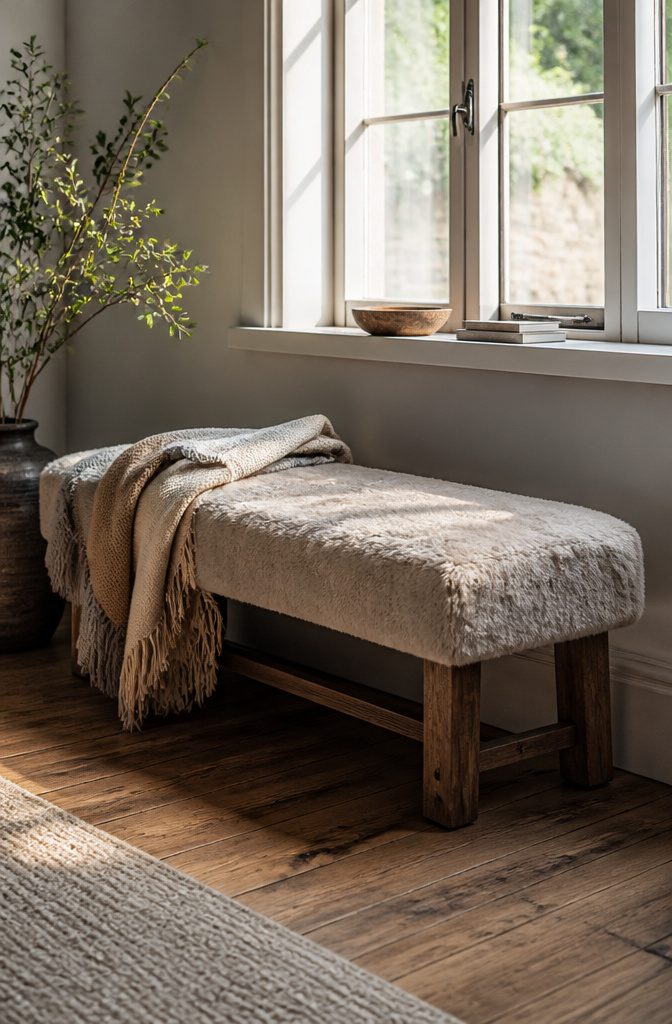
A faux fur bench is really an upholstery job: a plain bench, a layer of padding, and a fur cover stapled underneath.
Start with a bench that already has a flat, sturdy top, since you’re only changing the seat. A thrifted wooden one works well, and so does an unfinished bench from a craft store.
Cut the fur from the back, not the front. Slide scissor tips under the backing and snip, so the pile isn’t chopped into stubby clumps and the edges don’t shed across your floor.
Pull the fur snug over a layer of foam or batting, then staple it on the underside. Smooth the pile in one direction before you staple, because fur pulled against its lie looks patchy once it’s done.
I’d pick a short-pile fur for a bench people actually sit on. Long shaggy fur looks plush but mats down fast, and it hides the bench’s shape.
22. Mid-Century Plant Stands
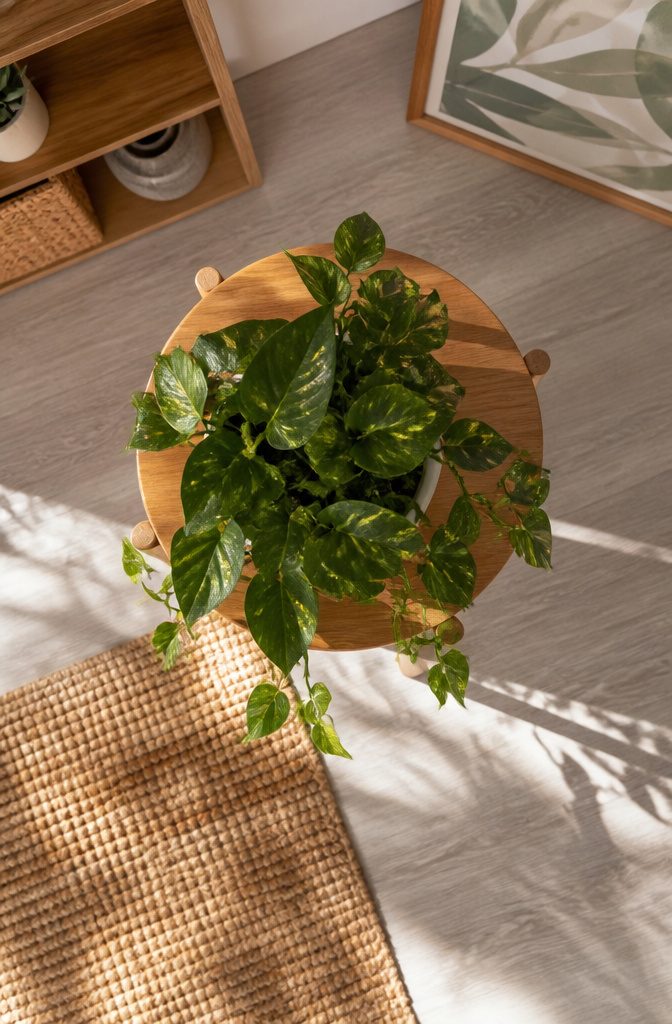
Each stand needs two Waddell tapered legs in different sizes, a 3×3.5 inch and a 3×8 inch, plus 3 angle plates and a 6-inch wooden plaque for the top.
Wipe wood satin onto the shorter legs with a foam brush. On the 8-inch legs, mask with painter’s tape and spray only the tips gold, then leave them overnight to dry.
Lay the three plates on the underside of the plaque in a triangle and screw each one down.
Then screw a leg into each plate. A drill and bits make the pilot holes easy.
I’d stick with the triangle layout. Three points sit steady on any floor, and a four-leg stand can wobble.
A pot can be glued to the plaque with Bulldog grip glue, which bonds wood to ceramic.
23. Metal Chandelier
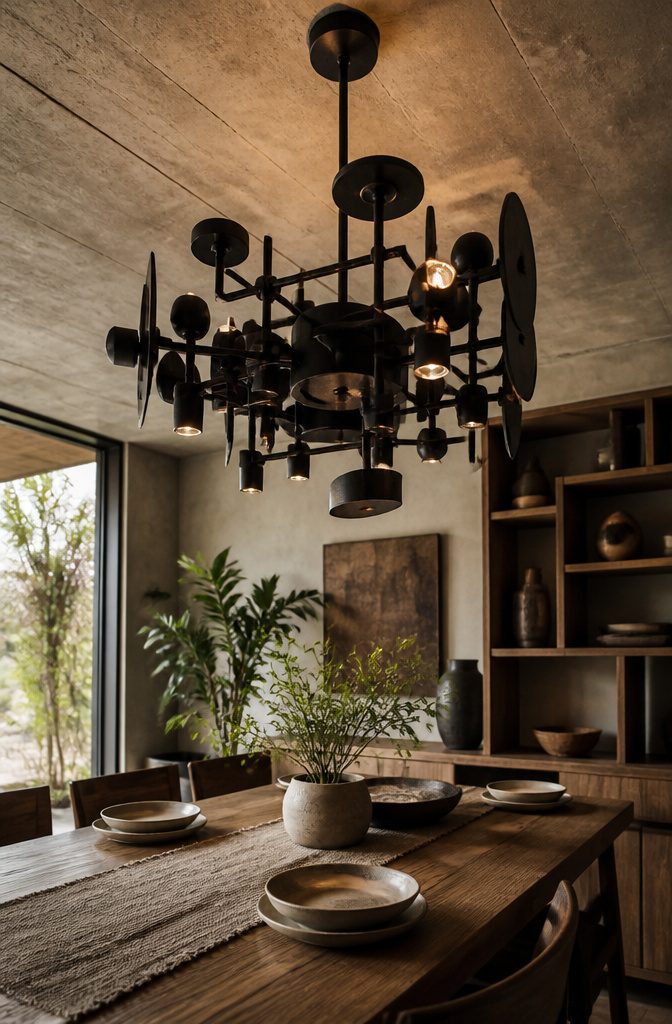
A metal chandelier is the easiest light fixture to build because the parts already do the design work.
Pipe, chain, wire baskets, hoops, or even a repurposed lampshade frame can hold the bulbs, and you only decide how to hang and wire them.
I’d pick a pre-made pendant light kit over wiring from scratch. The cord, socket, and plug come assembled, so your job is attaching the metal pieces and choosing a bulb.
Spray paint ties mismatched parts together. Matte black or brass-toned paint hides the fact that your hoops and hardware came from different places.
Turn the power off at the breaker before you hang anything over a ceiling box.
Keep bulbs low-heat, since bare metal near a hot bulb gets uncomfortable fast, and test the hanging point first because a heavy fixture needs a secure anchor.
24. Tripod Lamp
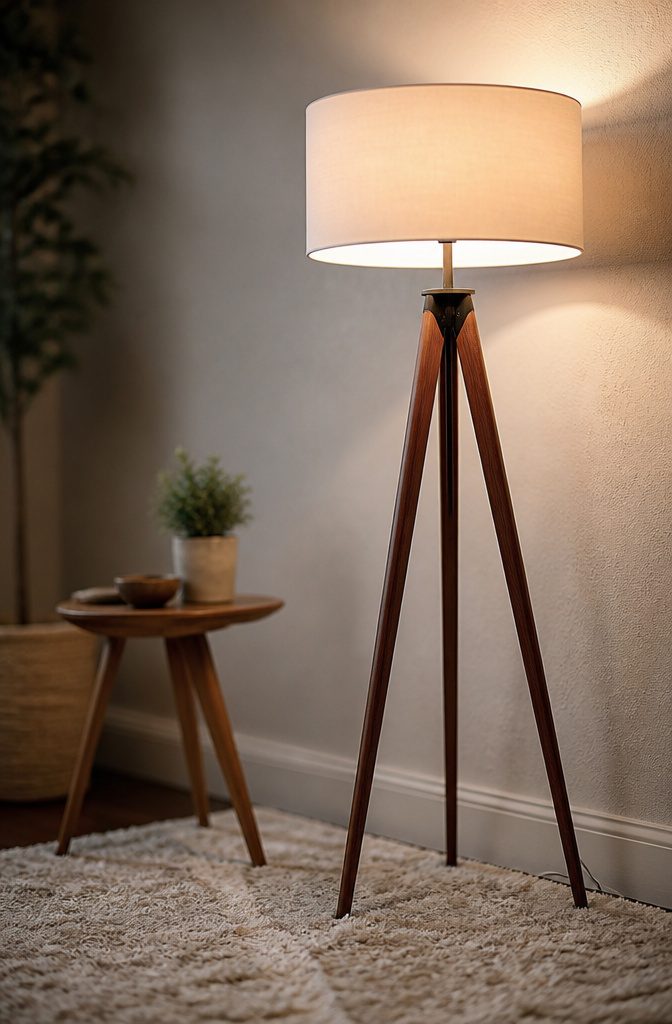
A tripod floor lamp is mostly geometry: three straight wood legs, angled out from a single point near the top, hold up the shade and the bulb.
Because the shape stands on its own, you skip the weighted base a typical floor lamp needs. A drill, a saw, and some sandpaper cover most of the build.
Leg angle decides whether the lamp looks right. Cut all three legs to the same length, then mark the drilling point the same distance from the top of each, so the three legs match exactly and the lamp doesn’t lean.
A wider spread feels stable but eats floor space, which I’d avoid in a small room.
Run the cord down the back of one leg and secure it with small clips. Stain or leave the wood bare; either works.
25. Hammock Chair
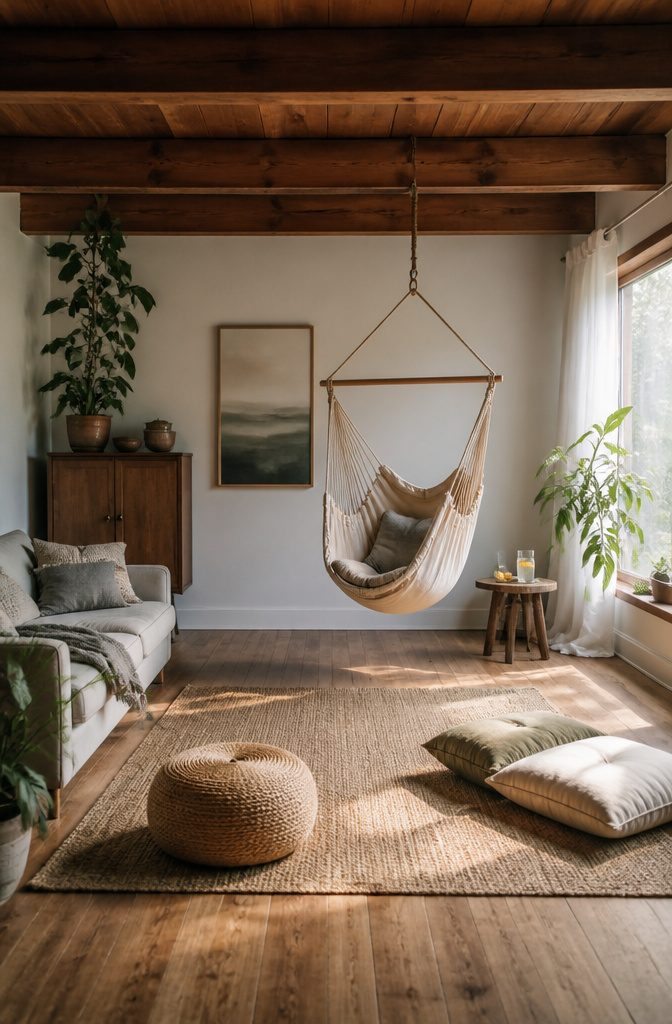
A hammock chair puts all of its load on one spot, so the hanging point decides whether the project is safe.
A ceiling joist or a solid overhead beam is the only anchor I would trust; drywall, a bare plaster ceiling and a thin porch rail are not.
Find the joist with a stud finder and screw in a heavy-duty hook or eye bolt made for hanging loads, not a decorative cup hook.
Weight rating comes next, and every piece in the chain needs one: the hook, the rope, the carabiner or swivel, and the chair itself.
The chain is only as strong as its lowest rating, so check each label and choose one that clears the heaviest person who will sit in it. Hang it low enough that feet touch the floor.
Frequently Asked Questions
What tools do I need for easy DIY furniture projects?
A cordless drill with a countersink bit, clamps, a square, a tape measure and a pencil cover most builds.
Add a saw (or have the store cut the boards), an orbital sander with a few grits of sandpaper, and safety glasses plus hearing protection.
A pocket-hole jig is optional, but it hides screws on pieces people see from all sides.
What type of wood is best for DIY furniture?
Pine and poplar are the best picks for beginners.
Pine is cheaper, cuts easily with a basic handsaw, and its grain looks warm when stained. Poplar costs a little more but takes paint with fewer visible knots, so choose it for painted pieces.
How long does it take to build a DIY furniture project?
Most simple projects take about 2–8 hours.
A basic nightstand can come together in an afternoon, with the top coat setting overnight. Finishing time adds to this, since paint, stain and polyurethane each need to dry or cure before the piece gets used.





